
Concrete masonry unit (CMU) block walls are one of the most common substrates in commercial and residential construction — and one of the best surfaces for stone cladding installation. The block is flat, structurally rigid, and provides excellent mortar adhesion. But “one of the best” doesn’t mean “foolproof.” The difference between a stone cladding installation that lasts decades and one that develops bond failures within two years comes down to preparation details that most installers skip.
This guide walks through the complete process of installing natural stone cladding panels on concrete block walls, covering both stacked stone ledger panels and interlocking Z-panel systems. Whether you’re a contractor planning your first stone cladding project or a distributor preparing technical documentation for your installer network, these steps reflect the methods we recommend based on 18 years of factory-to-site experience.
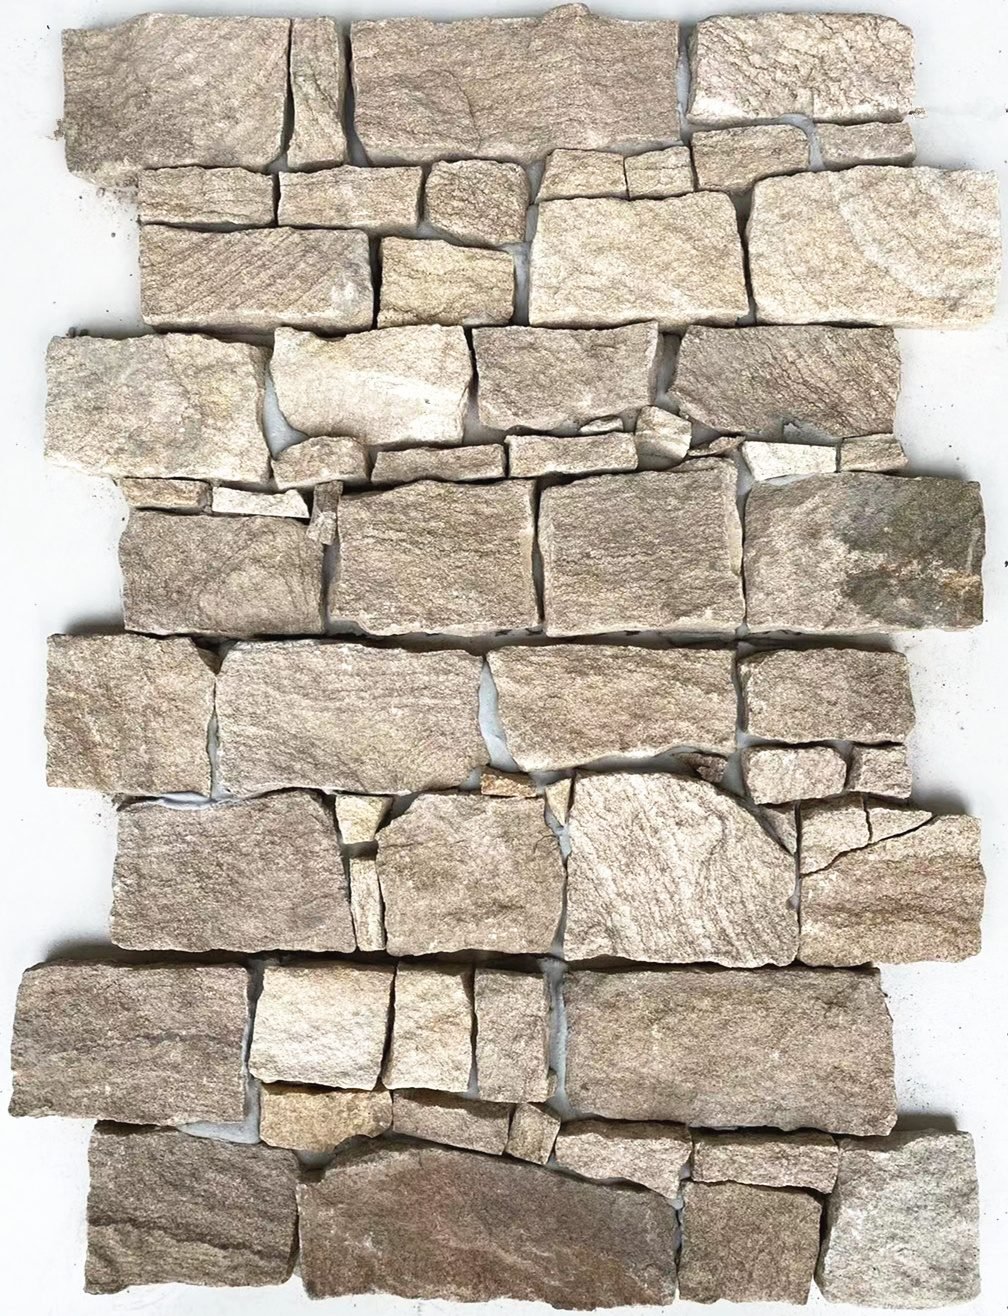
Step 1: Assess the Concrete Block Substrate
Before any stone goes on the wall, evaluate the condition of the concrete block surface. New construction block walls are usually in good shape, but existing walls — especially those that have been painted, sealed, or exposed to weather — need specific preparation.
New block walls: Check for excess mortar droppings on the face of the blocks. Any protruding mortar needs to be ground flush with an angle grinder. The surface should be uniformly flat so the stone panels seat evenly without rocking. Also verify that the block joints are fully filled and cured — fresh mortar joints (less than 7 days old) can release moisture that weakens the bond of your stone cladding adhesive.
Existing block walls: Inspect for efflorescence (white salt deposits), loose or spalling block faces, and any existing coatings. Painted block must be stripped back to bare masonry — paint creates a bond-breaker layer that prevents mortar from gripping the substrate. Efflorescence should be cleaned with a stiff brush and a diluted muriatic acid solution (1 part acid to 10 parts water), followed by thorough rinsing and drying.
For walls with significant surface damage, consider applying a thin coat of Portland cement parge (a scratch coat) to create a uniform bonding surface before proceeding with stone installation.
Step 2: Apply Waterproofing (Exterior Walls)
On exterior installations, a waterproofing layer between the block and the stone cladding is not optional — it’s the primary defense against moisture infiltration. Concrete block is porous, and water that penetrates the block from the back side can migrate forward, eventually reaching the stone-mortar bond interface where freeze-thaw cycles will break the adhesion over time.
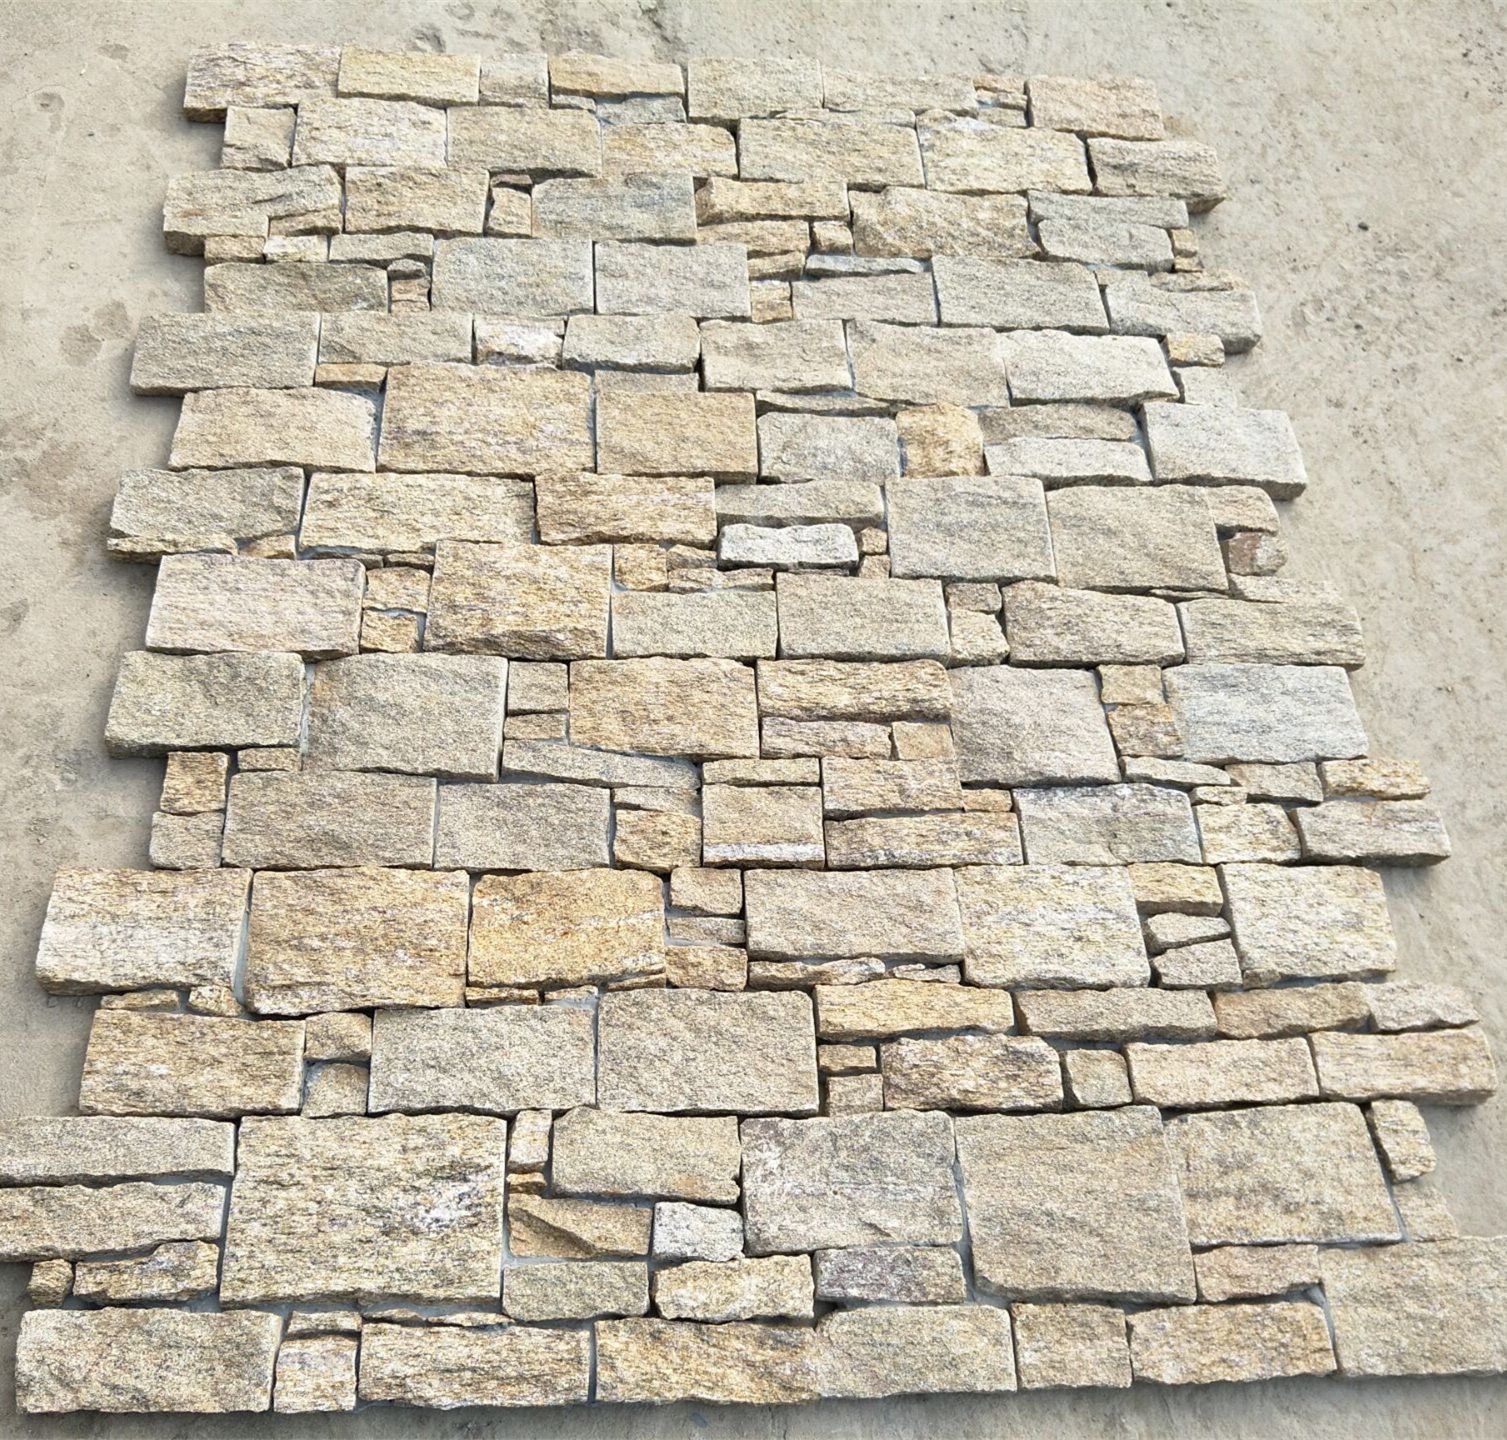
Two waterproofing approaches work well for stone-clad block walls:
Fluid-applied membrane: A brush-on or roller-applied elastomeric coating creates a continuous waterproof barrier directly on the block face. Products like LATICRETE Hydro Ban or MAPEI AquaDefense are designed for this application. Allow the membrane to cure fully (typically 24 hours) before applying mortar for the stone panels.
Sheet membrane: Self-adhering peel-and-stick membranes (like Grace Vycor or Henry Blueskin) provide a thicker barrier and are preferred in high-rainfall climates or below-grade applications. The sheet is applied to the block face, seams are overlapped and sealed, and then a layer of wire lath is mechanically fastened over the membrane to provide a mortar key.
For interior walls above grade, waterproofing is generally unnecessary unless the wall backs onto a wet area (bathroom, shower, or pool enclosure).
Step 3: Plan the Panel Layout
Layout planning is where experienced installers separate themselves from novices. Before mixing any mortar, dry-lay the stone panels on the floor in front of the wall to visualize the pattern, plan the cuts, and distribute color variation evenly.
For stacked stone panels (15×60 cm and 15×55 cm), the key layout decisions are: where horizontal joints fall relative to window and door openings (avoid aligning a joint directly at an opening head), how to stagger vertical joints between courses (offset by at least one-third of the panel length), and where cut pieces will land (cuts smaller than half a panel width look awkward — redistribute if necessary).
For interlocking Z-panels (20×55 cm or 15.2×61 cm), the male-female edge connections dictate the alignment, which simplifies layout considerably. The primary planning task is establishing a level starting line and verifying that the interlocking edges engage cleanly at inside and outside corners using the matching L-corner pieces.
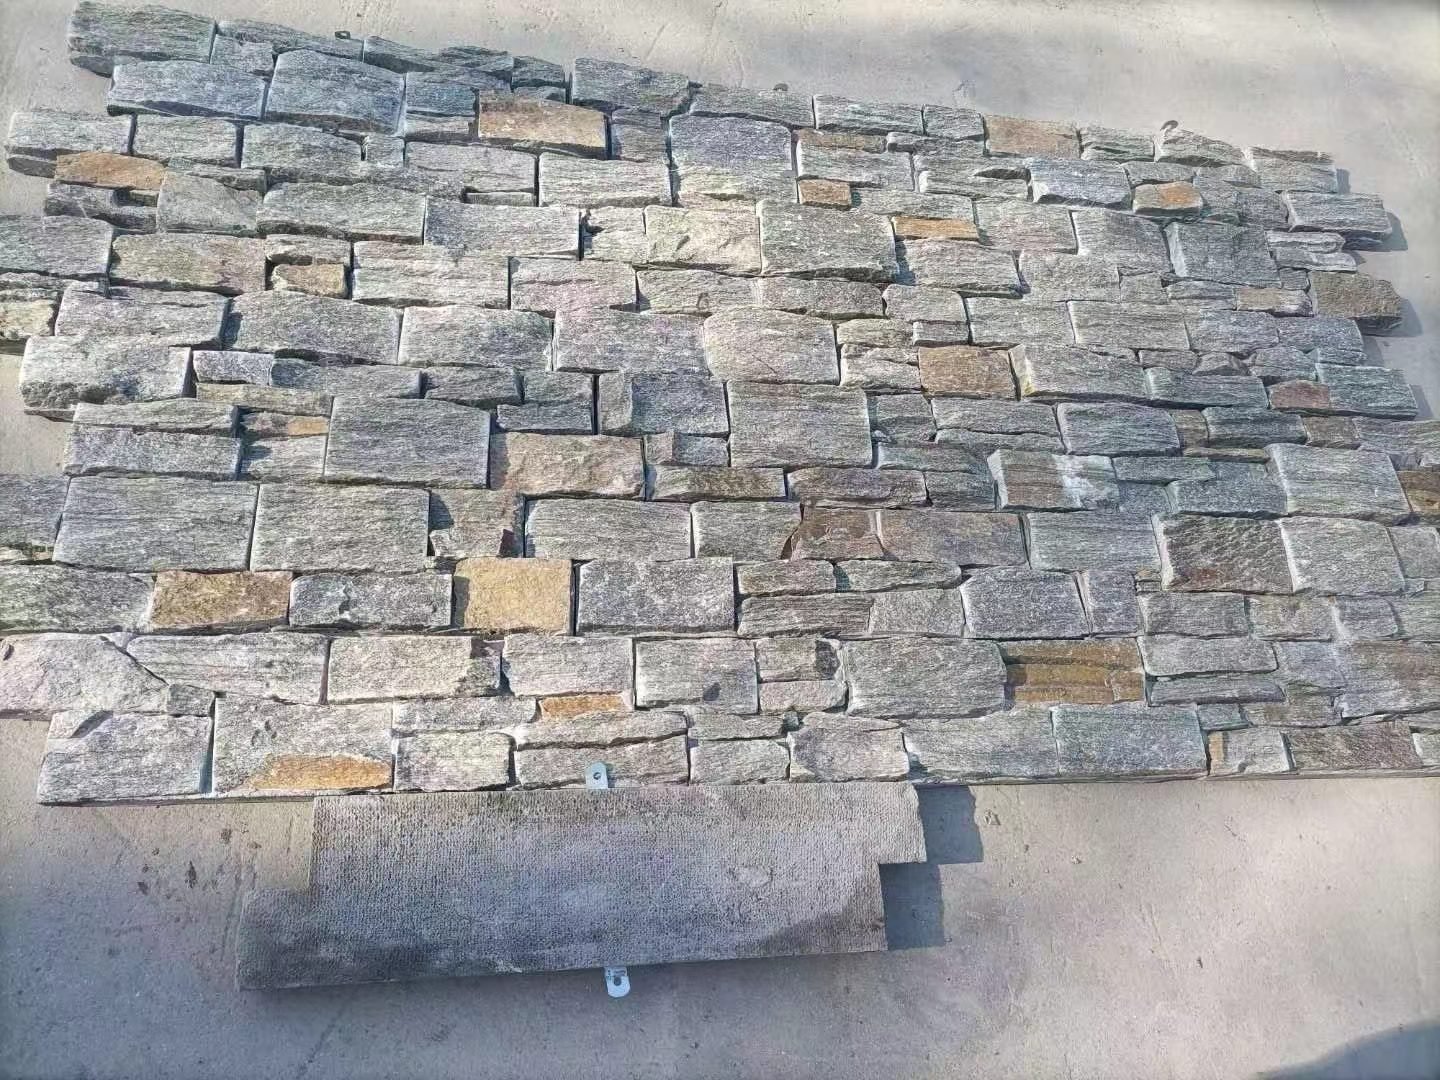
Establishing the Starting Line
Every stone cladding installation starts from a verified level line at the base of the wall. Use a laser level or a 1.2-meter spirit level to snap a chalk line across the block face at the height where the bottom course of panels will sit. If the floor or grade is uneven, start from the lowest point and shim the first course to level — the panels above will follow the level course below.
For walls taller than one panel course, snap additional horizontal reference lines at every fourth course. These lines keep the installation tracking level across the full wall height and catch any drift before it becomes visible.
Step 4: Mix and Apply the Mortar
The choice of bonding material depends on the stone panel type and the installation conditions.
Type S Mortar (Standard for Stacked Stone Panels)
Type S mortar — a blend of Portland cement, hydrated lime, and masonry sand in a 1:0.5:4.5 ratio — is the standard bonding material for stacked stone ledger panels on block walls. Its higher compressive strength (1,800 psi minimum) and superior bond strength compared to Type N make it appropriate for supporting the 35-50 kg/m² weight of natural stone cladding.
Mix mortar to a consistency that holds its shape on a trowel without slumping, but is wet enough to spread smoothly. In hot weather (above 32°C / 90°F), slightly dampen the concrete block face before applying mortar to prevent the block from sucking moisture out of the mortar too quickly, which weakens the bond.
Polymer-Modified Thinset (Preferred for Z-Panels)
For interlocking Z-panels with cement backing, a polymer-modified thinset adhesive (ANSI A118.4 or A118.15 rated) provides faster curing times and excellent bond strength on smooth concrete block surfaces. The thinset is applied with a notched trowel (10mm × 10mm notch for panels up to 20×55 cm), creating consistent mortar coverage across the panel back.
The advantage of thinset over traditional mortar for Z-panels is the thinner bond bed — typically 5-8 mm versus 15-20 mm for Type S mortar. This keeps the overall wall buildup minimal, which matters in retrofit situations where the stone cladding is being applied over an existing finished wall.
Step 5: Install the Stone Panels
With the substrate prepared, layout planned, and mortar mixed, the actual panel installation follows a consistent rhythm.
Butter the panel. Apply a generous layer of mortar to the back of each stone panel (called “buttering”). For stacked stone panels, use a flat trowel to spread 10-15 mm of Type S mortar across the entire panel back. For Z-panels with thinset, the notched trowel on the wall surface provides the coverage — buttering the panel is unnecessary when using a properly notched thinset bed.
Press and seat. Press the panel firmly into position against the wall, pushing it into the mortar bed with a slight twisting motion to eliminate air pockets. The panel should seat fully with mortar squeezing slightly from the edges. If the panel rocks or doesn’t seat flat, remove it and add or redistribute mortar on the back.
Check level and alignment. After placing each panel, verify it’s level with a small spirit level and aligned with the reference lines. Adjust immediately — once the mortar begins to set (typically 15-30 minutes in moderate conditions), repositioning becomes difficult and weakens the bond.
Maintain consistent joints. For stacked stone panels, the split-face profile creates a natural shadow line between courses. Maintain this gap consistently — typically 1-2 mm — using spacers if needed. For Z-panels, the interlocking edges handle alignment automatically; simply ensure each panel’s male edge fully engages the female edge of the adjacent panel.
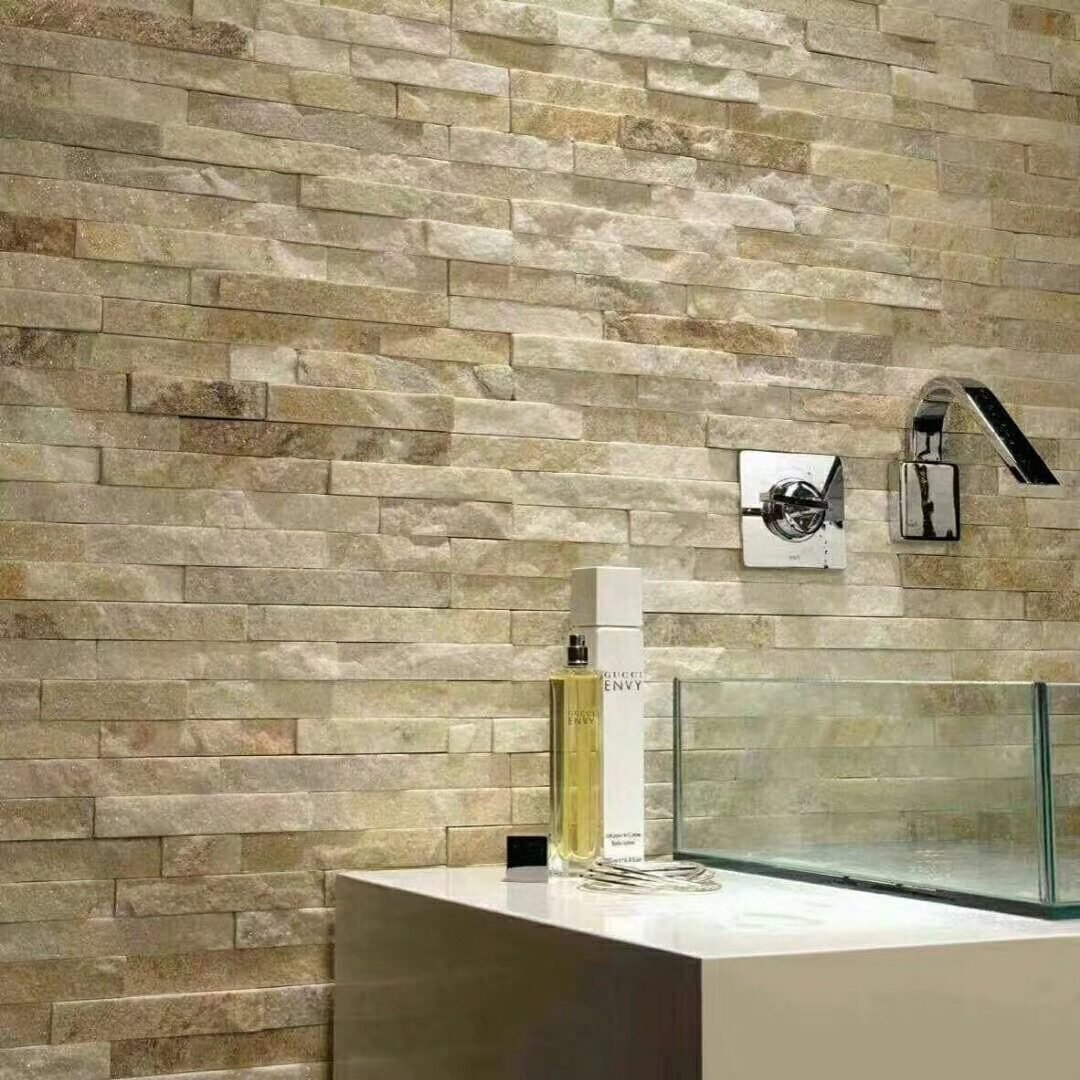
Step 6: Cut and Fit Corners and Openings
The areas that require the most skill are corners, window openings, door surrounds, and utility penetrations. Getting these details right is what gives a stone cladding installation its professional appearance.
Outside Corners
Pre-made L-corner pieces are the fastest and cleanest solution for outside corners. These factory-formed corners wrap the 90-degree turn in a single piece, eliminating the need for on-site miter cuts that rarely match the precision of a factory edge. At Top Stone Panels, our L-corners are cut using infrared CNC equipment with ±0.5 mm tolerance — tighter than any field cut can achieve.
Install corner pieces before filling in the field panels between them. This ensures the corners control the alignment and the field panels adjust to fit, rather than the reverse (which often leads to cumulative error).
Inside Corners
Inside corners are typically handled by butting the field panels from one wall into the panels from the adjacent wall, with one set slightly overlapping the other. The split-face texture helps hide the joint line, but for a cleaner finish, use an inside corner trim piece or cut the meeting panels at complementary angles.
Window and Door Openings
Stone panels around openings require field cuts to fit the reduced dimensions. Use a wet saw with a diamond blade for clean cuts on natural slate and quartzite. Dry cutting with an angle grinder works for rough cuts that will be hidden by trim, but produces more dust and a rougher edge.
Plan the layout so that cut pieces around openings are at least half the width of a full panel. Narrow slivers of stone next to a window frame look unfinished and are more prone to breaking during installation.
Step 7: Grouting and Finishing
Once all panels are installed and the mortar has cured (minimum 24 hours, longer in cold or humid conditions), the finishing steps bring the wall to its final appearance.
Joint treatment. For stacked stone panels, joints can be left open (dry-stack appearance), flush-pointed with matching mortar, or recessed slightly to emphasize the shadow line. The choice depends on the desired aesthetic — dry-stack is the most common for modern designs, while pointed joints suit traditional and rustic styles.
For Z-panels, the interlocking edges create tight joints that typically don’t require additional grouting. If a tighter visual joint is desired, a fine sanded grout can be pressed into the seam with a pointing tool.
Cleaning. After grouting, clean the stone face with a stiff nylon brush and clean water to remove mortar haze. For stubborn residue, a diluted stone cleaner (pH-neutral) can be used. Never use acid-based cleaners on natural stone — they etch the surface and permanently damage the split-face texture.
Sealing (optional). Natural slate and quartzite have extremely low water absorption rates (below 0.5% for quartzite) and generally do not require sealing for protection. However, a penetrating stone sealer can be applied if the client wants enhanced color depth or additional stain resistance for interior applications where cooking grease or wine splashes are a concern.
Common Mistakes to Avoid
After reviewing hundreds of installation projects, these are the errors we see most frequently on concrete block installations:
Skipping substrate preparation. Installing stone directly over painted block, efflorescence, or excess mortar droppings. The bond will fail — it’s only a matter of time. Always clean and prepare the block face before applying mortar.
Mixing mortar too wet. Overly wet mortar has lower bond strength and can cause panels to slide down the wall before setting. Mix to a consistency that holds a 90-degree peak on the trowel.
Not dampening the block in hot weather. Dry concrete block in high temperatures pulls moisture from the mortar too fast, creating a weak bond. Lightly mist the block face before buttering each panel.
Ignoring expansion joints. On walls longer than 6 meters, incorporate a soft expansion joint (compressible foam backer rod with sealant) every 4-5 meters to accommodate thermal movement. Stone cladding that spans a long wall without expansion joints will develop hairline cracks at the panel edges.
Installing in freezing temperatures without protection. Mortar and thinset adhesives will not cure properly below 4°C (40°F). If installation must proceed in cold weather, use heated enclosures and cold-weather mortar additives.
Installation Time and Labor Estimates
| Task | Professional Installer | First-Time Installer |
|---|---|---|
| Surface preparation | 2-3 hours per 20 m² | 4-6 hours per 20 m² |
| Layout planning | 1-2 hours | 3-4 hours |
| Panel installation | 8-12 m² per day | 4-6 m² per day |
| Corner fitting | 30 min per corner | 1 hour per corner |
| Grouting and cleanup | 2-3 hours per 20 m² | 4-5 hours per 20 m² |
| Total for 20 m² wall | 2-3 days | 5-7 days |
These estimates assume the substrate is in good condition and the stone panels are pre-assembled format (not individual loose stone). For guidance on installing thin stone veneer in random strip format, see our thin stone veneer product page.
Frequently Asked Questions
Can you install stone cladding directly on concrete block walls?
Yes, stone cladding can be installed directly on concrete block (CMU) walls using Type S mortar or a polymer-modified thinset adhesive. Concrete block is actually one of the best substrates for stone cladding because its surface is flat, structurally sound, and has excellent mortar bond strength. The block surface should be clean, free of form release agents, and lightly dampened before applying mortar.
Do you need a waterproofing membrane behind stone cladding on exterior block walls?
For exterior installations, a waterproofing membrane or weather-resistive barrier (WRB) is strongly recommended between the concrete block and the stone cladding. A fluid-applied membrane or self-adhering sheet membrane prevents moisture from migrating through the block into the stone assembly. For interior installations on above-grade walls, a waterproofing membrane is generally not required.
What type of mortar is best for stone cladding on concrete block?
Type S mortar is the standard recommendation for stone cladding on concrete block walls. It provides higher bond strength and compressive strength than Type N mortar, which is important for supporting the weight of natural stone panels. For thin-profile stone cladding and Z-panel systems, a polymer-modified thinset adhesive (ANSI A118.4 or A118.15) can be used as an alternative for faster curing.
How long does it take to install stone cladding on a concrete block wall?
A professional installer can typically cover 8-12 square meters of stone cladding per day on a prepared concrete block wall. For a standard exterior wall section of 20 square meters, plan for 2-3 days of installation work including surface preparation, layout planning, panel placement, corner fitting, and cleanup.
Can stone cladding be installed on painted concrete block?
Stone cladding should not be installed directly over painted concrete block. The paint acts as a bond-breaker layer that prevents mortar from adhering properly to the substrate. Remove the paint by mechanical grinding, sandblasting, or chemical stripping before applying stone cladding. If paint removal is impractical, install wire lath mechanically fastened to the block through the paint layer, then apply a scratch coat of mortar before the stone panels.
Source Stone Cladding for Your Next Block Wall Project
All stone cladding products referenced in this guide — stacked stone panels, interlocking Z-panels, and pre-formed L-corners — ship directly from our factory in Yixian, Hebei Province. Every panel is cut with infrared CNC precision (±0.5 mm tolerance) to ensure clean alignment on your block wall substrate.
For contractors planning a stone cladding installation on concrete block walls, contact our technical team for substrate-specific installation guides, material quantity calculators, and sample panels shipped within 1-3 days for your on-site mock-up. We also provide batch-specific vein selection to ensure color consistency across your entire wall.



