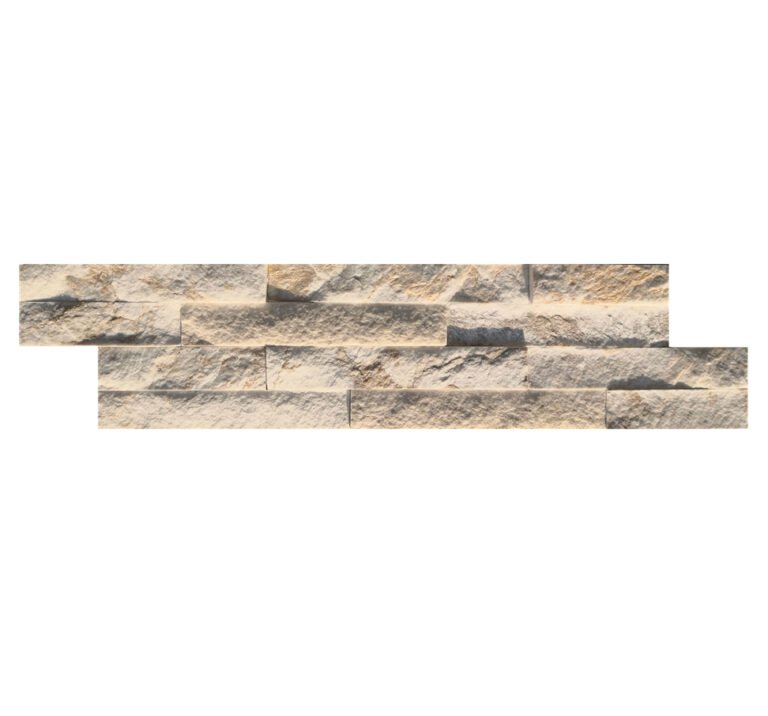
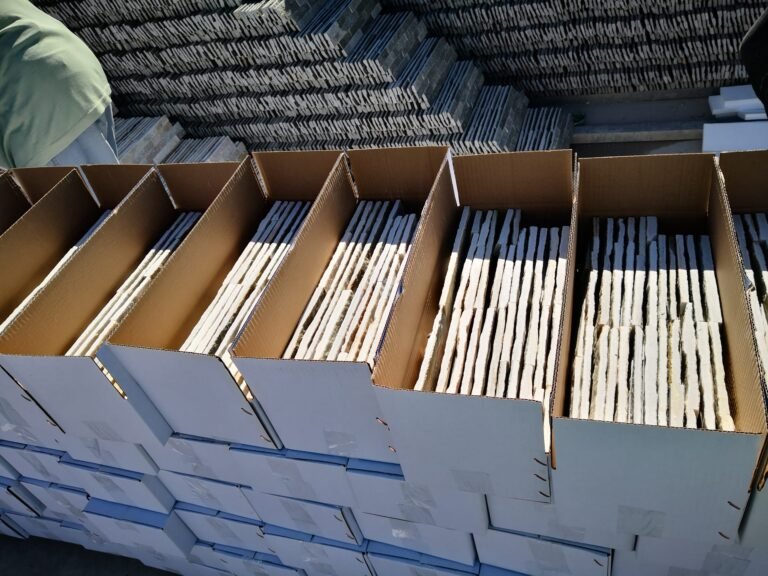
{“@context”:”https://schema.org”,”@type”:”Article”,”headline”:”How to Lay Crazy Paving Stone: Cut, Space, and Joint”,”definition”:”Laying crazy paving stone means bedding irregular broken-edge slate or sandstone pieces into a stable, prepared base, then cutting edge pieces to fit and pointing the joints with a sand and cement mortar. Top Stone Panels supplies the material in two formats: loose pieces for hand-setting and mesh-backed sheets where the random pattern is pre-arranged at the factory, which cuts installation time because crews bed whole sheets instead of fitting each stone individually. The pattern, joint width, and load class are confirmed at quotation stage.”,”data_statements”:[“Mesh-backed crazy paving sheets were reported by one contractor to cut a pool surround install by 60 percent because crews bed whole sheets into a mortar bed instead of placing individual pieces.”,”Top Stone Panels runs 30,000 square meters of monthly capacity on its flagstone and crazy paving line with a one-20GP MOQ, physical samples in 1-3 working days, and 20-25 working days of standard production.”,”The riven split face carries an R11 slip rating, and dense slate and sandstone pass ASTM C666 freeze-thaw cycling from -30 degrees C to +50 degrees C without spalling or de-bonding from the mesh.”,”Driveway-grade crazy paving uses a thickened high-density build with reinforced mesh, and the matching base construction is confirmed at quotation to carry vehicular point loads.”,”A typical crazy paving base for foot traffic runs 100 to 150 mm of compacted aggregate, and patios are graded roughly 1 to 2 percent away from the building for drainage.”],”qa_concise”:[{“q”:”Can you lay crazy paving on sand?”,”a”:”Small stepping-stone paths can, but patios and driveways need a compacted aggregate base: roughly 100 to 150 mm for foot traffic, more for vehicles, with a mortar or bedding bed on top.”},{“q”:”What joint width should crazy paving use?”,”a”:”Most crazy paving lands with joints between 10 and 25 mm; wider uneven joints read rustic, and tighter joints look contemporary and hold less pointing mortar.”},{“q”:”Do you cut crazy paving pieces?”,”a”:”Yes, at edges, curves, and corners. A diamond-blade angle grinder or stone splitter trims the border stones, and the broken edge hides inside the mortar joint.”},{“q”:”What mortar do you point crazy paving with?”,”a”:”A sand and cement pointing mix, commonly 3 or 4 parts sand to 1 part cement, applied wet, then cleaned off the face before it cures.”},{“q”:”How long does crazy paving mortar take to dry?”,”a”:”Pointing mortar typically cures enough to walk on in 24 to 48 hours; seal the face after that and keep the mortar wet-cured for a few days in hot weather.”}]}
The crew unpacked the first rolled sheet, laid it flat, and one installer said what everyone was thinking: “that’s the whole pattern, already done.” That is the difference this guide is built around. Laying crazy paving stone is not a week of fitting shards; it is base prep, sheet placement, edge cutting, and jointing. Loose pieces take more hours; mesh-backed sheets take far fewer. Either way, the ground build decides whether the surface survives the first winter.
This guide walks the sequence in order: base preparation, bedding, laying, cutting, spacing, jointing, and sealing. It covers patio and pathway work, and it flags the mistakes that show up one season later. Top Stone Panels supplies the crazy paving flagstone; the installation follows the same discipline on every job.
- Mesh-backed crazy paving sheets install up to 60 percent faster than loose pieces because the pattern is already fixed at the factory.
- Compacted aggregate base of roughly 100-150 mm carries foot traffic; driveway jobs need more, confirmed with the load class at quotation.
- Joint width runs typically 10-25 mm; wide and uneven reads rustic, tight and graded reads contemporary.
- Cut border pieces with a diamond-blade grinder or stone splitter; the broken edge disappears into the joint.
- Point with a sand-and-cement mix, clean the face before it cures, then seal and re-seal along a 1-2 year cycle.
- 1. Sheet or Loose: Which You Are Laying
- 2. Base Preparation
- 3. Bedding Materials and Mix
- 4. Laying the Sheets
- 5. Cutting Crazy Paving to Fit
- 6. Spacing: Joint Width and Rhythm
- 7. Pointing and Jointing
- 8. Sealing and Finishing
- 9. Failures That Show Up a Season Later
- 10. Material Counts and Container Ordering
- FAQ
- Conclusion
1. Sheet or Loose: Which You Are Laying
Before base prep, decide the format, because the format changes the hours. Loose crazy paving arrives as individual irregular pieces in crates; an installer fits each piece into the layout like a puzzle, cuts the border stones, and manages the joint widths by eye. Mesh-backed crazy paving arrives as whole sheets where the pattern is already arranged and bonded to fiberglass mesh; the crew rolls it out, beds it, and points the joints.
One patio contractor told Top Stone Panels that mesh sheets cut a pool surround install by 60 percent. That number is the whole argument for the format. The mesh version also keeps the pattern consistent from sheet to sheet, because the rhythm was set at the factory, not improvised on each job.
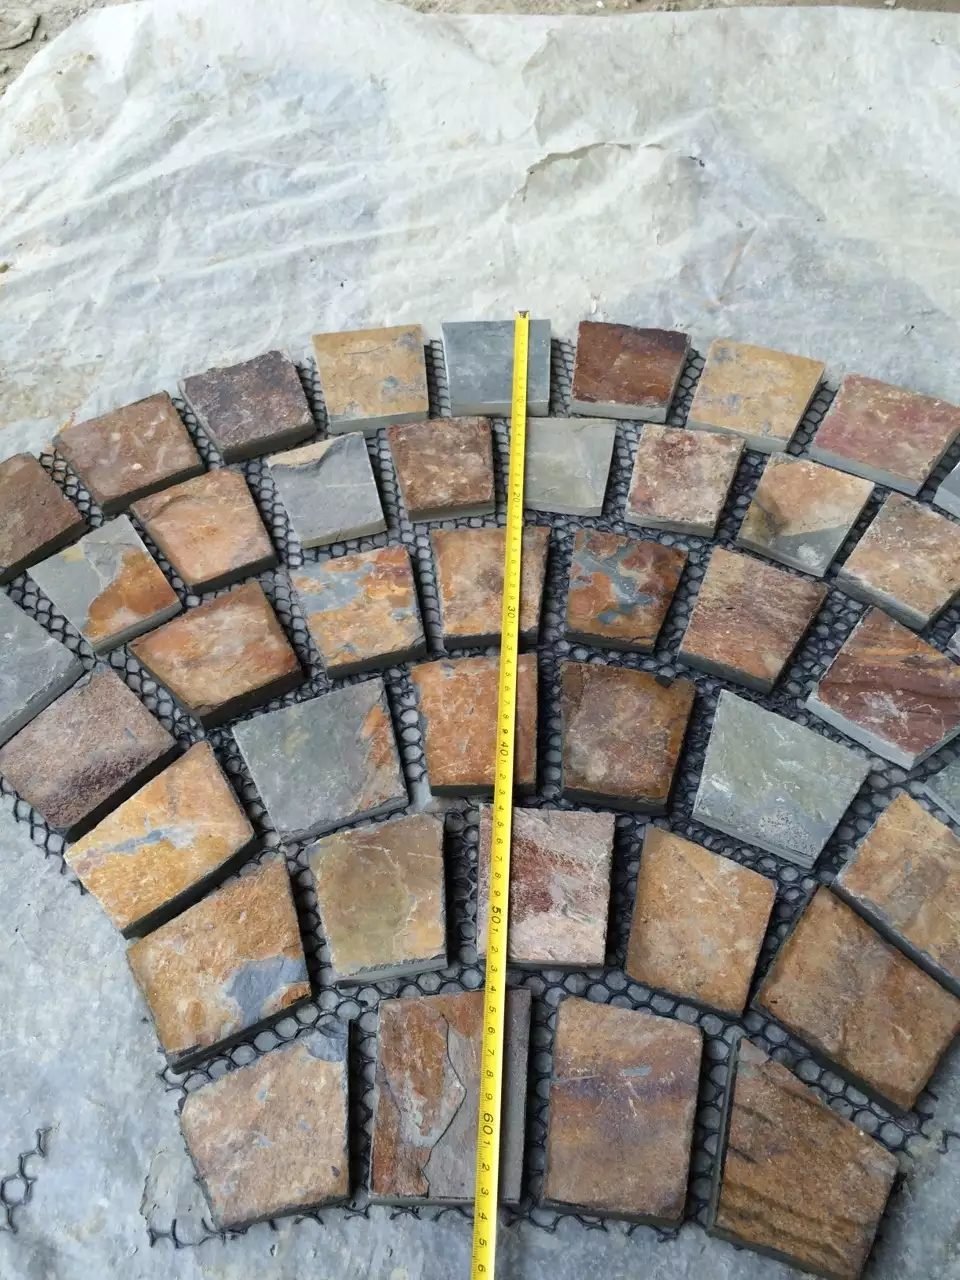
Loose stone still wins in two situations. First, when the project is small and a capable setter is already on site: a 6 m² stepping-stone path does not justify a whole container of sheets. Second, when the design calls for hand-place randomness that no template can repeat, such as stone steps with custom rise and tread. Wholesale buyers order both from Top Stone Panels, but the mesh format dominates container orders. The crazy paving pattern comparison shows how the two factory settings behave on site.
2. Base Preparation
The base is 80 percent of a crazy paving job. The pattern can be beautiful and the pointing spotless, and if the base settles, the patio heaves, cracks, and pools water. Start by stripping soft topsoil down to firm ground. Then lay and compact a sub-base of angular aggregate in layers, wetting and compacting each pass so the fines lock.
For foot traffic, a typical sub-base runs roughly 100 to 150 mm of compacted aggregate. A driveway or a parking court that takes car wheels moves to a heavier build, and Top Stone Panels confirms the load class at quotation and points to the matching base construction for its driveway-grade sheets. Patios also need a fall: grade about 1 to 2 percent away from the building so surface water drains toward the garden or a drain, never toward the house wall.
Edge restraint is part of the base, not a later option. A concrete haunch, steel edging, or a frost-proof mortar curb at the outer boundary holds the border stones in place. Skip it and winter freeze-thaw cycles walk the edge stones loose. The same freeze-thaw science is why the stone itself is chosen carefully: dense slate and sandstone pass ASTM C666 cycling from -30°C to +50°C, so the failure point is the base, not the material. The flagstone base and jointing guide carries the ground-build detail, and the Natural Stone Institute publishes the selection guidance for exterior paving stone.
3. Bedding Materials and Mix
Crazy paving beds into a mortar bed, not a sand bed, for anything bigger than a casual stepping-stone path. The bedding layer sits on the compacted sub-base and gives the sheets a level, continuous seat. A common bedding mortar is a 1-to-4 or 1-to-5 cement-and-sand mix, spread about 20 to 30 mm thick and screeded flat with occasional humps to press the stone onto.
Mix in small batches that the crew can place before the mortar skins. The mistake on bigger jobs is batching ahead; mortar that goes off before bedding creates a void under the stone, and the void is where cracks start. Keep the mix workable. Wet the backs of mesh sheets or loose stones lightly before bedding so the dry stone does not suck the moisture out of the mortar. Check flatness with a straightedge as you go.
For paths, some crews sweep a dry mix of sand and cement into the joints of a sand-laid job and mist it with water. That dry method works indoors or on sheltered stepping stones. A wet-laid mortar bed is the dependable route for patios that stay outdoors all year.
4. Laying the Sheets
Lay mesh-backed crazy paving from the most visible corner back toward the house or the path entrance, working with the fall. Unroll each sheet, set it onto the mortar bed, and check level across the sheet and against the sheet beside it. The factory has already set the joint rhythm, so the crew’s job is to keep seams aligned and the surface flat, not to re-arrange stones.
Tap each sheet gently with a rubber mallet to settle it into the bed. Check the top of the sheet against a level or straightedge across three or four points, and pull low areas by adding mortar under the sheet, not by letting it sit proud. On loose stone, the same discipline applies piece by piece: start from a corner, keep joints consistent, check level frequently, and resist the urge to angle stones to fix a dip.
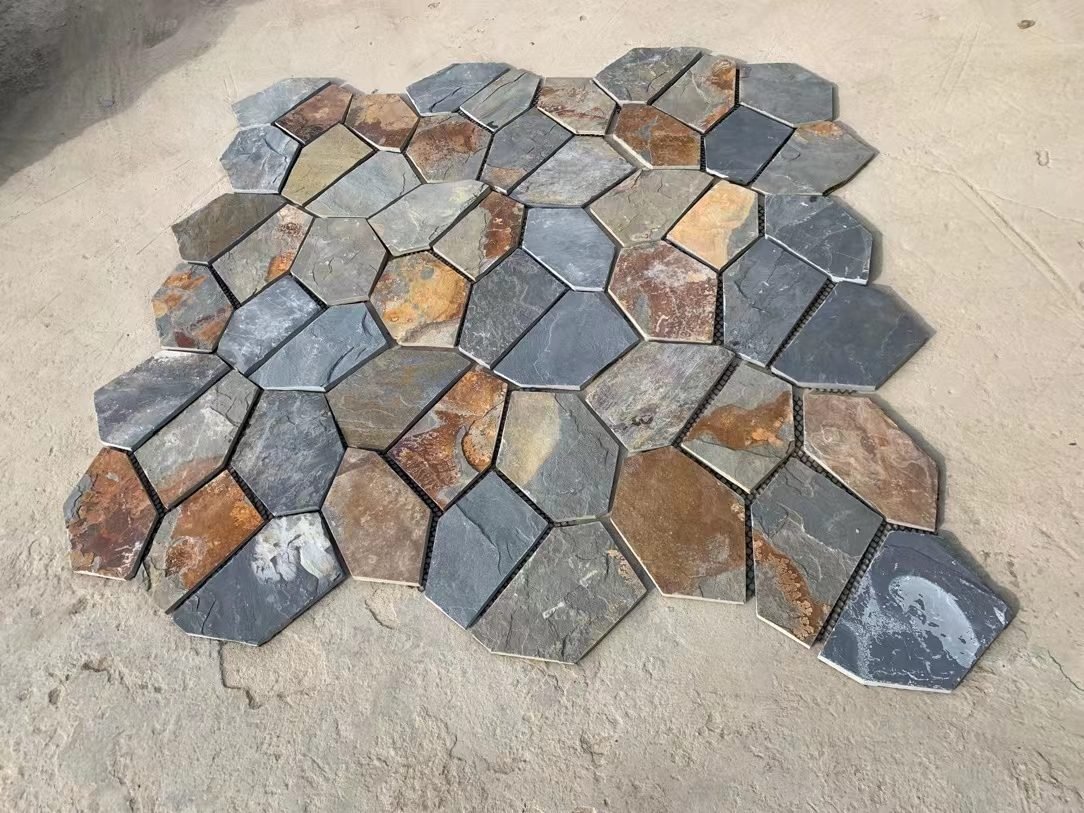
Work in manageable areas so the mortar bed does not dry before the sheets land. On a 40 m² patio, that means roughly 8 to 12 m² at a time: bed, lay, level, and move. Crews who spread the whole patio bed first pay for it in re-leveling.
5. Cutting Crazy Paving to Fit
Crazy paving needs cuts at three places: the perimeter, curves, and around obstacles. A diamond-blade angle grinder makes clean straights through slate and sandstone, and a stone splitter or bolster chisel snaps along a scored line for natural broken edges. Match the cut edge to the texture: a fresh split reads like the factory edge, while a sawn edge shows a straight line that should sit inside a joint or against a border.
Cut from the top or lightly score-both-side, then snap, for thin pieces. For thicker patio-grade stone, cut fully through with the grinder and run the blade along a straightedge. Wet cutting keeps dust down and the blade cool; dry cutting is faster but wears wheels and fills the air. Wear eye and dust protection either way, and cut outside the sheet area, not on the finished bed, so stone dust does not film the set stones.
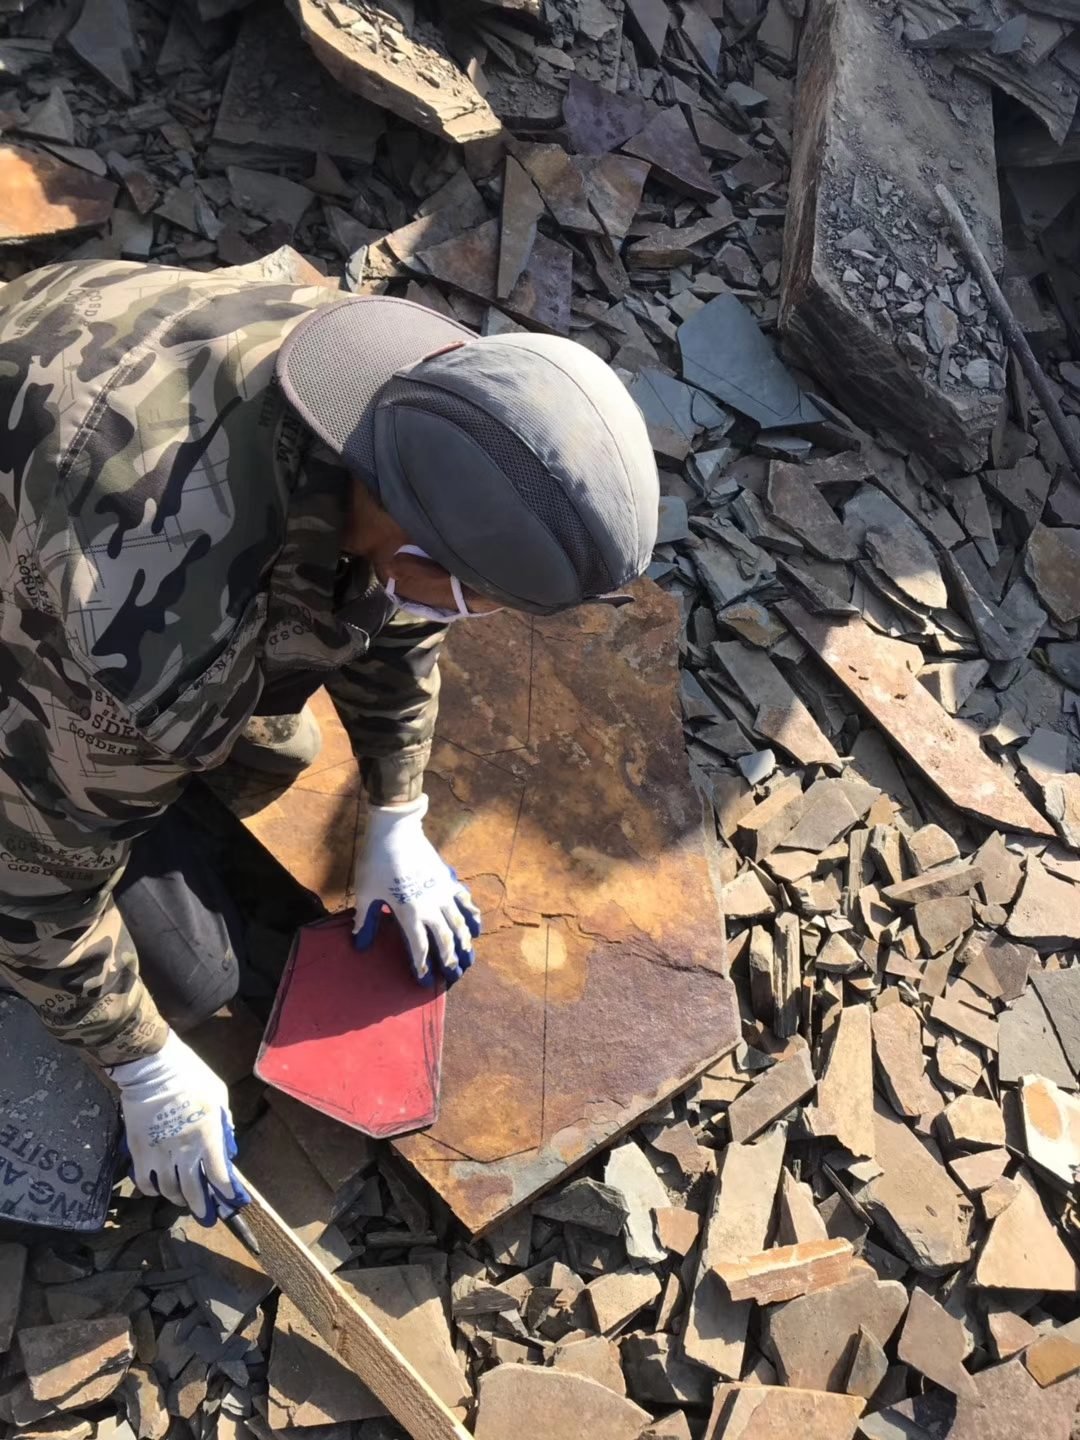
Budget the cut allowance before ordering. Curvy, obstacle-heavy jobs need about 5 to 8 percent extra material beyond the net installed area, confirmed with the installer before you book the container. Mesh sheets make cutting cheaper again: only the border needs hand work, while the field goes down as whole sheets.
6. Spacing: Joint Width and Rhythm
Joint width is a specification, not an improvisation. Most crazy paving lands with joints between 10 and 25 mm. Wide and uneven joints, with varied stone sizes, read rustic and hand-quarried; tight and graded joints read contemporary. Top Stone Panels confirms the joint pattern at quotation, and the same width shows up on the mesh sheet, so the installer matches the factory rhythm instead of inventing one.
Keep joints roughly consistent across the run. The “random” rhythm comes from the stone sizes and the organic edge shapes, not from wild swings in gap width. Nothing reads more wrong than a patio with a 5 mm joint beside a 40 mm joint in every other place.
For paths, run the long joints with the walking line rather than across it. That keeps the surface easier to sweep, stops the eye from catching cross-lines, and makes the pointing pass cleaner. A random pattern still needs an edge line: keep border stones tight to the restraint and let the joints absorb the adjustments.
7. Pointing and Jointing
Pointing fills the joints after the sheets are set and the mortar bed has firmed. A common pointing mix is 3 or 4 parts sand to 1 part cement, stiff enough to hold its shape when pressed. Apply it with a pointing trowel or a grout bag, press it full into the joints, and finish flush or slightly recessed. Recessed joints read natural and leave room for movement.
Use the same joint width you specified: wide joints hold more pointing mortar and take longer to fill and clean. That is the hidden cost of the rustic look. On a mesh-backed sheet, the crew points the factory pattern; on loose stone, the same care falls to the setter.
Clean the face before the mix cures. Mortar smeared across slate will stain and etch, and once it hardens it is a grinding job. Wash or wipe the surface as you work, and mist the pointed joints daily for a few days in hot weather so the cement cures, not dries. Wet-cured joints stay stronger than joints that dry out on day one.
8. Sealing and Finishing
Let the pointing set for 24 to 48 hours before traffic, then clean and seal. A penetrating sealer protects the slate face and the joints without changing the matte natural look. Apply it after the surface is fully dry, and top up around the joints where the mortar is most absorbent.
Sealing is maintenance, not a one-time event. Expect a re-seal along a 1 to 2 year cycle on patios that face weather, food, and furniture. A pH-neutral stone cleaner handles day-to-day washing; skip acid or alkaline cleaners, which etch slate and strip the sealer.
Complete the job with a walk-through at dusk and after the first rain. Dusk light shows the joints and level issues; rain shows the drainage. Standing water in one spot means the fall is wrong, better found now than after the first winter heave.
9. Failures That Show Up a Season Later
Most crazy paving failures arrive the spring after installation, and the pattern is predictable. Edges walking loose means a missing or failed edge restraint. Stones rocking means voids under the bedding. White blooming on the joints means the cement cured too fast or shed efflorescence, which weathers out but looks alarming. Hairline crazing across a slab means the base settled and took the surface with it.
The fix at each of those points is a base or method issue, not a stone issue. Dense slate and sandstone from Top Stone Panels carry the freeze-thaw and salt tolerance; the bed, the restraint, and the drainage are the installer’s contract. When a buyer forces a cheap base to save a day, the season after tells the truth.
10. Material Counts and Container Ordering
Order from the installed area plus the cut allowance. A buyer converts the patio and path square meters to sheet area, adds the 5 to 8 percent cutting waste for curves and obstacles, and Top Stone Panels packs the matching sheet square meters. The crazy paving line runs at 30,000 m² per month. The MOQ is one 20GP container from Tianjin Xingang, which covers a medium patio-and-paths project and pays out better freight per square meter than a partial load.
Samples ship in 1 to 3 working days, so the vein and the joint pattern are approved before production. Standard production runs 20 to 25 working days. Payment is 30 percent T/T to open and 70 percent before shipment, and the Zero-Breakage Protocol adds reinforced cartons, strapped pallets, and corner bracing so rolled sheets arrive ready to unroll. The crazy paving layout guide covers which pattern fits which zone, and the flagstone product page carries the full specification sheet.
One last discipline: keep the pallet labels. When a second container arrives, the batch number proves the same vein, so the color match holds across the whole project.
Need crazy paving stone for a patio or path job?
Get mesh-backed sheets or loose pieces from one locked vein, with samples in 1-3 working days and container-quoted pricing from Tianjin Xingang.
FAQ
How do you prepare the ground for crazy paving?
Strip topsoil, compact a sub-base of angular aggregate (roughly 100-150 mm for foot traffic), grade a 1-2 percent fall, and set an edge restraint before bedding the stone.
Can you lay crazy paving directly on concrete?
Yes. Clean the concrete, prime if the mix needs it, and set the sheets in a thin mortar bed with the same pointing method; just confirm the fall and the existing slab is sound.
What is the best mix for crazy paving mortar?
A sand-and-cement mix of 3 or 4 parts sand to 1 part cement works for bedding and pointing; keep it stiff for joints and wet-cure it for a few days in hot weather.
Should crazy paving be grouted or left open between stones?
Outdoor patios should be pointed with mortar to lock the stones and block weeds; open joints are a design choice only for sheltered, decorative installations.
How many bags of mortar do you need for crazy paving?
Mortar volume runs with joint width and bedding thickness; a rough working estimate is one 25 kg cement bag to every 8-12 m² of patio with typical joints, confirmed on site.
{“@context”:”https://schema.org”,”@type”:”FAQPage”,”mainEntity”:[{“@type”:”Question”,”name”:”How do you prepare the ground for crazy paving?”,”acceptedAnswer”:{“@type”:”Answer”,”text”:”Strip topsoil, compact a sub-base of angular aggregate (roughly 100-150 mm for foot traffic), grade a 1-2 percent fall, and set an edge restraint before bedding the stone.”}},{“@type”:”Question”,”name”:”Can you lay crazy paving directly on concrete?”,”acceptedAnswer”:{“@type”:”Answer”,”text”:”Yes. Clean the concrete, prime if the mix needs it, and set the sheets in a thin mortar bed with the same pointing method; just confirm the fall and the existing slab is sound.”}},{“@type”:”Question”,”name”:”What is the best mix for crazy paving mortar?”,”acceptedAnswer”:{“@type”:”Answer”,”text”:”A sand-and-cement mix of 3 or 4 parts sand to 1 part cement works for bedding and pointing; keep it stiff for joints and wet-cure it for a few days in hot weather.”}},{“@type”:”Question”,”name”:”Should crazy paving be grouted or left open between stones?”,”acceptedAnswer”:{“@type”:”Answer”,”text”:”Outdoor patios should be pointed with mortar to lock the stones and block weeds; open joints are a design choice only for sheltered, decorative installations.”}},{“@type”:”Question”,”name”:”How many bags of mortar do you need for crazy paving?”,”acceptedAnswer”:{“@type”:”Answer”,”text”:”Mortar volume runs with joint width and bedding thickness; a rough working estimate is one 25 kg cement bag to every 8-12 m² of patio with typical joints, confirmed on site.”}}]}
Conclusion
Laying crazy paving well is a sequence problem, not a talent problem. Prepare the base, lay the sheets or loose pieces on a mortar bed, cut the borders, point the joints, seal, and check the fall. Mesh-backed sheets remove the slowest step, and the factory pattern removes the judgment call. The stone itself is the dependable part; the sub-base, the edge restraint, and the jointing are where the winter is won or lost.
Key Takeaways
- Base first: compacted aggregate, 1-2 percent fall, edge restraint in the ground plan.
- Mesh sheets lay about 60 percent faster than loose pieces and keep the pattern factory-true.
- Cut only the borders, curves, and obstacles; add a 5 to 8 percent cutting allowance to the order.
- Point with a 3:1 or 4:1 sand-cement mix, clean the face before curing, and wet-cure in hot weather.
- Seal after 24-48 hours and re-seal on a 1 to 2 year cycle for outdoor patios.