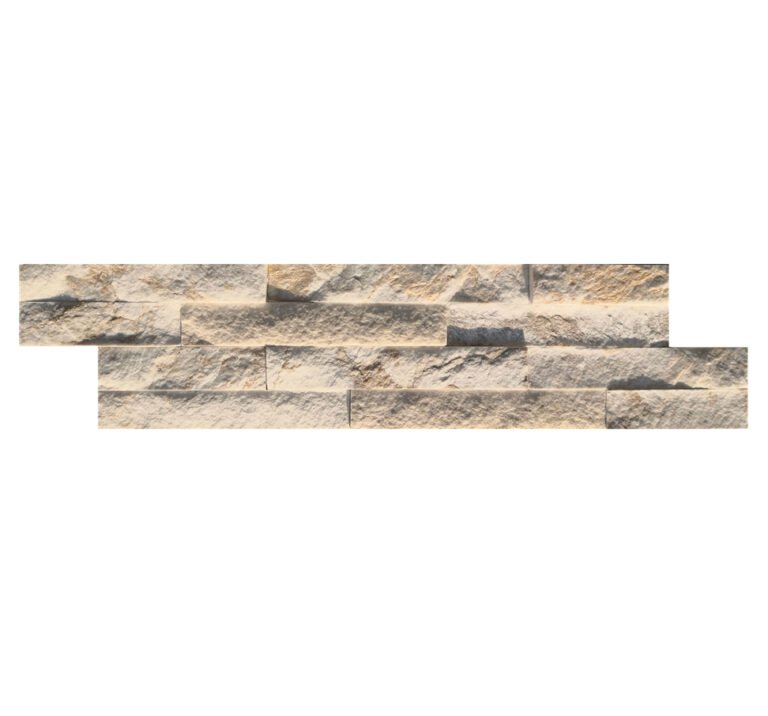
Stone veneer around planters and garden edges is a different animal from a house facade, because the wall it faces touches dirt, water, and frost on three sides. Install it the way you would a facade and the planter will shed its facing inside two winters. Install it the way a planter asks to be built, with footing, drainage, and a capped top, and the same panels give you a raised bed that looks quarried rather than covered.
The material appetite is smaller than a house wall. A freestanding planter 3m by 1m with 0.6m-high walls carries about 4.8 square meters of face, which is roughly 53 standard panels plus a cap course. Contractors already quoting crazy paving paths and patios can add the planter facing to the same container order.
Top Stone Panels is the slate and quartzite exporter in Yixian County, Hebei, with quarry-owned sources and 18 years of container export history. Planter and raised-bed cladding is a steady export request for villa gardens and resort projects, so we batch stone from the same quarry vein to keep the planter matching the house facade.
- A planter wall must be a backed structure; face a block or concrete wall, never a soil-retaining membrane with panels stuck on.
- Keep the bottom course above grade or at a gravel-and-drainage transition so soil moisture cannot wick behind the veneer.
- Every planter needs a capped or sloped top edge; an open flat wall collects water and fails the facing in freeze-thaw.
- Panel formats for planter work are 15x60cm / 15x55cm stacked stone, 36x10cm ultra-thin ledgestone for edging bands, and crazy paving for caps and paths.
- A 3m by 1m planter with 0.6m walls needs about 53 face panels plus a cap course and 5-8% for cuts.
1. What Changes When Veneer Meets Dirt
The rule that keeps planter veneer honest is simple: thin stone is a facing, not a retaining wall. The panels stick to a structure that already holds the soil. When the structure is concrete block or poured concrete, the veneer has a job to do. When the planter is a timber frame or a fabric-lined pit, the panels have nowhere to bite and will move with the walls.
Garden-edge conditions add three enemies a facade never sees. Soil splash keeps the bottom courses damp. Frost heave pushes any structure in the ground, and the veneer goes with it. Water trapped behind the facing freezes and pops the bond. Each one is manageable, but all three at once punish a wall that was never built as a wall. The same material family supports the design-led side of this work; the earlier garden wall and planter design guide shows the patterns this installation method makes possible.
The planning answer is to treat the planter as a small masonry project: solid footing at the perimeter, a block or concrete core, drainage at the base, and a cap at the top. Do that and the stone edges read as built-in hardscape rather than a skin glued over dirt.
2. Substrate and Footing Requirements
Below-grade structure decides whether the face lasts. In a freeze-thaw climate the footing must go below the frost line or onto a frost-protected base, because a heaving base cracks the veneer bond far better than any adhesive problem can.
- Footing. Pour a perimeter footing or set the planter base on compacted gravel and frost-protection, sized to carry the finished weight of the walls, soil, and stone facing.
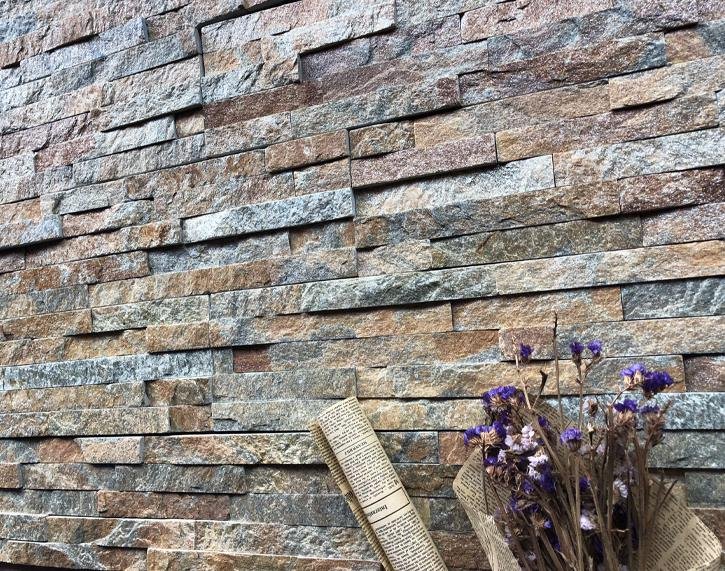
- Core. Build the visible wall from 100mm-plus concrete block or poured concrete. CMU is the standard substrate for adhered veneer because it is stable, moisture-compatible, and easy to profile.
- Profile. Cement-board, lath-and-mortar, or a scratch coat gives the veneer a key to bite. A smooth painted wall is a bond failure waiting to happen.
- Ledge. Plan a small footing ledge or a base course that keeps the first panel row off the soil and out of standing water.
The International Residential Code covers adhered veneer in its wall-covering requirements, and the same logic applies to a garden wall. When the substrate is wrong, no adhesive brand fixes it. The International Code Council publishes the veneer requirements that planter crews should read once before the first trowel load.
3. Ground-Contact and Moisture Rules
Moisture management decides the difference between a planter that looks good for a decade and one that sheds stone in two seasons. The facing itself is frost-tolerant; the failure is water finding its way behind it and freezing there.
- Start above grade. Set the first full course of panels at least a few centimeters above the soil line, or turn the bottom into a gravel band so splash and sprinkler water do not wick behind the facing.
- Drain the base. Leave weeps or a gravel drain at the bottom of the wall so any water that enters the cavity can leave it below, the same rule as a masonry cavity wall.
- Keep the back ventilated where possible. Planter walls with an air space dry faster than walls where the panel backs onto wet soil directly.
- Slope the cap. A flat cap traps water; detail the top to shed outward or use a coping with a drip.
Splash matters more than buyers expect. Sprinkler mist and rain bouncing off paths loads the bottom 150mm of a planter like a facade in a wind-driven storm, and that zone is exactly where a shortcut start-above-grade rule saves the wall. Natural slate and quartzite from the Yixian quarry are rated for -30°C to +50°C cycling, so the stone is not the weak link; the detail around it is.
4. Step-by-Step Installation
The sequence below matches adhered veneer practice and works for both mortar and polymer adhesive methods, adjusted to the manufacturer’s coverage rates.
- Lay out the wall. Mark the top and bottom lines, the corners, and any opening or return. Check plumb with a level on the substrate, not the finished face.
- Prepare the base course. Set the first row on a solid ledge or shim line, above grade, and level it completely. The next courses follow this line.
- Mix or open the bonding material. Mortar or adhesive coverage rules are strict: 100% of the panel back for full-bed adhesion, with a trowel pattern that gives uniform contact.
- Set the field panels. Start from a corner and work outward, staggering vertical joints in a running bond. Do not line up joints the way a stack would.
- Turn corners with L-pieces. Prefabricated L-corners wrap the corner without a field-cut miter and cut the corner labor substantially compared with cutting 45-degree miters on site.
- Cap the top. After the field cures, set the cap or coping course with full-bed support and a slight outward slope.
- Flush the joints. Tool the joints immediately, wipe the face, and seal the cap joints. A cement haze left to cure is a cleanup cost you pay later.
If a panel slips during set, pull it and re-bed it. Nudging a half-set panel creates a void at the back, and a void behind veneer is exactly how a frost pocket starts. Rebedding takes two minutes; a warranty call takes months.
5. Choosing Panels for Planter Faces
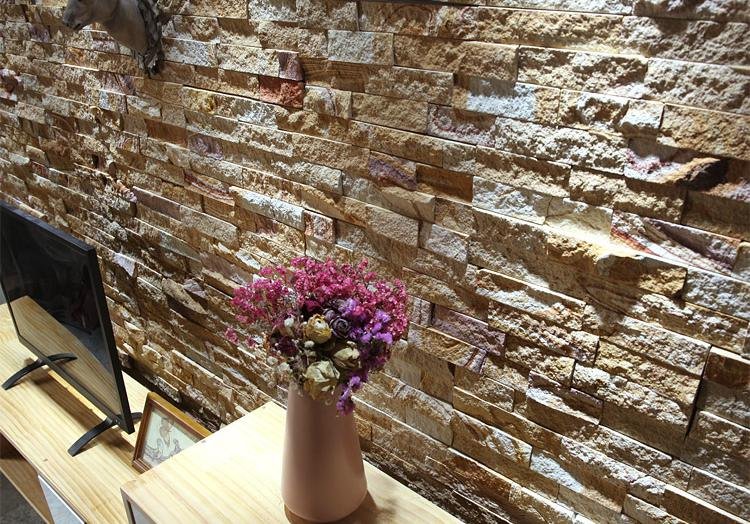
Panel scale should follow the planter’s size. A tall commercial planter reads well with standard stacked stone, while a low border around a patio calls for the finer scale of ultra-thin ledgestone so the edge does not look like a house wall squatting on the ground.
| Planter detail | Panel format | Coverage per panel | Best use |
|---|---|---|---|
| Tall planter or raised bed | 15x60cm stacked stone | 0.09 m² | Large faces and commercial planters |
| Low border or edging band | 36x10cm ultra-thin ledgestone | 0.036 m² | Garden edges, narrow bands, fine lines |
| High-traffic planter | 20x55cm cement-backed panel | 0.11 m² | Impact areas and severe climates |
| Cap and path details | Crazy paving / flagstone | By piece | Copings, paths, and stepping edges |
Corners decide the panel count more than the fields on a small planter. A freestanding bed has four outside corners, and each one either wraps with a prefabricated L-corner piece or eats a field-cut return. L-corner construction is faster and keeps the line tight; field-cut miters are slower and are the first place the edge drifts on a long run.
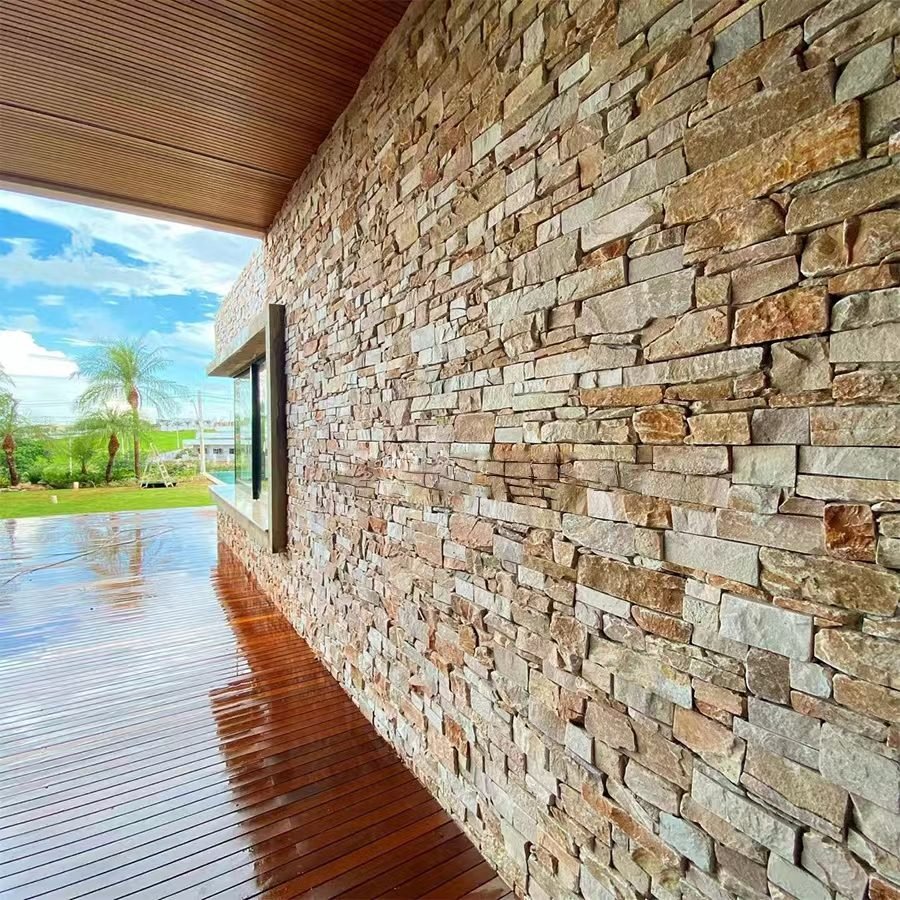
Quoting a planter or garden project? Get the full hardscape story in one pass: face panel counts for each wall, L-corner pieces for the returns, coping pieces for the caps, and crazy paving for the paths. Top Stone Panels supplies quarry-owned slate and quartzite in stacked stone, ultra-thin ledgestone, cement-backed panels, and flagstone formats, one 20GP MOQ.
6. Capping and Edge Details
The cap is the part of a planter most crews skip, and it is the part that pays for itself fastest. A wall with an open flat top behaves like a horizontal ledge: it collects rain, snow, and sprinkler spray, and every freeze cycle pushes against the veneer from above. A capped wall sheds that water in an hour.
- Cap stone. Use a flagstone or crazy paving piece, a stone slab cap, or a full-depth coping that overhangs the face by 15-25mm so a drip line forms.
- Slope. Set the cap with a slight outward fall, even 5mm per 300mm, so water runs off instead of pooling.
- Seal the joints. Cap joints are the weakest line in a planter assembly; seal them after cure so the water has nowhere to enter at the top.
- Corners. A corner cap needs a miter or an overhang detail that sheds water in both directions, not a butt joint that forms a puddle.
Edge planters along a path or patio get a second detail: a low coped edge that doubles as a seating or display line. The 36x10cm ultra-thin ledgestone band below a flagstone cap reads as a designed edge, and the thin scale keeps the whole assembly from towering over a walkway.
7. Quantity Planning for Planter Runs
Quantity for a planter starts with linear meters of wall and the wall height, not the footprint. Measure the perimeter of each wall face, multiply by the height, and divide by the panel coverage. The example below is the floor; corners, copings, and returns push it up.
A freestanding planter 3m by 1m with 0.6m-high walls has a perimeter of 2 multiplied by (3 plus 1) equals 8m, and a face area of 8m multiplied by 0.6m equals 4.8 m². Each 15x60cm panel covers 0.09 m², so the field needs about 53 panels. Add four outside corners with L-pieces, a cap course of about 14 pieces for 8 linear meters of cap at 0.6m each, and a 5-8% waste allowance for cuts, and the practical order lands near 60 face panels plus the cap runs.
| Planter component | Calculation | Quantity |
|---|---|---|
| Face perimeter | 2 x (3m + 1m) | 8m |
| Face area at 0.6m height | 8m x 0.6m | 4.8 m² |
| 15x60cm panels at 0.09 m² | 4.8 / 0.09 | ~53 panels |
| Corners and waste | 4 corners + 5-8% | ~60 panels |
| Cap course | 8m / 0.6m per piece | ~14 cap pieces |
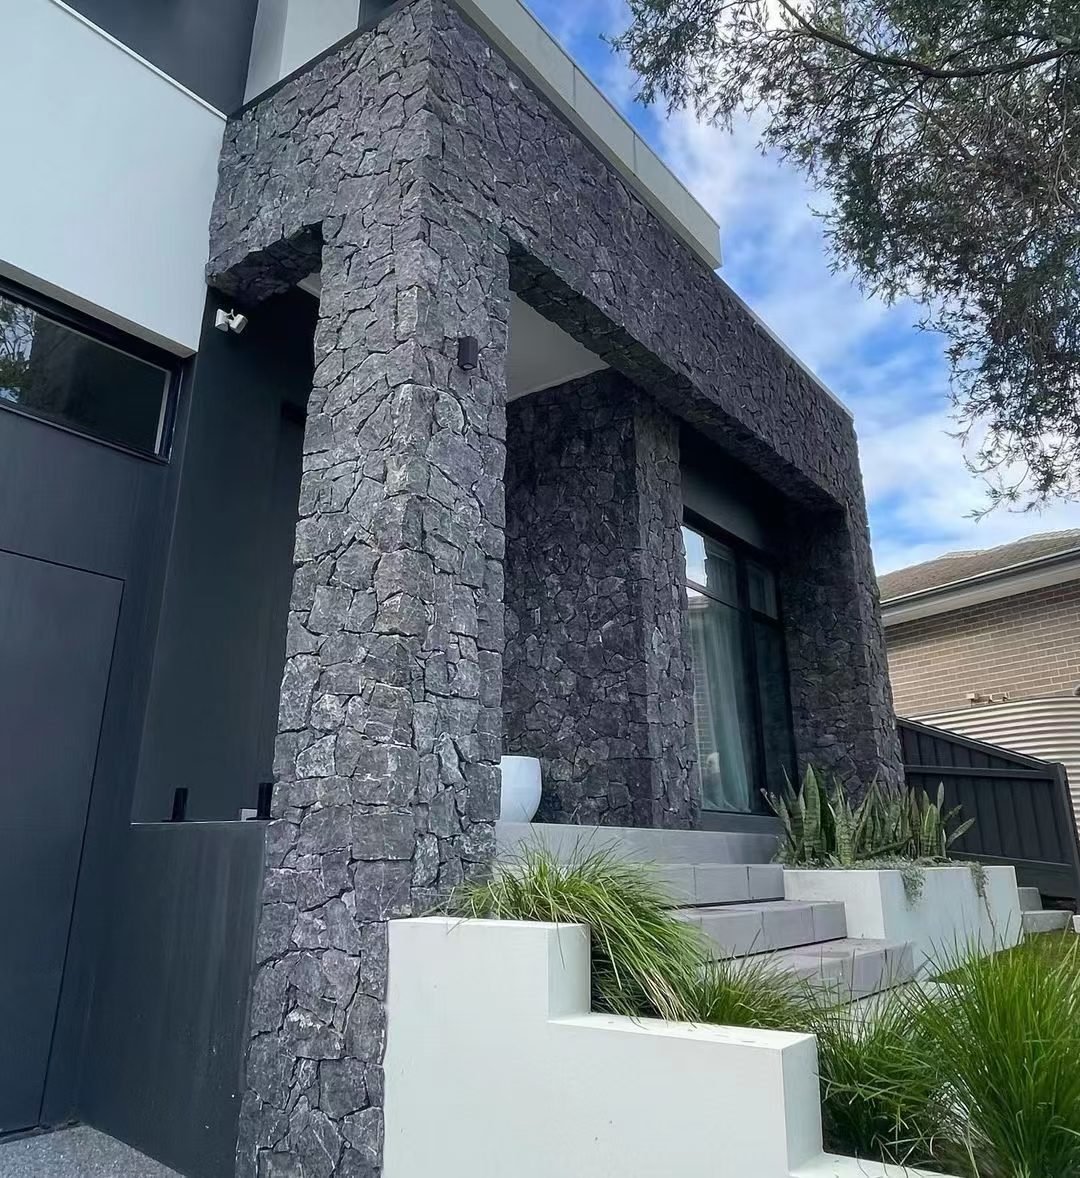
When the planter and the house facade share stone, order them together. Top Stone Panels ships samples in 1-3 days, production runs 20-25 working days on standard orders, and the minimum order is one 20GP container, which comfortably carries a planter program plus facade stone from the same batch.
FAQ
Can stone veneer be used outdoors on planters?
Yes. Thin natural stone veneer works on planter walls when the substrate is backed, the bottom course sits on solid footing above grade, and the top edge is capped to shed water.
Do planter walls need a cap?
Yes. An unprotected flat top collects rain, and freeze-thaw pushes the veneer off, so cap the wall or set a sloped coping detail at the top.
Should stone veneer touch the ground on a planter?
Keep the bottom course above grade or at a gravel-and-drainage transition so splash, soil, and moisture do not wick behind the facing.
What stone format fits planter walls?
Standard 15x60cm stacked stone suits large planter faces, 36x10cm ultra-thin ledgestone suits low borders and edging bands, and crazy paving works for copings and pathways.
What adhesive or mortar should I use on a planter face?
Use a full-bed mortar or a polymer adhesive rated for exterior adhered veneer, applied at the manufacturer’s coverage rate to 100% of the panel back, over a profiled substrate.
Can I add stone veneer to an existing planter?
Yes, when the wall is a sound block or concrete structure, dry, free of paint, and profiled for bond. The top edge still needs a cap detail to shed water.
Conclusion
A planter faced in thin stone looks like masonry and installs like veneer, but only when the wall underneath is built for it. Give the planter a frost-safe footing, a block or concrete core, drainage at the base, and a capped top. Then the panels do the rest, and the garden edge reads as hardscape instead of a skin.
Key Takeaways
- Adhered veneer needs a backed substrate; face block or concrete, never a soil membrane.
- Start the bottom course above grade, keep the back ventilated, and slope the cap.
- Standard stacked stone for faces, ultra-thin ledgestone for bands, crazy paving for caps.
- Order by face area plus corners and cap runs, with a 5-8% cut allowance.
For specification support, start with a sample set from Top Stone Panels, matching the planter stone to the house facade side by side. Samples ship in 1-3 days and production runs 20-25 working days, so the planter on the drawing can be on the truck this order cycle.