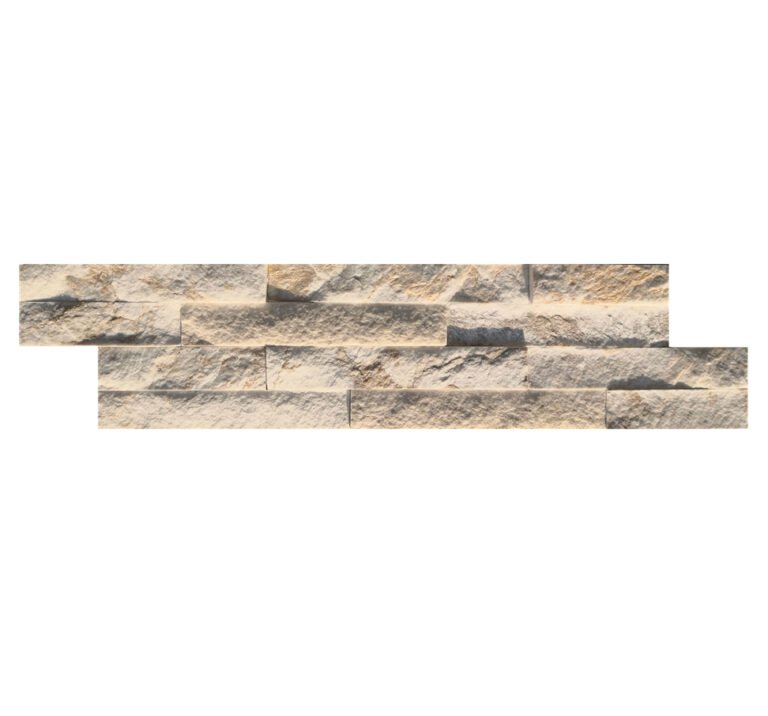
The kitchen was already tiled when the owners changed their minds. The tile installer had set hundreds of small ceramic squares in a weekend, and the grout lines were already showing the pattern of a busy household. The stone contractor looked at the 3.8 square meter wall, the three outlet boxes, and the range hood, and quoted a one-day job with 36x10cm ledger strips instead of a second tile grid. The method is simple when the sequence is right: prepare the wall, lay the first course level, and work bottom-up with full-coverage adhesive.
Installing a stone veneer backsplash on kitchen walls is a one-to-two-day job for a competent installer. This guide walks the full sequence, from the materials list to the final sealing pass, with the outlet cuts and corner details that separate a clean install from a job that needs redoing.
- Use 36x10cm ledger strips: 0.036 m2 each, about 27.8 per m2, so a 3-5 m2 backsplash runs 85-140 strips plus a 5-10% cut allowance.
- Work bottom-up from a level reference line with staggered course joints and full-coverage modified thin-set.
- Cut outlet openings and returns with a diamond blade from the face side; keep every junction box flush and exposed.
- Seal the finished face with a penetrating sealer, clean with a pH-neutral stone cleaner, and re-seal every 1 to 2 years.
- Top Stone Panels ships the 36x10cm ledger format with samples in 1-3 days and an MOQ of one 20GP container.
- 1. Before You Start: Materials and Tools
- 2. Measure the Zone and Plan the Layout
- 3. Step 1: Prepare the Wall and Cutouts
- 4. Step 2: Dry-Lay the First Course
- 5. Step 3: Mix and Comb the Adhesive
- 6. Step 4: Set the Ledger Panels Bottom-Up
- 7. Step 5: Outlets, Returns, and Cut Pieces
- 8. Step 6: Joints, Cleanup, and Sealing
- 9. Mistakes That Fail a Backsplash Install
- FAQ
- Conclusion
1. Before You Start: Materials and Tools
Gather everything before the first strip goes up. The backsplash job moves fast once the adhesive tub is open, and the wall behind a range half-set with a missing trowel is a bad way to learn the sequence.

The stone itself is the thin ledger format: 36x10cm strips in natural slate or quartzite with split faces, from the same quarry vein so the batch keeps one tonal band. Each strip covers 0.036 square meters, so a 3 to 5 square meter backsplash runs about 85 to 140 strips before the cut allowance. The thin ledgestone panel page carries the full format specification, and the reason this format works on kitchen drywall sits in the stone veneer backsplash guide.
| Category | Item | Why it matters |
|---|---|---|
| Stone | 36x10cm ledger strips with 5-10% waste | Covers 0.036 m2 each; waste covers outlet cuts, returns, and the edge band. |
| Adhesive | Modified thin-set rated for the panel weight | The ANSI A118-series thin-set family carries tile and stone panels to the substrate. |
| Trowel | Notched trowel sized to the strip depth | Combs the bed so the back of each strip gets full coverage. |
| Cutting | Diamond blade on an angle grinder or wet saw | Cuts slate and quartzite from the face side without chipping the split face. |
| Layout | Level, straightedge, tape measure, stone pencil | The first course decides every course above it. |
| Finish | Penetrating sealer, pH-neutral stone cleaner | Protects the face in a zone with grease, acid, and daily wiping. |
2. Measure the Zone and Plan the Layout
The backsplash zone runs from the countertop splash edge to the underside of the upper cabinets, minus the outlet and window areas. Measure in meters, multiply width by height for each wall section, add the sections, and subtract large openings. That number in square meters converts directly to strips at 27.8 pieces per square meter.
A 3.8 square meter zone is roughly 106 strips before waste. Add a 5 to 10 percent cut allowance for outlets, returns, and the edge band, and the order lands near 115 to 120 strips. Ordering the allowance in the same batch matters more than the exact percentage, because a second production batch can shift a shade. The layout math follows the same conversion used for full walls; the panel size and coverage guide carries the full table.
Plan the course rhythm before any adhesive is mixed. Ledger strips lay in horizontal courses with seams staggered from course to course, which reads as a clean linear texture. Mark the vertical joints from a centerline so the stagger is planned, not improvised, and mark every outlet and return with a stone pencil so the cutting list is done before the bed is open.
3. Step 1: Prepare the Wall and Cutouts
The substrate decides the quality of the install, so prep comes first. The ultra-thin ledger format bonds to sound drywall with approved thin-set, which is what makes this a one-day job. The same honesty applies as on any stone wall: the backing must be flat, clean, and rated for the panel weight, and structural foam is not a substrate.
Wipe the drywall free of dust and grease, skim any joint compound proud of the plane, and check the wall for movement around the sink and range before the stone goes on. Kitchen walls carry plumbing and electrical chases, and a wall that flexes under hand pressure needs a fix before veneer, not after.
Cut the outlet box openings while the wall is bare so the panel stage goes fast. Kitchen receptacles sit inside the stone zone, and the clean result is a flush box: the panel edge meets the box flange and the faceplate covers the gap. Never bridge a live outlet with adhesive and never bury a junction box behind a panel.
4. Step 2: Dry-Lay the First Course
Draw the reference line for the first course before mixing thin-set. The first row sits on the counter splash line, and the level of that row decides every row above it. Use a 4-foot or longer level to mark a straight horizontal line at the height of the counter-back edge, then check it around the whole kitchen with a straightedge.
Dry-lay the first course on the counter in front of the wall: set strips along the line, mark the joints, and shift the stagger so no two vertical joints line up in adjacent courses. A half-strip offset from course to course is the standard rhythm. This dry pass takes ten minutes and saves a full course of cut pieces later.
Mark the edge treatments at the same time. At inside corners the strip returns into the corner; at open ends the stone stops at a trim line or a metal reveal. Where the backsplash meets the range hood or a window jamb, return the stone to the reveal or stop it on a straight line that the trim finishes.
5. Step 3: Mix and Comb the Adhesive
Use a modified thin-set rated for the panel weight, mixed per the manufacturer’s water ratio. The ANSI A118-series thin-set language that tile and stone panels share is the working vocabulary for this step, and the Natural Stone Institute documents the adhesive and setting practice specifiers rely on. Mastic is not the right bed for natural stone panels; it skins over and never gives the full bond a kitchen wall needs.
Comb the adhesive onto the wall with a notched trowel sized to the strip depth, working one small area at a time so the bed stays open and tacky. Ladle the trowel in one direction and keep the notches full. Skim-coat the back of each strip as you set it, which gives the double-side coverage that full-coverage checks look for.
Work in square-meter bites, not wall-length runs. A backsplash dries fast at the range end, and thin-set that has skinned over loses bond. Set, check, move up, repeat. The batch stays wet, the level stays true, and the day stays one job instead of two.
6. Step 4: Set the Ledger Panels Bottom-Up
Set the first course along the reference line, pressing each strip into the combed bed with a slight rotation so the notches spread to full coverage. Tap with a rubber mallet or the heel of the hand until the strip sits flush with the course. The 36x10cm strip is light enough to handle one-handed, which is the whole point of the ultra-thin format at a backsplash.
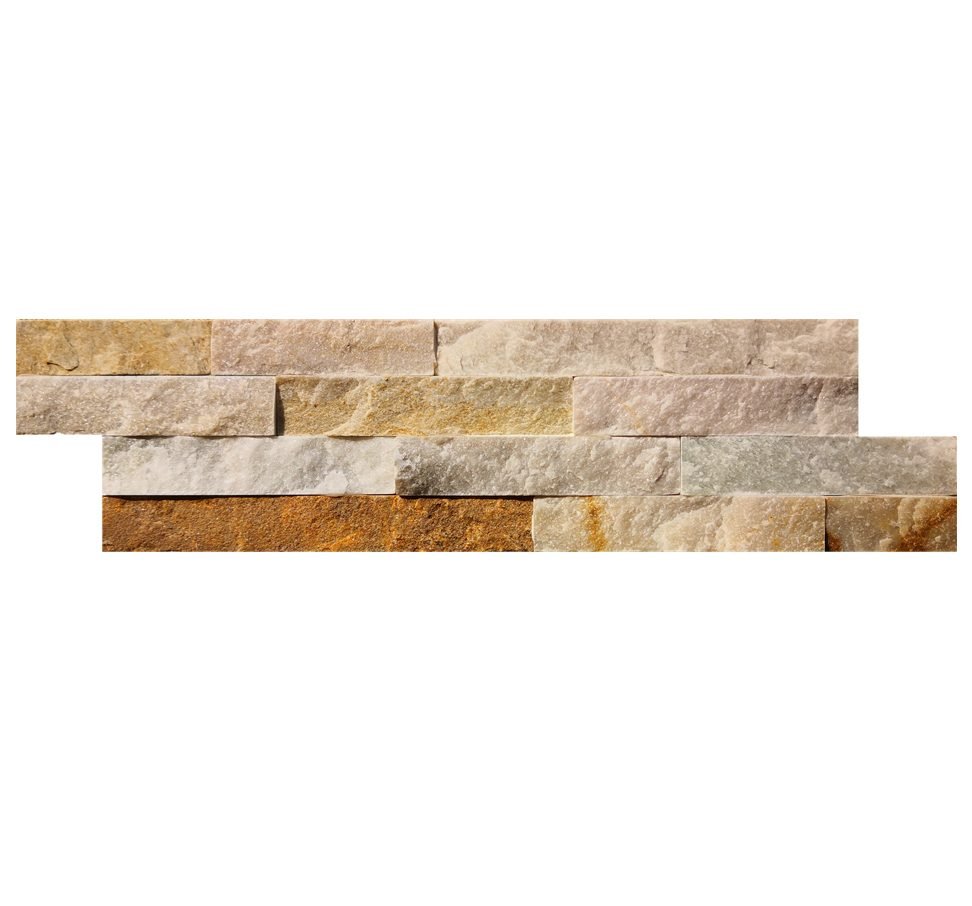
Run the first course to the outlet boxes and returns, keeping joints tight and in line. Check the level after three or four strips and again at the end of the course; a 2 millimeter drift at the counter becomes a visible wave at the cabinet line. Keep the course joints staggered with the dry-lay plan, and set the second course before the first one skins over so the joint stays workable.
The coverage check happens at the end of every section. Pull one fresh strip, look at the back, and confirm the notches have combed out to continuous coverage. A strip with dry spots or thin corners is a strip that will pop loose behind a range, so the check belongs on the job, not on the warranty claim.
7. Step 5: Outlets, Returns, and Cut Pieces
Cut pieces are where a backsplash job wins or loses. Mark each outlet from the face and score the split face with a stone pencil. Cut with a diamond blade on an angle grinder or a wet saw, from the face side so the split edge stays clean. For circular fixture holes, drill a starter hole with a diamond core bit and cut the opening with the blade.
At inside corners, cut the connecting piece at the corner line and return it into the wall so the joint is tight and vertical. At open ends, cut to the trim line and finish with the chosen metal or wood profile. Never leave a raw sawn edge exposed at a cabinet jamb or a window surround; a trim piece costs pennies and keeps the wall from reading as unfinished.
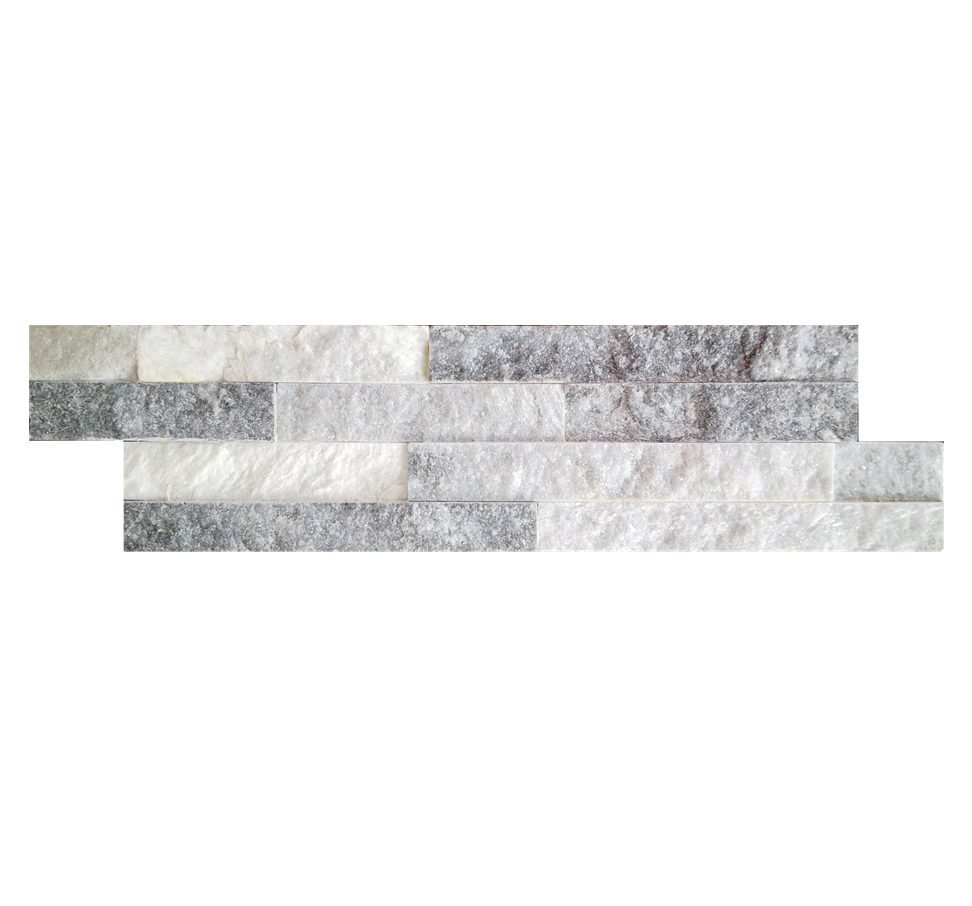
Set cut pieces in the same bed and with the same coverage as full strips. A cut piece is a structural member of the wall once it is in place, and a thin flange around an outlet needs full adhesive, not a dab. When a cut runs tighter than a pencil line, recut rather than shave; slate and quartzite chip about a millimeter at the split edge, so plan the cut line a half millimeter inside the mark.
8. Step 6: Joints, Cleanup, and Sealing
Ledger panels set tight do not need grout, which is a large part of their kitchen advantage. Clean the excess thin-set from the joints while the bed is open, using a damp sponge and a pointed tool for the tight lines. Keep the course joints flush and free of smears so there are no recesses for grease to collect.
Let the adhesive cure per the manufacturer’s schedule before the wall is loaded. In a working kitchen, that usually means overnight before the sealer goes on, and a day before the outlet plates and the under-cabinet fixtures are reattached. The sealer is the final step: apply a penetrating sealer per the label, two coats for the first pass, and let it dry to a matte finish that does not change the split face.
The maintenance script is short. Wipe with a pH-neutral stone cleaner and a soft cloth; acid cleaners etch the face and alkaline degreasers leave film. Re-seal every 1 to 2 years in a working kitchen, and sooner if water stops beading on the face. That schedule, written next to the sample box, is what keeps a stone backsplash looking like year one instead of year three. The same edge and sealer discipline applies on the other thin-stone surfaces of a kitchen, including the outdoor kitchen program and the interior stone wall panel line.
9. Mistakes That Fail a Backsplash Install
Most backsplash failures come from five repeated errors, and each one is preventable on the front end.
- Skinned-over adhesive. Thin-set that has dried is dead bond. Comb one small area at a time and set into open, tacky beds.
- An unlevel first course. The counter line moves, and every course above inherits it. Level the reference line first and trust the level over the eye.
- Stagger drift. Vertical joints that line up course after course read as a grid, not a stone wall. Lock the stagger in the dry-lay pass.
- Buried outlets. A junction box fused behind stone is an electrical and code violation. Cut boxes flush and keep every plate accessible.
- Skipping the sealer. Dry stone in a kitchen absorbs grease and acid within weeks. Seal before the wall goes into service.
The same lesson appears across the install guides on this site, from the stone veneer installation mistakes checklist to the ledger stone fireplace install steps: the substrate and the bed decide the performance. The stone surface only shows it.
Order the thin 36x10cm ledger format with a cut allowance, set it bottom-up with full coverage, and seal it the same week. Sample approval is the only long step, and samples ship in 1 to 3 days.
FAQ
Can you install stone veneer backsplash over drywall in a kitchen?
Yes, with the thin ledger format. Prepare the drywall so it is clean and flat, check the panel weight limit, and set each strip with full-coverage modified thin-set applied with a notched trowel.
What adhesive do you use for a stone veneer backsplash?
Use a modified thin-set or stone-rated adhesive rated for the panel weight, applied with a notched trowel so the back of each strip gets full coverage; avoid mastic for natural stone.
How do you cut ledger stone strips for outlets and edges?
Mark the outlet or return, score the face, and cut with a diamond blade on an angle grinder or a wet saw; cut from the face side so the split face stays clean.
How long does a stone veneer backsplash install take?
A competent installer finishes a typical kitchen backsplash in one to two days including layout, setting, joint cleanup, and sealing; the adhesive setting schedule drives the total time.
Do you need to seal a stone backsplash after installation?
Yes, apply a penetrating sealer after the adhesive cures, wipe with a pH-neutral stone cleaner, and re-seal every 1 to 2 years in a working kitchen.
Conclusion
A stone veneer backsplash install is a bottom-up sequence with four honest rules: prepare the wall, level the first course, set every strip with full coverage, and seal the finished face. The ultra-thin 36x10cm ledger format keeps the job light enough for sound kitchen drywall and fast enough for a one-to-two-day schedule.
Key Takeaways
- Order about 85-140 strips for a 3-5 m2 backsplash, plus a 5-10% cut allowance from the same batch.
- Work bottom-up from a level reference line with staggered joints and full-coverage modified thin-set.
- Cut outlets and returns with a diamond blade from the face side; keep boxes flush and accessible.
- Clean joints while the bed is open, let the adhesive cure, then seal with a penetrating sealer.
- Re-seal every 1 to 2 years and clean only with a pH-neutral stone cleaner.