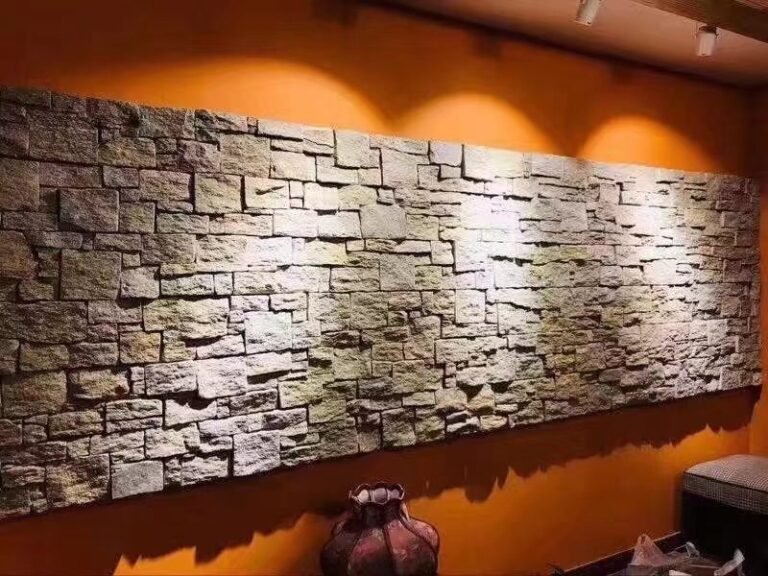
The bathrooms people pay real money to vacation in are rarely flashy. They are warm, dimly lit, and layered with texture — water hitting dense stone, steam rising, a single feature wall that does the talking. Stone veneer bathroom designs bring that resort feeling home without the weight or budget of full-thickness stone, because a thin natural stone panel installs like tile and reads like a quarry. This article walks through six looks, from a full shower surround in warm quartzite to a single vanity backdrop, and then gives the wet-area specification notes that separate a bathroom that lasts from a bathroom that leaks.
It is written for designers, distributors, and renovators who need both the visual menu and the engineering. The design guidance follows standard practice promoted by the National Kitchen & Bath Association, and the product specifics — formats, materials, sealing, factory terms — come from Top Stone Panels, a direct-from-quarry stone producer in Yixian, Hebei.
Key Takeaways
- Stone veneer works in any bathroom when wet areas sit on waterproof backing board and the face is sealed.
- The three bathroom MVP formats are stacked stone panels, 36x10cm thin ledgestone mosaics, and loose strips for texture.
- Dense slate and quartzite beat sandstone in showers; sand-toned quartzite keeps the warm spa look with lower absorption.
- One feature wall plus painted or tiled walls is the small-bathroom formula; stone on all four walls is the suite-bathroom look.
- Same-batch panel orders keep color consistent across the room; factory MOQ is one 20GP container with samples in 1-3 days.
- Design 1: Full Shower Surround in Warm Stone
- Design 2: Tub Feature Wall
- Design 3: Vanity Backdrop and Mirror Wall
- Design 4: Niches, Half Walls, and Accent Strips
- Design 5: Floor-to-Ceiling Stone Enclosure
- Design 6: Steam-Room Column and Bench Stone
- Wet-Area Specifications That Decide the Outcome
- How to Pick Between the Six Looks
- FAQ
Design 1: Full Shower Surround in Warm Stone
The classic spa shower is wrapped in stone. Warm ledger strips running horizontally around the enclosure catch the light and give the eye a clean line, while the natural split face breaks up the surface so it never reads as a flat tile wall. The 36x10cm thin ledgestone format is the workhorse here: small enough to cut around fixtures, light enough for one installer to set, dense enough for a wet zone when sealed.
Why it works: horizontal ledger lines carry the eye around the enclosure instead of stopping it, which is what makes a shower feel bigger than its footprint. Dense quartzite in warm beige or bronze tones delivers the resort look with lower water absorption than sandstone, and the same panels continue up behind the shower head and into a ceiling soffit for a seamless envelope.
- Pros: single material covers the whole wet zone; horizontal format simplifies layout; thin panels keep the floor load low.
- Considerations: every corner and niche needs careful cutting; surfaces inside the enclosure must be sealed before the first use.
Top Stone Panels supplies this look from own-quarry slate and quartzite in the thin ledgestone panel line, with batch-sorted color so the whole enclosure matches.
Design 2: Tub Feature Wall
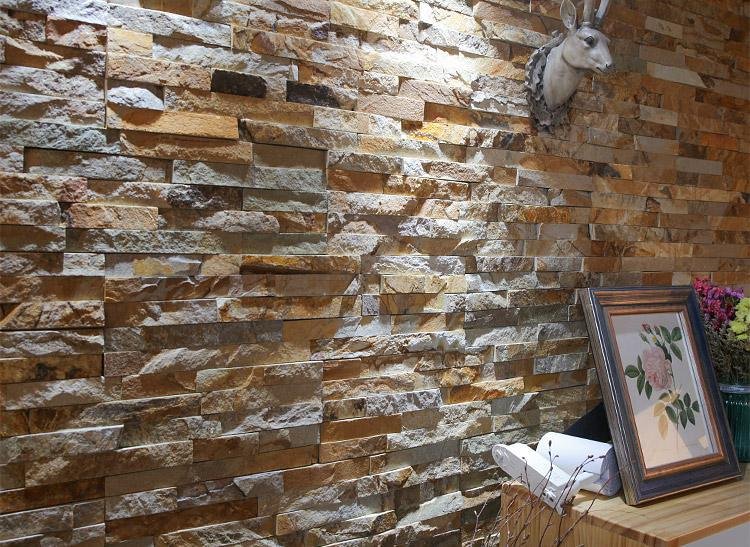
A freestanding tub against a stone feature wall is the most photographed seat in modern bathroom design. The wall behind the tub carries the material — stacked stone in a tight ledge profile — while the rest of the room stays painted or tiled. It is the lowest-risk way to introduce stone to a bathroom, and the one that sells best in listings and showrooms.
Why it works: the eye lands on one texture instead of scanning a busy room. Because the monthly maintenance surface is just one wall, sealing is simpler and the material budget goes further. A water-fill tub bath, as opposed to a shower, means the wall behind the tub rarely faces direct spray; with a tall backsplash lip and a sealed face, it remains dry enough for formats you would not put inside a shower.
- Pros: maximum visual impact per square meter; easiest stone location to maintain; works with any stone family.
- Considerations: the tub surround edges need clean returns or trim; a wall-hung tub can add lateral load the wall must carry.
Design 3: Vanity Backdrop and Mirror Wall
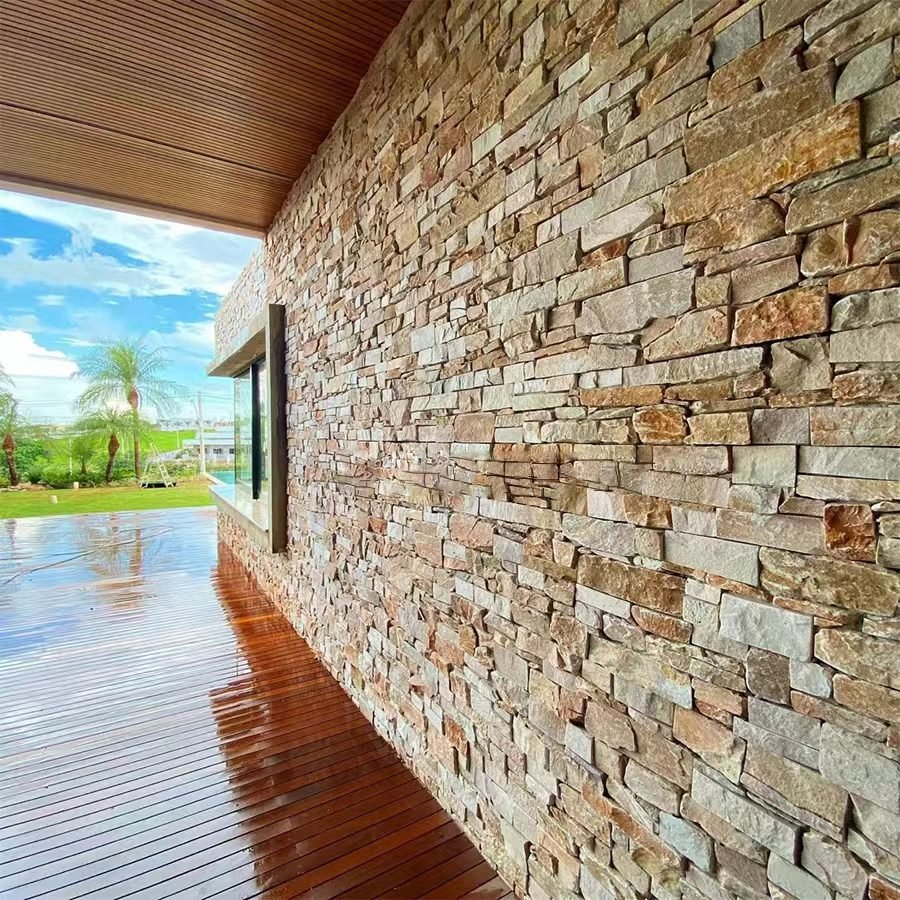
Behind the vanity — the wall the mirror and sconces sit on — stone veneer turns the most practical zone of the bathroom into its own moment. A thin ledgestone or stacked panel backdrop behind a floating vanity adds depth and warmth, and the lighting above it does the rest. Because this is a dry zone, sealing is optional, which keeps maintenance effort and cost low.
Why it works: the vanity wall is the first thing a person sees when they enter the room and the last thing they see in the mirror. Putting stone there gives every entry and exit a focal point without committing the whole room to the material. Warm cream and bronze quartzite panels read bright in a small powder room, while dark slate makes a statement in a larger primary bath.
- Pros: dry location keeps the spec simple; panel sizes cut cleanly around mirrors and outlets; high rental and resale payoff.
- Considerations: the wall should be flat and square before the panels go on; backboard behind a sink edge still needs a waterproof layer.
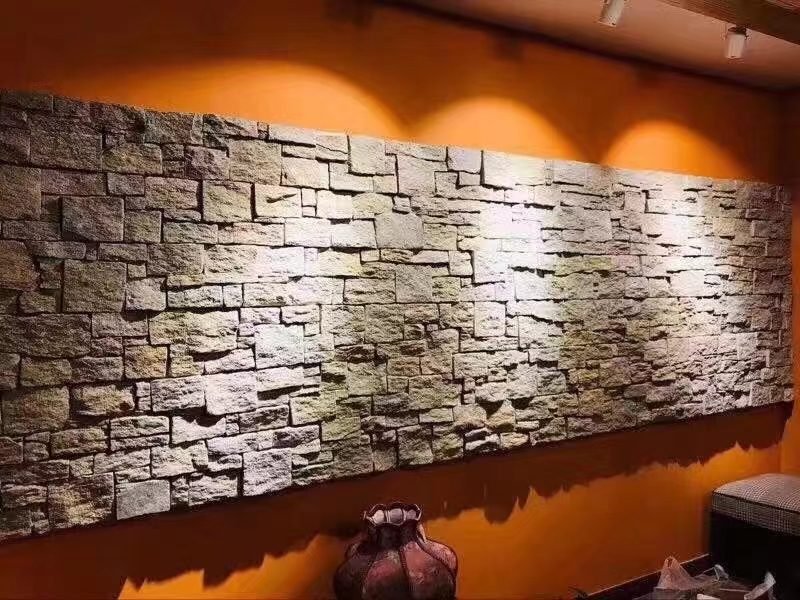
The tighter half-bath version of this idea, with stone wrapping a vanity end panel, is detailed in our stone backsplash layout ideas, which shares the same dimensioning logic. For the full-room formula, the interior stone feature wall guide shows how one accent surface anchors a whole room.
Design 4: Niches, Half Walls, and Accent Strips
Not every stone bathroom starts with a full wall. A recessed shower niche lined in matching ledger stone, a half-wall that divides the tub from the toilet, or a vertical accent strip beside the mirror gives the material a place without taking over the room. These small applications are where thin formats earn their keep — a 36x10cm mosaic slips into sizes that full panels cannot fit, and offcuts from the main wall become the niche lining with zero extra material.
Why it works: accent applications let a project use stone exactly where it matters and paint or tile the rest, cutting material cost and install hours. A niche lined in the same stone as the shower wall makes the room feel designed rather than decorated. Half walls in stone add durability where towels and humidity live, and they photograph better than their painted cousins.
- Pros: small material quantity, low budget gate; a chance to test a stone family before committing a whole room; offcut-friendly.
- Considerations: tight cuts take time; niches in a shower sill need a slope and a sealed base; stripe widths must math out to full panel or ledger heights.
Design 5: Floor-to-Ceiling Stone Enclosure
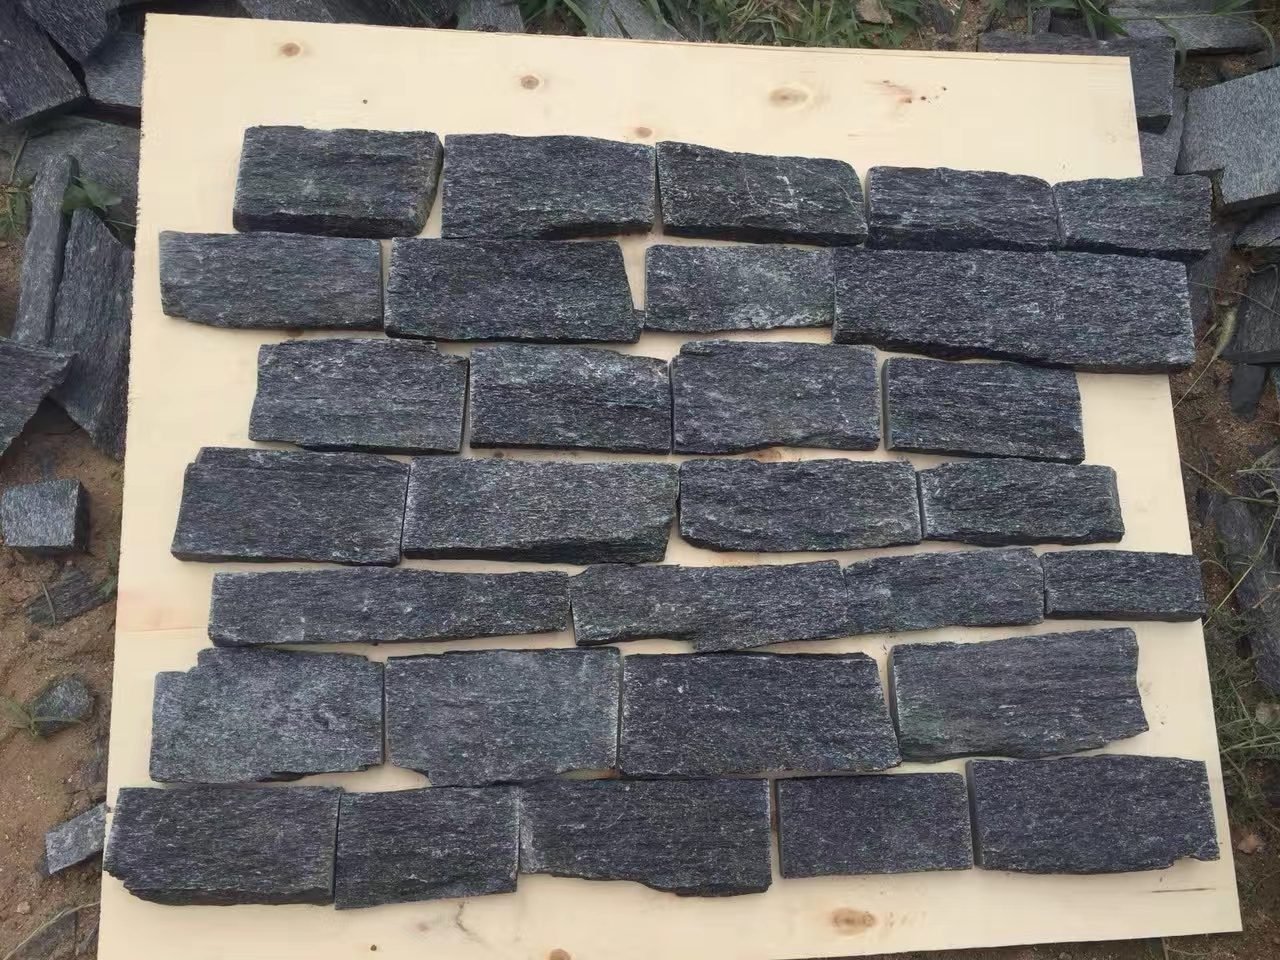
The suite-bathroom look is stone floor to ceiling, wrapped like a wet room. Interlocking Z-panels or larger stacked panels cover the elevation in fewer pieces, and the continuous stone plane creates the enclosure that crossover TV renovation shows sell as “the five-star hotel look.” With one wall running behind the tub and up past the shower, the room reads as a single stone volume rather than a bathroom with a stone wall in it.
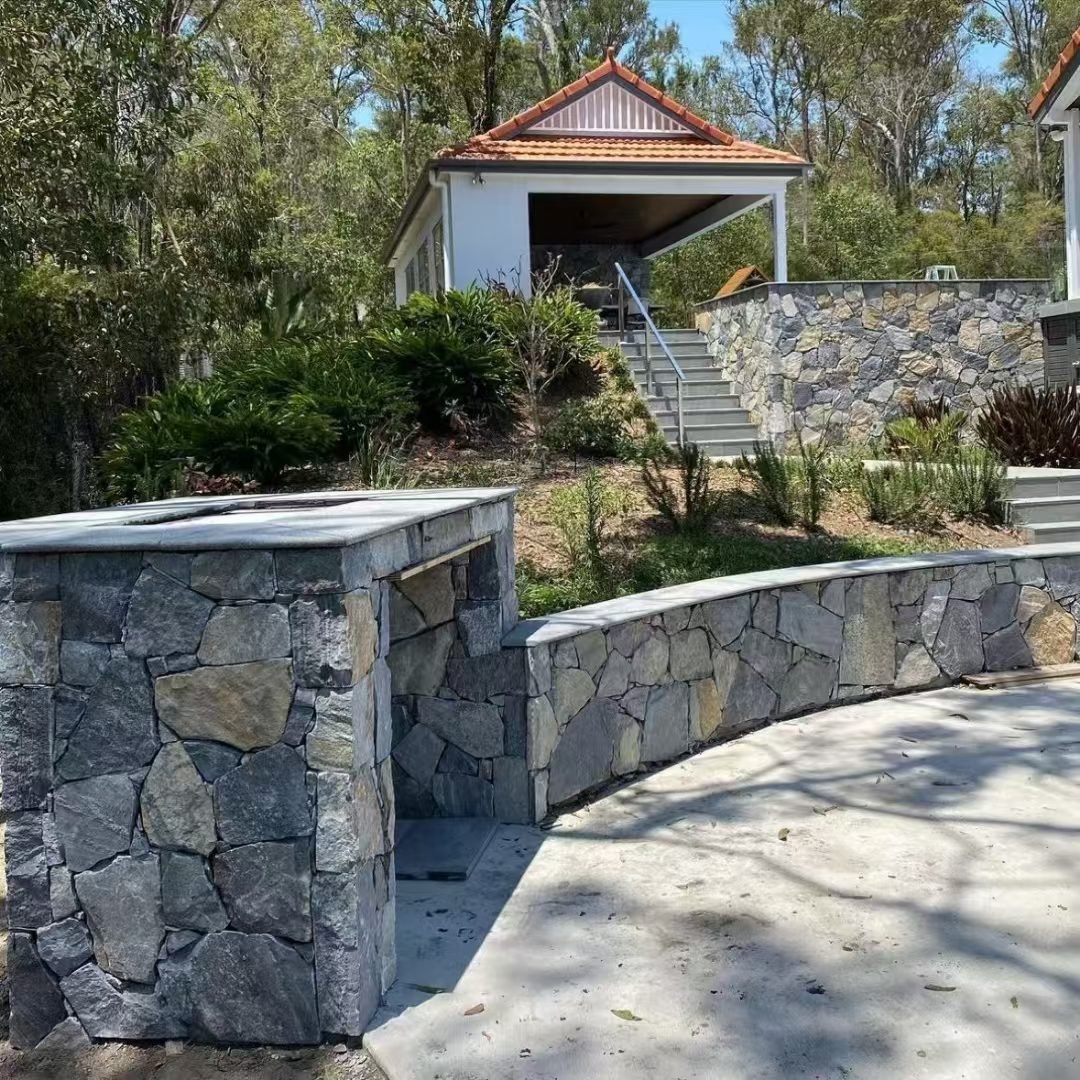
Why it works: big-format panels give the cleanest, most expensive-looking result because there are fewer joints to catch the eye. Z-panels add an engineered edge that self-aligns on large elevations, which matters when a 2.6-meter wall must stay true over many square meters. The same panels can wrap a half-wall or a column in the same material so the enclosure feels carved rather than tiled.
- Pros: minimum joint lines; fastest coverage per panel; the definitive resort aesthetic; Z-panel interlocks speed large installations.
- Considerations: highest material footprint; every square meter inside a wet room needs sealing; movement joints are still required on long runs.
Design 6: Steam-Room Column and Bench Stone
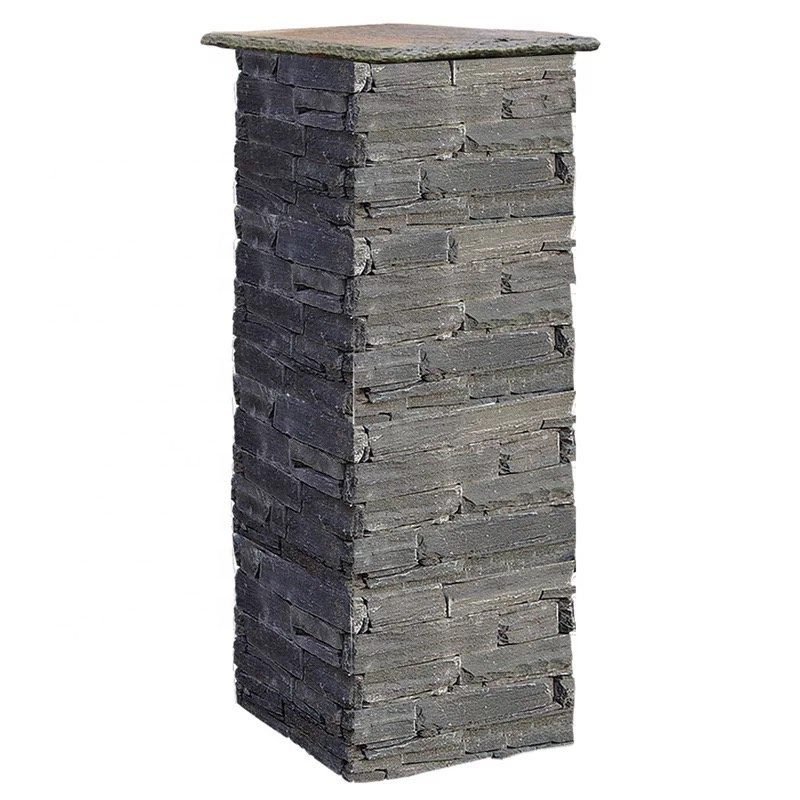
Bathrooms with a separate shower or steam room get a finishing move from the stone column kits: wrapping a wet-area column, the steam bench, or the shower curb in the same veneer family as the walls. Pre-assembled column kits ship with matching caps, which turns a structural post or a ventilation chase into a designed element that carries the stone story through the room.
Why it works: columns and benches are where a cheap bathroom shows itself, because seams and caps betray the construction. Factory-cut column kits with L-corners remove the field mitering that usually goes wrong there, and the same quarry batch keeps the column matching the surrounding wall. A stone bench inside the shower adds a steam-room authentic touch and, sealed and sloped, stays clean.
- Pros: matching columns and caps bundle into one shipment; factory corner cutting saves on-site labor; a reliable same-batch color match.
- Considerations: columns inside a wet room need a water-tight cap detail; the bench seat must slope for drainage; measure the structural core before ordering a kit.
Column wraps apply outside the bathroom too — porch pillars, gates, and entryways use the same kits, as covered in the stone column and pillar kit guide.
Wet-Area Specifications That Decide the Outcome
The design sells the bathroom; the spec protects it. Every stone veneer bathroom design in this article works only if four wet-area rules are followed, and they are the same four rules a professional tiler follows for any natural material in a bathroom.
- Waterproof backing first. Shower and tub wet zones need a waterproof backing board (cement board with a liquid waterproof membrane, or a coated backer board) under the stone, with seams taped and sealed before any panel goes up.
- Seal the face. A penetrating breathable sealer applied after install and dry time protects stone in the shower, around the tub, and behind the vanity splash. Dry walls can skip it.
- Pick dense stone for water. Slate and quartzite absorb less than sandstone, so they are the safer shower families; warm-toned quartzite keeps the spa palette without the porosity.
- Slope anything horizontal. Niche sills, bench seats, and tub lips shed water when pitched slightly. Flat horizontal stone in a wet zone pools, and pooled water becomes sealer failure and staining.
Sealing deserves one more sentence because it is the most skipped step in stone bathrooms: apply a penetrating sealer, wipe away pooling excess, and reapply on the schedule the water-drop test dictates. The full sealing procedure lives in our how to seal natural stone veneer guide, and the broader care routine is in the natural stone veneer maintenance guide.
Spec the Spa Look From One Factory
Top Stone Panels supplies stacked stone panels, thin ledgestone mosaics, loose strips, interlocking Z-panels, and column kits in slate and quartzite, color-sorted by batch from own-quarry stone. Samples ship in 1-3 days; MOQ is one 20GP container; production runs 20-25 working days.
Wet-area ready | Marine-grade epoxy bond | Batch-matched color | Zero-breakage packing
How to Pick Between the Six Looks
The right pick depends on the room’s size, the moisture load, and the budget split between material and labor.
- Small powder room or half bath: vanity backdrop (Design 3) or an accent strip (Design 4) delivers the feature-wall effect with the smallest material budget.
- Family main bath with a shower: full shower surround (Design 1) in dense warm quartzite, with a matching niche (Design 4) — the biggest durability payoff per dollar.
- Primary suite with a freestanding tub: tub feature wall (Design 2) plus a column wrap (Design 6) carries the romantic look without tiling the whole room.
- Showroom, hotel, or high-end listing: floor-to-ceiling enclosure (Design 5) using interlocking Z-panels — maximum impact, minimum joints, fastest install per square meter.
Two supporting guides sharpen the choice further. The stone veneer thickness guide explains the 15mm ultra-thin to 40mm standard formats that affect panel weight, corner cutting, and shipping density — relevant when a bathroom order shares a container with a facade order.
FAQ
Will stone veneer crack in a bathroom?
Not from bathroom conditions. Stone veneer is stable in warm, humid rooms when installed over a sound substrate. Cracks trace to substrate movement or water damage behind the wall, not to the material itself.
Do I need a waterproof membrane over the cement board for stone veneer?
Yes, in a shower or tub wet zone. Apply a liquid waterproof membrane over the cement board, tape and seal the seams and corners, let it cure, then set the veneer. Skipping this step is the most common bathroom failure.
Can stone veneer be used on bathroom floors?
Veneer panels are a wall product. For wet flooring, use full-thickness stone or stone tile designed for floors. Keep veneer on the walls, tub surround, niches, and vanity where it excels.
How do you clean a stone veneer bathroom wall?
Wipe with a soft cloth and pH-neutral stone cleaner, then rinse with water. Avoid acid cleaners, bleach, and abrasive pads, which etch the stone. Dry the surface after showering to reduce soap residue buildup.
Is stone veneer expensive compared to tile?
Veneer costs more than commodity tile and less than full-thickness stone cladding. Buyers offset the premium with installation speed: pre-made corner pieces and panelized coverage shorten install time, narrowing the total-cost gap versus tile in labor-heavy designs.