
A stone veneer wall fails in two ways, and neither is the stone. The first is water management on the wall, and the second is maintenance that was never done. Installers who waterproof behind the wall and owners who follow a 20-minute-a-year care routine get decades of service from natural stone. Owners who pressure-wash, scrub with bleach, and never reseal create the exact problems they blame the product for. Maintain natural stone veneer the way masons do — clean it gently, seal it where moisture lives, and repair small damage fast — and the wall outlasts the finish on every other surface in the building.
This guide is a maintenance plan, not a product brochure. It covers the cleaning schedule, the sealing decision, field repair for chips and loose panels, the seasonal checklist that catches problems early, and what a buyer should expect from a stone factory when parts of a wall need matching replacements. Every product claim traces to first-party data from Top Stone Panels, a direct-from-quarry producer that has shipped natural stone veneer for 18+ years; maintenance best practice follows the general guidance that the Natural Stone Institute publishes on stone care.
Key Takeaways
- The complete maintenance routine is rinse, pH-neutral wash, seal where wet, and repair chips while they are small.
- Interior dry walls rarely need sealing; kitchens, bathrooms, exterior walls, and pool areas should have a penetrating breathable sealer.
- Pressure washers, bleach, acid cleaners, and wire brushes are the four fastest ways to damage a veneer wall.
- Efflorescence is cosmetic, not structural: brush it dry, fix any water source, and it stops on its own.
- A small chip repairs in under an hour with color-matched stone epoxy; delamination at the bond line is a factory defect that matching batch replacement should cover.
Why Maintenance Matters More Than the Stone
Natural stone is one of the most durable cladding materials in construction, but every wall has a weak link: the joints, the flashing, the sealer, and the habits of whoever owns the building. Those are maintenance questions, and they fail long before the stone does. A veneer wall that is neglected at the waterline will show it in staining, efflorescence, and loose edges — all of them reversible when caught early and expensive when ignored for years.
Compare maintenance demands across finishes and stone is on the easy end. Painted surfaces need repainting every 5-8 years. Manufactured panels can suffer coating fade and edge peeling. Natural stone needs a rinse, an occasional wash, and a sealer refresh on exterior faces every few years. What it cannot tolerate is a specific short list of abuse: acid cleaners, pressure washers at close range, abrasive pads, and bleach. Those four tools destroy the split-face texture and etch the mineral surface. The entire care protocol fits in one sentence — treat the wall like a good pair of leather boots, not like a tile floor.
The maintenance stakes are also financial for a distributor or property owner. A stone wall that is kept sealed and clean defeats the moisture cycles that cause freeze-thaw stress — and natural stone faces from top-quality factories pass freeze-thaw cycling from -30°C to +50°C when the wall system is right. Skip maintenance and even the best-tested stone sits in a puddle behind a failed joint. The stone is the easy part; the wall is the job.
The Cleaning Routine
Cleaning natural stone veneer follows one rule above all: use the gentlest method that gets the dirt off. Most exterior walls need nothing more than a garden hose and a soft brush once or twice a year. Interior feature walls need a microfiber duster and an occasional damp cloth. The schedule below is a realistic baseline for a maintained commercial or residential wall.
| Frequency | Task | Method |
|---|---|---|
| Daily / weekly | Interior dust | Soft microfiber duster or vacuum wand, no chemicals |
| Monthly | Spot clean | Damp cloth with pH-neutral stone cleaner |
| 2x per year | Exterior wash | Water rinse, soft-bristle brush, pH-neutral wash, rinse well |
| Any time | Sealer test | Water-drop test on exterior stone; reseal if it soaks in fast |
Two cleaning mistakes cause most preventable damage. The first is mixing any acid into the wash — tile cleaners, citrus degreasers, and muriatic solutions etch sandstone and polished faces on contact, and the damage shows as dull blotches that no cleaner can restore. The second is spraying a pressure washer directly at joints, which blasts out the pointing mortar and drives water behind the panel. Keep the pressure-washer fan wide and 30+ centimeters off the face, or skip it entirely and use a hose.
For stains, work from mild to aggressive. Lipstick, oil, and grease respond to a degreaser diluted with pH-neutral stone cleaner. Rust stains need a poultice designed for stone. Paint splatter lifts with gentle scraping plus a stone-safe paint remover. The rule: if a product label says it is safe for marble, it is safe enough for most veneers; if it says avoid stone, do not use it. The deep-dive on the sealing decision is in our how to seal natural stone veneer guide; the routine here stays maintenance-level.
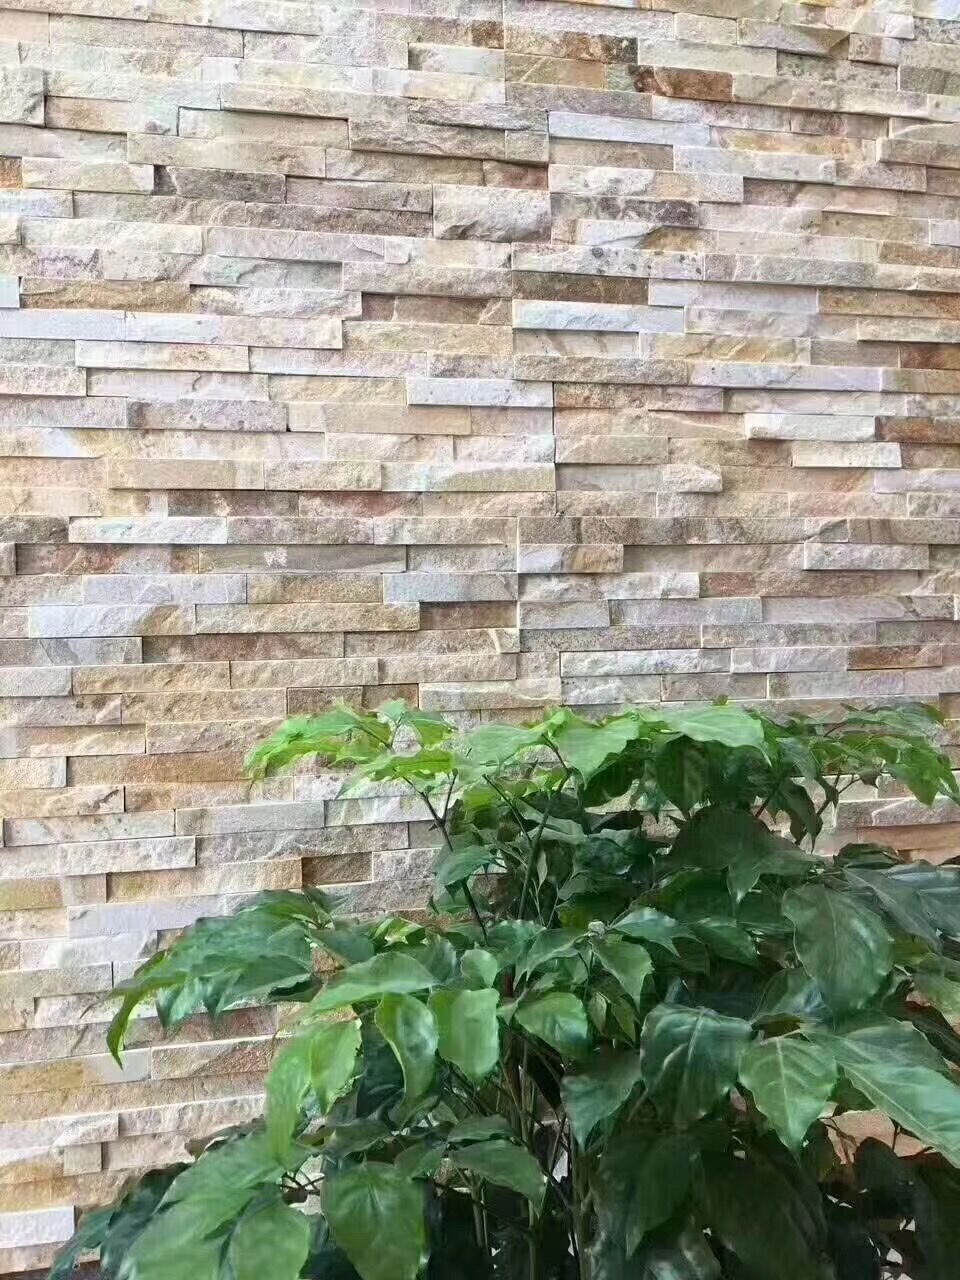
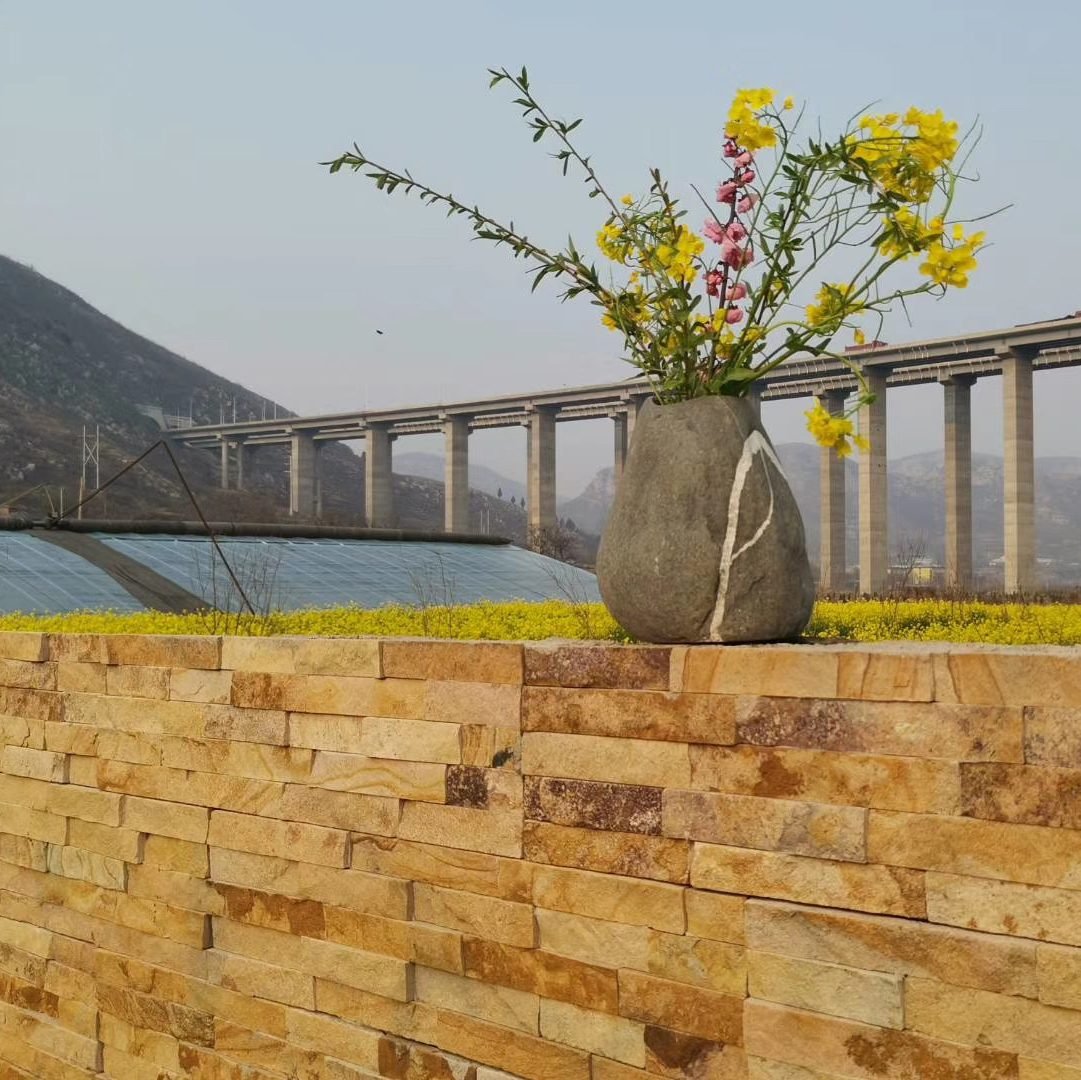
Efflorescence and Stains
White powdery residue on a new stone wall is usually efflorescence, and it sends more owners into a panic than any other stone phenomenon. It is not mold, not a product defect, and not a sign the stone is failing. Efflorescence is mineral salts that were already in the substrate or the pointing mortar, dissolved by moisture, carried to the surface, and left behind as the water evaporated. It shows up in the first months after installation, most often near the bottom of a wall or around fixtures where water pools.
The fix is patience, not chemicals. Brush the deposit off with a dry nylon brush when it is powdery, rinse the area, and let the wall dry naturally. If it reappears, the real problem is a water source: a leaking joint, a missing kick-out flashing, or soil piled against the base. Stop the water and the efflorescence stops — that is the professional answer, and the one most chemical treatments for efflorescence avoid telling you.
Organic staining follows the same logic. Leaf tea, rust run-off, and algae stain the stone from outside in, so the first move is always to remove the source — trim the branch, move the downspout, scrub the algae with a gentle stone-safe wash. On dense stone a stain that reaches a few millimeters deep can often be drawn out with a poultice, which pulls the stain out of the pores rather than pushing it deeper. The worst approach on any stone stain is scrubbing it with a stiff wire brush, which scars the surface permanently while barely lifting the color.
Sealing: When and How
Sealing is a condition-based decision, not a mandatory step. Interior dry walls — a stacked stone accent wall in a living room, for example — can live their whole life unsealed, because nothing will stain them and water never touches the face. Kitchens, bathrooms, exterior facades, pool coping, and any surface that sees food splash, soap, or standing rain should be sealed with a penetrating, breathable stone sealer.
Choose a sealer by how it behaves, not by its brand. A penetrating sealer soaks into the pores and protects from inside, leaving the matte, natural look intact. A film-forming sealer coats the surface and can change the sheen, trap moisture, and peel later — avoid it on exterior veneer. For the porosity question, dense stones like quartzite and tight slate need less sealer than open sandstone; the same factory that supplies the stone can tell you which family you are working with (see the thin stone veneer line for material options).
Applying a sealer is a one-person afternoon job: clean the wall, let it dry fully, roll or brush the sealer on, wipe off any pooling excess before it dries, and repeat for absorption-heavy stone. Two thin coats beat one thick coat, because the first coat seals the bottom of the pores and the second caps the surface. Reapply on the schedule the water test dictates — beads stay on top, and you are still sealed; water soaks in quickly, and it is time to reseal. That test takes thirty seconds and removes all guesswork.
Repairing Chips and Cracks
Shipping, handling, and the occasional dropped ladder chip a veneer face. Small chips are a cosmetic repair that any maintenance person can finish in under an hour. Clean the damaged area with alcohol and let it dry, mix a color-matched stone epoxy (match it against a wet scrap of the same stone, because wet color is final color), fill the chip flush with the face using a small spatula, and let it cure before wiping away the haze with a damp cloth. On a split-face surface, the repair blends into the natural texture far better than on a polished surface.
Cracks deserve more respect. A hairline crack in a single panel is usually cosmetic and can be stabilized the same way, by working epoxy into the line and holding it until set. A crack that extends across multiple panels, a bulging area, or panels that sound hollow when tapped indicate the substrate or the bond has failed, not the stone. That is a wall problem, and the right move is to open the area, find the water or movement source, and rebuild the section rather than patch the symptom.
Know the difference between a chip and a defect before you call anyone. A delaminated panel — stone face separating from the mesh or cement backer — is a material defect, because quality panels are bonded with marine-grade epoxy or equivalent and should stay bonded for the wall’s lifetime. Face chips from handling are normal on a construction site. The standard for separating the two is a factory’s three-step QC: raw material selection, in-process checks, and pre-shipment inspection are what tell a buyer that panels arrive sound in the first place.
Fixing Loose or Delaminated Panels
A panel that has come loose from the substrate needs re-adhesion, and the method depends on why it let go. If the panel fell from a sound substrate, the bond failed — either the mortar skinned over before the panel was set, or the substrate had dust and oil on it. The repair is mechanical: clean both faces, apply a fresh full-bed mortar or outdoor adhesive approved for stone, press the panel back and shim it level, and tape it in place while the adhesive cures. Always inspect the area behind an open panel for rotted building paper or moisture damage, because the panel is telling you something.
If the failure is inside the panel — the stone face peeling off its backer — that is a manufacturing defect, and a distributor should have a replacement conversation with the factory. What the buyer should check before the conversation is whether the panel was cement-backed or mesh-backed, because the failure mode differs. Panels from factories that use marine-grade epoxy bond hold the stone-to-backer joint through expansion cycles; panels that fail there did not get that bond. Matching a replacement from the same quarry batch keeps the color family continuous, which is why the first-party practice of batch-specific vein selection matters for repair work, not just for first installations.
The one tool that never appears in this repair is caulk masquerading as adhesive. Construction adhesive or tile mastic squeezed behind a panel will not hold a veneer face on an exterior wall, will attract dirt, and will fail in the next freeze cycle. Mortar or a stone-rated adhesive, full coverage, no skips — that is the only durable answer. For the mechanical details of a full installation, from substrate prep to jointing, the installation guides cover concrete foundation walls, retrofits over brick, and interior wall projects; this article stays on the repair side of that line.

Seasonal Inspection Checklist
Fifteen minutes twice a year finds almost every maintenance problem on a stone wall while it is still cheap to fix. Walk the wall in spring, after winter has done its worst, and again in fall, before it starts. The checklist is short enough to laminate and hand to a maintenance person.
- Joints and pointing. Look for missing mortar, gaps at corners, and cracks in joint lines; repoint with a matching mortar before water finds the opening.
- Base clearance. Soil, mulch, or plants touching the wall bridge water into the cladding; keep a 5-10cm clearance at the base.
- Flashings and sealants. Check window heads, kick-outs, and through-wall flashings; a broken flashing reroutes water behind the wall.
- Water test. Sprinkle the face; if it darkens fast, reseal that section.
- Efflorescence. Brush dry spots, verify the source is gone, and fix any water source.
- Loose or hollow panels. Tap with a knuckle; hollow sound means the bond released, address it now.
Cold climates get one extra rule: keep de-icing chemicals away from the base of a veneer wall. Rock salt and calcium chloride splashed onto stone and joints attack the mortar and can leave salts that pull moisture into the wall. Use a de-icer labeled safe for masonry near the house, or switch to sand for traction on walkways that run along a cladded facade.
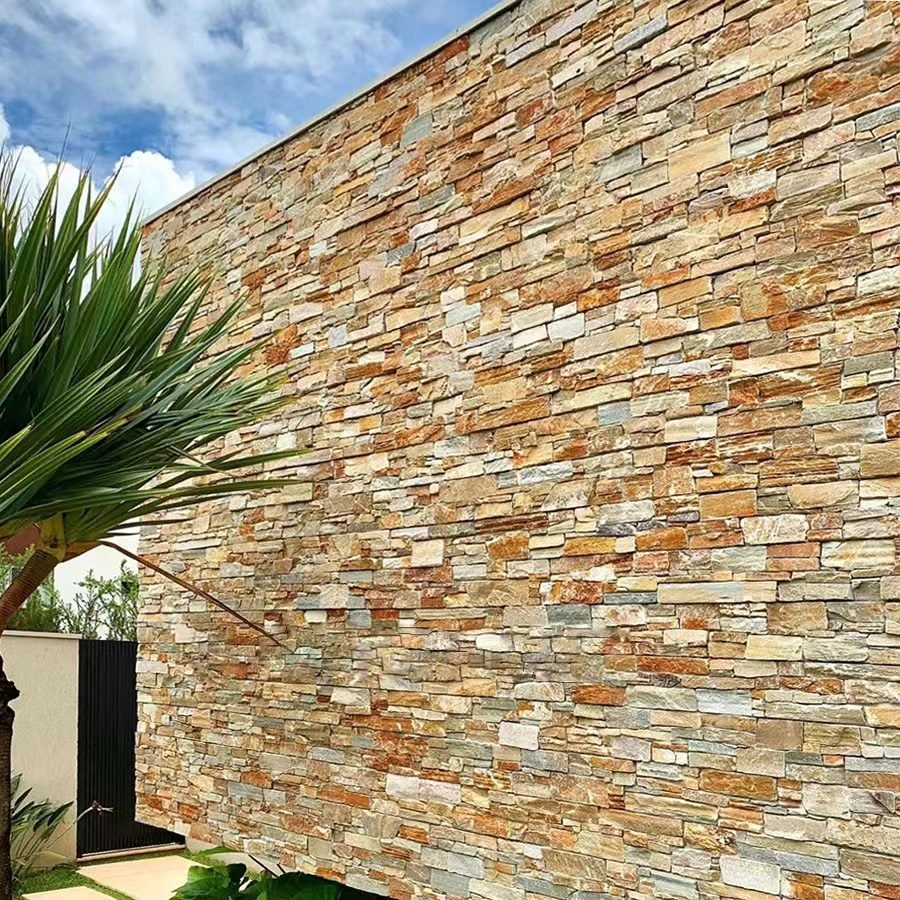
Factory Replacement and Batch Matching
When a wall needs replacement panels, the buyer’s question is not just “will they sell me more stone” but “will the new panels match.” Natural stone varies by quarry vein and by batch, so a replacement ordered two years after the original can read as a different color family unless the factory keeps lot traceability. The buying practice that protects a repair budget is to order spare panels with the original shipment, and to confirm that the factory can match later orders from the same vein selection.
Top Stone Panels structures exactly that: batch-specific vein selection at the quarry keeps color families consistent, physical samples ship in 1-3 days for approval, standard production runs 20-25 working days, and one 20GP container is the MOQ with mixed formats allowed in a single shipment. For a distributor planning a repair stock, the practical move is to hold back 2-3% of a shipment as panel reserves — a small insurance cost against the day a wall, not the stone, gives up. The sourcing-side process for verifying a factory’s sampling and QC is covered in the stone cladding sourcing checklist; the maintenance-side discipline here is the same in both directions: buy from a factory that can prove what it shipped.
Build a Wall You Can Maintain
Top Stone Panels supplies natural slate, quartzite, and sandstone veneer with marine-grade epoxy bond and three-step QC, plus matching batch reorders for repairs. Samples ship in 1-3 days; MOQ is one 20GP container; production runs 20-25 working days.
Marine-grade epoxy bond | Three-step QC | Batch-matched reorders | Zero-breakage packing
FAQ
Can I pressure wash stone veneer?
Yes, with caution. Keep the spray wide and at least 30cm off the face, never aim directly at joints, and avoid pressure near the base where mortar is exposed. A hose and soft brush is safer and sufficient for most walls.
Is vinegar safe for cleaning stone veneer?
No. Vinegar is acidic and etches natural stone on contact, leaving dull blotches. Use a pH-neutral stone cleaner for any stain that water does not remove.
How long does a sealed stone wall stay sealed?
A penetrating sealer on exterior stone typically lasts a few years, and shorter in heavy-use interiors. Run the water-drop test periodically and reseal when water soaks in instead of beading.
What should I do if a stone panel falls off the wall?
Check the substrate and moisture barrier behind it first, then re-bond the panel with full-coverage mortar or stone adhesive. If the stone face is peeling off its own backer, that is a material defect — call the factory for a batch-matched replacement.
Does natural stone veneer need maintenance every year?
No. A rinse and visual inspection twice a year covers most walls. Sealing is the only recurring expense, and only where moisture lives. Stone is one of the lowest-maintenance cladding materials when the wall is built correctly.


