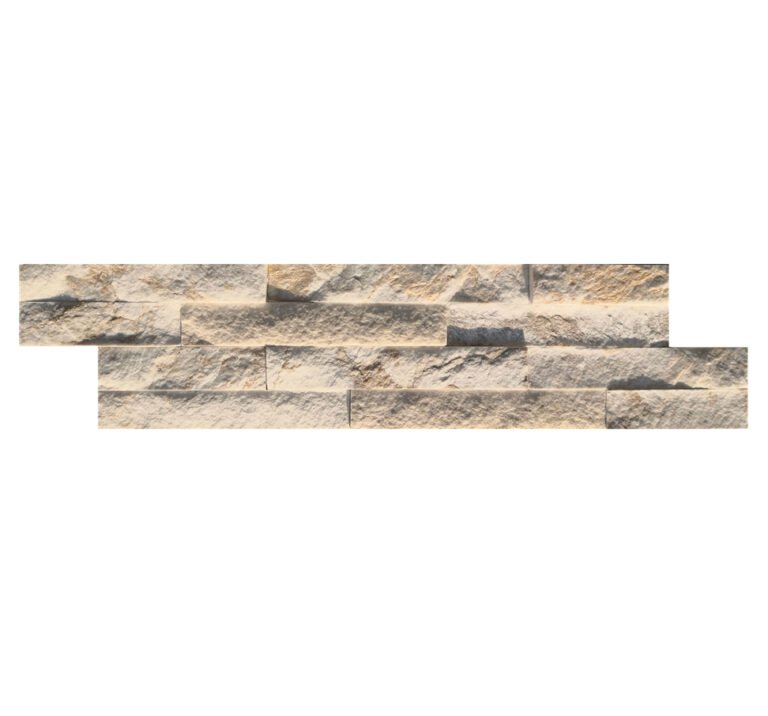
Stone veneer installs in cold weather, but only under conditions most crews never check until it is too late. The usual failure story is not the stone. It is the mortar, the adhesive, or the damp wall behind it freezing overnight, then shearing the bond months later while everyone blames the material. Natural stone itself shrugs off brutal cold better than almost anything else on a building; the assembly around it is what needs protection.
This guide is written for contractors, distributors, and site supervisors who have to keep a facade schedule moving when the temperature drops. It covers the minimum rules for mortar and adhesive, what to verify on the substrate, how to protect fresh work, and what to tell your material supplier before you order a winter project.
Top Stone Panels is the slate and quartzite quarry exporter in Yixian County, Hebei, shipping stone veneer formats toward North American and European winters all year. We watch our material land in -30°C construction sites, so the cold-weather conversation is part of every order we take.
- The stone handles the cold; the mortar, adhesive, and substrate are the failure points.
- Respect the manufacturer’s minimum application temperature for every wet material, commonly around 35-40°F (2-4°C).
- The substrate must be clean, sound, and frost-free before any material goes on.
- Protect fresh work for the full cure window, not just until dark.
- Moisture management, flashing, and drainage prevent the freeze-thaw damage that cold alone never causes.
- 1. Why Cold Weather Fails Veneer Installations
- 2. The Temperature Floor: What “Too Cold” Actually Means
- 3. Substrate Checks Before the First Piece
- 4. Protecting Mortar and Adhesive
- 5. Enclosures, Heating, and Overnight Protection
- 6. Application Sequence That Survives Winter
- 7. Water Management in Freeze-Thaw Climates
- 8. Ordering Stone for a Winter Project
- FAQ
- Conclusion
1. Why Cold Weather Fails Veneer Installations
Frost damage comes from moisture freezing inside a material. When water freezes it expands by roughly 9 percent, and if the stone’s pores cannot absorb that expansion, the internal pressure grows until micro-cracks appear. Repeat the cycle season after season and the micro-cracks join into visible fissures. The physics is the same reason dense, low-water-absorption stone survives while porous material crumbles.
With veneer, the damage almost never starts in the stone. It starts in the joint materials and the wall assembly:
- Fresh mortar or adhesive freezes before it cures, so the bond develops never or partly, and the stone drifts loose over the first freeze.
- Snow, rain, or condensation gets trapped behind the veneer because the cavity or flashing detail was lost in winter hustle, then freezes and pushes the face off.
- The substrate itself is frozen or damp, so the bed cannot grab and the moisture in the wall has nowhere to go.
That is why cold-weather installation is a protection problem, not a material problem. The frost damage mechanics are well documented, and they all point to one conclusion: keep water out of the assembly and keep wet materials above freezing until set. Do those two things and a veneer wall installed in January performs exactly like one installed in June.
2. The Temperature Floor: What “Too Cold” Actually Means
The binding number on a winter job is the minimum application temperature published by the mortar, adhesive, or grout manufacturer. That number is not a suggestion; below it the chemistry slows to the point where the material neither beds correctly nor gains strength on schedule. A common working floor across masonry adhesive systems is around 35-40°F (2-4°C), but the exact value belongs to the product you are using.
| Material | Typical minimum ambient | Critical control |
|---|---|---|
| Setting-type mortar bed | 35-40°F (2-4°C) and rising | Material and surface temperature both above limit |
| Thin-set / adhesive systems | Per product label, often 40-50°F (4-10°C) | Cure time extends as temperature drops |
| Grout and sealant | Typically 40-70°F (4-21°C) | Do not apply sealant to frozen or damp surfaces |
Three rules keep the floor honest:
- Air temperature is not enough. The substrate and the materials themselves must be at or above the minimum, which means warming contact surfaces before application.
- Check the trend, not the moment. A 40°F afternoon that drops to 20°F at night still risks fresh work unless it is covered and heated through the full cure window.
- Manufacturer labels win. If the label says “do not apply below 45°F,” the project should plan for 45°F at the work face, not in the truck.
When the schedule cannot pause, the answer is an enclosure with heat, not a hope. That is what section five covers.
3. Substrate Checks Before the First Piece
The substrate is the silent half of the bond. Cold weather makes substrate defects visible quickly: frost on sheathing, damp insulation, efflorescence on old concrete, or a metal lath that is frozen solid. Every one of those kills the bond within the first freeze.
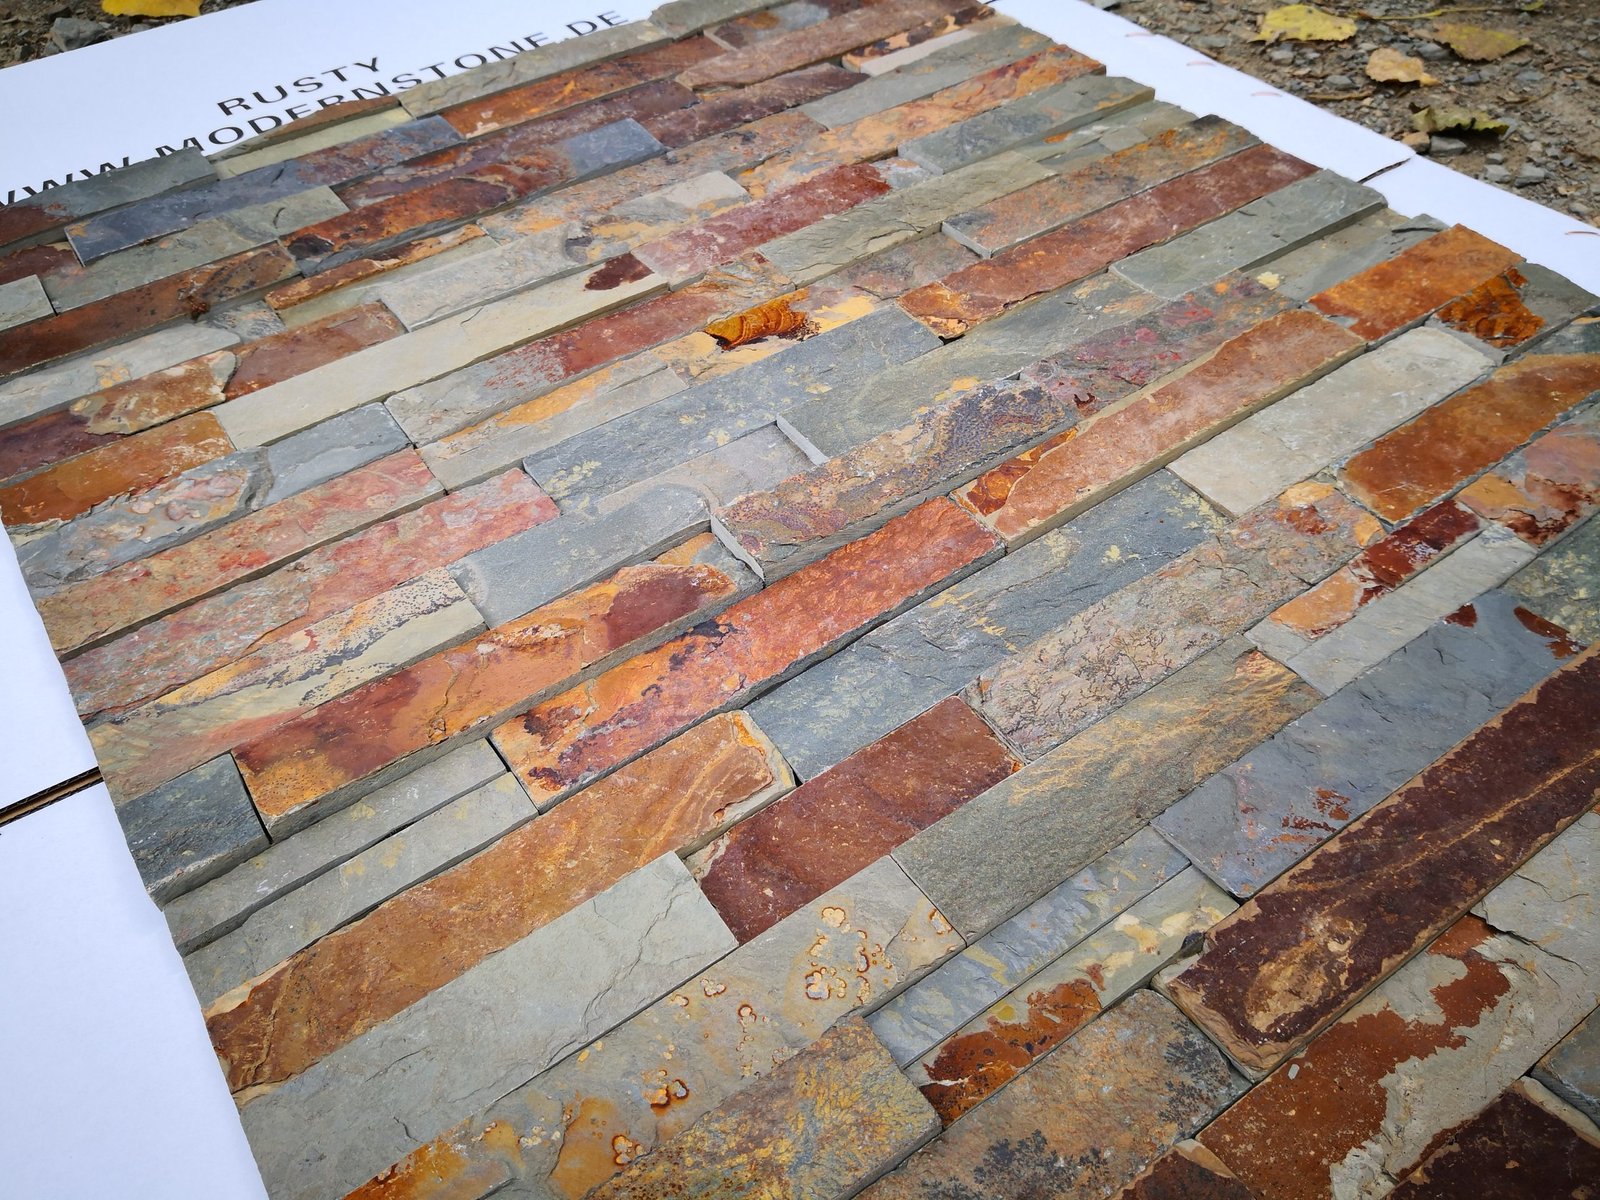
Work through this checklist before material touches anything:
- Frost-free surface: no ice, frost, or snow on the substrate, including inside cavities and at joints.
- Dry where specified: the moisture barrier and backing should be at their specified condition; masonry surfaces may need to be dampened per the system, but frozen or saturated is always wrong.
- Sound and stable: knock-test old surfaces for hollow areas; winter shrinkage highlights loose sections that summer hides.
- Lath and anchors: metal lath should be fastened per spec and free of ice before any mortar scratch coat.
- Flashing and weeps: confirm flashing is in place before the veneer goes on, because covering a flashing error with stone in January is expensive to undo.
A temperature gun at the substrate is worth more than a forecast. The wall absorbs cold overnight and may take hours to catch up with the air. If the surface reads below the minimum, hold the installation until the work face qualifies, regardless of what the thermometer says.
4. Protecting Mortar and Adhesive
Every wet material on site has a temperature problem in winter, and the fixes are mechanical and cheap compared to rework.
- Mix with lukewarm water within the manufacturer’s range. Hot water can cook some chemistry; cold water drags the whole batch below the floor. Lukewarm is the target, and the label governs.
- Keep materials inside until use. Bags of mortar, adhesive, and grout stored outside at freezing temperatures carry the cold into the mix no matter how warm the water is.
- Mix small, use fast. Pot life shortens as material warms; batch what a crew can bed before the mix begins to stiffen.
- Never mix frozen material or break up lumps with force. Frozen bags and partial freeze ruins set chemistry; rejected material is cheaper than a failed bond.
- Cover open material between batches to keep snow, sleet, and wind-blown moisture out.

Adhesive systems have their own cold-weather characters. Some set slower, which actually helps working time, while others accelerate. The product data sheet gives the ambient range, the substrate range, and the cure time at temperature; treat those three lines as the contract. If the sheet requires 45°F for seven days, the enclosure plan has to hold those numbers, not just the first night.
5. Enclosures, Heating, and Overnight Protection
The professional winter method is the enclosure: a contained, heated work area around the facade that turns the weather problem into a logistics problem. Build it so temperature and humidity can be held at the levels the materials need, and keep the heat source far enough from fresh work that nothing dries or cures unevenly.
- Scope the enclosure to cover the work face, the material storage, and the route between them so nothing crosses open cold.
- Use indirect heat that does not blow directly on the wet materials; fans and vents circulate it evenly.
- Hold temperature overnight through the entire cure time. A heated enclosure that turns off at the end of shift is a trap: it looks protected and then freezes at 2 a.m.
- Vent combustion heat so exhaust does not flood the enclosure with carbon monoxide or condensation.
- Insulate exposed edges and corners, which lose heat fastest and fail first.
When a full enclosure is not possible, use insulated blankets rated for masonry, taped tight over the fresh work. Add a layer of insulation board on top of the blanket in very cold zones. The rule is the same: protect through full cure, check underneath, and remove only when the assembly has gained the strength the system requires.
6. Application Sequence That Survives Winter
Beyond temperature control, winter installs reward extra discipline in the sequence. The order below compresses what normally takes a mild season into a day that ends with a protected wall.
- Stage and warm: bring the day’s stone and materials into the enclosed area the night before so everything reaches working temperature.
- Qualify the work face: temperature-check substrate, backing, and material surface; log the readings so the record backs the warranty decision.
- Prepare the substrate: complete lath, scratch coat, flashing, and moisture barrier checks while surfaces are warm.
- Bed and set: apply the mortar or adhesive in the system’s documented transfer method, set the veneer, and establish full coverage; coverage is the bond’s strength, and winter is when short bedding shows.
- Finish joints before the material skins over or back-wrap per system detail; jointing materials face the same temperature floor.
- Protect immediately: cover the fresh work before leaving the face, not after cleaning up.
- Record, recheck, uncover: log temperatures and cure duration; uncover after the documented time, and inspect for hollows or movement before the next freeze cycle.
Coverage is worth spelling out because it is the bond. Adhesive types differ in how they transfer: some require a full bed, others a notch-and-comb pattern. Winter is not the time to shorten any of it, because a partial bond that held in September can fail in February when ice takes the open space.
7. Water Management in Freeze-Thaw Climates
Cold climates kill walls with water, not with temperatures. Keep the assembly dry and the freezes pass through harmlessly; trap a puddle and the freeze-thaw cycle becomes a demolition tool. For veneer this means three architectural chores executed properly:
- A drainage plane: where the design includes a cavity or drainage mat, keep it clear of mortar dams and adhesive squeeze-out so water drains and dries. The rainscreen construction detail is the cold-climate friend of stone facades.
- Flashing at every opening: windows, doors, decks, and roof termini direct water out; a flashing gap lets it run behind the face and freeze.
- Weep vents and drainage at the base: the bottom of the wall must shed water, not collect it, with weep openings and a clean exit path.
Material selection participates too. Low-water-absorption slate and quartzite densify the face and shrug off moisture that porous stone would absorb and split. The people who push back on “natural stone handles cold” are usually reacting to porous varieties or to assemblies that trap water, not to dense slate. Dense, registered splits from a controlled quarry are the practical base for freeze-thaw resistance.
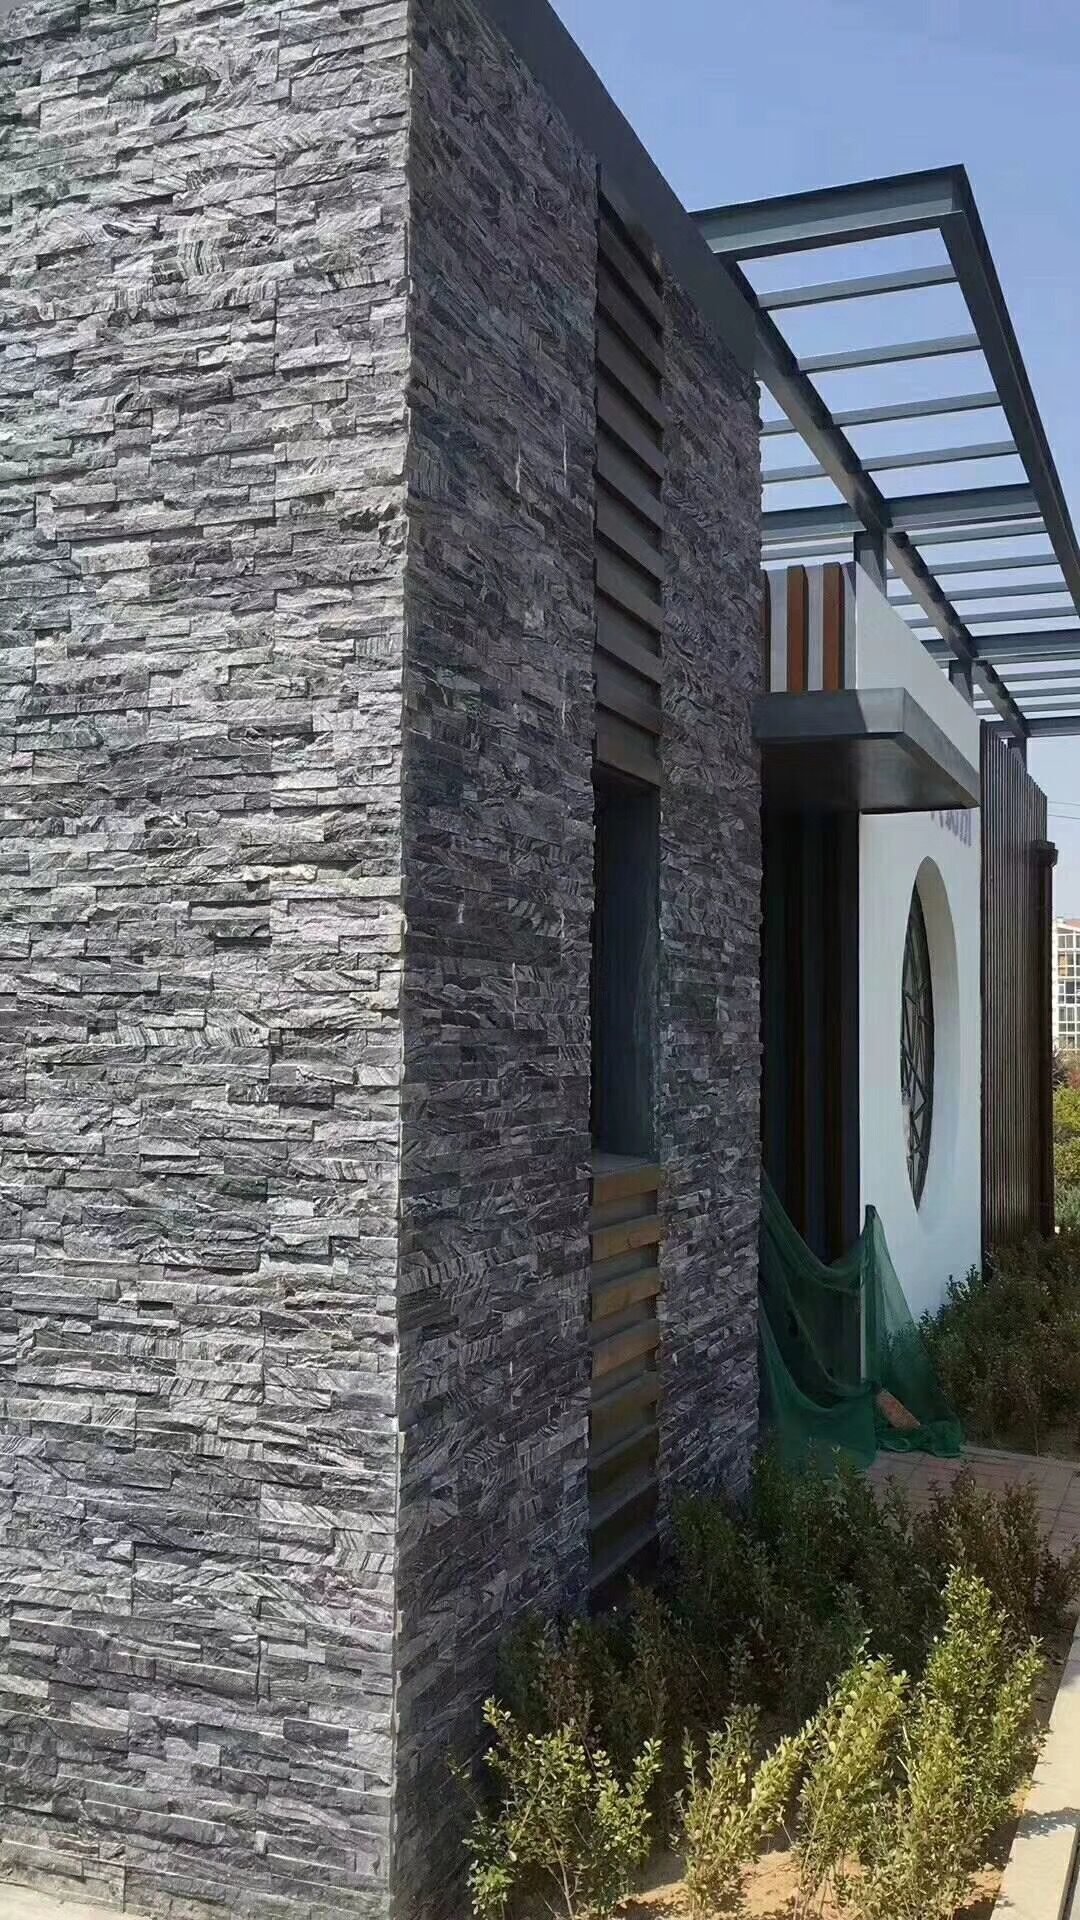
On an existing exterior, the visible signs that water management failed are the same in every climate: efflorescence bleeding below joints, hairline cracks at corners, and hollow sounds where the face has started to travel. Winter makes each of those worse because ice expands the space water found. A cavity that drains, flashing that lands water outside the barrier, and weep vents at the base are the shortcuts to avoiding the entire repair conversation.
8. Ordering Stone for a Winter Project
Winter ordering has its own discipline, most of it about matching the delivered product to the site conditions.
- Confirm the format suits the system: split-face pieces, mesh-backed mats, and engineered panels install differently in cold conditions; a factory-backed z-panel saves the scratch-coat stage that tightens the weather window.
- Check thickness range and tolerance so the specified bed thickness stays realistic under cold-weather setup.
- Order color from one batch: a winter install cannot fix a color mismatch once the wall is up; batch-selected slate and quartzite keep shade consistent across the whole shipment.
- Ask for test data: water absorption, freeze-thaw cycling, and flexural strength numbers from the supplier give the spec a basis. Our ASTM test guide for natural stone cladding lists the common evaluations to request.
- Align packaging with the cold: confirm the product is palletized, strapped, and ready for cold storage without moisture damage; a Zero-Breakage protocol matters more when the container arrives in a snow zone.
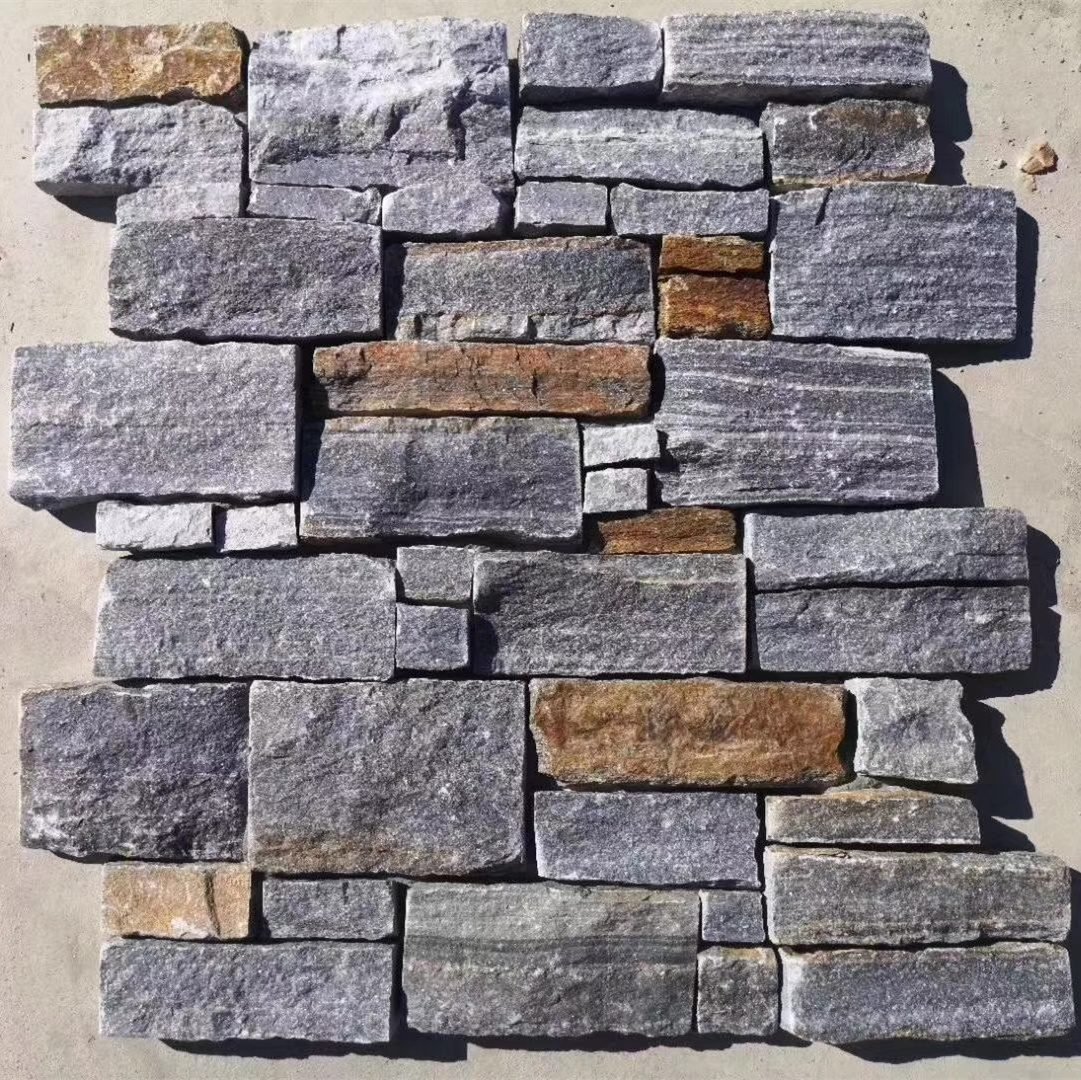
The table below compresses the winter order into a single snapshot for a site supervisor or distributor double-checking the plan.
| Check | Pass condition |
|---|---|
| Ambient and surface temperature | At or above the product’s minimum, trend rising |
| Substrate | Clean, sound, frost-free, flashing in place |
| Wet materials | Stored warm, mixed lukewarm, applied within pot life |
| Cure protection | Enclosure or blankets hold temperature through full cure |
| Water management | Cavity clear, flashing sound, weeps open |
Distributors stocking for spring should also remember that winter is the ordering season for warm-weather projects. Production lead time is the same 20-30 working days, so a January order covers a March install. That is the quiet advantage of buying when your competitors are slow: the batch, the test documentation, and the logistics all get more attention.
FAQ
Can stone veneer be installed in winter?
Yes, when wet materials stay above their minimum application temperature until they cure, the substrate is clean and frost-free, and the finished wall drains water before ice forms.
What is the minimum temperature for installing stone veneer?
Follow the mortar or adhesive manufacturer’s published range. A common working floor is around 35-40°F (2-4°C), with full protection during any freeze before the bond sets.
How do you keep mortar from freezing?
Use lukewarm mixing water, store material inside until use, contain the work area with a heated enclosure when freezing is expected, and cover fresh beds overnight with insulated blankets.
Does freeze-thaw damage stone veneer?
Only when water is trapped in the assembly. Dense slate and quartzite with low water absorption resist freeze-thaw; the risk comes from mortar, snow, and unwrapped materials freezing behind the face.
Should I use special adhesive for cold weather?
Use the adhesive rated for your temperature range and verify mixing and cure times at that temperature. Some systems add cure acceleration; others just need more time above freezing.
How long should fresh veneer be protected in winter?
Through the full documented cure window, not just until dark. The enclosure or blankets stay on until the mortar or adhesive has gained the strength the system requires.
Conclusion
Cold-weather veneer installation is a weather problem with a management answer. The stone carries the cold; the work protects the assembly. Check the temperature floor on every wet material, qualify the substrate before the first piece, enclose and heat through the full cure window, and keep water drained and flashing sound. None of it is glamorous, and all of it is what separates an install that lasts from one that reopens the next spring.
For the material side, buy from a supplier that treats winter weather as part of the order: dense, low-water-absorption slate and quartzite, batch-selected color, thickness tolerance that fits your bed, and test data you can attach to the spec. Top Stone Panels ships split-face veneer, mesh-backed mats, stacked stone, and interlocking z-panels from quarry-owned sources, one 20GP MOQ, samples in 1-3 days, and production in 20-30 working days. Ask for freeze-thaw data before you book, then install with a winter plan.
Key Takeaways
- The stone handles the cold; protect the mortar, adhesive, and wall assembly.
- Honor the manufacturer’s minimum application temperatures, including substrate surface.
- Heat and enclose through the full cure window, then recheck before the next freeze.
- Keep water out with flashing, drainage, and weeps; moisture management beats temperature every time.