
The catch is that ledgestone shows every mistake. A thick stacked panel hides a wavy wall behind its profile; a 10 cm ledge shows it in the shadow line. This guide walks the full installation in seven steps, with the substrate, mortar, and corner decisions that separate a surround that photographs like a showroom from one that calls you back in six months.
Key Takeaways
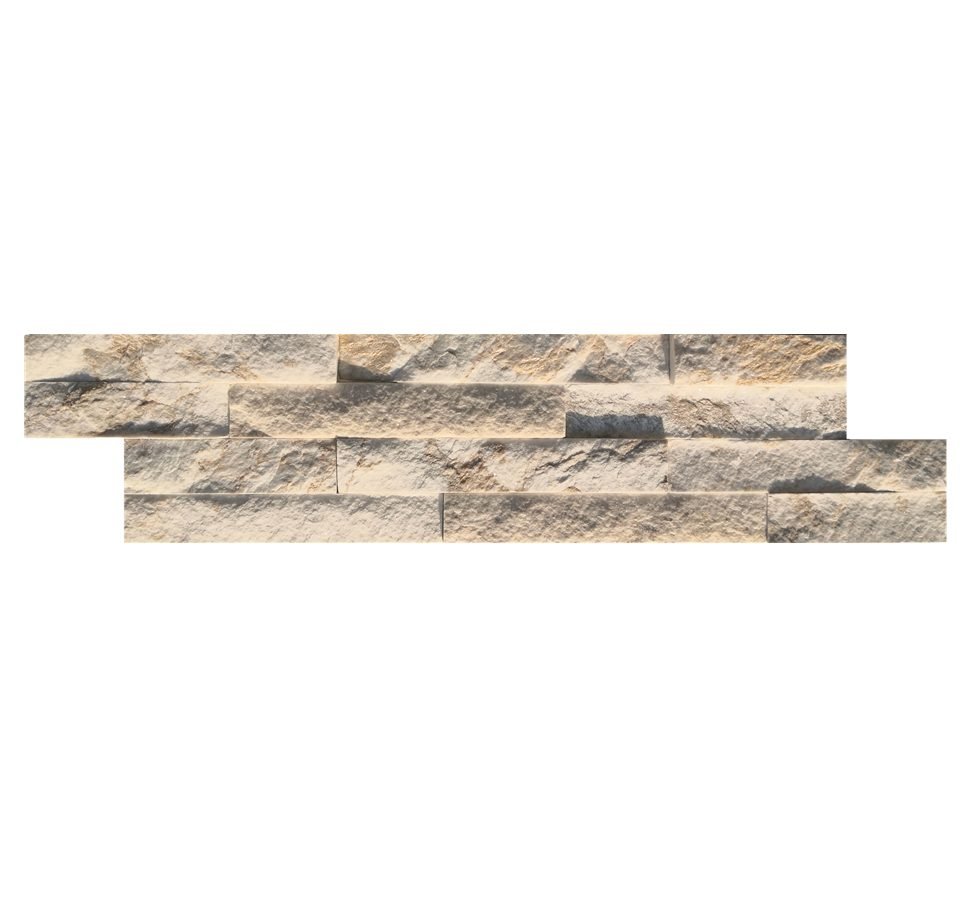
- Thin ledgestone = 36×10 cm faces, 0.7–1.2 cm stone profile, light enough for standard wall assemblies without structural reinforcement.
- Natural stone is Class A non-combustible; the safety constraint is the fireplace unit’s clearance to combustibles, verified against manufacturer and local code.
- Substrate must be cement board or metal lath with scratch coat — never drywall behind a fireplace.
- Use polymer-modified thin-set mortar (ANSI A118 series), back-butter every piece, and work bottom to top off a level line.
- Pre-made L-corners save roughly 50% of corner labor compared with on-site mitering.
- Default finish is grout-free dry-stack; order the full area in one batch for vein-consistent color.
- Why Thin Ledgestone Wins Fireplace Work
- Safety and Code Before You Touch a Tool
- Tools and Materials Checklist
- Step 1: Prepare the Substrate
- Step 2: Dry-Fit and Blend
- Step 3: Cut Pieces as Needed
- Step 4: Set Panels in Mortar
- Step 5: Detail Corners and Returns
- Step 6: Grout or Dry-Stack
- Step 7: Clean and Seal
- Mistakes That Ruin a Surround
- FAQ
Why Thin Ledgestone Wins Fireplace Work
Fireplace surrounds impose three demands that rule out most cladding options. The surface gets hot and cycles temperature daily. The wall behind is often framed construction that cannot carry heavy stone. And the viewing distance is short — a sofa away — so every joint is inspected by guests with nothing better to do.
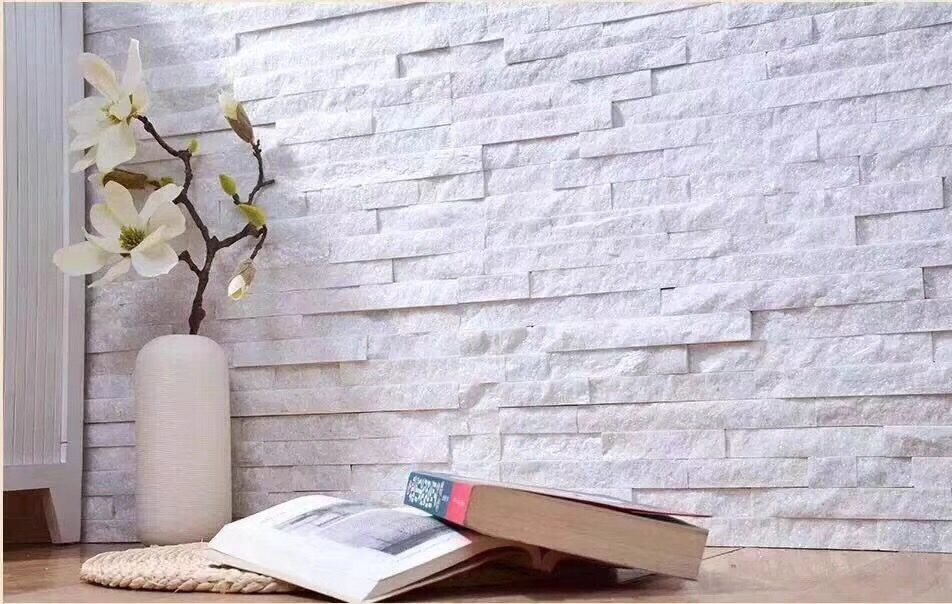
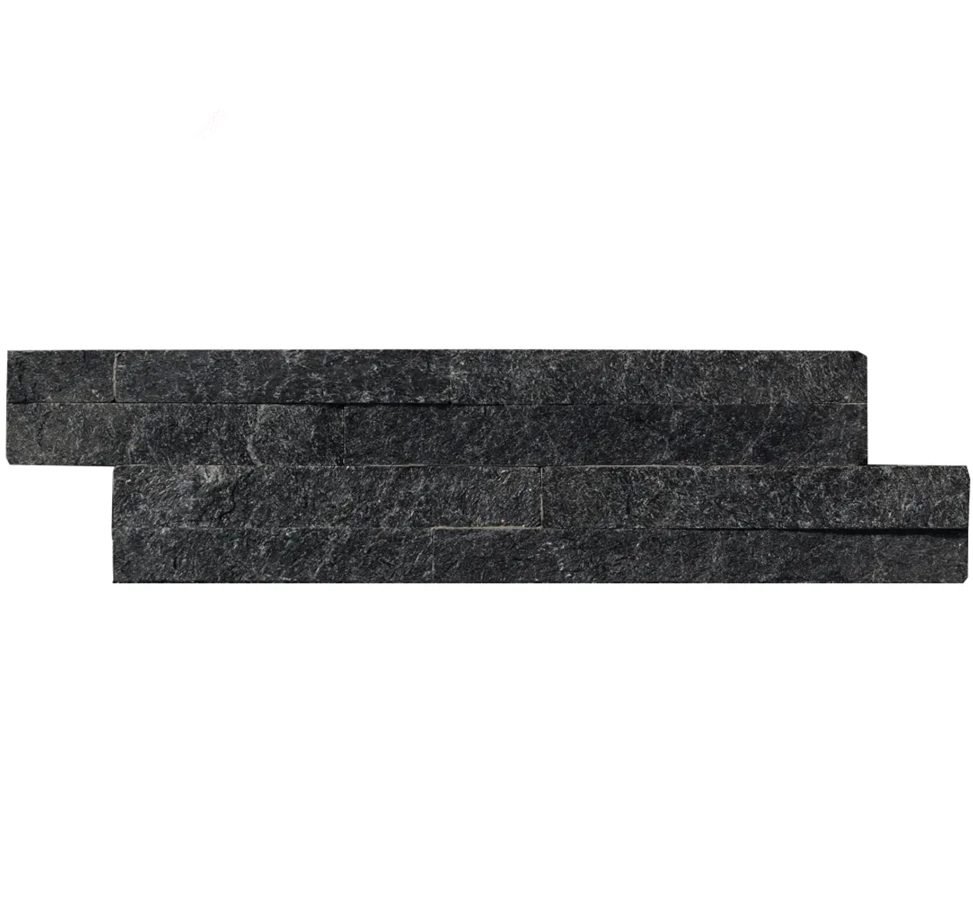
Ledgestone answers all three. Slate and quartzite tolerate temperature swings from –30 °C to +50 °C, which brackets any hearth-side cycling a living room produces. At a 0.7–1.2 cm stone profile, the material weighs a fraction of full-thickness stone, so standard wall assemblies carry it without structural reinforcement. And the 36×10 cm ledger profile creates a tight, regular shadow line that reads as machined precision even though every face is hand-split.
For context on where ledgestone sits in the wider family — and its outdoor limits — see our primer on thin ledge stone panels. If you are weighing it against the coarser stacked look for the same fireplace, the stacked stone fireplace design guide compares the two aesthetics side by side. The full thirteen-color thin ledgestone range in the 36×10 cm format is listed in the thin ledgestone product line.
Safety and Code Before You Touch a Tool
Get this part right first, because it is the only part you cannot fix after the stone is up. Natural stone is non-combustible — Class A fire performance, no fumes, no burn — so the veneer itself is never the hazard. The hazard lives in the fireplace unit and the wall around it.
Every fireplace, wood-burning or gas, ships with manufacturer-specified clearances to combustible materials. Those clearances control what may cover the wall around the firebox, at what distance, and with what materials. Local building codes add their own layer. Two rules cover the field:
- Verify before covering. Pull the fireplace installation manual and your local code requirements before building any substrate. If the manual and the code disagree, the stricter one wins.
- Keep combustibles out of the stone’s path. Cement board and metal lath are not combustible; framing, drywall, and adhesives are. The stone does not make a risky assembly safe — it only finishes a safe one.
Gas units deserve one extra check: access panels and service clearances must stay reachable after cladding. Closing off a gas valve behind stone turns a future service call into a demolition job.
Tools and Materials Checklist
| Category | Item | Purpose |
|---|---|---|
| Cutting | Diamond-blade wet saw or angle grinder | Trimming ledgestone strips to width |
| Setting | Polymer-modified thin-set mortar (ANSI A118 series) | Bonding stone to substrate |
| Setting | Notched trowel + margin trowel | Combing mortar bed, back-buttering |
| Layout | Laser level, chalk line, story pole | Level start line and course heights |
| Substrate | Cement board or metal lath + scratch coat | Sound bonding surface over framing |
| Detailing | Pre-made L-corners (matched color/vein) | Clean external corners without mitering |
| Finishing | Penetrating sealer (conditional) | Stain protection where exposure warrants |
One ordering note: buy the stone before finalizing the substrate schedule. Panels from a single quarry vein arrive together and blend naturally; a second order placed weeks later can pull from a different vein and show the shift under living-room light. Top Stone Panels sorts every production run by batch-specific vein selection precisely to prevent this — order the full surround area at once, plus cutting allowance.
Step 1: Prepare the Substrate
The substrate decides whether the stone stays on the wall for thirty years or drums hollow in year three. For fireplace surrounds, two assemblies dominate:
- Cement board screwed to studs over the existing wall, joints taped and mortared. The standard choice for remodels where the surround is flat and square.
- Metal lath with scratch coat where the surface is curved, irregular, or the clearances favor a thinner build-up.
Whatever you choose, check three things before any stone leaves its box. Flatness: ledgestone’s thin profile follows the wall, so a 3 mm hump becomes a visible tilt in the coursing. Square: measure the surround’s diagonals; if the opening is out of square, plan the correction into the layout rather than into the cuts. And cleanliness: dust, paint, and old wallpaper primer all break mortar bonds. Bare, sound, textured surface — that is the target.
Drywall gets named here only to be excluded. It is not an acceptable substrate behind a fireplace, and it fails on both counts — fire performance and bond strength. Strip it back to studs.
Full substrate options, including when plywood or cement board applies to non-fireplace walls, are covered in our substrate preparation guide.
Step 2: Dry-Fit and Blend
Skip the dry-fit and the layout mistakes surface exactly where everyone can see them. A short dry-fit drill prevents layout rework later:
- Open several boxes at once. Ledger faces vary tone to tone within a vein batch — that variation is the product’s charm. Pulling from one box at a time concentrates tones in bands; blending from three or four boxes distributes them naturally.
- Snap vertical centerlines on the surround so cut pieces land symmetrically at both outside edges instead of leaving one clean side and one sliver.
- Mark a level start line. Fireplaces rarely sit perfectly level with the floor. Establish the first course on a true horizontal, then work up; trim the bottom course last if needed.
- Place story marks every few courses on the surround’s edge so coursing stays level as you climb past the firebox.
During the dry-fit, pull aside any piece with an edge chip you would otherwise bury in a cut — those become your trim stock.
Step 3: Cut Pieces as Needed
Ledgestone cuts cleanly because it is thin, and that thinness also means the cutting rules differ from thick stone:
- A diamond-blade wet saw gives the cleanest edge and keeps dust down indoors. An angle grinder with a diamond blade handles quick trims and notches.
- Cut mesh-backed strips from the back side so any exit chipping lands where it will not be seen.
- Dry-fit every cut piece before mortaring it. At 10 cm face heights, a 3 mm error is obvious.
One caution: wear eye and lung protection. Split-face stone throws sharp silica dust when cut dry, and a surround in a living room means cutting inside someone’s home — wet cutting and a vacuum at the blade are professional courtesy as much as safety.
Get the Right Ledgestone for the Job
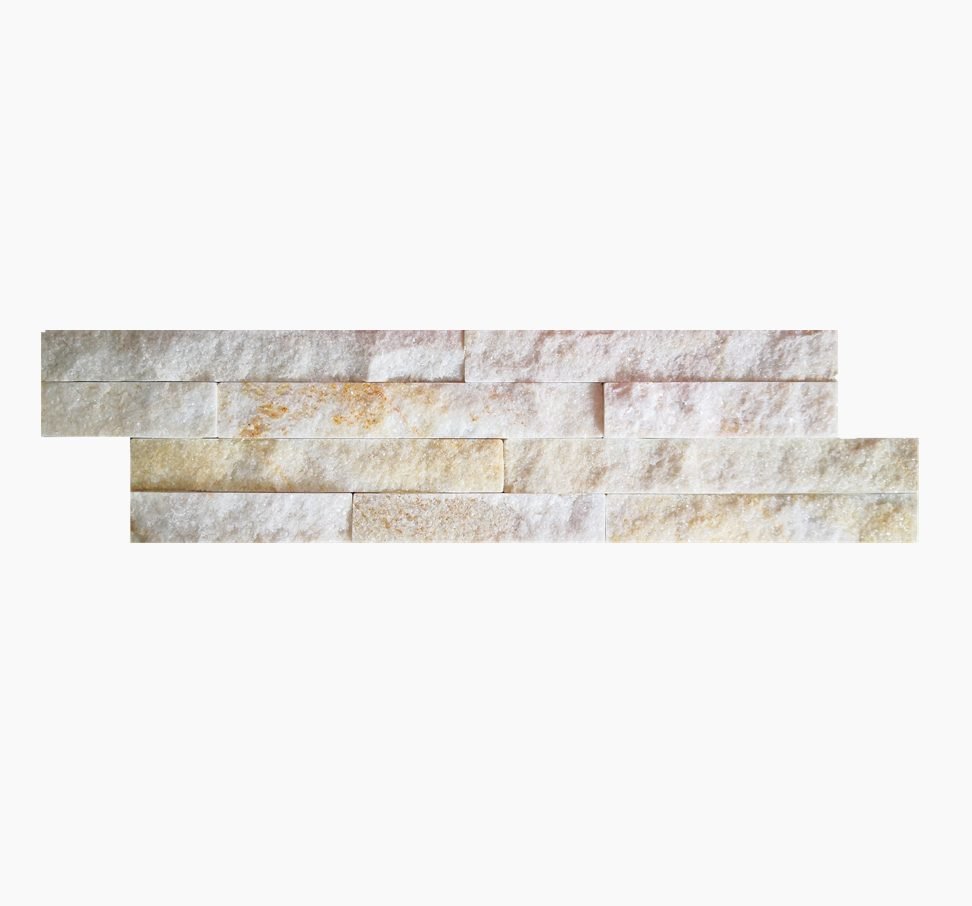
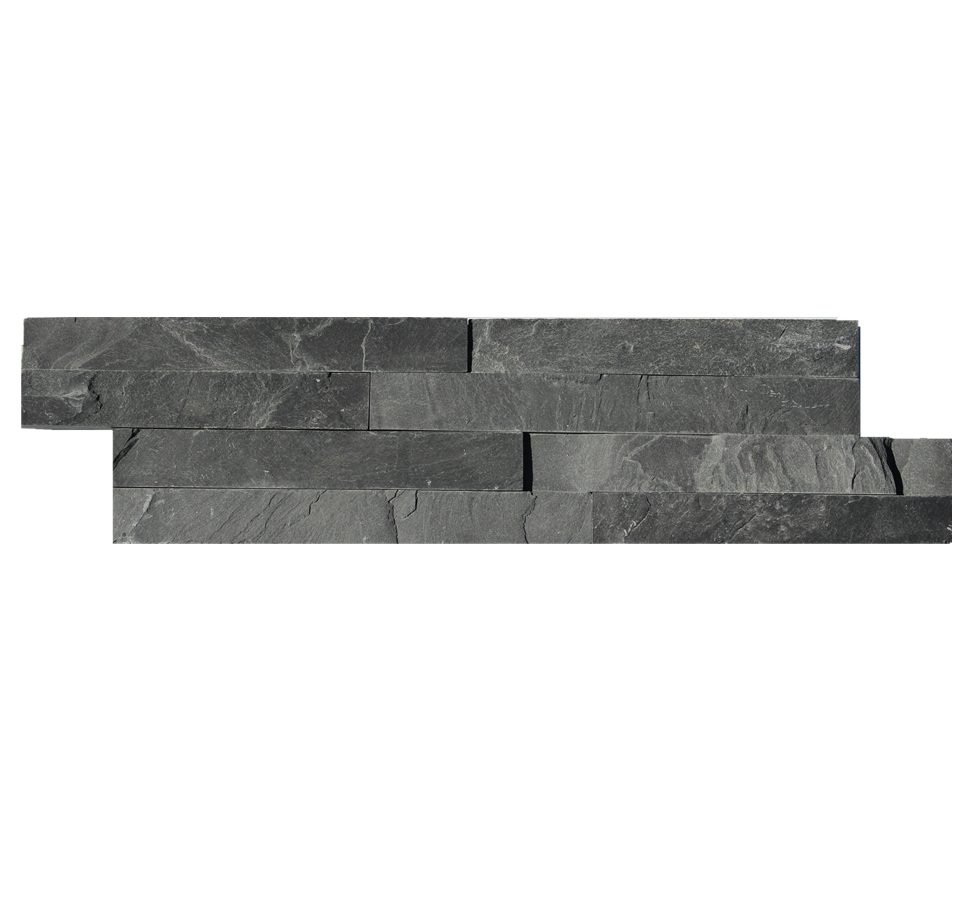
Thirteen colors in the 36×10 cm format — from royal white and oyster quartzite to sparkle black — all quarry-direct, all vein-batched. Samples ship in 1–3 days so you can hold the real stone against the fireplace before committing a container.
Class A natural stone | MOQ 1×20GP | 60,000 m²/month capacity
Step 4: Set Panels in Mortar
Mix polymer-modified thin-set mortar to a peanut-butter consistency — stiff enough to hold a notch, wet enough to collapse into the substrate. The ANSI A118 series rating on the bag should match your substrate type; cement board and scratch coat both fall squarely in its territory. Working time is limited, so comb only what you can set in minutes.
The setting sequence that keeps a surround level:
- Start at the bottom, on your level line. Every course above inherits the first course’s errors.
- Back-butter each piece. A thin skim on the stone’s back plus the combed bed on the wall gives near-full coverage — critical on a heat-cycling surface where a void behind a piece becomes a crack line.
- Set with a slight twist — press and rotate a few degrees to collapse the notches and squeeze mortar to the edges.
- Check alignment every course. Laser on the face plane, level on the top edge. Ten seconds now saves a grinding correction later.
- Keep joints tight. The dry-stack look depends on butt-tight horizontal joints; a drifting gap reads immediately on a 10 cm rhythm.
Mortar technique makes or breaks stone veneer on any wall — our mortar application guide covers mix ratios, open time, and coverage checks in depth.
Step 5: Detail Corners and Returns
External corners are where a surround earns its professional look — and where hours evaporate if you miter every piece by hand. Two approaches work:
- Pre-made L-corners in the matched ledgestone color: factory-finished 90-degree pieces placed like any other course. Across installation accounts, L-corners cut corner labor roughly 50% versus on-site 45-degree mitering, and the staggered-joint design hides the seam.
- Alternating end-butt courses, where odd courses run the face piece past the corner and even courses butt into it. Slower, but it needs no special pieces and suits tight budgets.
Whichever you pick, keep the pattern consistent up the full height. A corner that starts with an L-piece and switches to butt joints halfway up announces itself from across the room.
Step 6: Grout or Dry-Stack
The default answer for ledgestone: no grout. The format is designed for tight, grout-free joints that cast fine horizontal shadow lines — that shadow rhythm is the aesthetic you are paying for. Filling it with grout flattens the texture and turns a modern finish into a filled-tile look.
Grouting makes sense in two situations: a high-dust or grease-adjacent installation where open joints would collect residue, and a design brief that explicitly wants a filled, softer surface. If you grout, use a non-staining grout, work it with a grout bag to keep it off the split faces, and tool the joints flush before initial set. Cleaning grout haze off a textured quartzite face after it cures is a job you want to do zero times.
The flush-versus-recessed joint decision and grout technique details are covered in our grouting guide, which applies directly to any grouted veneer joint.
Step 7: Clean and Seal
Two finishing moves, in order. First, clean: remove any mortar smears and squeeze-out before they cure, using a damp sponge and light pressure. Cured mortar on a split face requires mechanical removal, and that risks chipping the ledges.
Second, seal — conditionally. Dense quartzite and slate absorb little, and a living-room fireplace sees no rain and minimal staining risk, so many ledgestone surrounds never need sealer. Apply a penetrating sealer where the brief justifies it: light-colored stone near a wood-burning opening with soot exposure, or a household that wants insurance against spills on the hearth ledge. The decision framework — when to seal, when dense stone does not need it, and which chemistry to use — is laid out in our natural stone sealing guide.
Whatever you decide, wait for full cure first. Mortar and grout need their cure period — typically up to 14–28 days for full strength — and sealing early traps moisture inside the bed.
Mistakes That Ruin a Surround
The failures repeat in predictable patterns on fireplace work:
- Skipping clearance verification. Covering a wall without checking the fireplace manual invites an inspection failure at worst and a heat-damaged wall cavity at best. No stone fixes a wrong assembly.
- Setting straight to drywall. The bond fails and the assembly was never code-compliant. Cement board or lath only.
- Letting mortar skin over. If the combed bed dries before the piece lands, the bond is compromised. Comb less, set faster, recomb when in doubt.
- Single-box blending. Tone banding across the surround is the visual signature of pulling pieces from one box at a time.
- Grouting without a plan. Grout haze locked into split faces after cure is effectively permanent. Decide before mixing, not after.
- Sealing too early. Trapped moisture in a green mortar bed delays the cure and weakens the bond. Wait the full cure period.
Conclusion
A thin ledgestone surround is seven disciplined steps: verify clearances, build a cement board or lath substrate, dry-fit and blend, cut clean, set in polymer-modified mortar with back-buttering, detail corners with L-pieces, and finish grout-free unless the brief says otherwise.
- Safety lives in the fireplace clearances, not the stone — the stone itself is Class A non-combustible.
- At a 0.7–1.2 cm profile with 36×10 cm faces, ledgestone is light enough for retrofits and fine enough for close-up viewing.
- L-corners halve corner labor; single-batch ordering prevents vein-shift color surprises.
- Back-buttering and full mortar coverage matter most on a heat-cycling surface.
Risks cluster at the start and end of the job — clearance checks before the first board goes up, cure time before any sealer comes out. Top Stone Panels stocks thirteen ledgestone colors with samples shipped in 1–3 days; request yours and test the stone against the actual fireplace before ordering.
Frequently Asked Questions
Can thin ledgestone panels go directly on drywall behind a fireplace?
No. Drywall is not a suitable substrate for stone in a fireplace surround. Replace it with cement board or metal lath and scratch coat, and confirm the fireplace manufacturer’s clearance requirements and local code before covering any surface around the unit.
Is natural ledgestone safe around fire?
Natural stone is non-combustible with Class A fire performance, which is why slate and quartzite surrounds pass code review. The stone itself does not burn or emit fumes. The safety limits to respect are the fireplace unit’s clearances to combustible construction, not the veneer.
Do ledgestone fireplace installations need grout?
Usually no. The standard ledgestone look is grout-free dry-stack with tight joints that cast fine shadow lines. Grouting is possible with a non-staining grout, but it changes the aesthetic and adds a cleaning step on a textured face.
How much does a bundle of ledgestone weigh?
Thin ledgestone in the 36×10 cm format is the lightest family in natural veneer, with an ultra-thin stone profile of just 0.7-1.2 cm. Standard wall assemblies carry a ledgestone surround without added structural support, which is a key reason it wins fireplace retrofits.
Which mortar should I use for ledgestone on a fireplace?
A polymer-modified thin-set mortar meeting the ANSI A118 series for the substrate you prepared. Back-butter each piece for full coverage. Light-colored quartzite benefits from a white mortar to prevent shadowing through thin stone.
How many boxes of ledgestone do I need for a surround?
Measure the surround face area in square meters, add offcuts, and order everything in one batch so all pieces come from the same quarry vein. Top Stone Panels quotes by container (MOQ 1x 20GP) and ships samples in 1-3 days for exact area checks.



