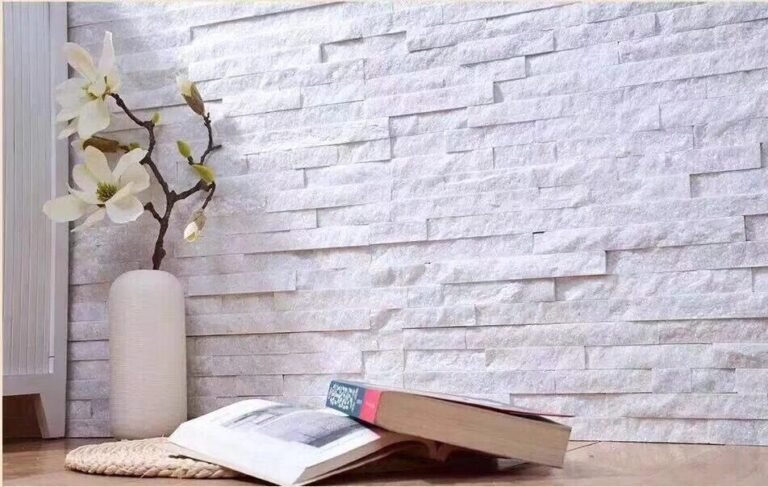
Slice open a failed stone shower wall and the stone is the last thing that looks guilty. The slate looks as good as the day it shipped. The story lives behind it: water slid past a cracked joint, sat against the substrate for months, and the adhesive let go in the course nearest the drain. Natural stone veneer in wet areas does not fail because the stone is weak. It fails because the installation treated waterproofing as an option.
Top Stone Panels rates its slate and quartzite veneer for exactly this environment — salt-spray and high-humidity resistance, UV stability, and a -30°C to +50°C tolerance that covers a poolside wall from a Canadian spring to a Gulf summer. The panels are bonded with marine-grade epoxy, the same system that holds together through 26.5-ton ocean loads. What the factory cannot install for you is the membrane behind it. That work happens on site, and it decides whether the wall lasts five years or fifty.
This guide walks the wet-area sequence in the order the wall builds: defining the zone, waterproofing the substrate, choosing the adhesive and backing, laying the panels and joints, sealing the face, and designing out the failures that bring most jobs down.
- Wet-area failure is an assembly problem, not a stone problem: water enters at joints and edges, then attacks the bond behind the face.
- Model building codes treat shower surrounds and wet walls as waterproofed assemblies; the membrane is required, not optional.
- Build in layers with different jobs: substrate and slope, waterproof membrane with flashed seams, bonded stone, sealed joints.
- Marine-grade epoxy backing holds panels through high-moisture exposure and -30°C to +50°C swings with zero detachment.
- Precision-cut panels and pre-made L-corners remove the two worst leak points: cut gaps on site and 45-degree corner seams.
- Salt-spray and high-humidity resistance make dense slate and quartzite a fit for coastal pools, showers, and outdoor kitchens.
- Define the Wet Area First
- Waterproofing Behind the Veneer: The Membrane Layer
- Substrate and Drainage Plane
- Adhesive and Backing Selection for Wet Use
- Installing the Panels: Joints, Pitch, and Edge Details
- Sealing Natural Stone in Wet Areas
- Wet-Area Performance You Can Verify
- Common Wet-Area Failures to Design Out
- FAQ
- Conclusion
Define the Wet Area First
A wet area is any zone where the wall collects standing water or continuous moisture. The list is longer than buyers first think: shower surrounds, steam rooms and wet rooms, bathroom feature walls above tubs, pool and hot-tub surrounds, outdoor kitchen islands, planters, fountains, and the base courses of exterior walls that splash during rain. Each zone exposes the assembly to water for a different share of the day, and the duration — not the depth of the water — sets the waterproofing standard.
Sort the zones by exposure before you choose materials. A shower wall takes direct hot water with soap chemistry and steam for hours a day. A bathroom backsplash takes splashes that dry in minutes. A pool surround takes chlorinated water, UV, and freeze-thaw in cold markets. The waterproofing guide for exterior walls covers the exposed-wall case; the wet-area build uses the same principle at higher intensity — a full membrane, sealed joints, and drainage, not just a damp course.
Rating the exposure
Use a simple three-tier scale on any project. Level 1: splash-and-blow-dry zones like vanity walls, where surface sealing largely suffices. Level 2: prolonged wet walls like showers, tub surrounds, and outdoor counters, where a membrane behind the veneer is the floor requirement. Level 3: immersion and chemical environments — pools, fountains, steam rooms — where the waterproofing system has to handle chemical exposure and continuous standing water. Most commercial specs fall into Level 2 and 3, and that is where the build sequence below matters.
| Wet-area zone | Exposure level | Critical waterproofing detail |
|---|---|---|
| Shower / tub surround | Level 2 | Membrane to above the water source; sealed joints; weep at base |
| Steam room / wet room | Level 3 | Full membrane including top zones; vapor management; sealed stone |
| Pool / hot tub surround | Level 3 | Immersion-grade membrane; slope to drain; salt-spray-rated stone |
| Outdoor kitchen counter | Level 2 | Capped top; membrane on counter core; non-staining grout |
| Fountain / planter / water feature | Level 3 | Immersion-rated membrane; weep details; freeze-rated stone |
Waterproofing Behind the Veneer: The Membrane Layer
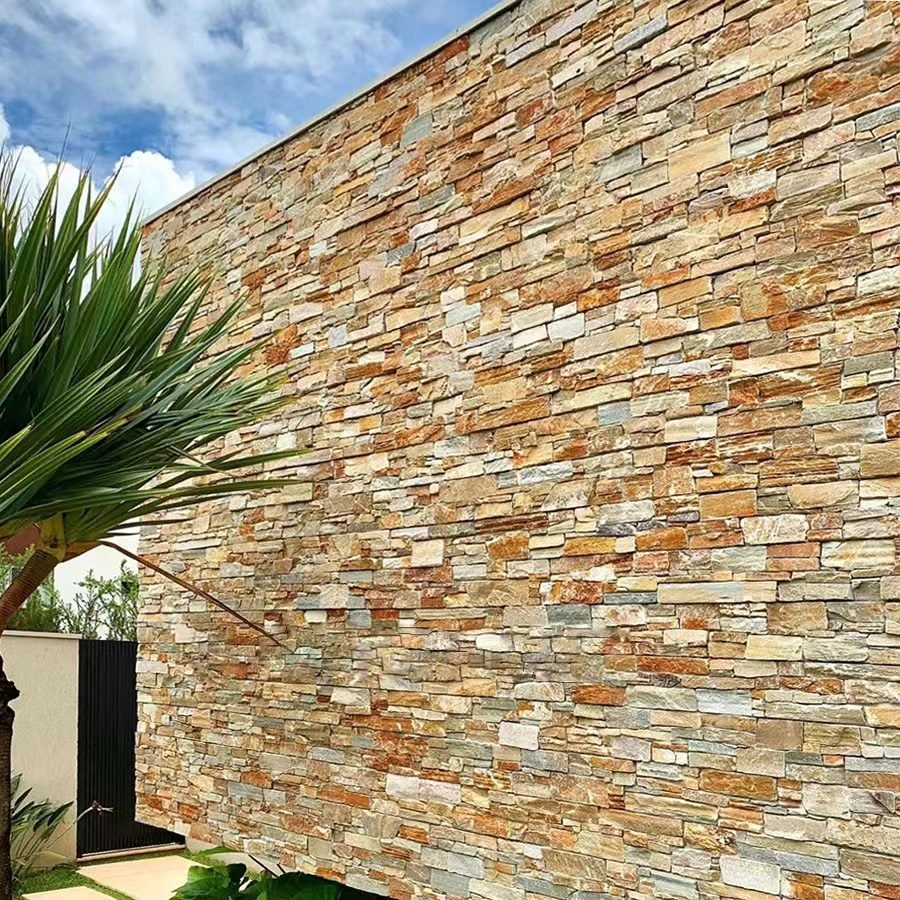
Model building codes under the International Code Council (ICC) family treat wet-area wall coverings as waterproofed assemblies, not decorative surfaces. The membrane behind the veneer is the enforceable layer: a liquid-applied or sheet waterproofing rated for the substrate, lapped at seams, flashed into the pan and the corners, and extended above the water source. The stone in front of it is the finish; the membrane is the systems answer.
Sheet membranes move water fast and are forgiving of installer error, but they demand careful laps at corners and penetrations. Liquid-applied membranes brush or trowel into complex geometry and self-flash into corners, but they need a dry, clean substrate and two full coats to reach rated thickness. Whichever type you choose, the two ends of the wall carry the risk: the base where the membrane laps into the shower pan or pool coping, and the top, where water can crawl over the edge if the assembly is not capped.
That top edge is where veneer in wet areas meets the caps and coping system — the same water-shedding logic as outdoor walls applies to a shower niche shelf or a pool bond beam. An open top turns the wall into a bucket; a pitched, sealed top sheds water forward.
Substrate and Drainage Plane
The membrane is only as honest as the surface it covers. Wet-area substrates for adhered stone run the standard list — cement board, masonry, concrete, or a mortar bed — each with its own preparation. The full substrate comparison lives in the plywood, cement board, and metal lath guide; in wet areas, the additions are slope, flatness, and cure time.
Water has to have somewhere to go, so the base of a wet wall pitches to the drain or the exterior by roughly 10 mm per meter, and the first course of veneer sits above the pan or the weep plane, not buried in it. Flatness matters because a membrane bridges voids poorly: anything an installer leaves un-flush becomes a place where water pools and the veneer develops hollow-sounding areas that pop later.
Let cement-board systems cure and dry before the membrane goes on. A membrane applied over a damp substrate traps moisture that will work its way out through the joints later. This is the single most common mistake in fast commercial fit-outs, where the schedule pushes membrane work before the wall is actually dry.
Adhesive and Backing Selection for Wet Use
In a wet area, the adhesive is load-bearing in a way it never is indoors on a dry wall. The bond has to survive hot water, soap chemistry, and repeated wet-dry cycles. Marine-grade epoxy is the anchor system for Top Stone Panels’ panels — the same bond that protects against 26.5-ton ocean loads and -30°C to +50°C swings — and it translates directly to shower and pool work. The epoxy versus cement backing analysis explains why; the short version is that water-resistance is exactly the property that separates a marine-grade bond from a general-purpose one.
Backing type changes the installation, not the result. Mesh-backed and cement-backed panels take polymer-modified thin-set for wet use; adhesive-backed panels take the epoxy system they were manufactured with. Match the adhesive to the backing the factory supplies — stacked stone panels ship adhesive or mesh-backed, and Z-panels ship cement or mesh-backed — and never switch to a mastic in a Level 2 or 3 zone. Mastic re-emulsifies in water and is the classic supplier shortcut that fails fastest in showers.
Installing the Panels: Joints, Pitch, and Edge Details
Wet-area installation borrows the dry-wall sequence but tightens three details: joint width, the bottom course, and corners. Joints run slightly wider than the dry-wall norm — commonly 6 to 10 mm — so flexible sealant has room to move instead of tearing. Keep joints aligned with the factory-cut edges: precision IR-CNC-cut panels sit true and minimize the thin gaps that trap water and collect grout haze.
The bottom course is the drainage detail. Leave or create a weep plane at the base — the membrane laps down, the veneer stops above the pan, and the gap stays open with weep points rather than being slathered with sealant. Water that does travel down the face then escapes instead of pooling behind the base course. This is the detail that base-of-wall failures are almost always missing.
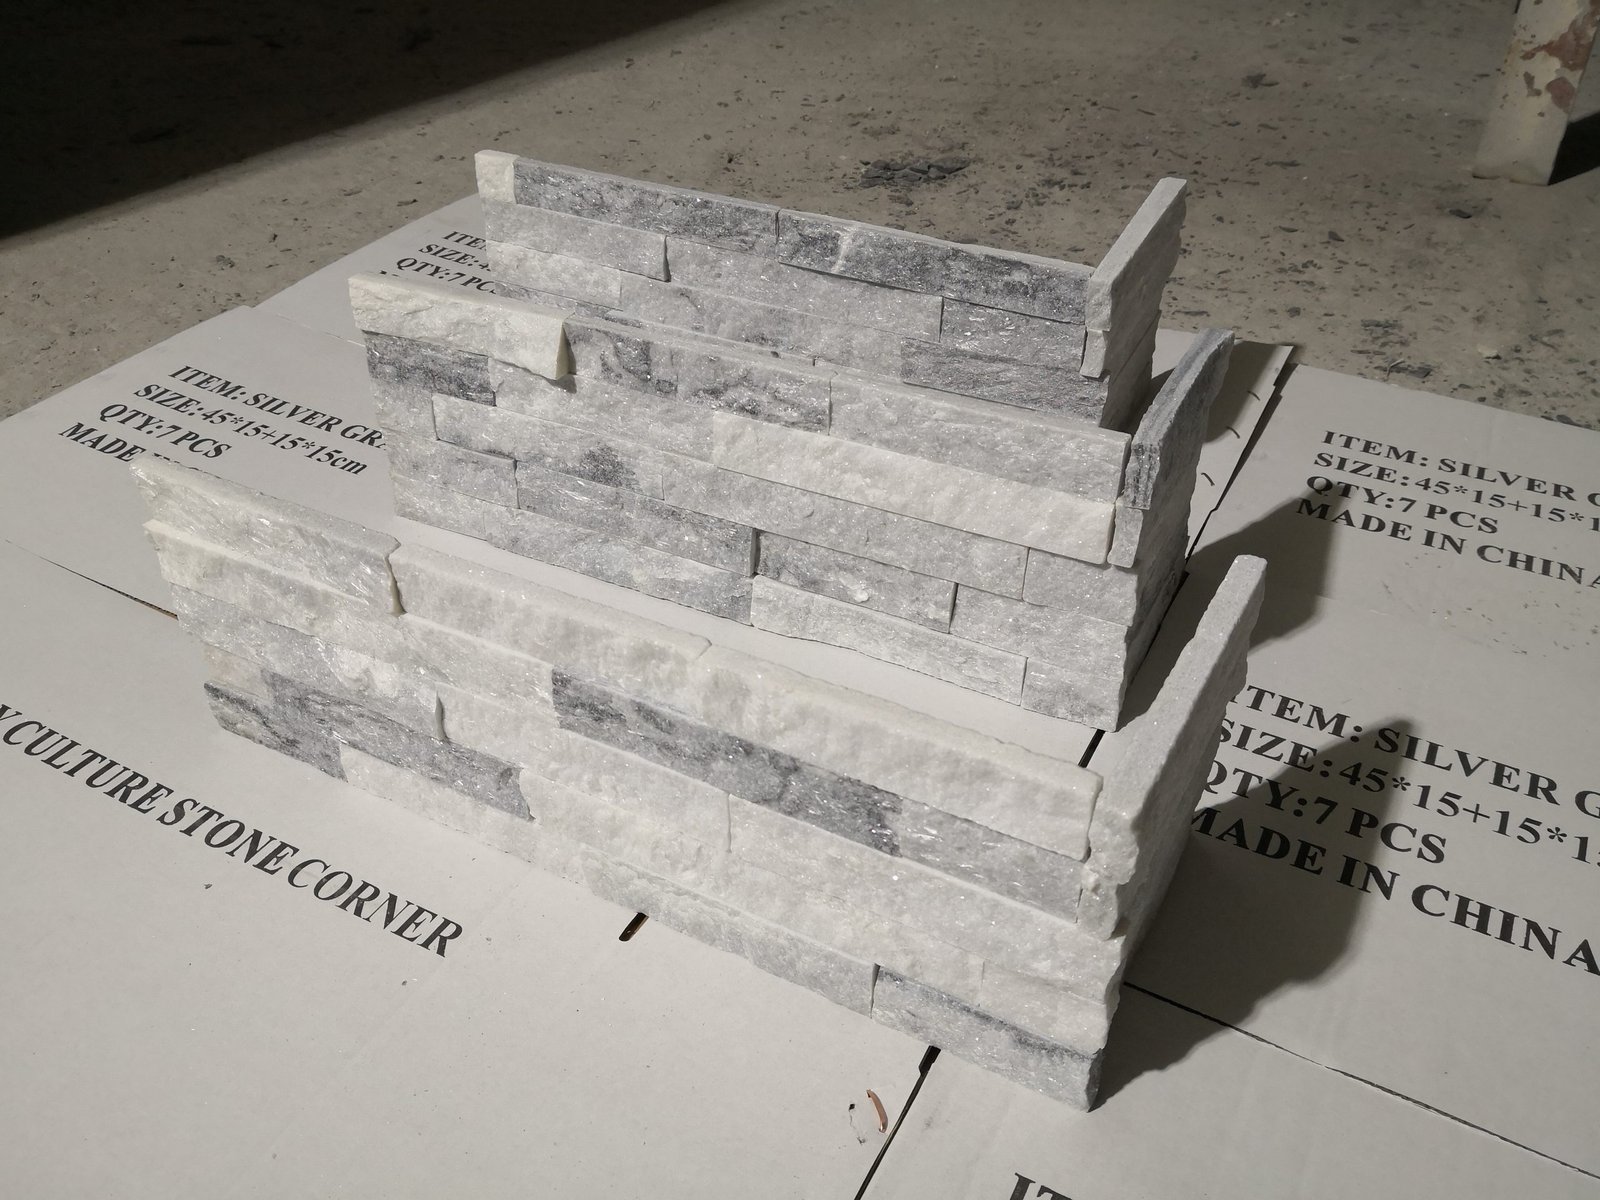
Corners are the other leak factory. On-site 45-degree miter cuts leave open seams on every vertical corner. Pre-made L-corner sets — a forged part of the Top Stone Panels system — turn the corner with one factory-bonded piece, remove the miter seam, and cut corner labor by more than 50%. In a wet area, a corner with no seam is not a labor-saving convenience; it is a waterproofing feature.
Sealing Natural Stone in Wet Areas
Sealing is the visible half of waterproofing, and it is the half buyers most often overtrust. Natural slate and quartzite are dense stones; a sealer does not make them waterproof — it buys time against absorption and staining. The water absorption rate of the stone decides how much sealer matters, and the joints, cut edges, and chipped spots absorb more than a sealed face ever will.
Use a penetrating sealer for the face and treat the edges and cut pieces before installation where possible. Re-seal on the manufacturer’s interval — annual is a common working rhythm for showers and pool decks, heavier for commercial traffic. Detail on cleaner chemistry and intervals sits in the full sealing guide and the maintenance playbook.
One warning that showrooms never mention: sealing order matters in wet areas. Seal before grouting on absorbent stone, use a non-staining grout, and wipe haze with a clean, lightly damp sponge rather than flooding the joints with water. Water introduced during cleanup is water that the fresh joints are in no position to reject.
Wet-Area Performance You Can Verify
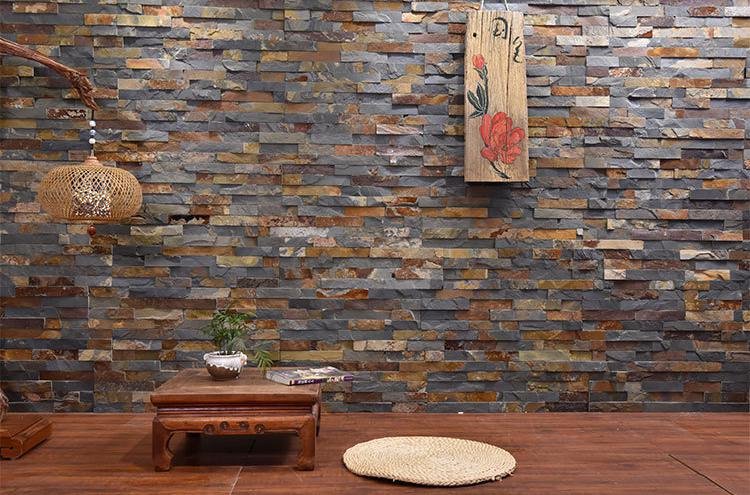
Specifiers do not have to take waterproofing claims on faith, because the stone half of the system has testable properties. When a factory quotes wet-area stone, ask for the data in the table below in the same conversation as the price.
| Property | What to verify | Why it matters in wet areas |
|---|---|---|
| Water absorption | Low-absorption dense slate / quartzite | Less uptake means less staining and slower freeze damage |
| Salt spray / humidity | Salt-spray and high-humidity resistance | Coastal pools, outdoor kitchens, steam rooms |
| Temperature range | -30°C to +50°C tolerance | Pool copings freeze in Canada and bake in the Gulf |
| Bond system | Marine-grade epoxy backing | Survives wet-dry cycling without detachment |
| Fire | Class A natural fire performance | Relevant around pool heaters and outdoor kitchens |
Do not stop at one test. The how to read a stone test report guide walks the full dossier — absorption, flexural, compressive, and the density proxies — because a single glossy sheet tells you what the sales team printed, not what the batch will do.
Common Wet-Area Failures to Design Out
Every wet-area failure mode has a design answer, and the answers are cheap compared with the rework. Run the list against your project before the first panel goes up.
- Pop-off at the base course — caused by water pooled behind the bottom panels. Answer: weep plane, stop the veneer above the pan, membrane lapped and flashed.
- Efflorescence on the face — dissolved salts migrating through the joints. Answer: dry substrate before membrane, sealed joints, no water introduced during cleanup.
- Grout haze and joint staining — sealer applied after grout, or grout wiped with a wet sponge. Answer: seal absorbent stone before grouting, non-staining grout, damp-sponge cleanup.
- Corner seams opening — miter-cut corners moving with the substrate. Answer: one-piece L-corners with no on-site miter seam.
- Mold lines at the top edge — an un-capped top letting moisture settle on the last course. Answer: cap or pitch all exposed tops; see the caps and coping guide.
- Thin-set failures where mastic was used — re-emulsified adhesive under long moisture exposure. Answer: waterproof adhesive matched to the backing, never mastic in Level 2 or 3 zones.
For pool and water-feature work, the stacked stone pools guide and the bathroom and spa design guide cover the design side of the same walls; the waterproofing logic above is what keeps those designs standing.
FAQ
Can natural stone veneer be used in a shower?
Yes. Dense slate and quartzite veneer is rated for high humidity and salt spray. The critical work is below the surface: a waterproof membrane, sealed joints, and a slope that drains moisture away from the substrate.
What membrane goes behind stone veneer in wet areas?
Use a sheet or liquid-applied waterproofing membrane rated for the substrate — cement board, masonry, or mortar bed — and lap and seal every seam. The membrane is the second line behind the stone and the first line in law: codes require it.
Do I need to seal stone veneer panels in a bathroom?
Yes, on absorbent faces and on joints. Sealer reduces water uptake and staining; slate and quartzite are dense, so the main job is protecting the joints and the cut edges, where water lingers longest.
What adhesive is safe for stone veneer in wet areas?
Use a waterproof adhesive system — marine-grade epoxy or an appropriate polymer-modified thin-set for the backing. Avoid mastics that re-emulsify in water.
How do you stop moisture getting behind the stone?
Three layers: slope the base toward drainage, waterproof the substrate with a membrane and flashing, and cap or pitch all exposed tops so water sheds forward. Then seal joints and let the wall breathe through weep details at the bottom.
Conclusion
Waterproof stone veneer in wet areas works when the assembly is treated as a system: membrane behind, slope at the base, sealed joints on the face, and a bond that can survive moisture. The stone does the appearance; the layers do the survival.
Your checklist before a wet-area install:
- Rate the exposure level and confirm the membrane is specified and flashed at edges, corners, and the pan.
- Pitch the base and plan the weep plane before the first course.
- Match the adhesive to the backing — marine-grade epoxy for adhesive-backed, polymer-modified thin-set for cement and mesh backs.
- Use pre-made L-corners to remove miter seams, and cap or pitch every exposed top.
- Seal absorbent faces and edges before grouting, and schedule re-sealing on the manufacturer’s interval.
Top Stone Panels supplies wet-rated slate and quartzite veneer with marine-grade epoxy backing, L-corner sets, and the data sheets to verify the batch. Send the exposure level and the wall layout, and the factory will confirm the right backing format and edge details.