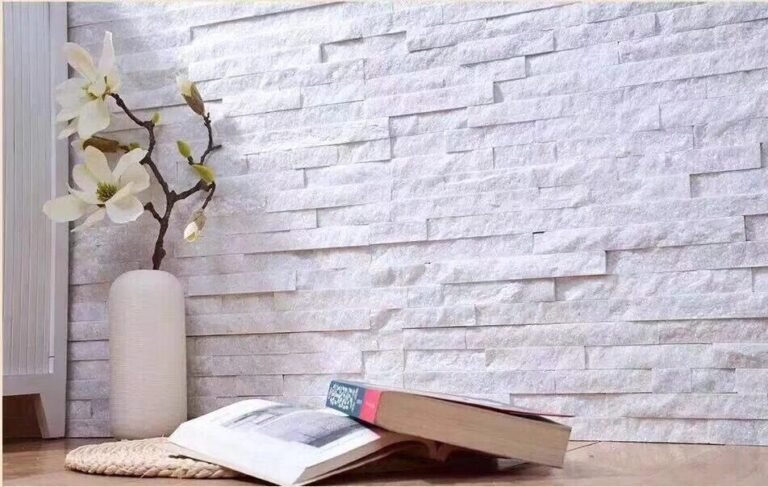
Dry-fitting stone veneer looks like the slowest possible way to start a fast job. You spread panels across a clean floor, shuffle them like a jigsaw, and for an hour nothing sticks to anything. The counterintuitive truth is that this is the cheapest hour of the project: it moves every mistake from a wall you already glued to a floor you can fix in seconds.
Pulled panels cannot be straightened without prying them off and replacing adhesive. A dry-fit catches that before the first trowel notch. Installers who skip it end up cutting on the wall, blending color in panic, and owning a corner they walked past during planning. The discipline costs one work session and saves a full day of rework on the average facade.
This guide walks the dry-fit sequence in six steps, then lays out the layout rules per panel format. It assumes the substrate is already prepared, waterproofed and checked for flatness — that sequence lives in the substrate preparation guide.


- Dry-fit first, glue second: every mistake moves from a glued wall to a free floor fix.
- Start the layout at the most visible corner or opening edge, then work outward in full courses.
- Blend color across boxes during the dry fit — never install box by box on the wall.
- Plan corners before adhesive: asymmetric 6″x12″+6″x6″ L-corner kits remove miter cutting and over 50% of corner labor.
- Dry fitting produces the cut list for windows, doors and outlets, which is where the roughly 20% site-waste saving shows up.
- ASTM C1780-20 governs installation methods for cement-based adhered masonry veneer.
Why Dry-Fitting Is the Cheapest Fix
The cost math is unforgiving. A mis-placed panel costs a few minutes during dry fit and a pry bar, new adhesive and a damaged neighbor panel after installation. The average adhesive failure rate on veneer walls correlates with rushed placement, not with material defect. Dry fit is the control for that variable.
It also protects the schedule. When the wall has windows, a door, an outlet and two returns, the installer who dry-fits knows the exact piece count and cut list before opening the adhesive. The installer who skips it discovers the missing half-panel while the thin-set clocks out. Every experienced crew runs some version of this planning phase; formalizing it into numbered courses is what separates a pro layout from a lucky one.
ASTM C1780-20, the standard practice for installation methods for cement-based adhered masonry veneer, supports the same discipline. It assumes a planned, orderly installation over a prepared substrate — exactly what a dry fit produces. Specifiers who refer to it (available from the ASTM store) expect the installer to think in courses before thinking in trowels.
Step 1: Measure the Wall and Plan the Start
Measure the wall in three dimensions, then subtract the openings. Record the stud or substrate plane, not the trim plane — a window casing that sits proud of the stone plane changes the thickness of every return piece.
Decide the start point before you touch a panel. The strongest options are a corner or a door-window edge, because those are the visible vertical lines the eye checks first. Start there in full courses and work outward, so the wall’s most prominent edges get factory-true panels and the cut pieces collect at the less-visible termination points.
Mark a reference line at the first course height with a laser or chalk line. If the floor is out of level more than half the course height, split the difference across two courses rather than trying to level with one big cut — a tapered base course advertises itself from the doorway. Note the square-meter total and compare it against the quantity calculation guide before opening the stacked cartons.
Step 2: Dry-Lay the Panels on the Floor
Clear the darkest, flattest floor area you have and lay the panels face up in the pattern they will follow on the wall. Work in whole cartons, course by course, exactly as the courses will stack. This is the moment the wall’s rhythm becomes visible: staggered joints, color movement, and the places where a panel is too short to hold.

Color blending happens here, not on the wall. Single-quarry-vein batches hold transition at 95%+ consistency, but natural stone still varies within a batch, so pull panels from multiple cartons and distribute the darker and lighter faces evenly across the layout. The pattern logic is documented in the stone veneer patterns guide: stagger the vertical joints by at least half a panel width, and never let four corners meet.
Watch the wall’s lighting as you blend. A north wall reads flatter than a south wall, and the color shifts that disappear under direct sun appear as ink spots in shadow. Pick the two harshest lighting conditions — morning and evening — and blend so neither shows a patch.
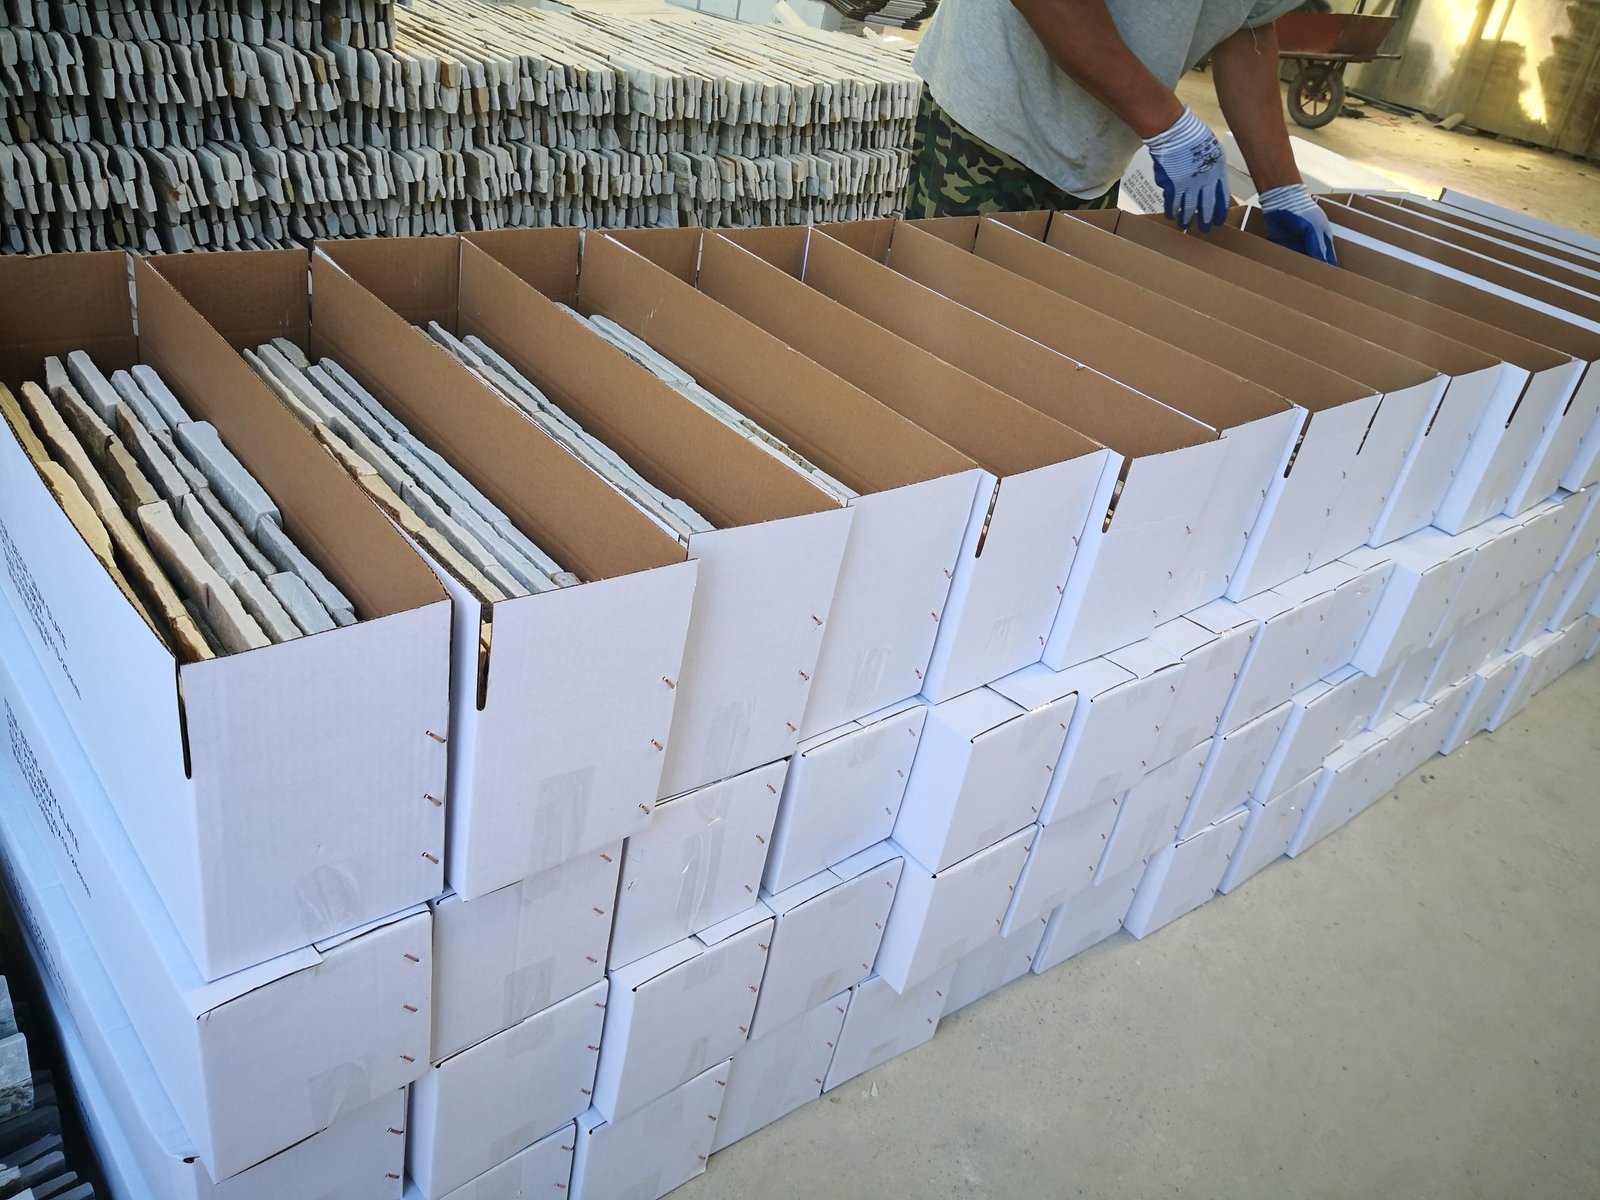
Planning a stock order so crews can dry-fit from day one? Order mixed cartons, matched L-corner kits and single-batch panels per facade.
Formats: 15×60 cm stacked | 36×10 cm ledgestone | 20×55 cm Z-panels
Step 3: Plan Corners and Returns
Corners decide whether the wall looks wrapped or stitched. Plan them before adhesive by choosing the corner set that matches the panel format. Asymmetric L-corners — 6″x12″ plus 6″x6″ — offset the corner joint so the two faces read as one continuous plane. The symmetric 6″x12″ plus 6″x12″ set sits flush for even courses and measured returns.
| Corner set | Config | Look | Best use |
|---|---|---|---|
| Asymmetric L-corner | 6″x12″ + 6″x6″ | Staggered corner joints | Random and dry-stack layouts |
| Symmetric L-corner | 6″x12″ + 6″x12″ | Aligned corner joints | Even courses, measured returns |
Count the corner pieces in the dry fit and lay them out at each inside and outside corner position before any adhesive goes on. Corners are where panels chip during transport and where on-site 45-degree miters bleed hours; locking the corner plan early removes both risks. For the full arithmetic, the L-corner pieces guide lists corner quantity per wall length.
Step 4: Mark and Number the Courses
Now translate the floor layout into a lifting plan. Place a panel — or a small tab of painter’s tape numbered with a marker — at each position on the finished wall sketch, in the same order the floor layout runs. Number courses from the base up, and mark every panel with its course and position: C3-7 means course 3, panel 7.
Use the wall sketch, not memory. Facades run 300+ panels, and memory degrades around panel 40. The numbered sketch turns the installation into a mechanical lift: the installer pulls C3-7 from the floor stack, sets it in the numbered position, moves on. Re-check margins at openings and mark them on the sketch so the cut pieces carry their own labels.
Keep the labeled panels stacked in course order near the wall. The most dangerous moment in the whole job is the first hour of gluing, when the pattern is still settling; a numbered stack removes the judgment calls that cause that hour’s mistakes.
Step 5: Pre-Cut and Stage the Pieces
Cut everything that can be cut before adhesive opens. Windows, doors, outlets and corners all create partial panels, and each one is a mini-project once the trowel is loaded. A dry-fit cut list tells you the exact shapes needed, so the crew can batch the cuts at the wet saw in one session.
This is where precision cutting pays twice. Panels arrive with infrared CNC-cutting tolerances, so straight cuts follow the factory edge; the tools and techniques for clean field cuts are in the stone veneer cutting guide. Around outlets and fixtures, mark the cutout on the panel face and saw from the back where possible, then dry-fit the cut piece back into its slot before gluing. The outlets and fixtures guide covers that sequence in detail.
Batch cutting produces offcuts, and plenty of them are usable: short returns, window-ledge fills, and backs of reveals. Sort the usable offcuts into a box before the adhesive opens. The roughly 20% site-waste saving from precision panels shows up exactly here — in a cut list that uses every offcut instead of reaching for a fresh panel.
Layout Rules by Panel Format
Each panel format changes the layout rules because it changes the fixed dimensions. Course height is set by the panel, not the installer. The table below is the dry-fit cheat sheet for the three main systems: stacked stone panels (15×60 cm), thin ledgestone (36×10 cm) and interlocking Z-panels (20×55 / 15.2×61 cm).
| Format | Course height | Layout rule | Planning watch-out |
|---|---|---|---|
| Stacked 15×60 cm | Fixed by panel | Stagger joints half a panel; blend across boxes | Base course leveling |
| Ledgestone 36×10 cm | Low, planked | Rows track tightly; returns wrap ends | Small units amplify any level error |
| Z-panels 20×55 / 15.2×61 cm | Locked by interlock | Female edge leads; no vertical shifting | Course heights cannot adjust |
Z-panels deserve the strictest planning. The male-female connection locks course heights rigidly, and a wall that wanders off level cannot be rescued by shifting panels. The interlocking Z-panel installation guide covers the sequence, but the dry-fit rule is simple: with Z-panels, dry-fit the whole wall in a grid before the first panel is seated.
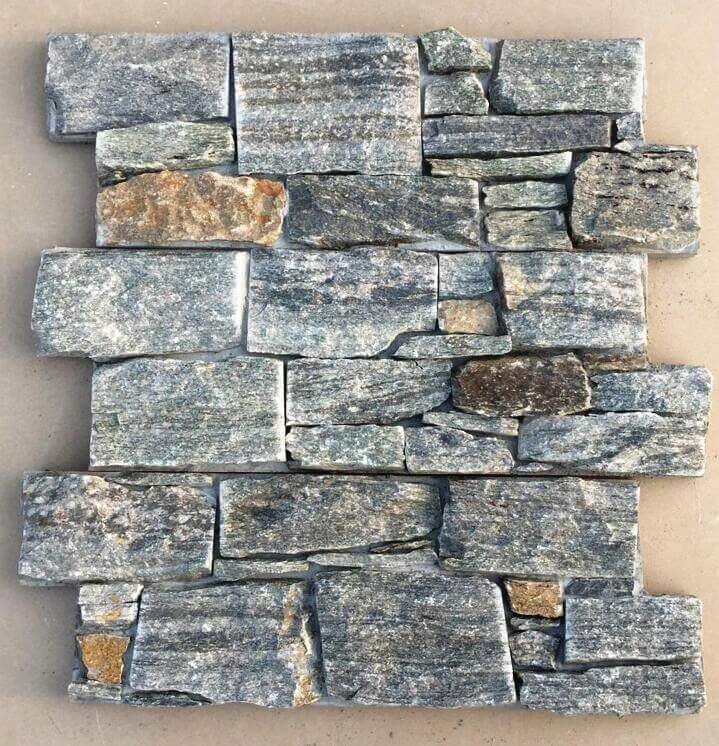
Ledgestone inverts the rule. Its small 36×10 cm units forgive horizontal errors but amplify vertical ones, so check the level of every third course during the dry fit and re-run the chalk line for the rows. Dry-fit rows look like carpet on the floor; mark the ends of every row on the floor tape so the wall lift matches.
Frequently Asked Questions
Why dry-fit stone veneer before installing?
Dry-fitting moves every mistake from a glued wall to a free floor fix. Panels get arranged, trimmed and numbered before adhesive opens, turning the installation into a sequenced lift and cutting rework to near zero.
How much floor space does a dry fit need?
At least one full course length by one course height, doubled to sort color across boxes. A 150-panel facade fits roughly in a two-car garage; label everything before stacking it near the wall.
Do you have to blend stone colors across boxes?
Yes. Even with single-vein batches at 95%+ consistency, panels vary naturally. Pull from multiple cartons and distribute darker and lighter faces evenly during the dry fit, under the wall’s harshest lighting.
Where should a stone veneer layout start?
Start at the most visible corner or the edge of a door or window, in full courses, and work outward. Cut pieces then collect at the least visible termination points instead of at the front door.
Can you adjust course heights with Z-panels?
No. The male-female interlock locks course heights rigidly, which is why the whole wall is dry-fit in a grid first. If the substrate runs out of level, fix the substrate, not the panel position.
What is the standard for stone veneer installation practices?
ASTM C1780-20, Standard Practice for Installation Methods for Cement-based Adhered Masonry Veneer, governs installed methods including substrate preparation and adhered unit placement. Specifiers can reference it for commercial requirements.
Conclusion
Dry fit is a planning phase that pays for itself before the first panel leaves the floor. Measure the wall, dry-lay the courses, blend color across boxes, lock the corner plan, number the layout, and batch the cuts — then the glue-up follows the paper instead of the panic.
- Start at the visible corner or opening edge and work outward in full courses.
- Blend color across cartons during the dry fit; mark every panel C-course and position.
- Match the corner set to the pattern: asymmetric for staggered joints, symmetric for even courses.
- Pre-cut everything movable, sort usable offcuts, and reference ASTM C1780-20 where the spec demands it.
Check the panel formats before the crew opens cartons — 15×60 cm stacked, 36×10 cm ledgestone and 20×55 cm Z-panels each carry different layout rules. Match the format to the wall, dry-fit once, and install twice as fast.