
Most stone veneer that falls off a wall was installed beautifully. The mortar was mixed right, the joints were struck clean, the installer did everything by the book — onto the wrong substrate. The failure starts behind the stone, where the carrier moves, absorbs water, or refuses to bond, and by the time a panel loosens the damage is already structural. Substrate choice is the single decision that most determines whether an adhered veneer job lasts five years or fifty.
This guide compares the three substrate paths installers actually use — plywood/OSB sheathing, cement backer board, and metal lath with a scratch coat — and gives you a clear verdict for each. The reference point is ASTM C1780, the standard practice for installation methods of cement-based adhered masonry veneer, which is the framework most North American specifiers and inspectors apply to exactly this question.
Top Stone Panels produces thin stone veneer, stacked stone, ledgestone, and interlocking Z-panels in formats engineered for adhered installation. Because our panels are cut to roughly 10–20 mm and bonded with cementitious adhesive or marine-grade epoxy, the substrate rules below apply directly to every product line we ship. Getting the carrier right is half the installation; the product page and our step-by-step stacked stone installation guide cover the rest.
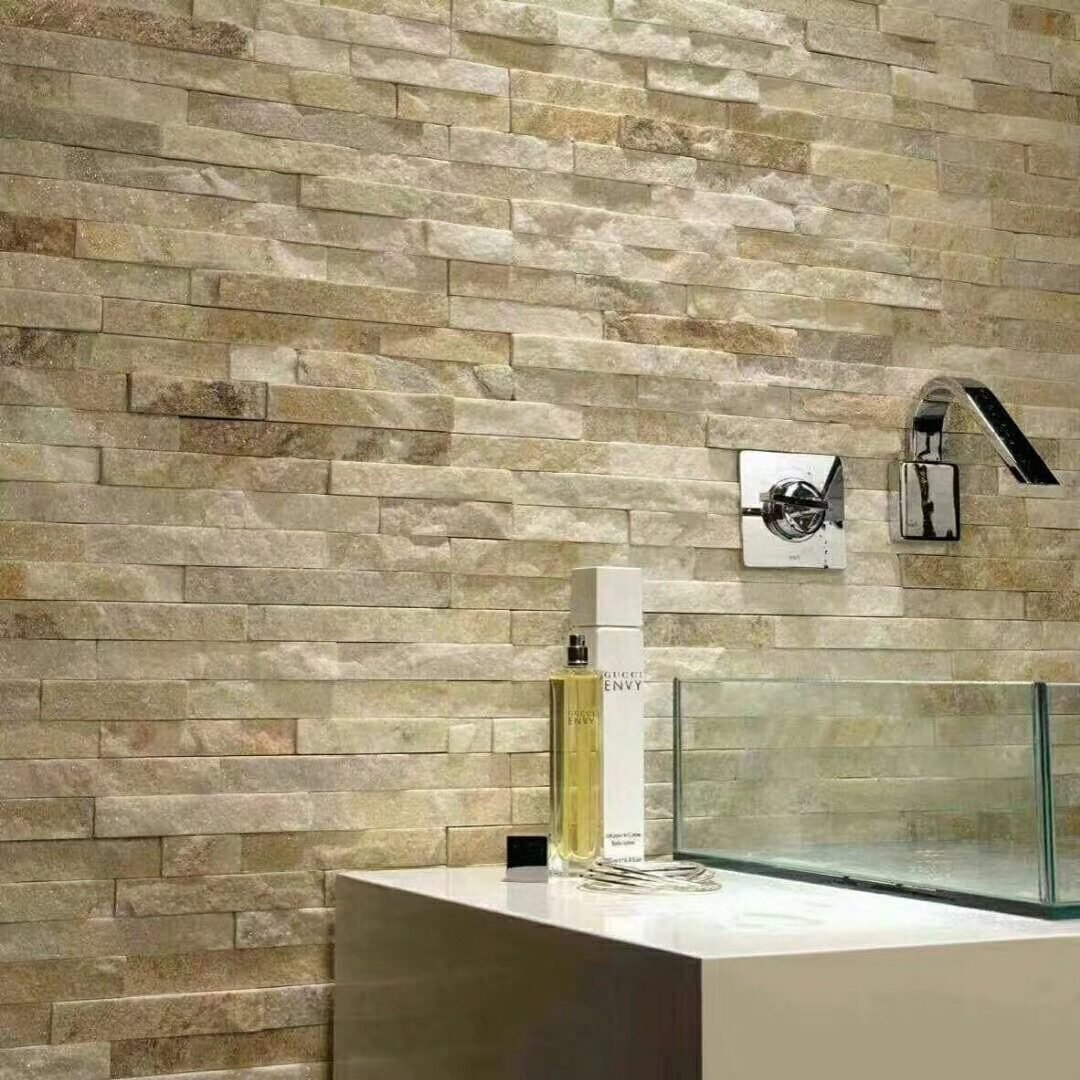
Key Takeaways
- Veneer bonds through cementitious mortar or epoxy, so the carrier must be rigid, stable, and moisture-tolerant — the stone is only as good as the surface behind it.
- Plywood and OSB are never a direct substrate for adhered veneer; they swell and shrink with moisture and break the bond. Exterior walls need a lath assembly over a weather barrier.
- Cement backer board is the best interior substrate: dimensionally stable, and it accepts direct thin-set or epoxy bonding.
- Metal lath + scratch coat over a weather-resistive barrier is the standard, code-aligned preparation for exterior veneer on framed walls.
- Thin veneer (10–20 mm) loads the substrate far less than full stone, but a rigid carrier is still non-negotiable.
Why the Substrate Matters More Than the Stone
Adhered veneer is a bonded system: stone, adhesive, carrier, and framing all act together. The stone is the most durable element in that stack — natural slate and quartzite are dimensionally stable, Class A fire rated, and unaffected by the temperature cycling that stresses other materials. The adhesive is engineered for the job. The weak link is almost always the carrier and how it is prepared.
Three forces work against a poorly chosen substrate. First, moisture movement: wood-based sheathing swells when wet and shrinks when dry, and every cycle flexes the bond line. Cementitious adhesive is rigid; it does not stretch. Second, differential movement: a substrate that expands and contracts at a different rate than the mortar transfers shear stress straight into the bond. Third, lack of a mechanical key: smooth or sealed surfaces give mortar nothing to grip, so the veneer hangs on chemical adhesion alone — a bond that degrades with moisture and age.
The consequence is invisible for years. Veneer failures rarely happen in the first season. They appear after repeated wet-dry or freeze-thaw cycles, when the accumulated movement finally exceeds the bond strength. By then the installer is long gone and the distributor gets the call. Specifying the right substrate up front is the cheapest insurance in the entire cladding scope.
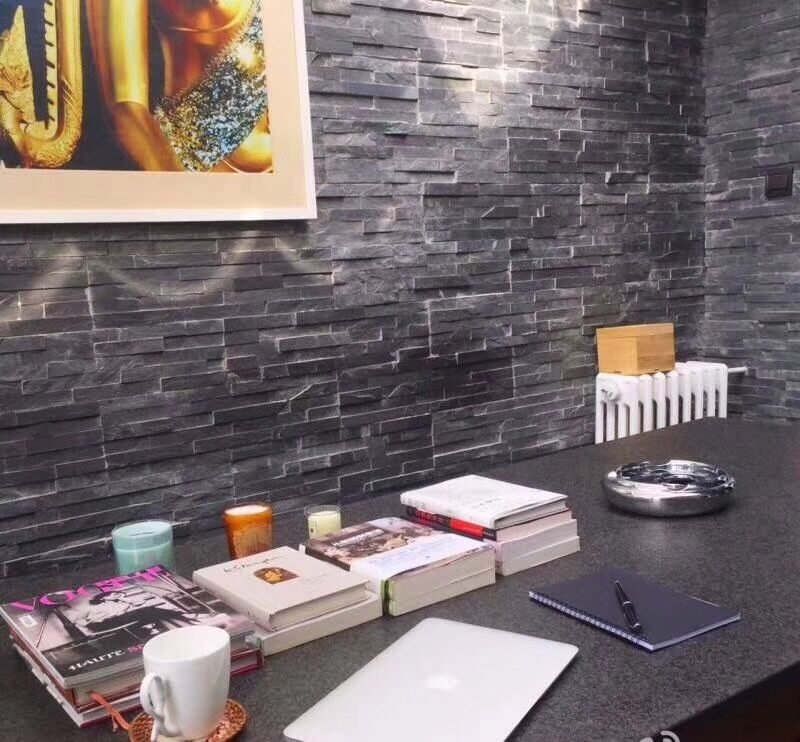
The Three Substrates Compared
The table below is the spine of this guide. It compares the three carrier options across the properties that decide whether a bond survives. Read the verdict column first, then the sections that follow for the reasoning and the preparation steps.
| Property | Plywood / OSB | Cement Board | Metal Lath + Scratch Coat |
|---|---|---|---|
| Direct mortar bond | No | Yes | Yes (to scratch coat) |
| Dimensional stability | Poor — swells/shrinks with moisture | Excellent | Excellent once cured |
| Moisture tolerance | Low — needs protection | High | High with weather barrier |
| Typical use | Structural sheathing only (not a bond surface) | Interior feature walls, fireplaces | Exterior veneer on framed walls |
| Exterior rating | Not as a direct substrate | Limited / protected | Yes — standard method |
| Extra materials | Weather barrier + lath + scratch coat | Fasteners, joint tape, thin-set | Weather barrier, lath, fasteners, mortar |
| Skill level | — | Moderate | Higher — masonry trade |
| Verdict | Never bond directly | Best interior carrier | Best exterior carrier |
The pattern is clear. Plywood and OSB are structural sheathing — they hold the building together, but they are not a bond surface. Cement board is the interior workhorse. Metal lath and scratch coat are the exterior standard. The sections below walk through each option so you can defend the choice to a client or inspector.
Plywood and OSB Sheathing: Structural, Not a Bond Surface
Plywood and oriented strand board (OSB) are the default sheathing on wood-framed walls, so installers often assume veneer can go straight onto them. It cannot — at least not directly, and not anywhere moisture can reach the wall.
The problem is movement. Wood sheathing absorbs and releases moisture with every change in humidity, swelling and shrinking across the panel. Cementitious adhesive cures rigid. When the substrate cycles and the adhesive cannot flex, shear stress concentrates at the bond line until the veneer releases. This is not a theoretical failure mode — it is the most common cause of exterior veneer delamination on framed construction. A related risk is that persistent moisture trapped against wood sheathing promotes rot, turning a cosmetic failure into a structural one.
None of this means the framing is wrong. Plywood and OSB remain the correct structural sheathing; they simply must be isolated from the veneer. On exterior walls, the sheathing receives a weather-resistive barrier, then metal lath, then a scratch coat — the assembly described in the lath section below. The wood carries the load; the lath and scratch coat carry the stone.
For interior applications where the wall will stay dry, the cleaner path is to fasten cement board over the framing and bond to that. Bonding veneer to plywood in a dry interior “because it is already there” trades a small material saving for a long-term liability. It is not a shortcut worth taking.
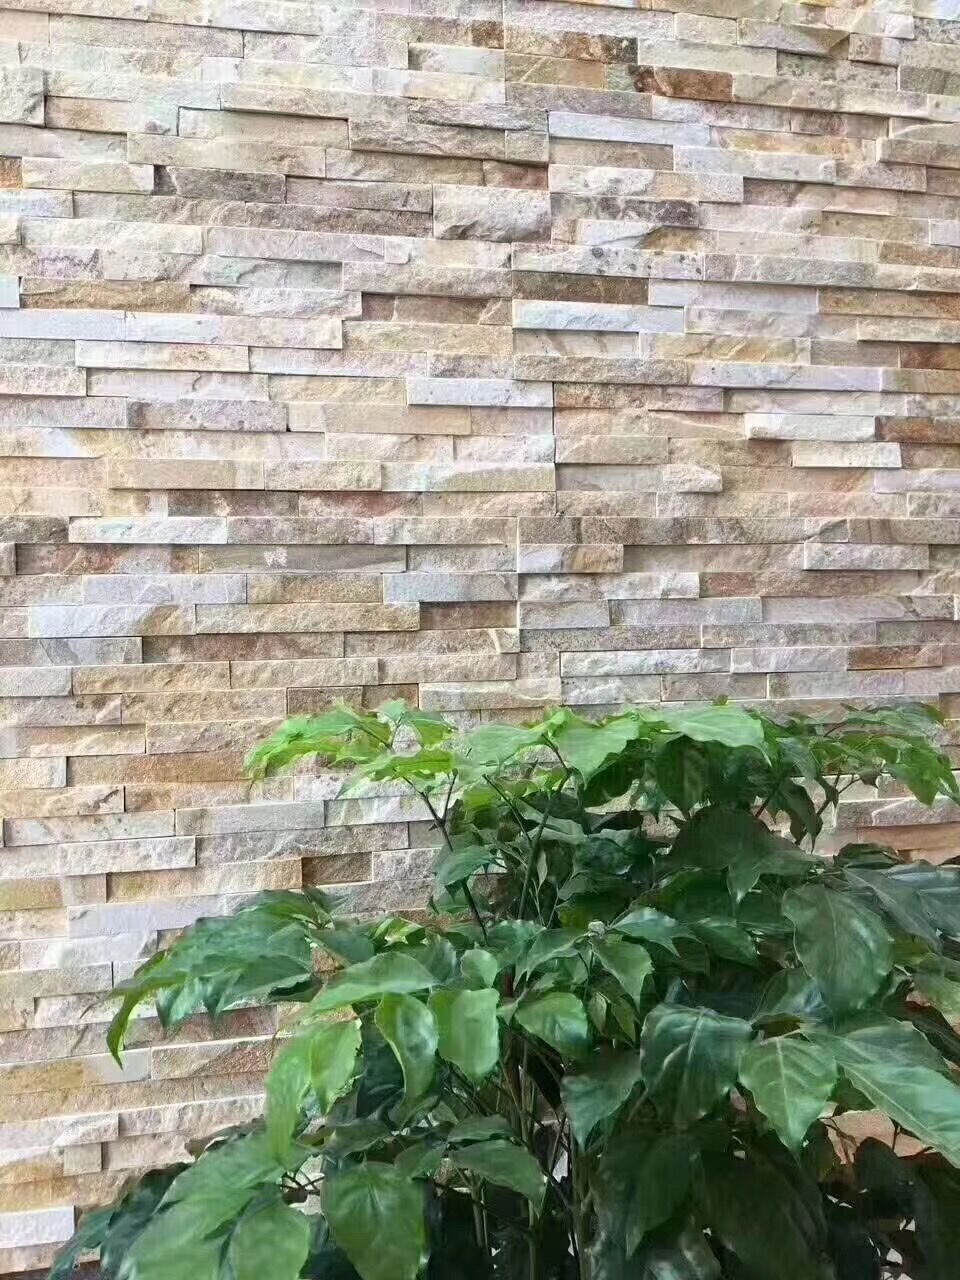
Cement Backer Board: The Interior Standard
Cement backer board is the substrate of choice for interior adhered veneer — feature walls, fireplace surrounds, and any application where the wall stays dry. It solves the two problems that disqualify wood sheathing: it is dimensionally stable under humidity change, and its surface is cementitious, so it bonds chemically and mechanically with the same adhesives used to set the stone.
The preparation is straightforward. Fasten the board to rigid framing with the manufacturer’s specified screws and spacing, leaving a small gap at joints. Tape and fill the joints with alkali-resistant mesh tape and thin-set, so the surface acts as a single plane. Then bond the veneer directly with a polymer-modified cementitious adhesive or, where the substrate and application call for it, a marine-grade epoxy. Top Stone Panels supplies its panels with cement backing or mesh backing to suit exactly these bond methods — the epoxy vs cement backing comparison covers which bond fits which job.
Two cautions. First, cement board is only as rigid as the framing behind it. A wall that flexes will crack a cementitious bond regardless of the board quality, so verify stud spacing and add blocking where needed before the board goes up. Second, cement board is not a waterproofing layer. In wet areas it must be paired with a waterproofing membrane behind or on top of the board, depending on the assembly. Our guide to waterproofing behind stone veneer details the membrane choices.
Cement board’s one limitation is exposure. It handles interior moisture well, but long-term weather exposure on an unprotected exterior is not its intended service. For exterior veneer on framed walls, the lath assembly is the correct carrier.
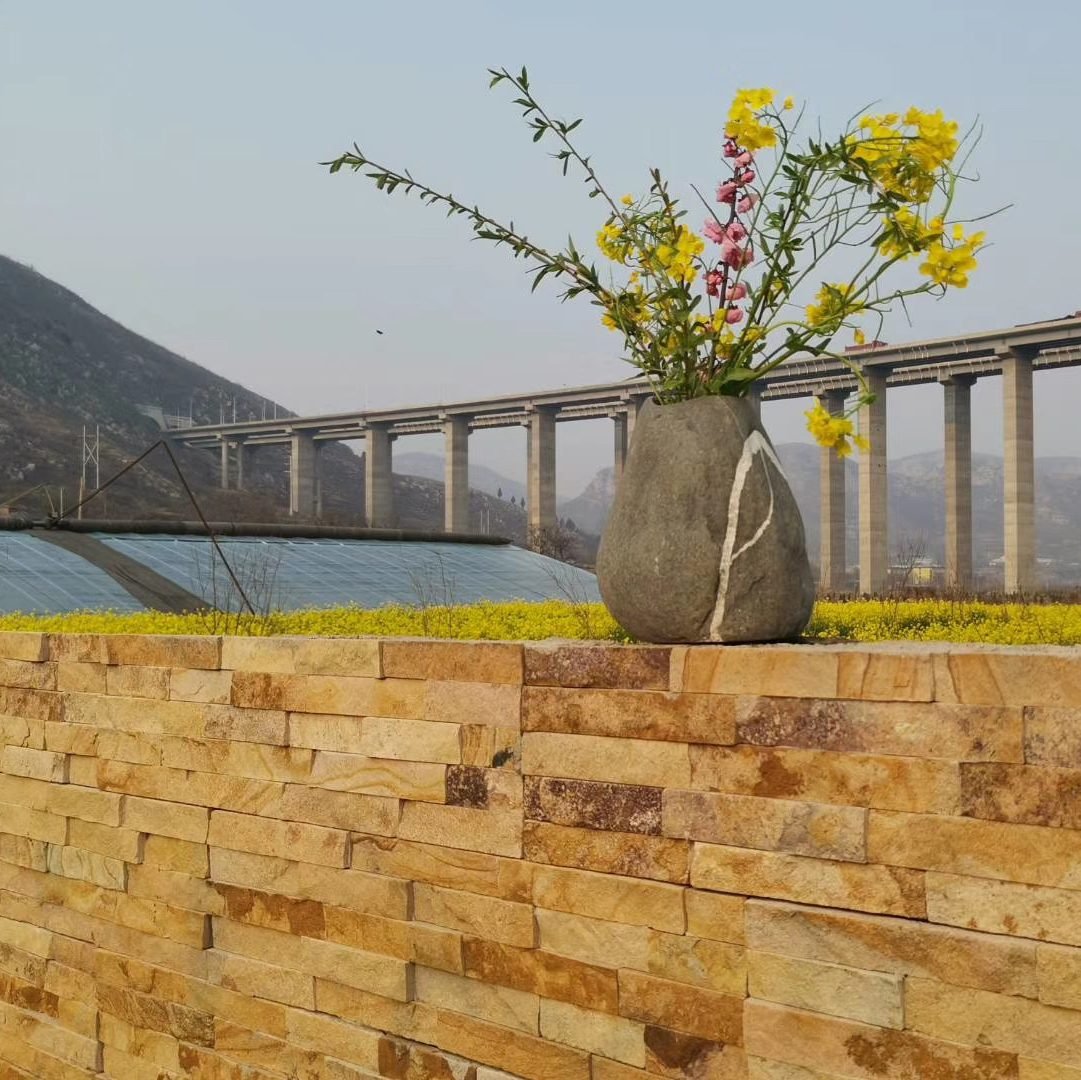
Metal Lath and Scratch Coat: The Exterior Standard
For exterior adhered veneer on wood or steel framing, metal lath over a weather-resistive barrier is the standard, code-aligned preparation. It is the method referenced throughout ASTM C1780 for cement-based adhered masonry veneer, and it addresses every failure mode that defeats wood sheathing.
The assembly builds outward in layers. Over the structural sheathing goes a weather-resistive barrier — building wrap or two layers of grade-D paper — which sheds any moisture that passes the veneer and protects the framing. Over the barrier, galvanized metal lath is fastened through to the studs with corrosion-resistant fasteners, laps at joints, and wraps cleanly around openings. The lath is then coated with a Portland-cement scratch coat, troweled to a consistent thickness and keyed or scratched to provide a textured surface for the setting bed. Once cured, the lath-and-scratch-coat shell is a rigid, cementitious, moisture-tolerant carrier that behaves like masonry — and that is exactly what the stone adhesive wants to bond to.
Three details decide whether the assembly performs. First, fastener type and placement: corrosion-resistant fasteners driven into framing members, not just the sheathing, because the lath must transfer the veneer’s weight to the structure. Second, a continuous weather barrier with sealed seams and proper flashing at openings — the window and door opening guide covers those transitions, which are where most exterior water entry occurs. Third, adequate cure time on the scratch coat before setting stone, so the carrier has reached its strength.
This is a masonry-trade task and carries more labor than the interior methods. That cost is not optional on exterior framed walls — it is the difference between a system that sheds weather and one that traps it. On solid substrates such as concrete or concrete block, the assembly changes: veneer can bond directly to the masonry with the right adhesive, as covered in our guide to installing stone cladding on concrete block walls.
Landscape concrete block takes the same bonded panel system; see our retaining wall veneer installation guide for the mortar, lath, and drainage checklist.
Need Panels Sized for Adhered Installation?
Top Stone Panels cuts thin stone veneer, stacked stone, ledgestone, and interlocking Z-panels to formats engineered for cementitious or epoxy bonding, with cement, mesh, or marine-grade epoxy backing to match your substrate.
10–20 mm thin veneer · Class A fire rated · -30°C to +50°C | MOQ 1×20GP | Samples in 1–3 days
Which Substrate Fits Your Project
The decision reduces to location and what is already on the wall. Use this table to map a project type to the correct carrier and the bond that goes with it.
| Project Type | Recommended Substrate | Bond Method |
|---|---|---|
| Interior feature wall (dry) | Cement board over rigid framing | Polymer-modified thin-set or epoxy |
| Fireplace surround | Cement board over framing or masonry | High-temperature thin-set or epoxy |
| Interior wet area | Cement board + waterproofing membrane | Polymer-modified thin-set |
| Exterior veneer, framed wall | Weather barrier + metal lath + scratch coat | Cementitious setting bed |
| Exterior veneer, concrete / CMU | Existing masonry (prepared, sound) | Cementitious adhesive or epoxy |
| Over existing wood sheathing | Weather barrier + lath + scratch coat | Cementitious setting bed |
The stance here is unambiguous. For interiors, specify cement board and bond directly. For exteriors on framed walls, specify the lath-and-scratch-coat assembly and do not accept shortcuts. Plywood and OSB are never the bond surface in either case. If a contractor proposes setting veneer straight onto sheathing to save a day of labor, that is a red flag worth stopping the job over.
Panel weight factors into the decision too. Full-thickness stone is heavy enough to demand engineered support, but Top Stone Panels’ thin veneer is cut to roughly 10–20 mm, so it places far less demand on the carrier and the framing. That lightness makes adhered installation practical on standard construction — it does not remove the need for a rigid, stable carrier. The veneer thickness guide explains how format and thickness map to different substrates and applications.
Preparation Steps That Apply to Every Substrate
Whatever carrier you choose, the same preparation discipline applies. These are the checks that separate a lasting bond from a callback.
- Verify rigidity first. Deflection in the framing defeats every substrate. Check stud spacing, add blocking behind joints and edges, and stiffen any wall that flexes before the carrier goes up.
- Make the surface sound and clean. Dust, paint, sealers, and loose material prevent adhesion. The carrier must be clean, sound, and free of anything that acts as a bond breaker. On masonry, that may mean mechanical profiling first.
- Protect against moisture at the right layer. Exterior walls need a continuous weather-resistive barrier with sealed seams and flashed openings. Interior wet areas need a waterproofing membrane. Match the barrier to the assembly rather than omitting it.
- Match the adhesive to the substrate and the backing. Cement-backed panels bond with polymer-modified thin-set; mesh-backed or demanding applications may call for marine-grade epoxy. Confirm compatibility before the first panel is set.
- Plan corners and transitions before setting field panels. Outside corners are where substrate and veneer both get tested. Pre-made L-corner pieces give clean 90° returns without on-site miter cutting — see the corner cutting and fitting guide.
- Lay out and dry-fit. A dry layout catches substrate irregularities before adhesive is involved and keeps joints consistent across the wall.
With the substrate prepared, the installation itself is a repeatable sequence. Our exterior thin stone veneer installation guide and the stacked stone step-by-step walk the full process from first course to finishing, and the mortar application guide covers mixing, coverage, and open time in detail.
Frequently Asked Questions
Can I install stone veneer directly onto plywood?
Not directly, and not for exterior work. Plywood and OSB swell, shrink, and delaminate with moisture, so cementitious adhesive loses grip over time. Over wood sheathing, install a weather-resistive barrier and metal lath, then a scratch coat, and bond the veneer to that. For interior dry areas, cement board over the framing is the safer carrier.
What is the best substrate for exterior stone veneer on a framed wall?
Metal lath fastened over a weather-resistive barrier, covered with a Portland-cement scratch coat, is the standard preparation for exterior adhered veneer on wood or steel framing. The lath provides a mechanical key, the scratch coat creates a stable cementitious surface, and the assembly tolerates the moisture cycling that exterior walls face. This approach aligns with the ASTM C1780 installation practice for adhered masonry veneer.
Is cement board strong enough to hold stone veneer?
Yes, when it is the right thickness and properly fastened. Cement backer board is dimensionally stable and bonds directly with cementitious adhesive or marine-grade epoxy, which makes it the preferred interior substrate for feature walls and fireplace surrounds. Verify the framing behind it is rigid; a flexible wall will crack any cementitious bond regardless of the board.
Do I need a moisture barrier behind stone veneer?
On exterior walls, yes — a weather-resistive barrier (building wrap or two layers of grade-D paper) goes between the sheathing and the metal lath. Interior wet-area installations use a waterproofing membrane instead. Skipping the barrier lets moisture reach the sheathing, which is the most common hidden cause of veneer failures on exterior walls.
How heavy is thin stone veneer compared to full stone?
Thin stone veneer from Top Stone Panels is cut to roughly 10–20 mm, so it weighs a fraction of full-thickness stone and places far less demand on the substrate and framing. Lighter panels are more forgiving of substrate imperfections, but they still require a rigid, stable, cementitious or properly prepared carrier — the substrate choice rules apply regardless of panel weight.
Conclusion
A stone veneer installation is a system, and the substrate is its foundation. Choose the carrier by location, prepare it rigorously, and match the adhesive to both the substrate and the panel backing — and the stone will outlast the building around it. Cut corners on the carrier, and the stone becomes the visible record of that decision a few winters later.
- Plywood and OSB are structural sheathing, never a direct bond surface — isolate them with a weather barrier and lath assembly.
- Cement backer board is the interior standard: stable, cementitious, and ready for direct thin-set or epoxy bonding.
- Metal lath + scratch coat over a weather-resistive barrier is the code-aligned exterior method on framed walls (ASTM C1780).
- Rigidity, cleanliness, moisture protection, and adhesive compatibility are non-negotiable on every substrate.
Ready to specify panels for a prepared substrate? Top Stone Panels supplies thin veneer, stacked stone, ledgestone, and Z-panels with the right backing for each bond method — request samples (1–3 day dispatch) or a container quote at topstonepanels.com. MOQ is one 20GP container, with production in 20–25 working days.



