Stone veneer caps and coping are where most cladding jobs quietly go wrong. A buyer orders the panels, the L-corners, and the adhesive, and the estimator pencils in the top course last or leaves it to the installer to improvise on site. The top of the wall is the only surface that faces straight up into rain, snow, and debris — and it is the cheapest part of the assembly to get right at the factory.
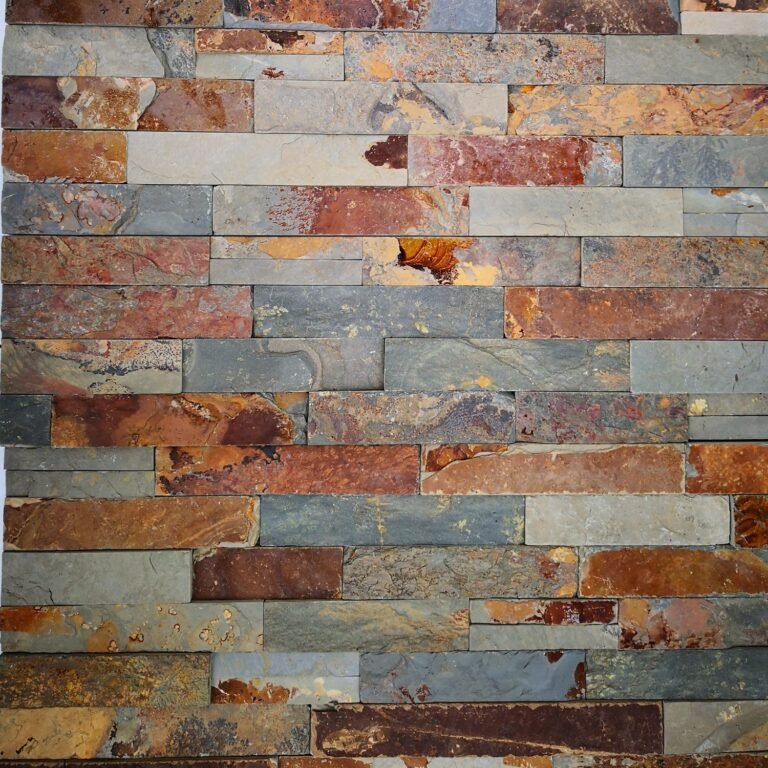
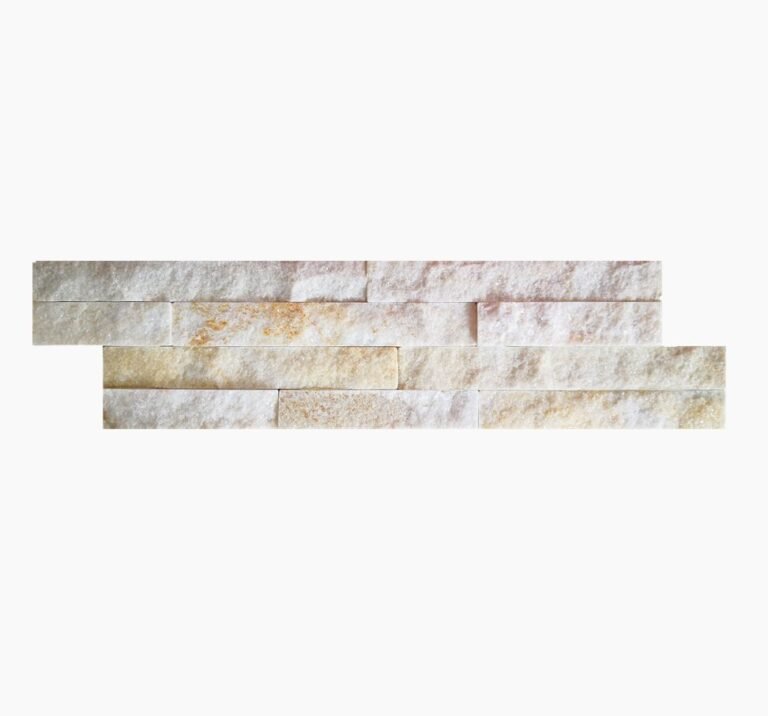
The numbers explain why the cap matters more than its cost suggests. Natural slate and quartzite from Top Stone Panels carry a -30°C to +50°C temperature rating and shrug off salt spray and high humidity, but that performance assumes the cladding system is not being fed water from above. Stacked stone panels are cut to 15x60cm and 15x55cm on infrared CNC diamond blades; cap and coping pieces are cut the same way, from the same quarry vein, so the finished edge reads as one material. Batch-specific vein selection keeps color transition consistency above 95% across an order.
This guide covers what caps and coping actually are, why an open top fails first, the profiles that shed water, the sizing rules that hold up in cold climates, and what to send a factory so the cap order matches the wall the first time.
- Caps and coping are the horizontal finished courses on top of veneer walls, parapets, and columns; they shed water before it reaches the vertical face.
- An open top is the main entry point for freeze-thaw damage; dense natural slate and quartzite hold -30°C to +50°C only when the assembly stays dry.
- A working cap overhangs the face to form a drip edge and slopes to drain — flat, un-capped tops collect water and fail first.
- Top Stone Panels makes pre-assembled stone column kits with pillar caps at custom cross-sections such as 40x40cm or 50x50cm.
- Cap pieces are IR CNC cut to tight tolerance and graded in the same batch-specific vein selection, keeping color consistency above 95%.
- Wholesale terms: MOQ one 20GP, samples in 1-3 days, production 20-25 working days, Zero-Breakage packaging.
What Stone Veneer Caps and Coping Actually Are
A cap is the finishing piece on top of a wall, a pillar, or a column. Coping is the same idea applied to the top of a parapet or a full wall run — a capping course that sheds water off both faces. In stone cladding vocabulary the two words overlap, and most suppliers use “cap” for the single-piece version and “coping” for the full-length course. Both sit above the veneer and both do one job: keep water off the exposed edge.
The veneer below the cap is a drainage-friendly system. Stacked stone panels at 15x60cm and 15x55cm are adhered to a substrate with marine-grade epoxy or cement/mesh backs, and the joints shed water down the face. The top edge has no face. Rain that lands on an open top runs straight down behind the panels, along the lath or the substrate, and collects where gravity stops — at the bottom of the wall, behind the cladding.
Cap versus coping versus capstone
Three terms come up in any cap order. A cap is the generic finishing piece. Coping is the wall-top course, often fabricated in long pieces with a dripline cut underneath. A capstone is the crown piece on a column or pillar — the stacked stone column kits Top Stone Panels ships include these as standard, cut to custom cross-sections like 40x40cm or 50x50cm with the cap profile specified by the buyer.
For a distributor setting up a product list, the practical distinction is this: wall versus column. Wall runs take coping profiles in straight lengths; columns and pillars take capstones sized to the shaft. Order both from the same vein and the project reads as one material.
Why an Unfinished Top Fails First
Water does not damage natural stone cladding quickly — the stone itself is dense and stable. Slate and quartzite handle extreme temperature swings from -30°C to +50°C, resist UV fading, and stand up to salt spray in coastal projects. What fails is the assembly, and the assembly fails in freeze-thaw cycles when water is trapped behind it.
Follow one winter cycle on an un-capped wall. Rain runs into the open top, soaks the mortar or adhesive bed and the substrate behind the panels, then freezes. Ice expands roughly 9% by volume. Repeated cycles pop panels off their bedding, crack the joint sealant, and stain the face with efflorescence as dissolved salts crystallize. The stone did not weaken; the water got in because nothing would shed it.
Where the damage shows up first
Failures cluster at the top two courses of a wall, at the inside corners where water pools, and on columns where the shaft meets the cap. Contractors who have stripped a failed veneer job can usually point to the top edge as the entry point. Our freeze-thaw resistance guide covers the density argument in detail; the short version is that storage of water behind the face — not the stone’s own tolerance — is the variable that kills cladding in cold climates.
A capped top converts the assembly from a container into a wall. Water hits the cap, runs to the overhang, and drips clear of the face. That one detail is why many exterior wall guarantees in cold regions are written around a proper capping detail.
Cap and Coping Profiles That Shed Water
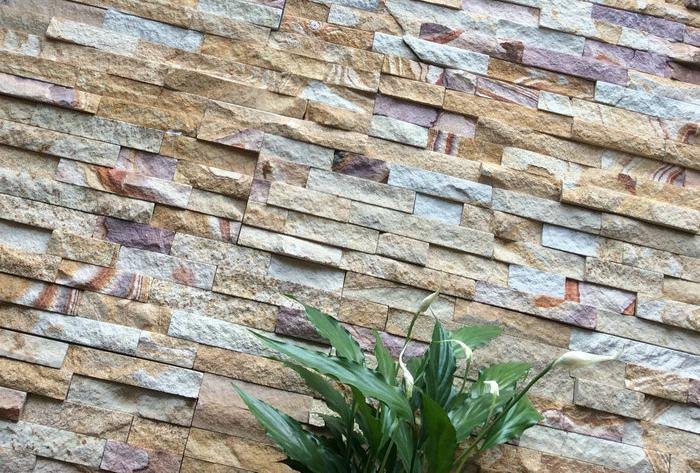
Profiles matter because the cap has to move water horizontally, not just sit on top of the wall. A flat, flush cap still lets rain sit and creep over the edges. The profiles below are the working set used on natural stone cladding projects.
| Profile | Look | Water behavior | Best for |
|---|---|---|---|
| Flat cap | Clean single slab | Relies on slope and drip edge | Modern linear facades, interior walls |
| Beveled / shedding cap | Sloped face, one-way drain | Fastest water shed off one side | Garden walls, parapets, pools |
| L-shaped / two-piece coping | Leg wraps over the veneer face | Drip edge built into the leg | Exterior walls, freeze-thaw zones |
| Bullnose cap | Rounded outer edge | Sheds water, softer look | Columns, hearths, seat walls |
| Pillar capstone | Stepped or slab crown on a shaft | Overhangs the column face all around | Gate posts, porch columns |
The dripline is the detail that matters
Whatever the profile, the underside of the overhang needs a cut groove — the drip groove — about 10 to 20 mm behind the outer edge. Water traveling along the underside hits the groove, loses surface tension, and drops straight down instead of crawling back toward the wall face. Natural Stone Institute design guidance treats an effective drip as part of a proper coping detail, and it is the difference between a dry face and a streaked one.
On modern walls buyers sometimes skip the slope and rely on the drip groove alone. That works on low-traffic interior features. On exposed exterior walls, spec a slope of roughly 5 to 10 mm per 300 mm of cap width, or the drip edge six-plus centimeters above the veneer face on an L-profile, and the water does not get a chance to test the sealant.
Sizing Rules: Thickness, Overhang, and Slope
Cap pieces are thicker than wall panels for a mechanical reason: an overhanging slab of stone is a small cantilever, and thin edges chip at the drip. Factory practice is to cut caps beyond the 15 mm to 40 mm span used for veneer panels, with 30 mm to 50 mm as the common working range for wall coping and column caps. Thicker material also takes an IR CNC cut profile without fracturing the edge.
| Element | Typical rule | Why it matters |
|---|---|---|
| Cap thickness | 30-50 mm for coping; thicker for wide spans | Stops edge chipping at the drip and under load |
| Overhang | 20-40 mm past the veneer face | Creates the drip edge water must clear |
| Slope | 5-10 mm per 300 mm of width | Moves water off instead of pooling |
| Column cap overhang | Equal on all four sides | Keeps the crown balanced on the shaft |
| Joint spacing | 6-10 mm, sealed with flexible sealant | Lets thermal movement happen in the joint |
These ranges are working figures, not fixed grades; the factory sets the exact thickness from the cap width, the profile, and the span it must cover. That is why the cylinder of information you send matters more than guessing a number.
Matching Caps to Your Stone Veneer System
The cap has to match the wall in two ways: color and edge character. Color matching is a factory discipline, not a site craft. Top Stone Panels locks an order to a single quarry vein, and workers sort by batch-specific vein selection so the natural variation stays coordinated — the documented consistency target is above 95%. When caps come from the same vein, the crown of the column reads as part of the same stone; when they are sourced separately, the cap becomes a hard horizontal line of different tone.
Edge character follows the product family. A stacked stone wall uses stacked ledger faces, so its cap should carry the same split-face texture on the exposed edge rather than a knife-edge sawn finish. A thin ledgestone wall with 36x10cm mini ledgestone accepts a crisp sawn cap that echoes the linear pattern. The factory can cut the same profile two ways — split-face edge or sawn edge — and the choice changes the whole reading of the elevation.
Contrast is a deliberate decision
Matching is the safe option; contrast is a design option. A darker quartzite cap on a grey slate wall, or a cream cap on a charcoal wall, is a strong modern signal. Buyers who want contrast should still order from the same factory so the cut quality and finish match, then use the color mix conversation to set proportions. Custom color mix is a standard OEM input at Top Stone Panels, so the contrast ratio is decided before production, not on the truck.
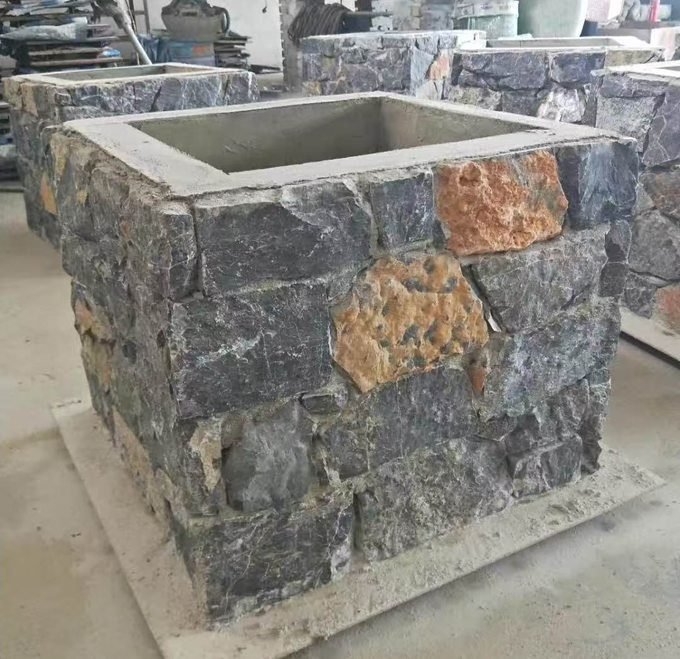
For corners, the cap should integrate with the L-corner system. Pre-made L-corner sets keep the vertical corners crisp; the cap either miter-cuts at the corner or turns with its own corner piece. Ask for corner caps in the same batch when the wall turns, so the profile and the vein stay continuous.
How Factories Cut and Pack Cap Pieces
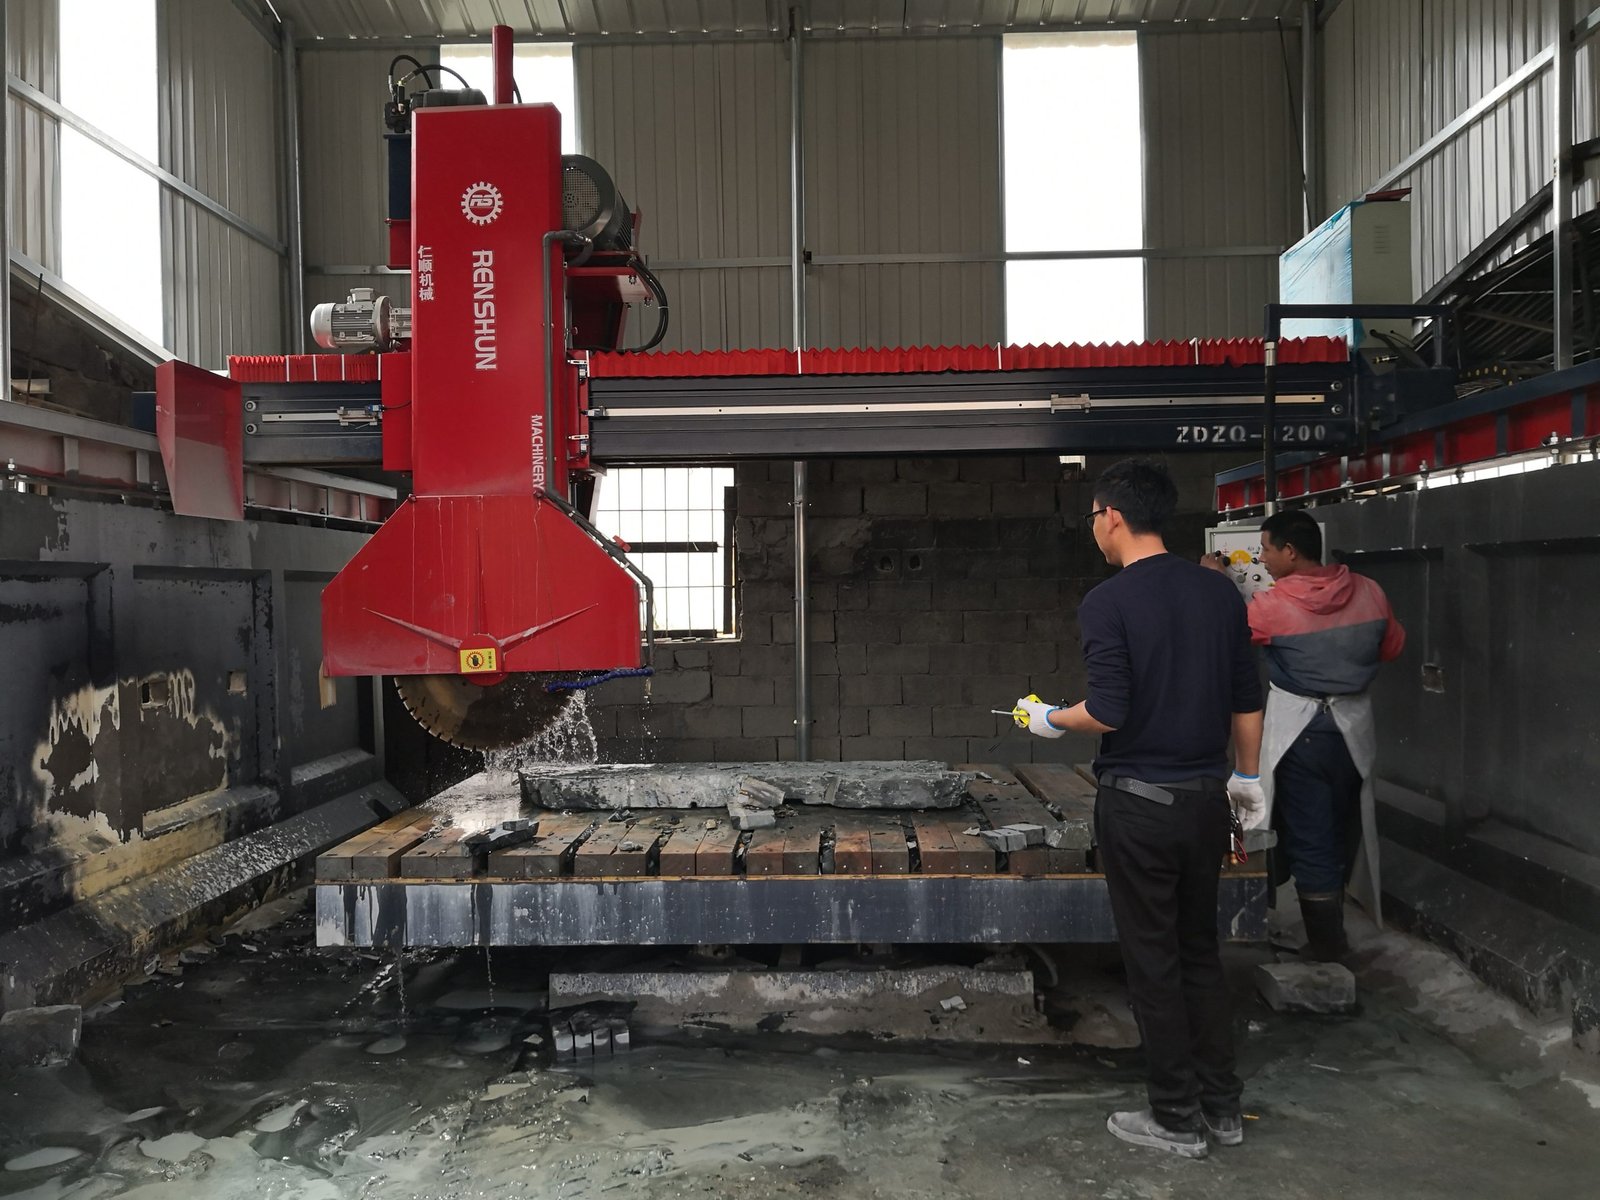
Cap fabrication is a precision operation because the pieces are thicker and free-standing. Top Stone Panels cuts with infrared CNC diamond blades — the same precision lines that keep on-site cutting waste near zero — and runs every order through a rigid 3-step QC flow: raw material selection, in-process re-inspection, and pre-shipment final inspection. A cap batch gets the same thickness tolerance checks as the panels, so the pieces lay flat and the drip groove is consistent along the length.
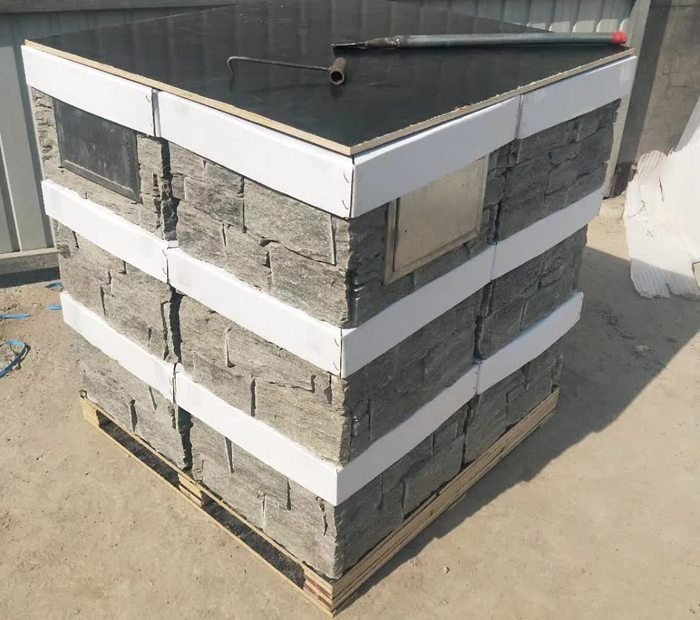
Packing is where caps are most often damaged in transit, because they are thick and heavy relative to their footprint. Cap pieces ship under the same Zero-Breakage Packaging Protocol as panels: hardened cartons or crates, ISPM-15-exempt plywood pallets, 4-6 high-tension steel straps, and industrial air bags inside the container. The factory supplies a loading video before final payment, so the buyer sees the straps and air bags in place before the balance clears.
Ordering Caps and Coping Wholesale
Every cap order starts with a short list of facts. Send the wall height and total linear run, the profile you want, the cap width and thickness you need, the corner count, and the stone color or an approved physical sample. If columns are involved, add the shaft cross-section — 40x40cm or 50x50cm are the standard Top Stone Panels kit sizes — and the capstone profile. The factory runs a design-for-manufacturing check against the container plan, and its laboratory can reverse-engineer a physical sample you mail in within 3 days.
Wholesale terms run on the same rhythm as panel orders. MOQ is one 20-foot container per product line. Physical samples ship in 1-3 days. Standard production takes 20-25 working days, and a first order with custom packaging runs 25-30 working days. Payment is 30% T/T deposit and 70% before shipment, with layout photos and the loading video provided for confirmation first. Shipping is FOB Xingang, EXW, CIF, or DDP depending on the buyer’s logistics setup.
Estimating cap quantity
Count the linear meters of wall top and divide by the cap piece length, then add 3-5% waste for cuts at corners, returns, and damaged pieces — the same logic as the veneer quantity formula but along one dimension. For columns, one capstone plus one corner cap per column, and spares on high-count gate jobs.
Distributors who price caps as a separate line item in their catalog — rather than folding them into the panel square-meter price — protect their margin. The cap carries a per-piece premium because it is thicker, profiled, and hand-packed; the cladding cost breakdown walks through how FOB quotes are composed so the premium is visible instead of surprising.
FAQ
What is the difference between a stone cap and coping?
A cap is the finishing piece on top of a wall, pillar, or column. Coping is the capping course on a wall or parapet top that sheds water off both faces. The terms overlap; both describe the horizontal water-shedding course above the veneer.
Do stone veneer walls need caps or coping?
Yes on exterior and wet-area walls. An open top lets water enter behind the panels, where freeze-thaw cycles cause delamination. A capped top is the single cheapest protection for a cladding investment.
What thickness should natural stone caps be?
Cap pieces are typically cut thicker than wall panels so they can overhang without chipping. The common working range for wall coping and column caps is 30-50 mm, with the exact thickness set from width, profile, and span.
Can caps match my stacked stone veneer color?
Yes. Factory batch-specific vein selection locks an order to one quarry vein, so cap pieces and wall panels stay within 95%+ color transition consistency across the order.
Do stacked stone column kits include pillar caps?
Yes. Top Stone Panels makes pre-assembled stone column kits with stone pillar caps, custom cross-sections like 40×40 cm and 50×50 cm, and buyer-specified cap profile and color.
How are stone caps packed for ocean shipment?
Caps travel under the same Zero-Breakage Packaging Protocol as panels: hardened cartons, ISPM-15-exempt pallets, 4-6 steel straps, and air bags, with a loading video supplied before final payment.
Conclusion
Caps and coping are a small line item with an outsized job: they decide whether water ever reaches the back of your cladding. On exterior walls in freeze-thaw zones, the top course is not a design detail — it is the waterproofing.
Your checklist before the next order:
- Confirm the profile sheds water: slope, overhang, and a drip groove on the underside.
- Set thickness above the panel range — the common band is 30-50 mm — and let the factory size it from the span.
- Order caps in the same batch-specific vein as the panels to hold 95%+ color consistency.
- Add column capstones with the shaft cross-section, and corner caps on turning walls.
- Verify packing: steel straps, air bags, and a loading video before the balance clears.
Top Stone Panels cuts cap and coping pieces from the same quarry slate and quartzite as its wall panels, with pillar caps on pre-assembled column kits. Send the linear run and the profile, and the factory confirms the rest.