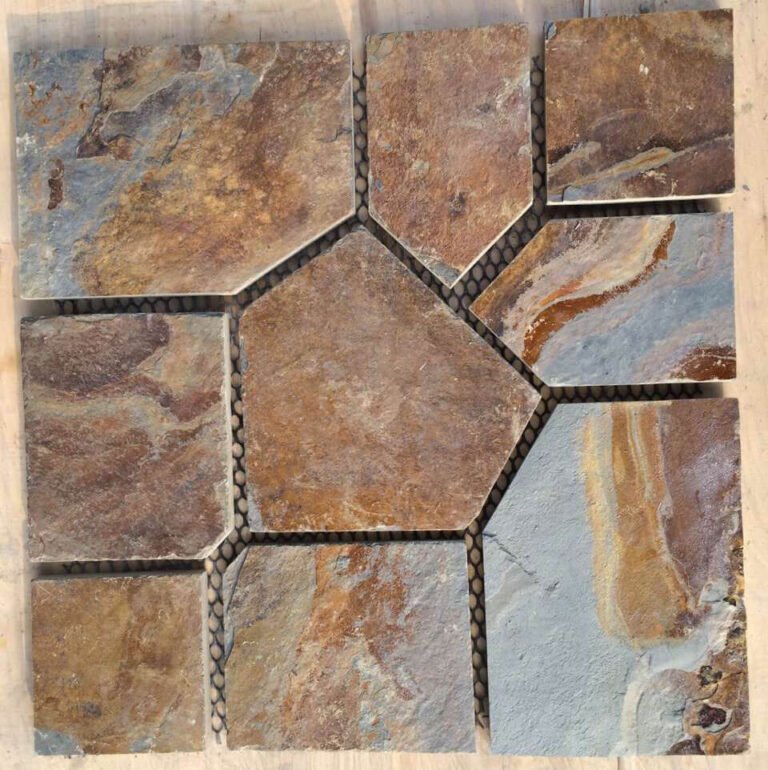
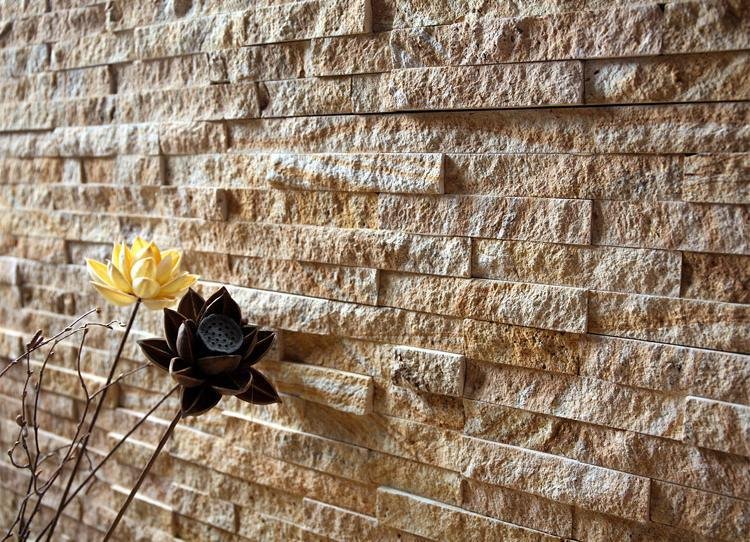
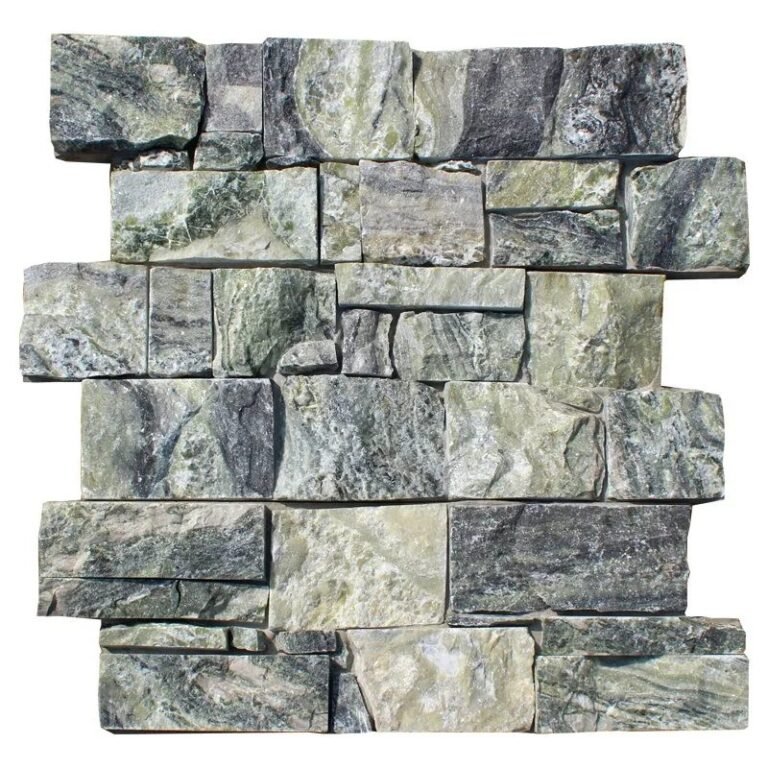
The kitchen spec called for a natural stone backsplash, and the client brought three tile samples: a tumbled marble, a glass subway, and a porcelain trying to look like stone. The installer laid the samples on the counter and asked one question that changed the job: why not use actual stone, cut into thin panels, and skip the tile grid altogether? The backsplash is only 3 to 5 square meters, but it is the wall the whole kitchen reads from, and the format decision decides whether that wall looks like tile or like quarry stone.
Stone veneer backsplash panels give a kitchen the split-face texture of real stone without the weight of full masonry. This guide explains why ledger panels beat tiles behind a counter, which formats fit the zone, how sealing and maintenance actually work, and how to source panels factory-direct from Hebei.
- A stone veneer backsplash uses thin natural stone panels in 36x10cm ledger or 15x60cm stacked formats instead of small tile units.
- Ledger panels win in the kitchen because they cover 3-5 m2 with fewer joints, bond to sound drywall, and weigh less per square meter than full stone.
- Natural slate and quartzite are non-combustible, so the backsplash near a range carries no flame spread of its own.
- Seal the face with a penetrating sealer, clean with a pH-neutral stone cleaner, and re-seal every 1 to 2 years.
- Samples ship in 1-3 days, production takes 20-25 working days, and the MOQ is one 20GP container from Tianjin Xingang.
- 1. What a Stone Veneer Backsplash Is
- 2. Tile vs Ledger Panels: The Honest Comparison
- 3. Why Ledger Panels Fit Kitchen Walls
- 4. The Formats That Work Behind a Counter
- 5. Color and Texture Against Kitchen Light
- 6. Sealing and Daily Maintenance
- 7. Codes, Clearances, and Outlets
- 8. Backing Math for a Backsplash
- 9. Sourcing: Samples, MOQ, and the Container Math
- FAQ
- Conclusion
1. What a Stone Veneer Backsplash Is
A stone veneer backsplash is thin natural stone applied to the wall between the countertop and the upper cabinets. The panels are 100 percent natural slate or quartzite, split-faced so each piece keeps the rough texture of a quarry face, and factory-sized so the crew covers the zone in panels instead of hundreds of small units.
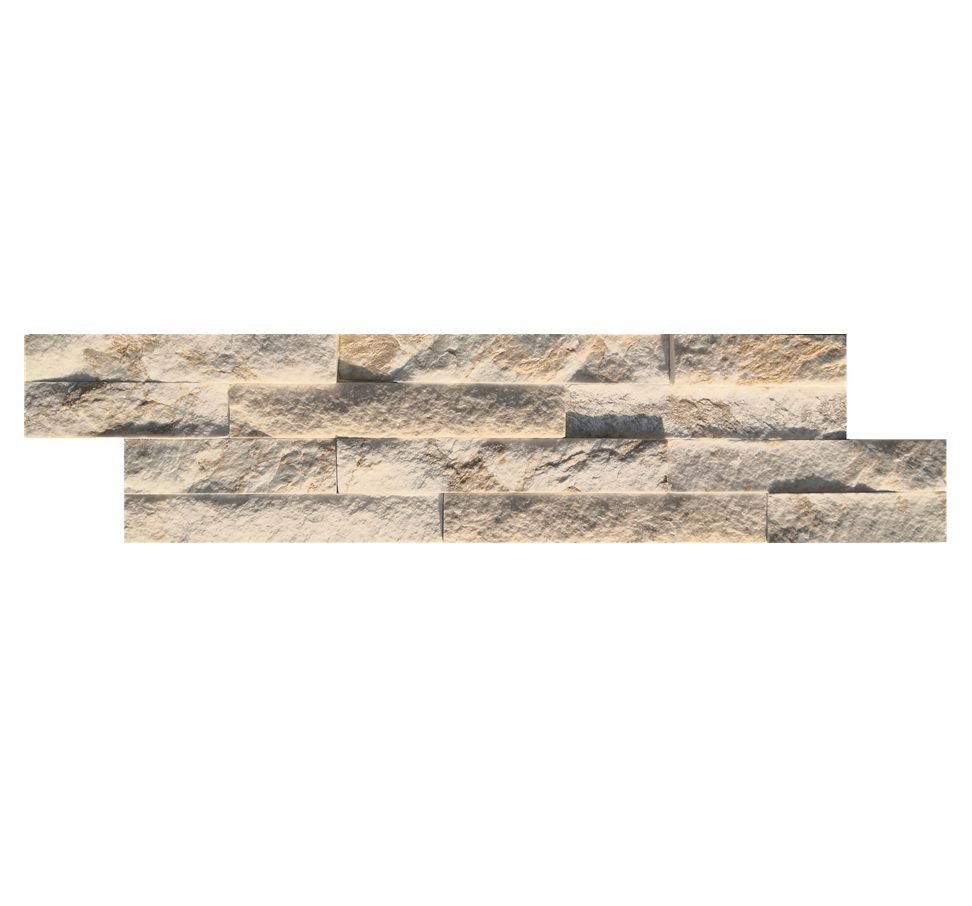
The factory builds the backsplash formats with the same discipline as the wall program. Slate and quartzite come from the same quarry vein, color-sorted by batch so one tonal band runs through the project, cut with infrared CNC diamond blades, and bonded to marine-grade epoxy or cement and mesh backings. What arrives at the job is a panel with a stable backing edge, not a collection of irregular field stones.
The backsplash is the smallest stone wall in most houses, and it gets more scrutiny than any other. It sits at eye level, catches kitchen light, and collects the first glance of guests. A tile wall reads as a grid of glaze and grout; a ledger panel wall reads as a single split-face stone plane. That visual difference is the whole reason the format matters.
2. Tile vs Ledger Panels: The Honest Comparison
The comparison starts with the joint, because joints are what a backsplash is mostly made of. Ceramic and porcelain tile arrive as small units, so a standard 60x60cm backsplash zone needs a grid of grout lines, and the grout is the part that stains, cracks, and collects grease over time. Ledger panels arrive as larger natural stone units, so the same zone carries a fraction of the joint length.
| Decision | Ceramic or porcelain tile | Ledger stone panels |
|---|---|---|
| Joint lines | Grout grid across the whole zone | Course joints only; far less grout |
| Surface | Glaze or print layer | Natural split face, no glaze |
| Install pace | Many small units, spacers, and leveling | Set panels course by course |
| Maintenance | Grout cleaning and re-grouting | Seal and pH-neutral wipe |
| Fire behavior | Depends on glaze and body | Non-combustible natural stone |
| Wall depth | Thin body plus backing board | Ultra-thin ledger profile |
The two surfaces also age differently. Tile grout cracks in the movement zone between countertop and cabinet, and once a grout line stains, the fix is tedious. A sealed natural stone face wipes clean, and the joints, being few, have little surface to fail. For the same stone look, most buyers already assume tile; the ledger panel is the version that skips the grout problem.
The cost conversation changes too. Tile material is cheap in the box, but tile labor is expensive at 3 to 5 square meters because every unit is a separate operation. Ledger panels install faster per square meter, and the thin format loads more area per container, which lowers the landed cost on a factory-direct order. Buyers comparing the porcelain tile alternative can read the natural stone vs porcelain comparison for the full treatment.
3. Why Ledger Panels Fit Kitchen Walls
The ledger format is the right tool for a backsplash because it solves the three problems tile creates in a kitchen: weight, grout, and fire.
Weight. Full stone behind a counter would need a structural base. The 36x10cm ultra-thin ledger strip carries the same split-face texture in a profile light enough for sound kitchen drywall with approved thin-set. Installed it sits below the 35 to 55 kg per square meter band of stacked panels, which is the range that starts to demand lath or plywood backing. For a 3 to 5 square meter backsplash, the wall sees a modest, manageable load.
Grout. Ledger panels lay in horizontal courses with staggered joints. The narrow strip reads as a clean linear texture, and the joint plan is simple: run the course, stagger the seam, move up. Kitchen grease has fewer lines to attack, and the sealer does the rest.
Fire. The wall behind a range gets heat. Natural slate and quartzite are stone, not combustible, so the panel adds no flame spread of its own. The surface also holds its color under the heat and UV that a kitchen window or a cooktop throws at it. Building officials accept that behavior in the International Code Council model codes, where dense natural stone routinely qualifies for the lowest interior finish classification.
None of this means the ledger panel is the universal answer. It is the right answer where the design wants a split-face stone plane, the backing is sound, and the installer follows the adhesive and coverage rules. For every other kitchen, the choice belongs to the formats below.
4. The Formats That Work Behind a Counter
Top Stone Panels produces three formats that fit a kitchen backsplash, and the choice is a texture decision as much as a coverage decision.
| Format | Panel size | Coverage | Kitchen read |
|---|---|---|---|
| Thin ledgestone | 36x10cm strips | 0.036 m2 each, ~27.8 per m2 | Clean linear courses, modern |
| Stacked stone | 15x60cm panels | 0.09 m2 each, ~11.1 per m2 | Bolder texture, masonry feel |
| Thin veneer strips | Random-length strips | Irregular ashlar rhythm | Hand-cut, rustic character |
The thin ledgestone panel line is the standard answer behind a counter because the 36x10cm strip turns the corner of most inside returns without heavy cutting. The stacked stone panel family brings the stronger ledge texture when the kitchen wants a masonry wall. The thin stone veneer line ships random-length strips for a rustic, non-repeating ashlar pattern that hides the factory cadence completely.
Order the whole backsplash from one production batch. The factory sorts color per batch, and two batches from the same stone bed can shift a shade. A 3 to 5 square meter zone is small enough to keep in one batch, and holding one panel back for a future repair costs nothing.
5. Color and Texture Against Kitchen Light
Kitchen light is unforgiving, and it changes stone color twice a day. A north-facing kitchen in morning light reads a cream panel differently than a south-facing kitchen at noon under an LED task light. The practical fix is not to fight the light but to buy samples and hold them in the actual space before production.
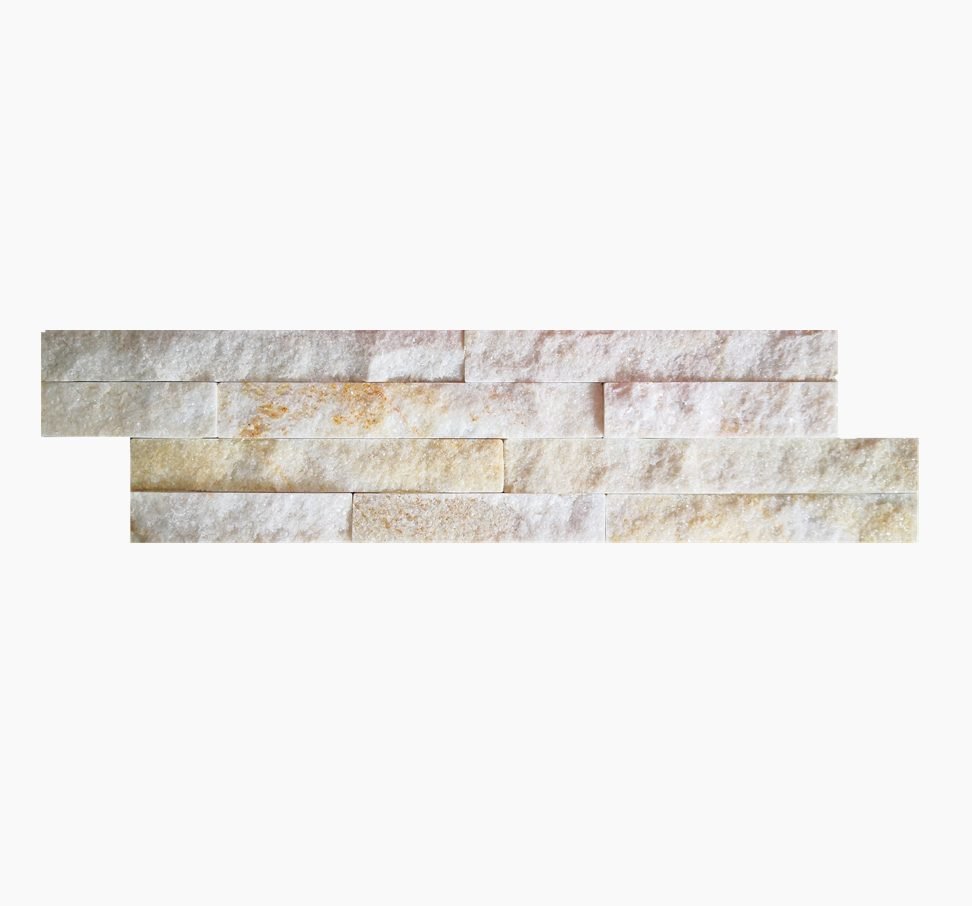
The ledgestone line covers the kitchen palette. Royal white and sparkle white quartzite read bright and clean for white kitchens. Cream and oyster quartzite carry the warm beige band that pairs with timber counters. Sparkle ice grey gives the neutral grey that works with stainless appliances. Rustic copper and bronze sparkle bring the darker accent tones for an island or a range-wall feature. Black slate and multicolor slate give the dramatic end of the range.
Texture choice follows the same logic as color. White kitchens take a tight, fine ledger texture without competing with the counters. Dark kitchens benefit from a bolder split face that holds light in the shadows. The split face is not a print; it is a mineral surface, so the texture stays honest in every light.
Set the batch at the same time as the color. Ask the factory to send physical samples in the two shortlisted colors, hold them behind the counter for a day, and approve the batch against the sample before production starts. Top Stone Panels ships samples in 1 to 3 days, which makes the sample pass a week-long step, not a month-long one.
6. Sealing and Daily Maintenance
Kitchens add the two enemies of a stone surface: grease and acid. The defense is a penetrating sealer applied before the wall goes into service, then a cleaning script the household can follow without thinking.
Specify a penetrating sealer for the backsplash, applied per the manufacturer’s schedule, usually two coats before first use. The sealer soaks into the face and slows absorption without changing the matte, split-face finish. Re-seal every 1 to 2 years in a working kitchen, and re-seal sooner if water starts to bead slowly on the stone.
Daily cleaning is a pH-neutral stone cleaner and a soft cloth. Acid cleaners and vinegar etch the split face, and alkaline degreasers leave a film that collects dust. The sealer protects the stone; the correct cleaner protects the sealer. Oil splatter near the range wipes with the neutral cleaner on a damp cloth, and a stubborn spot sits under the cleaner for a few minutes before wiping.
The joint lines matter in the maintenance plan too. Keep course joints tight and flush while setting, so there is no recess for grease to collect. If the design leaves open joints, seal them with the same penetrating sealer. The few joints of a ledger panel wall are a real advantage: there is simply less seam to maintain than on a tile grid.
7. Codes, Clearances, and Outlets
A backsplash touches plumbing, electrical, and fire jurisdictions, but the rules stay simple when the material is stone. Natural slate and quartzite are non-combustible stone, so the wall behind a range carries no flame spread of its own. The interior finish language of the International Code Council model codes accepts dense natural stone at the lowest classification in most jurisdictions. Local codes and the range manufacturer’s clearance labels are still the authority for the actual clearances.
Outlets are the detail that makes or breaks a backsplash install. Kitchen receptacles sit in the stone zone, and the clean result is a flush box: cut the drywall opening, install the box, then cut the panel to fit around it with a diamond blade. The panel edge meets the box flange, and the faceplate covers the gap. Never bridge a live outlet with adhesive and never bury a junction box behind a panel.
Where the backsplash meets the countertop, keep a continuous, clean line rather than a field edge. End the stone at a trim line or a metal reveal at the counter and along the range wall, and return the last course into the wall at an inside return. The same edge discipline that governs fireplace surrounds applies at a kitchen counter, and the ledger stone fireplace install steps show the full corner and return sequence in a related setting.
8. Backing Math for a Backsplash
The engineering question for a backsplash is simple: can the wall carry the stone? The honest answer needs the format, the installed weight, and the substrate.
Stacked stone panels run 35 to 55 kg per square meter installed. At that weight, a 4 square meter backsplash adds roughly 140 to 220 kg to the wall, which is a big number for drywall and a small number for a stud wall with plywood. The thin ledger format sits below that band because it is the ultra-thin profile carrying the same natural face, which is why ledger backsplashes bond to sound drywall with approved thin-set.
The working rule: know the panel weight per square meter, check the substrate against it, and never let a lightweight-looking stone talk you past the backing check. Sound drywall takes the thin format in most cases. Heavier stacked stone goes on cement board, plywood at a stud layout, or masonry. Structural foam is insulation, not a substrate, and it fails this test.
Adhesive selection follows the ANSI A118-series thin-set language that tile and stone share. Use a modified thin-set rated for the panel weight, comb it out with full coverage, and pull one panel at the end of the first course to confirm the notches have spread fully. The adhesive carries the panel; the sealer protects the face; the backing carries both.
9. Sourcing: Samples, MOQ, and the Container Math
Factory-direct sourcing changes how a backsplash program is priced. The sample, production, and payment sequence is standard across stone exporters, and the numbers at Top Stone Panels are the working baseline.
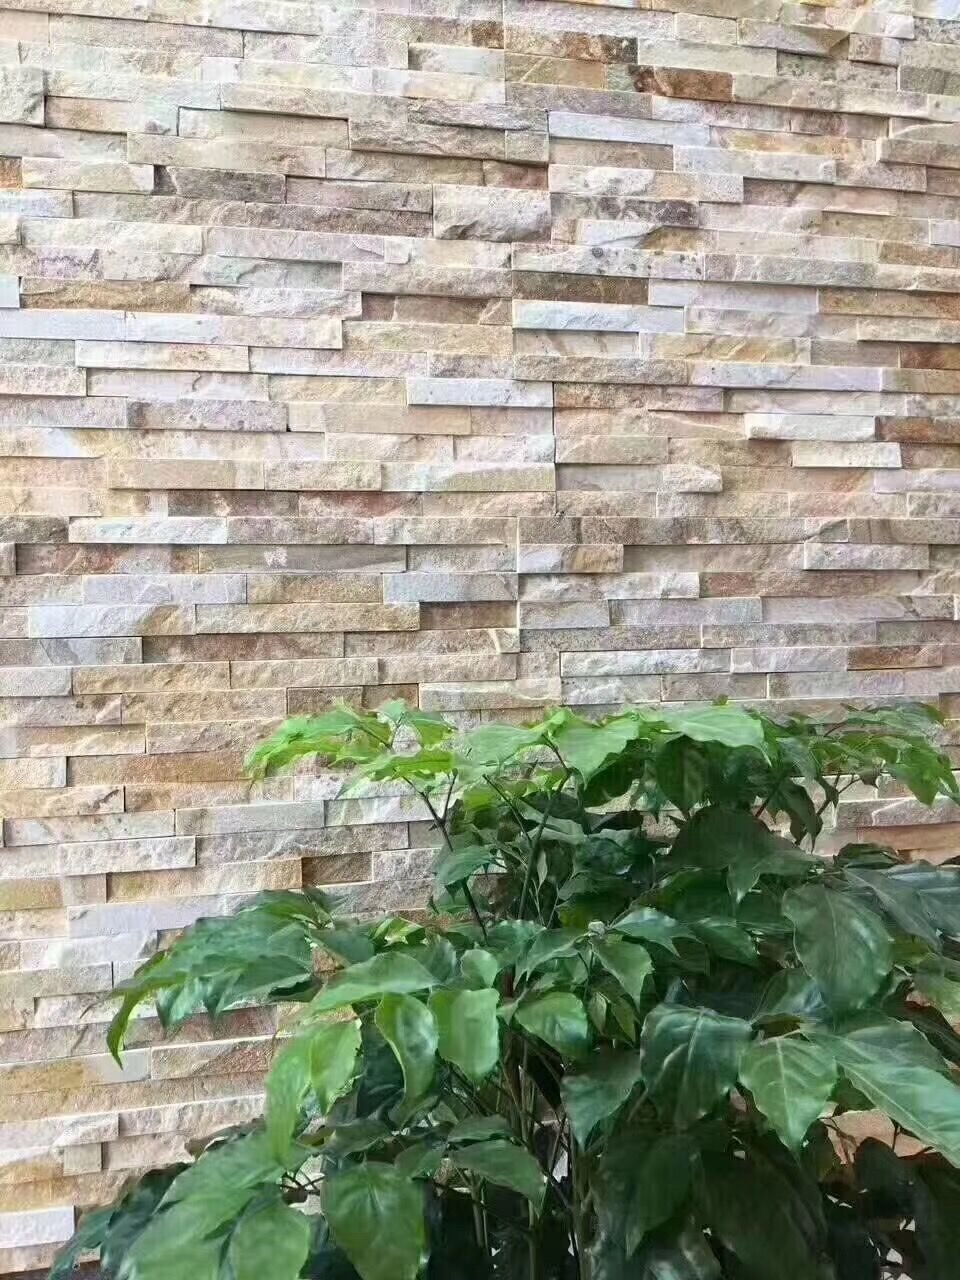
Samples arrive in 1 to 3 days, so the color pass happens before the container is booked. Standard production runs 20 to 25 working days after sample approval, and the minimum order is one 20GP container. The backsplash itself is small. A kitchen showroom, a developer, or a distributor accumulates square meters fast: 30 kitchens at 4 square meters each is 120 square meters. A mixed container with ledgestone, stacked panels, and outdoor formats covers the full program.
The container math is well tested. A reinforced 20GP carries roughly 500 to 530 square meters of stacked stone at a payload near 26.5 metric tons, and the ultra-thin ledger format raises the area per container because it is lighter. Orders ship FOB Tianjin Xingang with EXW, CIF, and DDP options, and terms run a 30 percent T/T deposit with 70 percent before balance. The factory’s 3-step QC includes the COO, ISPM 15 heat-treated packing, and a pre-shipment inspection video.
Kitchen programs also branch into the outdoor kitchen wall and the wider interior stone wall panel program, so a container can serve the whole project rather than one wall. Ask for the production batch plan in writing: format, panel count per box, batch number, and packing protocol, all on the same page as the samples.
FAQ
Is a stone veneer backsplash better than tile?
For the natural split-face look, yes: ledger panels cover the zone with far fewer joint lines than small tiles, install faster per square meter, and read as a continuous stone surface instead of a grout grid.
How much does a stone backsplash weigh on the wall?
The thin ledger format sits below the 35 to 55 kg per square meter band that stacked stone panels carry installed, which is why it bonds to sound drywall with approved thin-set.
Can you install a stone backsplash over drywall?
Yes, with the thin ledger format. Prepare the drywall, check the weight limit for the panel, and set each strip with full-coverage approved thin-set or stone-rated adhesive.
Is natural stone safe behind a kitchen range?
Natural slate and quartzite are non-combustible stone, so they add no flame spread near the range; local kitchen and hood clearances still come from the building code.
How do you clean a stone veneer backsplash?
Seal with a penetrating sealer and wipe with a pH-neutral stone cleaner; re-seal every 1 to 2 years and stay away from acid and alkaline cleaners that etch or film the face.
Conclusion
A stone veneer backsplash starts with the format, not the color. Ledger panels cover the 3 to 5 square meter kitchen zone with a natural split face, few joints, and a weight that sound drywall accepts. Stone and mortar choices follow the numbers, and the factory order follows the batch discipline that keeps one vein running through the project.
Key Takeaways
- Thin 36x10cm ledger panels are the standard format behind a kitchen counter; stacked 15x60cm panels bring a bolder masonry texture.
- Fewer joints than tile means less grout to stain, crack, or clean in the kitchen.
- Natural stone adds no flame spread near a range and qualifies for low interior finish classifications in the ICC framework.
- Seal with a penetrating sealer, clean with a pH-neutral cleaner, and re-seal every 1 to 2 years.
- Order from one batch, approve physical samples first, and work from a 20GP MOQ with samples in 1-3 days and production in 20-25 working days.