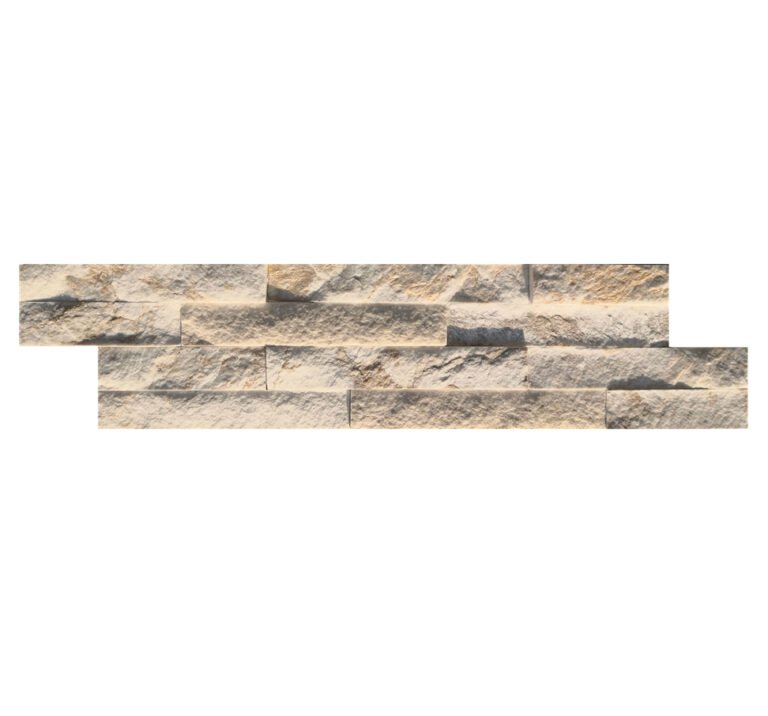
Precast concrete is one of those substrates that look easy and punish shortcuts. The panels arrive flat, square, and dense—the geometry is ideal for stone veneer, but that factory-smooth face was never meant to hold mortar straight out of the mold. Form-release agents, machine oil, and a glassy skin called laitance can sit between the concrete and your first panel, quiet up to the day a freeze test or a strong storm finds the bond line.
Precast concrete in construction means concrete that is cast in a factory mold, cured under controlled conditions, and delivered to the site as a finished panel, column, or wall section. Because the surface is dense and level, it can be one of the best adhered-veneer substrates a contractor will ever get—if the preparation steps are taken seriously. This guide walks the bond prep, setting method, and joint detailing that make veneer over precast last.
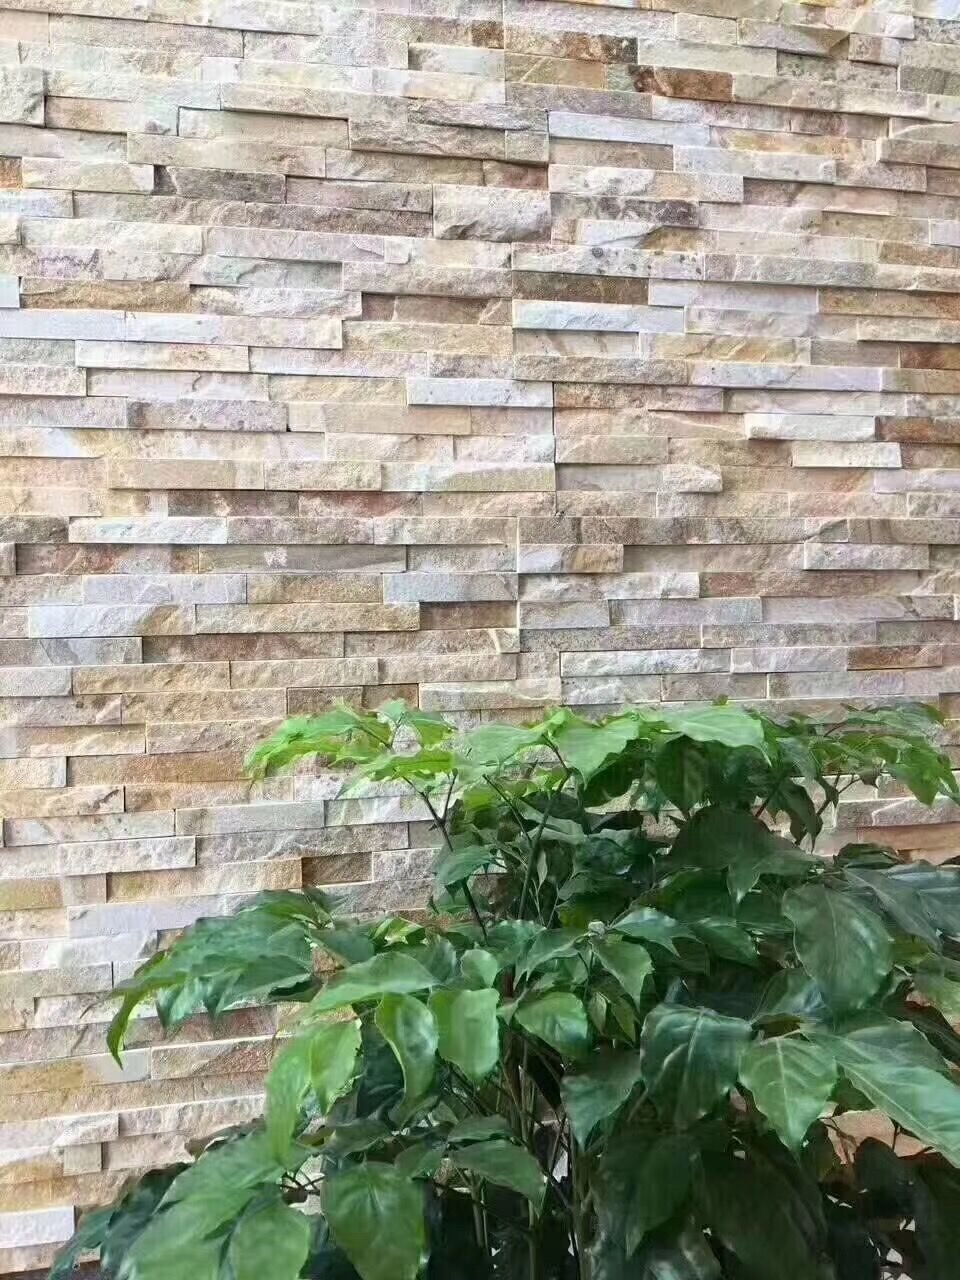
- Clean and roughen the precast face before setting: release agents and laitance kill bond quietly.
- Run a bond test on the actual product and substrate first; a tap or pull-off test protects the wall before the container is on site.
- Use Type S or N mortar in a full bed for irregular split-face stone; polymer-modified thin-set for flat-backed panels.
- Mirror the precast control joints in the veneer so substrate movement does not crack the cladding.
- Flashing and weep details at the base and openings work exactly as they do on any exterior wall.
- One 20GP container is the MOQ across lines; samples ship in 1-3 days for a pre-production bond check.
- 1. Why Precast Concrete Is a Good Adhered Substrate
- 2. Surface Preparation: Cleaning and Roughening
- 3. Bond Test Before the First Panel
- 4. Mortar vs Thin-Set: Choosing the Setting Method
- 5. Installation Sequence Over Precast
- 6. Control Joints and Movement
- 7. Flashing and Drainage at Openings and Base
- 8. Common Failures on Precast Walls
- 9. Sourcing Veneer for Precast Projects
- FAQ
- Conclusion
1. Why Precast Concrete Is a Good Adhered Substrate
Precast concrete panels are cast in a reusable mold and cured in a factory where temperature and moisture can be controlled. The result is a substrate with consistent geometry: flat joints, true dimensions, and a dense cured surface. For stone veneer, flat is half the battle. Thin stone panels sit uniformly against a level face, joints align on schedule, and the bonded assembly carries load evenly instead of at point bumps.
The density is the second advantage. Precast surfaces are low-absorption and rigid, which means they do not swell, plane-shift, or dump moisture into fresh mortar the way some block or poured-in-place walls can. That stability is exactly why control joint planning matters: the concrete moves on its own schedule, and the veneer has to be cut free at those lines rather than forced to follow.
The precast category also includes architectural precast sections used for columns, spandrels, and cladding panels. A stone-wrapped precast column is a common sight because the concrete gives the column its structural spine and the thin veneer provides the finish. In that pairing the veneer is purely cosmetic, which is fine—as long as the prep and bond rules are respected, because cosmetics that delaminate read as structural failure to every person who sees them.
2. Surface Preparation: Cleaning and Roughening
The precast face that comes out of the mold rarely arrives ready for mortar. Three contaminants are the usual suspects. Form-release agents are sprayed on molds so the panel pops free; residue left on the face acts as a slick barrier. Laitance is the weak, powdery skin of fine cement and water that forms on the surface during cure. Machine oil and general construction dust add themselves at the yard and on the truck.
Clean the face first. Pressure washing with detergent removes oils and loose dust; a stiff brush or light acid wash handles laitance in areas that need it. The goal is a surface that is visually clean and that no longer feels slippery. Allow the substrate to dry to the moisture condition your setting material calls for; veneer mortars are not designed to bond to a face that is streaming water, nor to a bone-dry, thirsty surface in every case.
Roughening is the second half. A smooth, glossy precast face has little mechanical grip. Aggregate-blasted or broom-finished precast is already textured; smooth architectural precast benefits from abrading—a coarse grind, blast, or raking with a hard-bristle brush—to open the surface. The rougher the face, the more mortar keys into it. Do not confuse rough with damaged; the substrate still needs to be sound, with no spalling, deep cracks, or hollow-sounding sections.
3. Bond Test Before the First Panel
Bond verification is the step most schedules try to skip, and the one that prevents the most expensive failure mode: an entire wall of stone that pops off in its first cold cycle. Run a test before production quantities go up, using the same stone, the same setting material, and the same prepared substrate finish.
The practical field tests are the tap test and the pull-off test. The tap test is exactly what it sounds like: after a test patch cures, gently tap the stone. A hollow ring versus a solid knock tells you the patch is not fully bonded. The pull-off or bond test measures actual adhesion with a purpose-built gauge; it gives a number you can compare to the setting material’s specification. Either way, the test patch should be at least a square of a few panels in the corner of the job, cured, and evaluated before the crew commits to the rest of the wall.
The bond test also settles the product question. If the plan is pre-backed interlocking panels with cement or mesh backing from Top Stone Panels, the factory backing acts as a known bond interface; the test confirms the field setting material and environmental conditions work with it. If the plan is loose thin veneer, the test confirms the full-bed mortar achieves consolidation on the precast face. When the test fails, fix the preparation or the setting material, not the stone.
4. Mortar vs Thin-Set: Choosing the Setting Method
Over precast concrete the choice comes down to two families: full-bed masonry mortar and polymer-modified thin-set. The product’s back determines which one is correct, and the substrate’s flatness determines how well it works.
| Setting material | Best for | Over precast concrete | Watchpoints |
|---|---|---|---|
| Type S / N masonry mortar | Irregular split-face stone, full-bed support | Viable after cleaning and roughening; consolidates behind uneven backs | Needs a consolidated bed; skim coats fail |
| Polymer-modified thin-set | Flat-backed panels on rigid, level faces | Excellent on a true, level precast face | Not a leveling material over uneven concrete |
| Latex/acrylic admix with mortar | Improving adhesion and flexibility on dense faces | Common enhancement for precast bond | Follow the admix manufacturer’s approved ratios |
For interlocking panels with factory cement backing, thin-set is usually the fastest and cleanest method over a level precast face. For loose stone with irregular backs, full-bed mortar is the honest choice because it fills the void behind each stone instead of leaving air pockets. The rule is the same as on any wall: the setting material has to be in full contact, and it has to match the product’s backing characteristics.
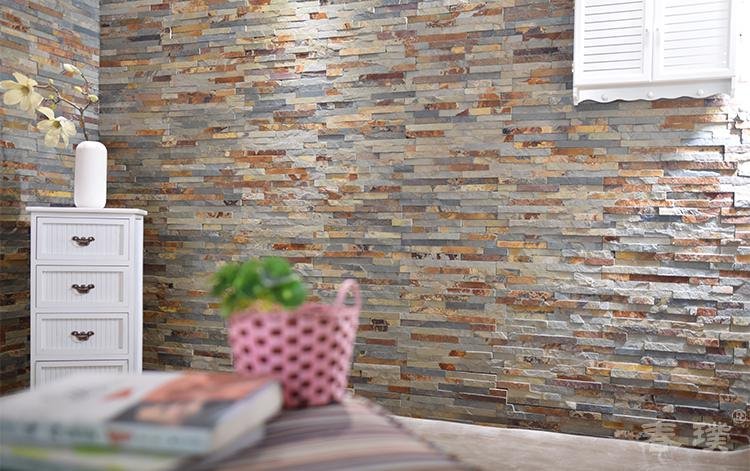
5. Installation Sequence Over Precast
The sequence below assumes the precast has been checked for soundness, cleaned, roughened, and approved by the bond test. Work in the same direction on any given lift, and keep the mortar from drying beyond its working time.
- Snap layout lines at the base and at each control joint, and mark openings and returns.
- Mix the setting material per its specification; for thin-set use the additive package the manufacturer approves.
- Apply a full bed, or notch-trowel the thin-set, over the prepared precast face in sections you can cover while the material stays workable.
- Set each panel, pressing and sliding slightly to collapse ridges and achieve full contact; back-butter irregular stone so the mortar meets the back completely.
- Strike joints while the setting material is still soft; a joint that hardens first means a chisel job that scars the stone face.
- Leave a clean movement joint at every precast control joint and at horizontal bearing points.
- Let the assembly cure before exposing it to heavy rain or freeze; honor the setting material’s cure and protection requirements.
Temperature discipline matters on precast the way it does everywhere. Cold weather slows cure and raises frost risk in the fresh mortar; hot, dry weather pulls water out of the bed. The stone itself—slate and quartzite from Top Stone Panels—is rated for -30°C to +50°C environments, but the mortar joint is the sensitive material on the wall, so install weather rules govern.

6. Control Joints and Movement
Precast concrete panels are installed with control joints because the material changes size with temperature. The veneer cannot ignore those joints. If stone is run continuously across a joint line, the first thermal cycle finds the weak point and the crack telegraphs straight through the face.
The fix is to mirror the joints. At every precast control joint, stop the veneer and install a movement joint—a clean gap, often a sealant joint—at the same elevation and alignment. The gap lets the substrate move without dragging the stone with it. The same logic applies where precast panels meet other materials: leave the assembly free to move rather than gluing one material to the next.
Sealant choice is not decoration. Use a sealant rated for exterior masonry expansion joints, sized to the joint width, and installed with the backer rod the manufacturer specifies. A joint that is overstuffed or uses the wrong sealant can pop out within a season, which means water gets behind the veneer at the exact lines the design tried to protect.
7. Flashing and Drainage at Openings and Base
Adhered veneer over precast is still an exterior wall assembly, and it still needs the water controls every exterior wall needs. Flashing is not optional at the base, above openings, and at transitions from the precast wall to other cladding.
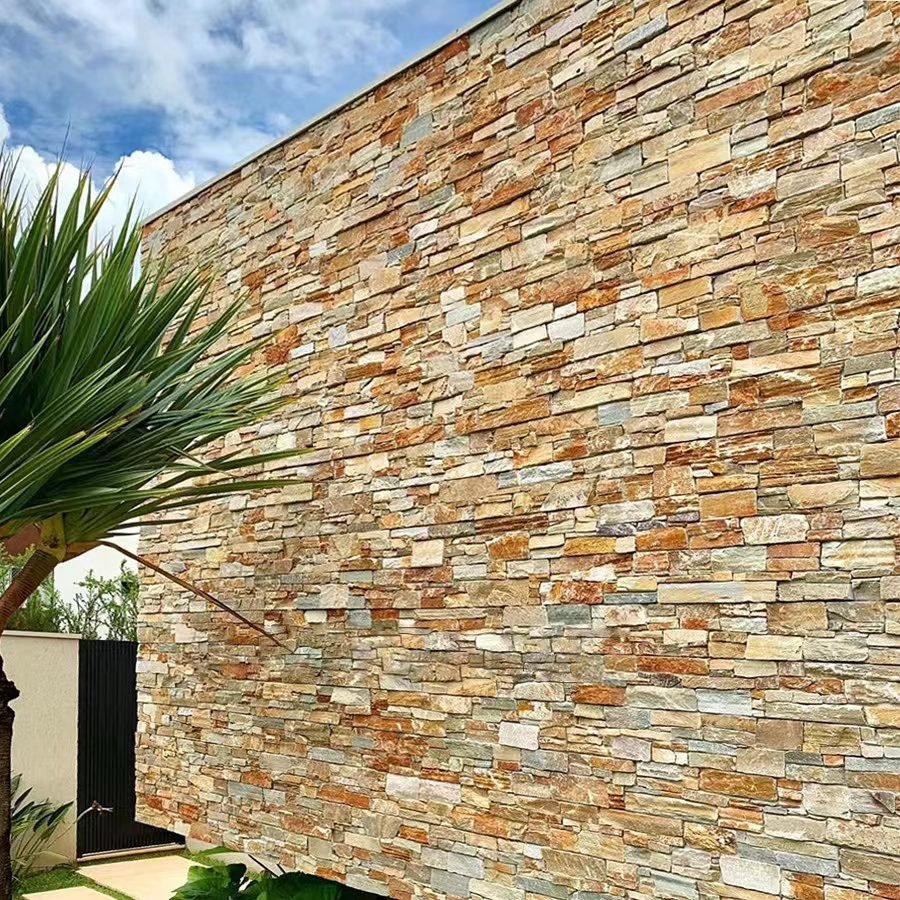
At the base, the veneer should terminate above grade and above the hardscape so capillary rise and splash do not soak the bond line. A weep system or a base flashing directs any incidental water that works down the wall to the outside rather than trapping it behind the stone. At window and door heads, flash above the opening and detail the sill so water exits clear of the face.
The dense precast face does not absorb much water, which is a double-edged point: it also means water at the surface finds its way around edges more readily. Keep sealant joints healthy at the perimeter of openings, and keep the top edge of every wall capped so the assembly does not drink from above.
8. Common Failures on Precast Walls
The pattern of failures on precast substrates repeats with boring regularity. Skipping the release-agent clean is the classic: panels go up fast, look perfect for months, then an ice cycle separates them from the concrete. Running stone across control joints is the second, producing hairline cracks in the face. A skimp coat instead of a consolidated bed is the third, and it shows up as hollow-sounding stone that a passerby can identify by tapping.
All three are schedule decisions before they are quality failures. Cleaning takes half a day; re-doing a delaminated wall takes weeks. The fix is procedural: make the cleanup inspection, the bond test, and the joint-mirroring part of the written method statement instead of crew folklore.
9. Sourcing Veneer for Precast Projects
Buying for a precast project is about matching the product to the substrate’s flatness and the design’s joint pattern. Interlocking Z-panels suit level, monolithic precast sections where speed matters; stacked stone and thin veneer suit facades where texture and joint rhythm define the look. The sourcing sheet below is the working set.
| Product line | Format | Backing | Typical use on precast |
|---|---|---|---|
| Stacked stone | 15×60 / 15×55 cm + L-corners | Adhesive or mesh | Facades, columns, feature walls |
| Interlocking Z-panels | 20×55 / 15.2×61 cm | Cement or mesh | Large level precast sections |
| Thin ledgestone | 36×10 cm ultra-thin | Mesh | Modern linear feature bands |
| Thin stone veneer | Random split-face strips | None (full-bed applied) | Custom feature and garden walls |
One 20GP container is the MOQ on every line, and production runs 20-25 working days on repeat orders. Order a physical sample ahead of the container; the 1-3 day sample shipment is exactly enough time to run the bond test and confirm the setting material before the project commits.
Related reading: precast concrete basics are outlined by Wikipedia’s precast concrete page; the parent material is covered in the concrete overview article. Within this site, the substrate prep and mortar rules connect directly to our adhesive selection guide.
FAQ
Can I install stone veneer directly on smooth precast concrete?
After cleaning and roughening, yes. Milled or aggregate-blasted precast accepts veneer, but a glossy, release-agent-stained face must be cleaned and bond-tested first.
What mortar should I use over precast concrete walls?
Type S or N mortar in a full bed for irregular stone; polymer-modified thin-set for flat-backed panels on a firm, level precast face. Follow the adopted building code and manufacturer guidance.
Do I need metal lath over precast concrete?
Clean, firm precast is a suitable adhered veneer substrate without lath. Lath becomes necessary where the surface is rough, spalling, or carrying heavy full-bed stone outside the adhered weight limit.
How do I stop cracks at precast panel joints?
Carry the precast control joints through the veneer: install a movement joint at the same line instead of bridging the joint with stone.
Is precast concrete a good substrate for exterior stone veneer?
Yes, when the surface is sound, clean, and bond-tested, and the control joints are mirrored. Precast’s stable geometry makes it one of the more dependable flat substrates.
Conclusion
Installing stone veneer on precast concrete is a preparation story more than a product story. Clean the face of release agents and laitance, roughen it so mortar can key in, run a bond test with the actual stone and setting material, and mirror every control joint through the veneer. Do those four things and a flat, dense precast wall is one of the best shells for natural stone a contractor can get.
For buyers, the sourcing decision is about matching the panel to the substrate’s flatness: cement-backed interlocking panels for large level sections, stacked stone for texture, thin veneer for custom work. Top Stone Panels ships all lines at a one-20GP MOQ with 20-25 working-day production, and the sample order you send for a bond test settles both the bond and the color before the container commits.
Key Takeaways
- Clean and roughen the precast face; never set veneer over release-agent residue or laitance.
- Run a bond test before production; it is the cheapest insurance on the job.
- Match the setting material to the product backing and the face flatness.
- Mirror every precast control joint through the veneer with a movement joint.