Stone veneer trim profiles are the difference between a facade that looks finished and one that looks like a wall of tile waiting for a border. Sills, caps, and banding are the pieces that answer the three questions property owners actually ask: where does the water go, how does the top of the wall end, and why does this building look proportioned instead of just covered? They are also the pieces most buyers order last, which is why this guide exists.
Top Stone Panels is the quarry-owning slate and quartzite exporter in Yixian County, Hebei, that ships stacked stone, thin ledgestone, interlocking Z-panels, thin veneer, and pre-assembled column kits. Eighteen-plus years of export running at over 220 containers a year gives us a plain view of where cladding jobs go wrong; the trim profile is close to the top of that list because it carries both the water load and the finish quality.
- Sills shed water by slope and drip edge; caps shed water by overhang and kerf. Neither can be omitted from an exterior cladding package.
- Belt-course banding is a full cladding treatment with flashing rules, not a decorative sticker; water proofing beats decoration every time.
- Pre-made L-corners and factory-cut caps cut roughly 20% material waste and over 50% corner labor versus on-site mitering.
- Column kits ship pre-assembled with pillar caps in custom sections, so the cap decision is made at order time, not on scaffolding.
- Trim should come from the same quarry vein as the field panels to keep color consistent across corners and banding.
- Samples ship in 1-3 days and one 20GP container is the standard MOQ, so trim sizing can be verified before the container loads.
- 1. What Counts as a Stone Veneer Trim Profile
- 2. Window and Door Sills: The Water Rule
- 3. Caps and Coping: Protecting the Top Edge
- 4. Banding and Belt Courses: The Horizontal Accent
- 5. Corners, Returns, and Transitions
- 6. Dimensions and Sourcing by Product Line
- 7. Pairing Trim With the Right Panel
- 8. Ordering Trim: What to Specify
- FAQ
- Conclusion
1. What Counts as a Stone Veneer Trim Profile
Trim profiles are the closed shapes around the edges of a cladding installation. On a residential gable the visible set is usually a window sill below each opening, a door head above the entry, a cap along the top of the gable or parapet, and outside corners where two walls meet. On commercial work the same family adds belt-course banding that splits a tall facade into readable horizontal bands.
Each profile does two jobs. First it manages water: sills push rain away from the opening, caps push it off the top of the wall, and correctly flashed banding stops it from migrating into the assembly. Second it manages the eye: a wall that runs solidly from grade to eave reads as monolithic, while a banded wall reads as designed. Both jobs are the reason trim exists, and both fail when trim is treated as decoration.
The pieces cluster into four families that specifiers should keep straight. Sills sit under openings. Caps and coping protect the tops of walls, columns, and parapets. Banding and belt courses divide the face horizontally. Corners and returns close out the edges where panels meet a perpendicular surface. Everything else in a stone cladding order is field panel.
| Profile family | Location | Primary job | Water rule |
|---|---|---|---|
| Sill | Under windows and doors | Shed water off the opening | Slope away, projecting drip edge |
| Cap / coping | Top of wall, column, parapet | Protect the top edge | Overhang lip plus drip kerf |
| Banding / belt course | Horizontal line across facade | Divide and accent the face | Flashing at the band, aligned joints |
| Corner / return | Outside and inside corners | Turn edges without exposed cut | Sealed angles, matched color |
The table is the working map for the rest of the article. If a buyer tells a factory “I need trim,” the factory has to ask which family, because a cap that gets used as a sill will drain the wrong way and a sill used as a cap will leave the top edge open. Knowing the family is the first specification decision.
2. Window and Door Sills: The Water Rule
A sill is the stone ledge under an opening. Its entire reason for existence is to pick up whatever water runs down the window or door and throw it away from the building. The window sill works by two connected details: a top surface that slopes downward and outward, and a projecting front edge that lets water fall clear instead of running back under the frame.
The slope is the non-negotiable. If the top of the sill is flat, water pools on it and eventually finds the joint between the sill and the window frame, which is exactly where you do not want a slow leak. The standard fix is to pitch the top of the sill away from the building so every drop drains to the front edge. The projecting lip then acts as a drip edge; water that reaches it falls to the ground instead of wetting the wall below.
Two field mistakes turn this simple geometry into a callback. The first is a sill that is flush with the cladding, so water runs off the sill onto the veneer face below and starts a tide line. The second is a sill installed with slope back toward the building, which every installer knows not to do but which still happens on night work and rushed punch lists. Both are visible as dark streaks within one wet season.
Top Stone Panels cuts sills from the same slate or quartzite vein as the field panels, so the ledge under a window matches the wall that wraps it. For buyers deciding between sill stone and thin veneer strips, the rule is not about thickness; it is about the drip geometry. Any stone with a correctly sloped top and projecting edge works, and the same vein keeps the color consistent.

3. Caps and Coping: Protecting the Top Edge
The cap is the top boundary of a wall, and it handles water that arrives from above: rain, splash that bounces off lower surfaces, and snowmelt that runs down the face. Coping is the architectural term for the cap that protects a wall’s upper edge, and in cladding terms it is the piece that keeps the last course of panels from doing an unfair job.
A cap works with two details that mirror the sill in reverse. Instead of a top slope plus a front lip, a wall cap uses an overhang and a drip kerf. The cap projects a little beyond the face of the veneer, and a groove, or kerf, is cut into the underside near that front edge. Water running down the cap hits the kerf, loses surface tension, and drips straight down; without the kerf it would creep around the underside and wet the wall below.
Column caps follow the same logic in miniature. A pre-assembled column kit from Top Stone Panels ships with its pillar cap in a custom section such as 40×40 cm or 50×50 cm, so the top of the column is finished before the crew leaves the ground. The cap overhangs the column body and carries its own drip detail; a column without a cap becomes a water funnel that feeds the joint between the cap stone and the column cladding above the base.
The failure pattern for caps is not slope; it is sealant dependence. Some installers set a cap flat and rely on a thick bead of caulk to stop water. Caulk fails before stone does, and when it does, the water that was supposed to sit on top of the cap is inside the joint. The robust detail is a sloped or shedded cap with a kerf, caulked joints that are replaced on a schedule, and a cap stone dense enough to shrug off freeze-thaw. Slate and quartzite both qualify, which is why the product Bible lists them as the core cladding materials rated for -30°C to +50°C.
4. Banding and Belt Courses: The Horizontal Accent
Banding is the horizontal line that divides a tall facade into readable bands. In masonry terminology it is often called a belt course: a course or series of courses that runs across a wall to mark a level, break up a large plane, or support a cornice. In thin-stone cladding, banding does the same visual work with an offset color or a slightly projecting strip of stone.
Do not confuse banding with flat joints. A band that is simply a different color run of panels at one elevation is a color change; a band that actually breaks the plane of the wall is belt-course work. The distinction matters because a projecting band becomes a water shelf. Rain hits the top of the projecting stone and wants to sit there, work behind it, or run back into the wall. That is why banding in real cladding systems is flashed, caulked at the top, and detailed so the horizontal surface sheds water rather than catching it.
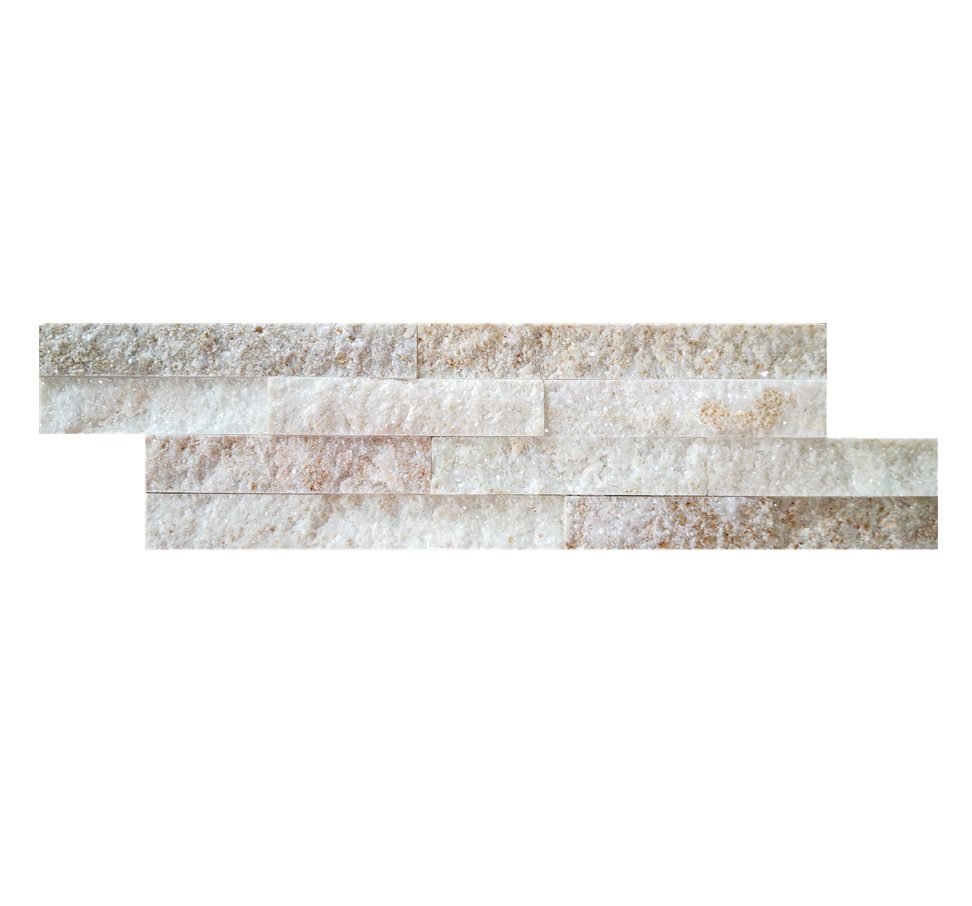
Banding earns its place on commercial facades and large residential elevations for proportion. A three-story wall of stacked stone with an unbroken face reads as a sheet; the same wall with a belt course at the sill line of the second floor reads as two balanced storeys. European architectural practice leans on the same logic, which is why thin ledgestone banding is a natural fit for the modern linear trend: a 36×10 cm ledgestone course in a contrasting color creates the band without building out a heavy shelf.
The sourcing rule for banding is painless when the factory controls color. Because Top Stone Panels locks a single quarry vein per order and does batch-specific vein selection, a banding strip in white quartzite or charcoal slate matches the field panels from the same batch. A band that arrives from a different supplier is a visible mismatch risk from the moment the box opens.
5. Corners, Returns, and Transitions
Corners are trim because they are the edge condition where flat panels cannot close the angle cleanly. Two stacked stone panels meeting at a 90-degree outside corner leave a raw stone edge visible at the junction. The professional answer is an L-corner unit: a piece cut and assembled so the corner reads as one continuous stone that wraps the angle.
Top Stone Panels ships pre-made L-corner kits that are cut at the factory with precision CNC diamond blades. The kits come in asymmetric and symmetric sets. The best-selling asymmetric set pairs a 6×12 inch leg with a 6×6 inch leg, and a 6×16 inch with a 6×8 inch, so installers alternate long and short legs down the corner and naturally stagger the vertical joints. The symmetric set pairs two equal 90-degree legs for a uniform grid.
The economics are the story buyers remember: factory pre-cut corners eliminate the on-site 45-degree mitering that breaks stone and burns labor. Field cutting carries scrap and breakage that factory CNC cutting does not, which is why the factory numbers point to about 20% lower material waste and more than 50% lower field labor on corner work. Transitions where panels meet metal, wood, or gable trim follow the same rule: order the return piece pre-cut rather than inventing it on the ladder.
Inside corners need less theater than outside corners. A clean 90-degree inside corner can be handled with standard panels set with a tight joint, because the junction is protected by the adjacent walls. Outside corners and any corner visible from a pass-through path deserve the L-unit treatment.
6. Dimensions and Sourcing by Product Line
Trim availability follows the product line. Buyers should size sills, caps, and banding against the exact panel format they are cladding with, because trim that is dimensionally foreign to the field panel looks like a patch. The sourcing sheet below is the five lines Top Stone Panels ships, with formats and monthly capacity.
| Product line | Format | Trim options | Monthly capacity |
|---|---|---|---|
| Stacked stone | 15×60 / 15×55 cm | L-corners, caps, sills | 80,000 m² |
| Thin ledgestone | 36×10 cm ultra-thin | Banding strips, corner wraps | 60,000 m² |
| Interlocking Z-panels | 20×55 / 15.2×61 cm | Banding, cap strips | 50,000 m² |
| Thin stone veneer | Random split-face strips | Custom-cut sills and caps | 40,000 m² |
| Stone column kits | Custom 40×40 / 50×50 cm | Pillar caps included | 10,000 sets |
Every line runs at a one-20GP container MOQ with 20-25 working-day production on repeat orders. First orders with custom printed cartons run 25-30 working days. Physical samples ship in 1-3 days, which is the fastest way to confirm that a trim profile matches the project’s proportions before a container is committed.
7. Pairing Trim With the Right Panel
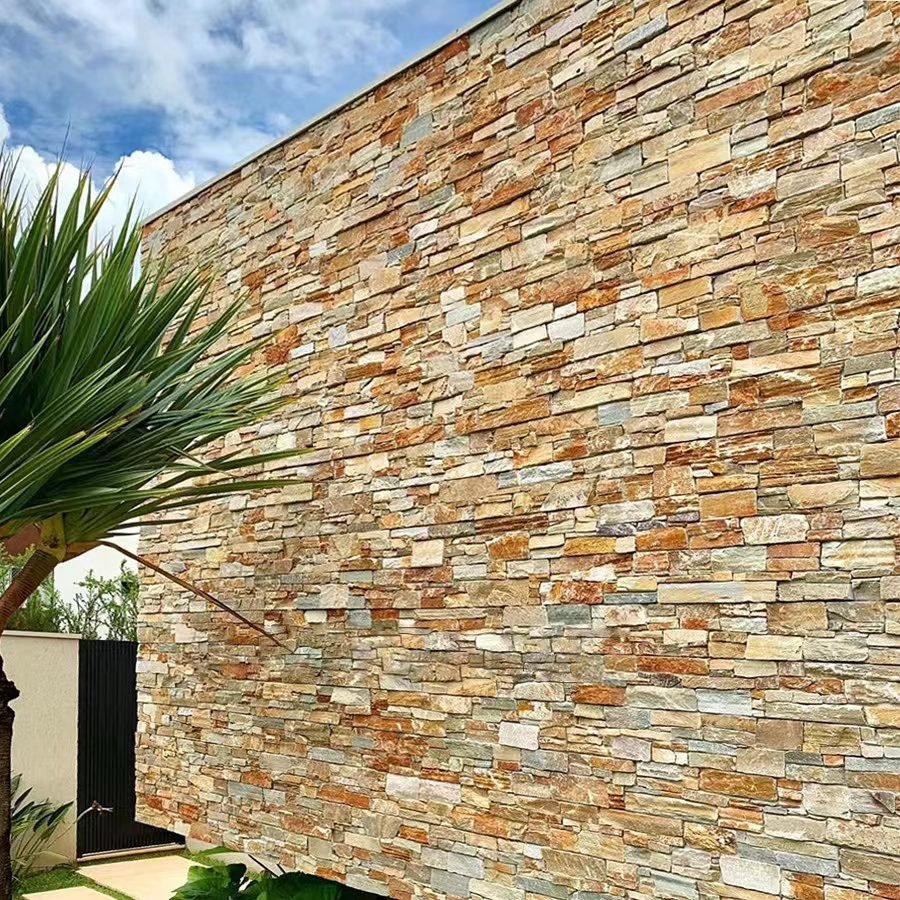
The pairing rule for trim and panel is simple: same quarry vein, same finish, same generation. Natural slate and quartzite vary within a quarry by block, and a cap ordered six months after the field panels will sit in a different color topology unless the factory manages the batch. Top Stone Panels handles this by batch-specific vein selection, which the Bible describes as locking color transitions above 95% coherent for a single order.
Finish matters as much as color. A split-face cap sitting on a sawn-face wall looks wrong even when the color matches perfectly, because the texture breaks the reading of the cladding as one material. The reverse is also true: a smooth cap on a highly textured stacked stone wall looks like a custom addition, which is fine when intended, disastrous when accidental. Specify the finish in the same line as the field panel.
Stone type sets the performance ceiling. For exterior trim in a freeze-thaw climate, dense slate or quartzite beats soft sandstone because the trim piece carries more exposure per square inch than a field panel. A sill takes direct water and freeze cycling on its top surface; the stone needs low water absorption and high flexural strength to survive decades of that. Matching the structural profile to the panel line gives the whole wall one service life instead of a weak link.
8. Ordering Trim: What to Specify
A trim order becomes repeatable when every piece is named, not sketched. Buyers who send a simple list of sills, caps, and banding count get quotes that cannot be compared because the profiles are undefined. The checklist below turns a trim order into a document a factory can build against.
- Window sill count, width, and projection, with a note that tops slope away from the opening.
- Door head and threshold details, specifically which edge carries the drip.
- Wall cap and column cap counts with the column section size, such as 40×40 or 50×50 cm.
- Banding elevation and strip width, plus whether it projects or is flush.
- Outside corner count by leg length, using the asymmetric or symmetric L-kit set.
- Finish face (split, sawn, or ledgestone) and the quarry vein color for the whole order.
Send the list, order a physical sample to lock the color, and confirm the FOB Xingang price per line before production. The 30/70 T/T payment (30% deposit, 70% before shipment) applies to trim orders like any other container, and the Zero-Breakage Packaging Protocol covers sills and caps with the same palletizing and steel strapping as field panels.
Related reading: the finer points of caps and coping are covered in our stone veneer caps and coping guide, and window surrounds in the window sills and surrounds article. For the bonding materials that close these joints, see stone veneer adhesive types.
FAQ
What is the difference between a cap and a sill in stone veneer?
A sill sits under an opening, like a window or door, and slopes down and away so water leaves the building. A cap sits on top of a wall, column, or parapet and sheds water off the top edge so it never runs down the cladding face.
Do I need special trim pieces or can I cut them from regular panels?
You can cut matching trim from the same product line, but factory-cut caps, sills, and L-corner kits keep color and thickness consistent and avoid waste; pre-made corners especially save labor and breakage.
Why does banding fail less than flat joints?
Banding in natural stone is a full cladding treatment set with the same mortar and flashing rules as the field; it fails when it is added as thin hollow trim that traps water instead of shedding it.
How much does a stone sill need to overhang the wall?
A projecting drip edge is typical; the exact overhang should be sized with the drip kerf so water falls clear of the face below, and the top slope must run away from the building.
Can I order sills and caps to match my panel color?
Yes. Factory trimming uses the same quarry vein as the field panels, so batch color consistency carries through the corners, caps, and banding rather than introducing a separate supply.
Conclusion
Stone veneer trim profiles carry the water load and the finish quality of an exterior cladding job. Sills shed water with slope and drip edge, caps protect the top with overhang and kerf, banding divides the facade and must be flashed, and pre-made corners close the edges without breaking stone or burning labor. Each family is a specification decision, not a decorative afterthought.
Buyers who lock the trim at ordering time get one quarry vein, one finish, and one delivery instead of a patchwork. Top Stone Panels ships sills, caps, banding, and L-corners across all five product lines at a one-20GP MOQ with 20-25 working-day production, and a sample order in 1-3 days settles the color question before the container loads.
Key Takeaways
- Order trim with the field panels so color and finish come from the same generation.
- Specify sills by slope and projection, caps by overhang and kerf, banding by flashing.
- Use pre-made L-corners to cut material waste and field labor on corners.
- Confirm column cap sections and banding widths in writing before production.