Anyone who has walked a clad building and watched a vertical seam run from a footing to the parapet, straight through the corner and down the next wall, knows the failure this guide is about. The stone may be beautiful and the install may be solid, but when adjacent walls let their joints line up into one unbroken vertical, the whole facade reads as a set of glued-on panels rather than built masonry. That line is not a defect in the material; it is an alignment decision that was made, badly or not at all, before the first panel went up.
Alignment is controllable, and it is controlled at three points: the bond pattern you choose, the way you turn corners and returns so vertical joints stagger rather than stack, and the set-out you do before cutting a single piece. This guide is for the installers, contractors and distributors who have to hand a client a wall where the joints disappear into a natural rhythm. It covers why joints line up, how a running bond fixes it, why the outside corner sets the rules for the whole wall, how to keep the rhythm through inside returns and plane changes, what interlocking panels do differently, and where a movement joint legitimately has to sit.
- A straight vertical seam across adjacent walls is a stacked-bond problem, not a material defect; a running bond with a half-lap offset breaks the joint line.
- The outside corner sets the rhythm for both faces: staggered pre-made L-corners alternate long and short legs so the vertical joint never lines up through the turn.
- Pre-made L-corners remove on-site 45-degree miters and save about 20 percent material waste and over 50 percent labor, while giving an authentic masonry joint.
- Adjacent walls that meet at a reveal, offset or return need the joint planned as the wall turns; eyeballing the last row is where the toll-booth line is born.
- Interlocking male-female Z-panels self-align and hide the vertical seam, which is the built-in answer on large facades; butt-jointed panels depend entirely on the installer.
- Why Joints Line Up in the First Place
- Plan the Bond Pattern Before the First Panel
- The Outside Corner Sets the Rules
- Inside Corners and Returns
- Walls That Meet at a Plane Change
- Interlocking Z-Panels: Self-Aligning Seams
- Setting Out: Lines, Batters and a Story Pole
- Movement Joints Versus Appearance Joints
- Dry-Fit, Tolerances and the Mock-Up Wall
- Questions Answered
Why Joints Line Up in the First Place
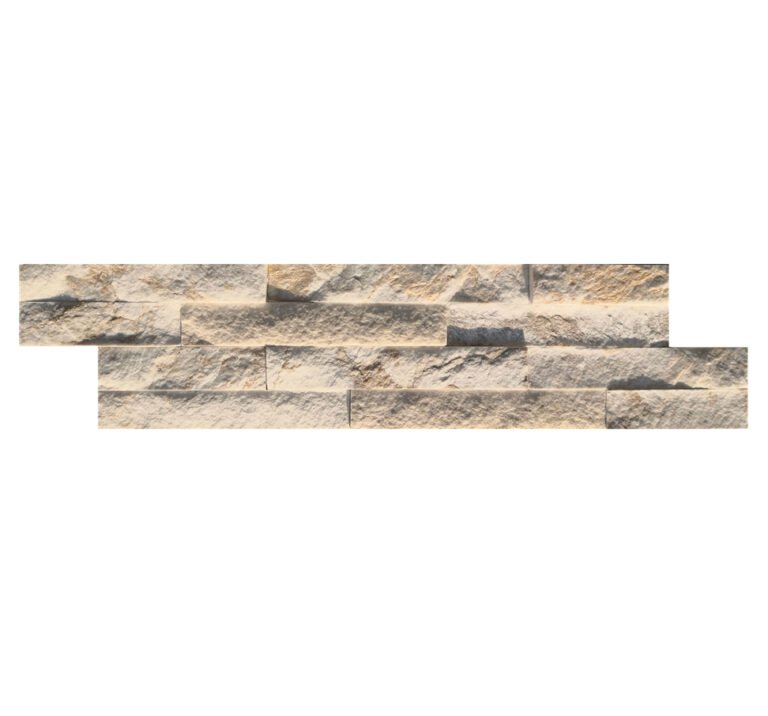
The vertical line people hate is almost always stacked bond, and stacked bond is what happens when a course is run the same way every row without an offset. A stone panel has joints on four edges; if every course starts at the same horizontal point and every row repeats it, the vertical joints form columns, and a column that crosses a corner continues onto the next wall as a single unbroken seam. The eye reads that as a grid, and a grid on a stone wall reads as fake no matter how good the individual faces are.
Two forces push a wall toward stacked bond by accident. The first is the natural instinct to start each course from the same corner, because it feels orderly; that order is exactly what produces the columns. The second is a mismatch between the panel module and the wall width, where a full-width run of identical panels leaves vertical joints landing at the same offset on every course. Both are layout decisions, and both are fixed before the mortar, not after.
Plan the Bond Pattern Before the First Panel
The running bond is the default because it solves the alignment problem at the pattern level. In a running bond each course is offset from the one below it, classically by half a unit, so a vertical joint on one row falls in the middle of the unit on the row above and below. Stacked lines cannot form, and a joint that reaches a corner arrives at a staggered height on the return. That half-lap offset is the single most important alignment control on a veneer wall.
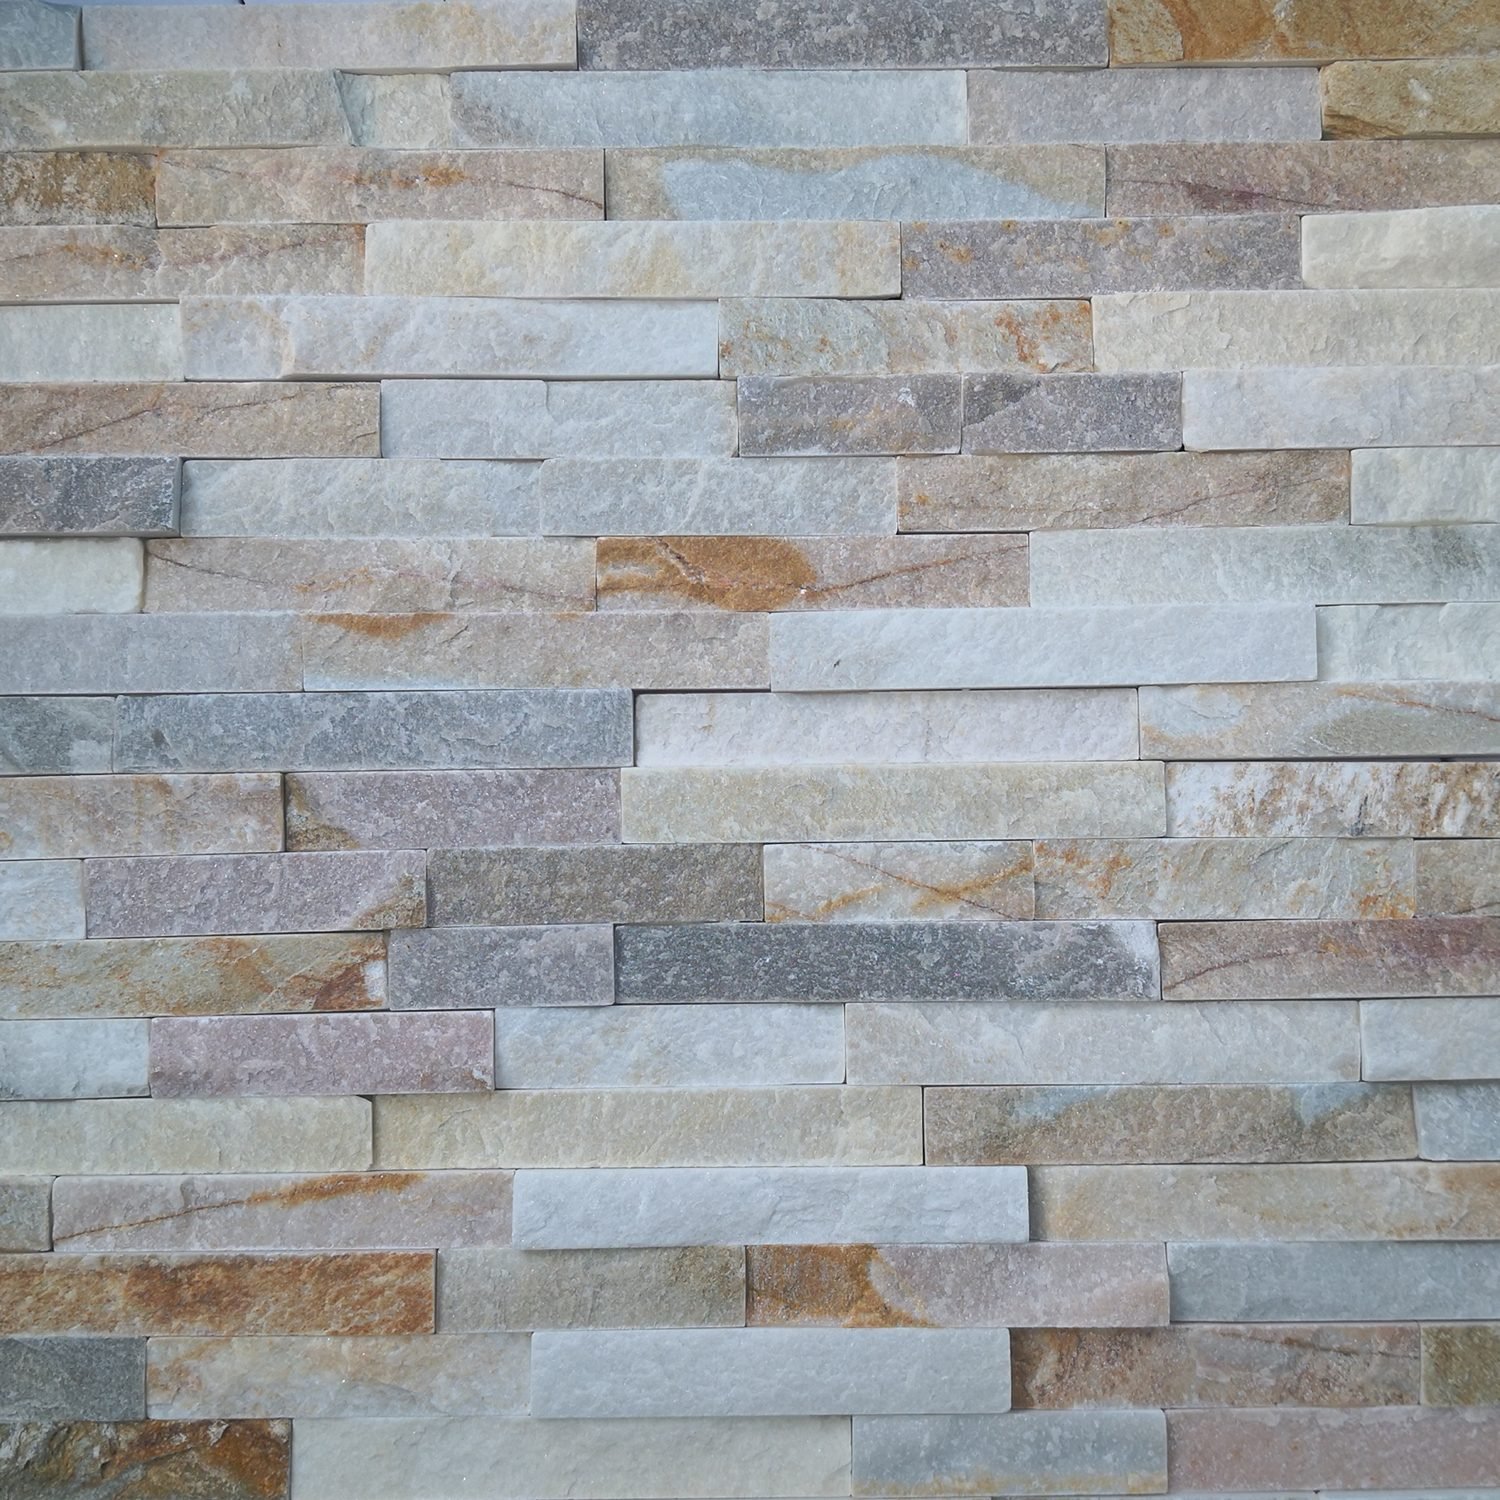
Offset does not have to be exactly half, and on natural stone it rarely is, because a random ledgestone or split-veneer product has variable unit widths. The working rule is simpler: no vertical joint should land near the vertical joint in the courses directly above and below it, and adjacent walls should not both resolve their joints to the same corner at the same height. Choose the offset before laying, apply it consistently, and let the natural variation of the stone fill in the rhythm. The anatomy of how a panel is built, and why its edges behave the way they do at a joint, is covered in the primer on what stacked stone panels are.
The Outside Corner Sets the Rules
Get the outside corner right and the whole wall falls into alignment; get it wrong and both faces inherit the error. The corner is where a vertical joint either crosses cleanly and staggered, or lands squarely on the turn and continues down the return as the dreaded single line. The traditional field method is to alternate the corner unit each course, so the joint on the face wall never aligns with the joint on the return wall.
That is exactly the job pre-made L-corners are built for. A factory corner piece carries the finished face around a 90-degree turn as one unit, and the geometry can be staggered so the joint breaks. The best-selling asymmetric set from Top Stone Panels pairs a 6 inch by 12 inch leg with a 6 inch by 6 inch leg, and a 6 inch by 16 inch leg with a 6 inch by 8 inch leg; running long-leg and short-leg corners in alternation up the course breaks the vertical joint across the corner, so the turn reads as an authentic masonry quoin rather than a butt seam. Because the corner is formed in the factory, the installer also skips the on-site 45-degree miter cut that produces chipped edges and wasted units, saving roughly 20 percent material waste and more than 50 percent of the corner labor. How the cap and corner are finished so the joint closes cleanly is covered under caps and coping as finishing components.
Inside Corners and Returns
Inside corners and returns behave differently from the outside quoin because two planes meet in a recess rather than protrude. Here the goal is not a staggered quoin but a joint that turns the corner without stacking up as it wraps. A return at a doorway, a bay, or where a clad wall meets an unclad one is where the two faces quietly disagree about where their vertical joints land, and a mismatch is most visible exactly in the shadow of an inside corner.
The discipline is to carry the bond pattern around the corner as though the wall were continuous, so the offset that was set on the first face keeps running onto the return. When the return is short, stop it on a joint rather than at an arbitrary cut, and align that stopping point with the module of the adjacent plane so the seam reads as a deliberate edge. For loose thin stone veneer returned around an opening, batch-vein selection holds 95 percent or greater color-transition consistency, so even where a joint does show, the two faces read as one palette rather than a patch; that material is detailed in the thin stone veneer line.
Walls That Meet at a Plane Change
Not every adjacent wall is a clean 90-degree corner. Two clad planes often meet at a reveal, a step-back, a change of depth, or an offset where a return wall starts and stops against a main elevation. These are the hardest alignments because there is no corner piece to hide the transition; the joint on the far plane meets an open edge on the near one, and any disagreement in module shows as a jogged line.
Resolve a plane change the same way every time: plan the joint position at the plane break first, then work the bond pattern outward from it. Treat the plane-change edge as a control point, exactly as you would a corner, and make the vertical joints land on it rather than straddle it. Where the change of depth is significant, a deliberate reveal shadow is a cleaner outcome than a near-miss joint, so set the module so the seam and the shadow line coincide. This is planning, not a last-row rescue.
Interlocking Z-Panels: Self-Aligning Seams
On large commercial facades, alignment by hand across thousands of square feet is where a staggered joint becomes an impossibility and a visible seam becomes the norm. That is the design problem an interlocking system removes. Top Stone Panels Z-panels use a male-female edge: each unit has a protruding tongue and a matching groove that engage, so panels pull themselves into register and the vertical seam is tucked behind the overlapping edge instead of sitting exposed as a butt joint. The self-aligning geometry means the vertical line that a bonded panel leaves for the installer to stagger is instead hidden by the system itself.
Interlocking is not a substitute for good setting-out; it changes what the installer controls. With a butt-edged panel you stagger the joint; with a male-female panel you keep the module consistent and let the engagement do the alignment, working in courses so the tongues stay in register across a return. The trade is that the pattern module is fixed by the panel, so wall widths and corners have to be planned around it. Cement-backed and mesh-backed Z-panel formats in 20x55cm and 15.2x61cm cover this system, and the interlocking stone cladding approach is the route for large-area walls where a visible join line would otherwise read across the whole facade.
Setting Out: Lines, Batters and a Story Pole
Alignment is executed with layout tools, not with the trowel. Before the first course, snap a level datum line and establish a plumb story pole that records the course heights and where the vertical joints will land on each face. A story pole is what lets the installer keep the bond rhythm consistent across a wall that changes direction, because the offset is carried on the pole rather than improvised at each return.
Batters set the module at the corners and plane breaks: a line run from the corner out over the full face reveals, before a single panel is laid, whether a joint is going to land awkwardly at the top of a run or straddle a return. Where a joint cannot be made to fall cleanly, adjust the offset on the story pole for the whole elevation rather than fudging one course, so the pattern stays even. The mechanical steps of fixing, mortar bedding and course-by-course install are in the step-by-step installation guide.
Movement Joints Versus Appearance Joints
A critical distinction hides in the phrase “joint.” A movement or control joint is structural: it is placed so the assembly can expand, contract and deflect without cracking, and it must be tooled open and never filled with stone or rigid grout. An appearance joint is the visual seam between units that this guide has been about. Confusing the two is how walls both look wrong and fail, because a movement joint that gets bridged by a run of veneer turns into a crack, and an appearance seam mistaken for a control joint lets a visible line wander across a return.
Plan the structural joints first and independently, from the movement-joint guidance in a current installation standard such as those published by the Tile Council of North America, then work the bond pattern so appearance joints do not fight the control joints. Where a control joint must cross the facade, keep it straight and continuous and stop the module on it rather than running staggered joints across it. On a clad wall over a building with its own expansion joints, the veneer has to honor them; that structural story is separate from the aesthetic stagger and belongs in the setting-out drawing.
| Alignment control point | What it fixes | How to hold it |
|---|---|---|
| Running bond | Vertical joints stacking into a grid across a corner | Offset each course so no joint stacks above or below |
| Pre-made L-corner set | A straight vertical seam at the outside corner | Alternate the 6×12+6×6 and 6×16+6×8 long-leg and short-leg set up the course |
| Inside return | Two faces disagreeing at a doorway or bay | Carry the bond around the corner as if the wall were continuous |
| Plane change | A jogged line where two depths meet | Treat the break as a control point and land joints on it |
| Interlocking Z-panel | A visible seam across a large facade | Male-female edge self-aligns in 20×55 and 15.2×61 modules |
Dry-Fit, Tolerances and the Mock-Up Wall
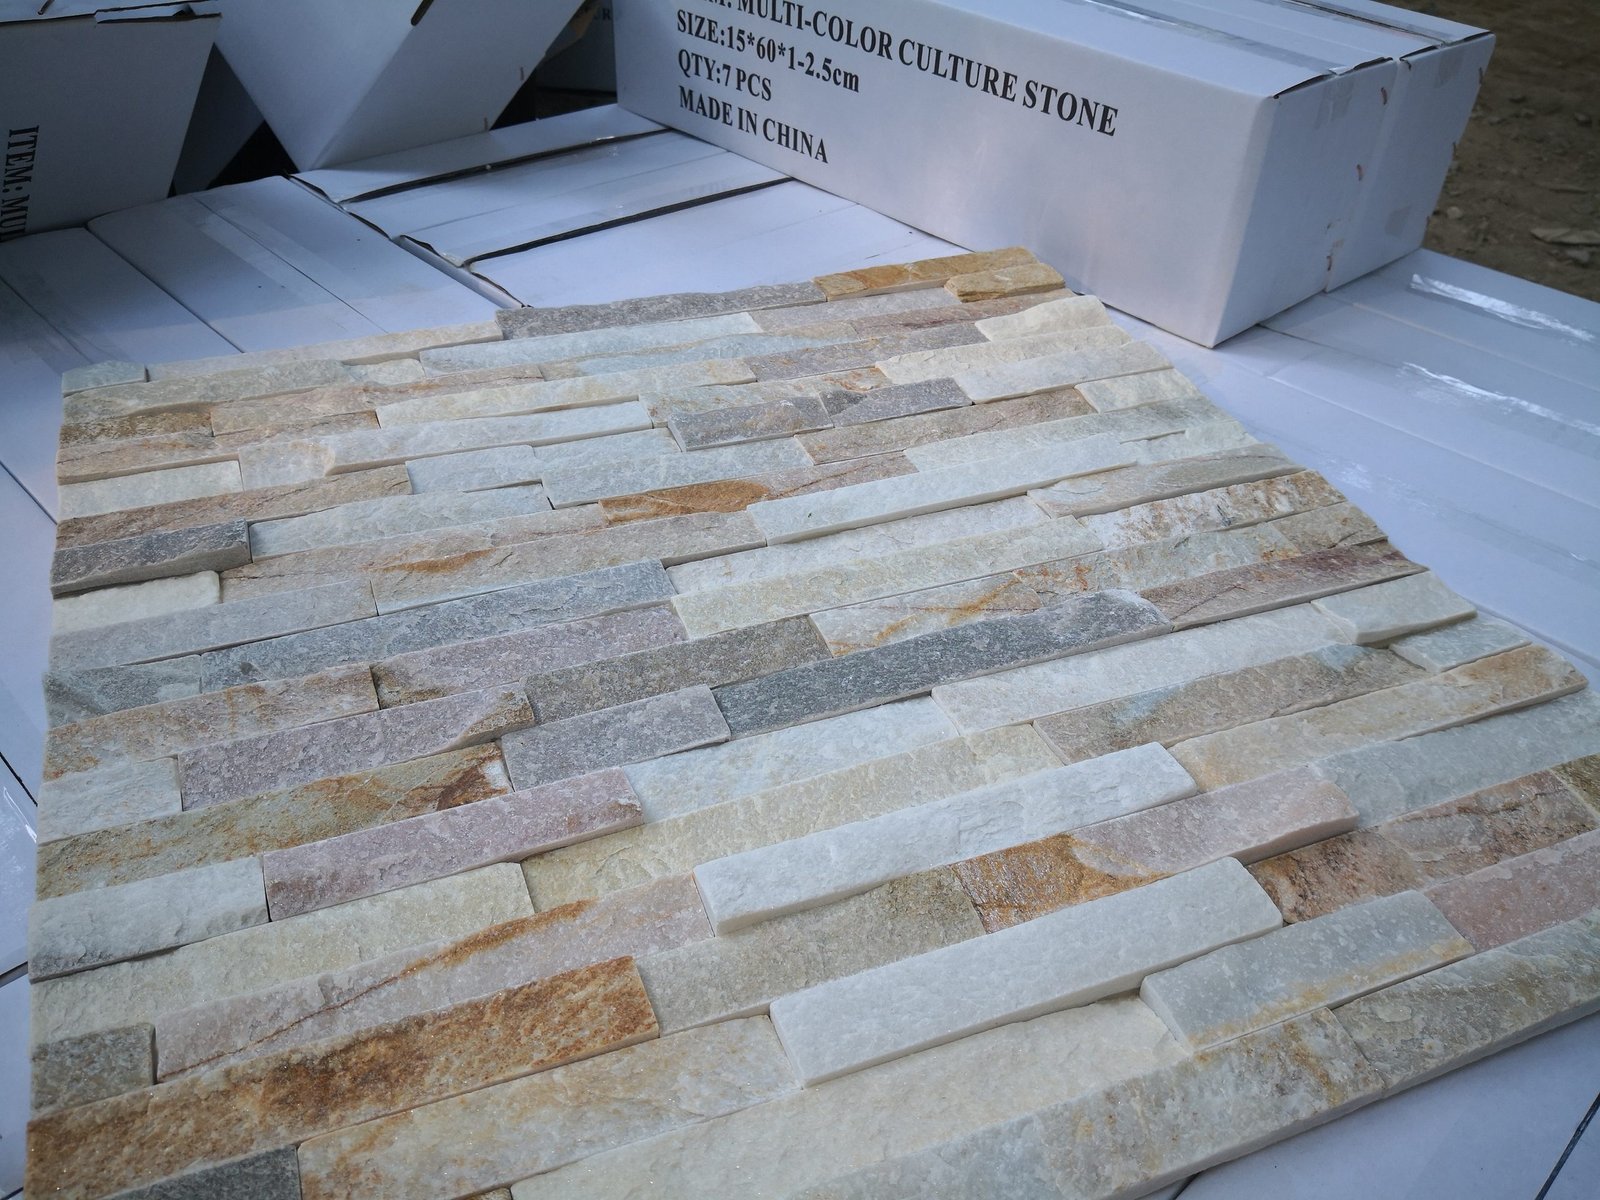
The last alignment tool is the dry-fit, and it is where a distributor protects a client from a bad facade. Laying the intended pattern on the ground or a flat plane before mortar lets you see where the vertical joints land at the corner and the return, catch units that are out of tolerance and would jog a line, and re-order the course so no two joints stack. On natural split-face product, dry-fitting also lets the installer select which faces go where so the joint rhythm and the color both land right.
Build a mock-up wall for the project sign-off, ideally a small one that includes an outside corner and a return, and let the client approve the joint pattern on the sample panel rather than on their building. Tolerances are real: bed and face deviations in the substrate, panel thickness variation, and the natural dimension range of split stone all nudge joints off their planned position, and a mock-up is where you set the acceptable band. After the joints are set and the mortar has cured, the residue that can blur a clean line is a separate cleanup step, covered in the guide to removing grout haze from stone veneer.
Frequently Asked Questions
Why do my stone veneer joints line up on adjacent walls?
Because the vertical joints are stacked in a column instead of staggered course by course. A running bond with a half-lap offset breaks the vertical line; a stacked bond carries it straight through the corner and onto the next wall as a grid.
How do you stop a corner showing a straight vertical joint?
Use pre-made staggered L-corners so the long and short legs alternate the joint across the turn, or dry-fit the corner so no two courses line their vertical seam up on the face and the return. The corner sets the rhythm for both faces.
Do interlocking panels hide joints?
Male-female Z-panels self-align and tuck the vertical seam behind the overlapping edge, which is why they are specified on large facades. Butt-edged panels leave the seam exposed and depend entirely on the installer staggering the joints.
Should you dry-fit stone veneer before installing?
Yes. Laying the pattern on the ground or a plane first lets you plan where joints land at corners and returns, catch out-of-tolerance pieces, and set the layout lines before any mortar goes on.
What is the difference between a movement joint and an appearance joint?
A movement or control joint is structural, placed so the assembly can expand and deflect without cracking, and it is tooled open. An appearance joint is the visual seam between units. Bridging a control joint with stone turns it into a crack.
Conclusion
A straight vertical seam running across adjacent walls is a layout failure the stone did not cause, and it is fixed before the mortar: pick a running bond so joints stagger instead of stack, let the outside corner set the rhythm for both faces, and carry the offset through inside returns and plane changes rather than rescuing it on the last row. Pre-made L-corners and interlocking Z-panels take the two hardest jobs, the corner and the large facade, out of hand alignment and into designed geometry. Set out with lines and a story pole, build a mock-up, and keep structural movement joints where they belong.
- Use a running bond so no vertical joint stacks into a line through the corner.
- Stagger the outside corner with pre-made L-corners; skip the on-site miter and the toll-booth seam.
- Carry the bond around inside returns and land joints on plane-change edges.
- Choose interlocking Z-panels where a visible seam across a large facade is the risk.
- Plan movement joints structurally and separately; dry-fit and mock up before the real wall.
Specifying panels, corners or an interlocking system for a project and want the joint rhythm locked before it reaches the site? Reach out to the Top Stone Panels team and we will match the L-corner set and module to your wall.