A finished stone wall goes up for a client and, three days later, it fogs over. That milky film is grout haze, and it is the single most common thing that turns a clean installation into a punch-list argument. It is not a defect in the stone, and it is not a stain you can scrub away with whatever is under the sink. Handled right, it comes off in an afternoon. Handled wrong, you trade a cosmetic haze for a permanently etched, dulled face that nobody signs off.
This guide is written for the installer, contractor or distributor standing in front of that wall with a job to hand over, not for a weekend DIYer. It covers what haze actually is, why a rough natural face holds it far worse than a glazed tile, how to read the stone before you touch it with chemistry, a cleaning ladder from lowest risk to highest, and the one sequencing rule that decides whether your sealer helps or hurts. It closes on how to specify and execute the job so haze never becomes a warranty callback.
- Grout haze is residual cementitious paste left on the stone face during jointing; it is neither a stain nor efflorescence, and each needs a different response.
- Rough, split and bedded natural faces hold haze in pits and along edges that a flat glazed tile never does, so the removal sequence matters more, not less.
- Read the stone first. Slate and quartzite are siliceous and tolerate a mild acidic stripper; marble, limestone and travertine are calcareous and etch on contact with acid.
- Work the ladder from lowest risk up: clean water, then pH-neutral stone cleaner, then a labeled haze remover, then a carefully tested acid step reserved for siliceous stone only.
- Act while the cement is still green, roughly the first day or two, and seal only once the face is clean and fully dry, or you lock the haze in.
What Grout Haze Actually Is
When you sweep excess grout or mortar across a field of stone, a thin veil of cementitious paste is dragged over the exposed face. Most of it wipes away during the initial cleaning passes. What is left behind, if the timing or the rinsing is sloppy, is a film fine enough to look like a smudge and tenacious enough to dry into a pale, cloudy cast. That is haze. It is not discoloration inside the stone; it is material sitting on top of it, and that distinction is the whole basis for removing it.
It helps to separate haze from its two look-alikes, because the fixes differ. The first is efflorescence, a white bloom that pushes outward from behind the cladding as water carries dissolved salts to the surface and leaves them there. Haze is cement you left on the front; efflorescence is salt migrating from the back, and no amount of face-cleaning fixes a moisture problem behind the wall. The second look-alike is a genuine etch: acid that bit into a calcium-based face and physically removed polish. Etching is permanent damage you are trying not to cause, not a film you are trying to remove.
Because haze is un-cured cement caught on the surface, the clock matters. Fresh haze is a film that re-wets and lifts; fully cured haze is a hard layer that needs chemistry to loosen it. The practical consequence is blunt: the cheapest, safest haze removal happens the day the joints are struck, and every day you let it cure moves the problem up the ladder toward harsher methods and a real chance of face damage.
Why Rough Stone Faces Hold Haze
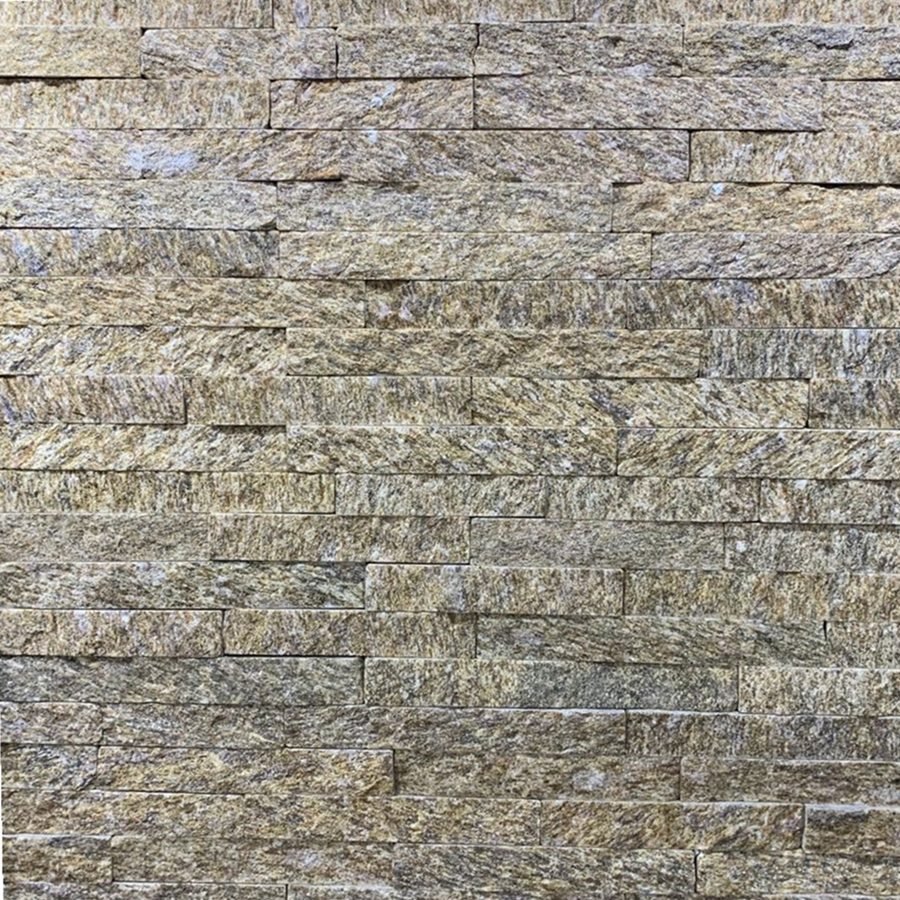
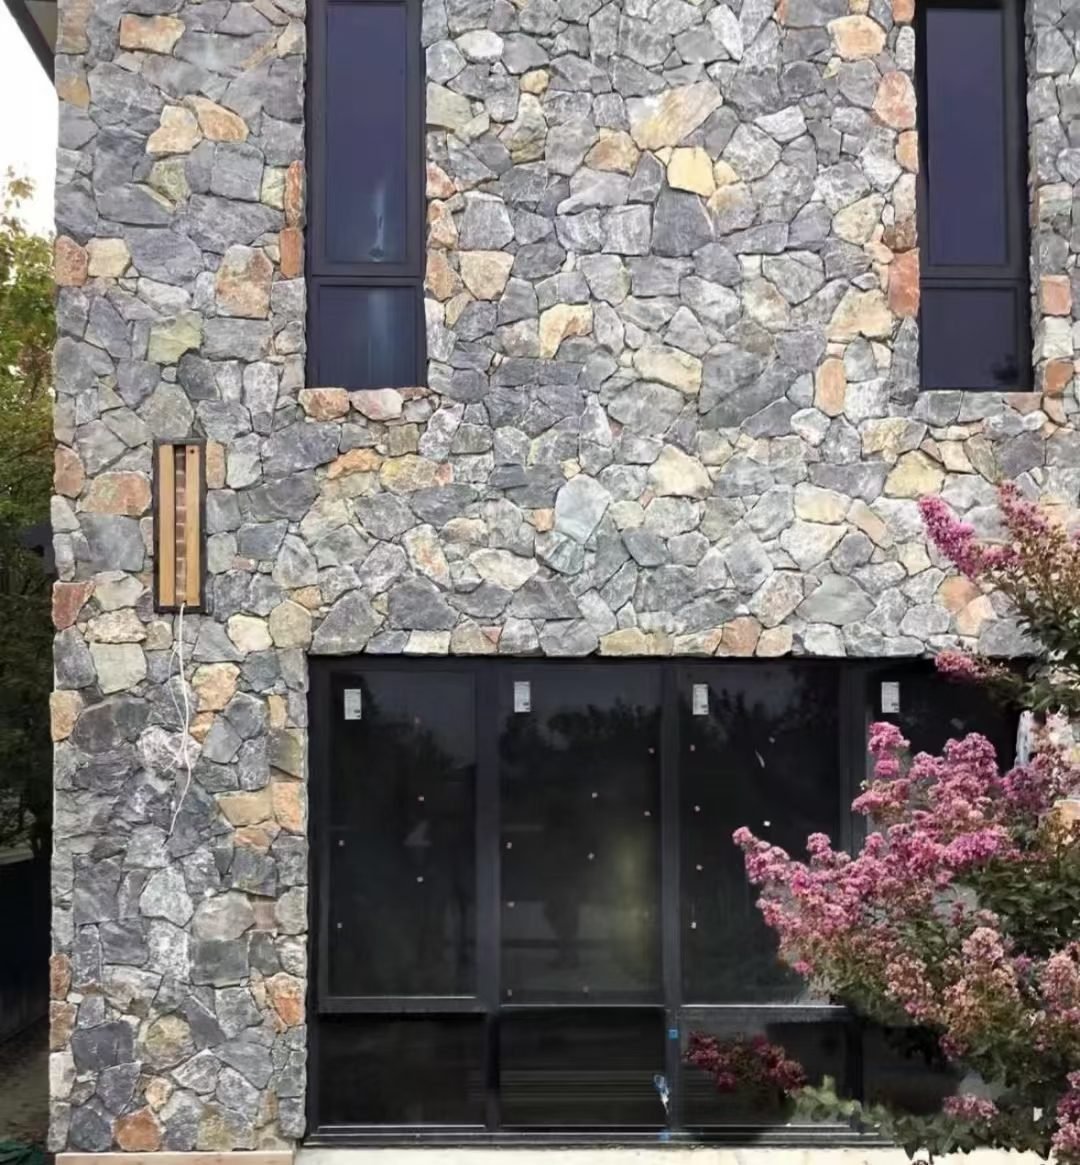
A glazed ceramic tile is a flat, sealed plane. Cement slides off it, and a single sponge pass clears the face. Natural stone veneer is the opposite problem. A split face is textured with cleavage planes, pits and ridges; a bedded or ledged face has dozens of hard edges and recesses; and a stack of random loose stone multiplies that geometry across the whole wall. Every micro-catch is a place a thin film of cement can lodge and refuse to release. The rougher the face and the more joints per square meter, the more deliberate the cleaning has to be.
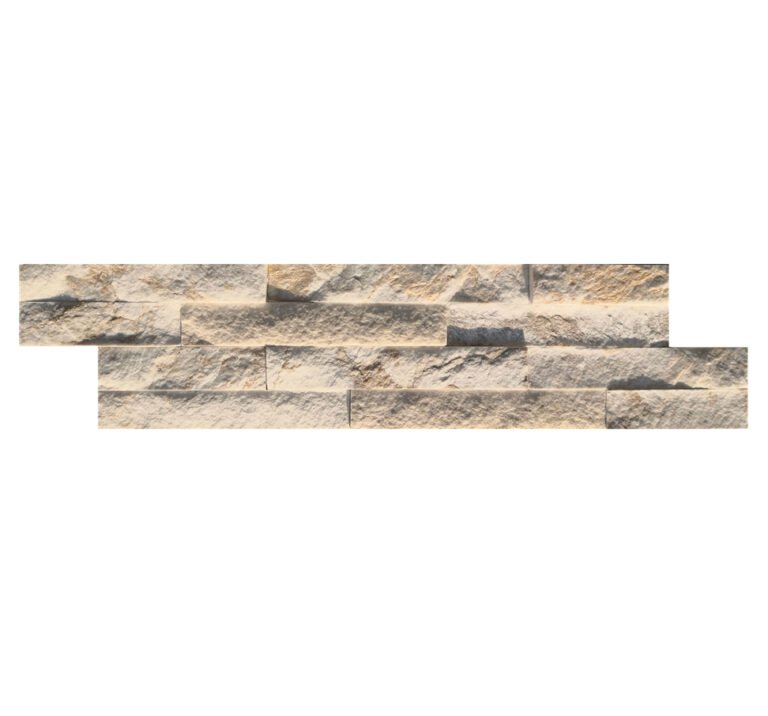
This is exactly why the product format shapes the labor. A bonded thin stone veneer or a mesh-backed ledger panel presents one engineered face with controlled joint lines, so the crew cleans a predictable surface instead of chasing hundreds of irregular stone-to-stone seams. Loose random stone, set joint by joint, gives haze far more to hide in. If haze control is a real concern on a project, the format decision at ordering time is cheaper to change than the cleaning method at handover.

There is a related myth to kill: that the stone is delicate and must not be touched with water or cleaner at all. Slate and quartzite cladding are dense, split-natural mineral faces; the risk to them is never a careful wet clean. The risk is either aggressive acid on the wrong stone, or abrasive tooling that scratches the surface and changes how light comes off it. Everything below is built around avoiding those two errors.
Read the Stone Before the Chemistry
Before you mix anything, establish what the face is made of, because that single fact governs whether a mild acid is a tool or a weapon. The stone industry sorts natural stone into two chemical families. Siliceous stone is built largely on silica: granite, quartzite, slate and sandstone sit in this group, and they resist mild acids well. Calcareous stone is built on calcium carbonate: marble, limestone and travertine, and they react with acid by dissolving, which is why vinegar etches a marble countertop. The Natural Stone Institute’s care and maintenance guidance is built on this same distinction.
Our slate and quartzite veneer is siliceous, which is good news: it gives you room to escalate to an acidic haze remover without etching the face, as long as you follow the label and keep contact time short. If you ever walk onto a job where the “stone” is a calcium-based product, or you cannot confirm what it is, treat it as calcareous and stop at pH-neutral. When the stone is unidentified, a fast drop test on a hidden area, a few drops of a weak acid and watching for fizz, tells you which family you are dealing with before you commit a whole wall to it.
The Haze-Removal Ladder
Work from the least aggressive step upward and stop as soon as the haze releases. Do not start at the top of the ladder because it is the fastest answer to the fog you can see; each rung exists so you rarely have to use the next one.
| Stage | Tool | Best for | Stone it is safe on |
|---|---|---|---|
| 1. Water | Clean water, soft brush, frequent rinses, two buckets | Fresh haze, caught within hours | All stone |
| 2. pH-neutral | pH-neutral stone cleaner per label | Light cast on a textured face | All stone, including calcareous |
| 3. Labeled haze remover | Grout-haze remover, diluted per manufacturer, tested on a patch | Film that has started to set | Siliceous; check label for calcareous |
| 4. Acidic stripper | Acid-based cement stripper, short contact, heavy rinse | Stubborn cured residue, last resort | Siliceous only, never calcareous |
Notice that almost nothing here is exotic. The instinct to reach for the strongest chemical first is what ruins faces. A well-run water-and-brush pass clears most haze on the day it is generated, and the pH-neutral stage handles what a rough face leaves behind. The chemical rungs are for genuinely cured residue, and they earn their place only after you have proven the gentler steps were not enough.
Step by Step: Clearing Haze Without Etching the Face
Run the sequence the way a careful crew would, in sections, on a shaded face rather than one baking in afternoon sun.
First, clear loose residue dry. Once the grout has gone from a wet shine to a dull film but not yet hardened, knock the loose powder off with a soft dry brush or cloth along the joints, not across them. The Tile Council of North America maintains the ANSI A137.1 standard and installation guidance this cleaning sits inside, and the principle is consistent: get the dry bulk off before you ever add water, or you turn powder into paste and smear it deeper into the texture.
Second, wet the face and work top to bottom with clean water and a soft brush or a white (non-colored, non-scratching) pad, and rinse the brush constantly into a clean second bucket so you are not dragging captured cement back over the stone. Change the rinse water the moment it turns cloudy. One panel or one square meter at a time, then move on before the water films over.
Third, if a cast remains, apply a pH-neutral stone cleaner mixed to the label ratio, agitate gently along the grain of the face, and rinse thoroughly with fresh water. Neutral is the default that is safe on every stone type, so when you are unsure of the material this is where you stop and reassess rather than escalate.
Fourth, only for confirmed siliceous stone with a set film, use a dedicated grout-haze remover diluted strictly per the manufacturer label. Test it on a hidden or easily re-worked patch first, keep the contact time to what the label allows, never let it dry on the face, and rinse hard with clean water the moment the time is up. The point of the label ratio is that strength and dwell time are what separate a clean from an etch, and there is no benefit to exceeding either.
When Haze Has Already Cured
Not every haze problem is caught on the day. Sometimes the wall was handed over, the crew left, and the fog only shows up at the final walk. Once the cement has fully cured into a hard film, the water-and-neutral rungs of the ladder are largely spent, and you are working with the last two steps with more caution, not less.
For siliceous stone, this is the situation a labeled haze remover or a mild acidic cement stripper is built for, used exactly as above but with the understanding that the film is thicker, so you may need a second controlled pass rather than a longer dwell. Re-test, keep sections small, and rinse aggressively. For calcareous stone, you do not have that escape hatch. Stop at neutral, and if the cured film will not lift, escalate to mechanical help, a skilled restorer with the right pad and technique, rather than to acid. The margin between “clears the haze” and “eats the face” on calcium-based stone is genuinely thin.
A separate question on a cured wall is whether you are even looking at haze. If the white came back after a clean, kept spreading, or sits behind the joints rather than on the face, it is more likely salts than cement, and the fix is moisture control and time, not stronger chemistry. Working through that separately, and not blasting a salt problem with acid, is the difference between a resolved job and an expensive one.
Seal Only After the Face Is Clean and Dry
Sealing is where installers create their own second haze problem. A penetrating or topical sealer is applied to the face, and if that face still carries cement residue or damp joints, you are sealing haze underneath the sealer and turning a removable film into a locked-in cloudy one. The rule has no exceptions worth arguing: clean first, dry fully, then seal.
Drying matters as much as cleanliness. Joints and the stone body hold water from the cleaning pass, and a sealer put over damp stone traps that moisture, which both clouds the finish and slows proper cure. Give the wall a genuine dry period before you reach for the applicator, and follow a disciplined sealing sequence that treats a clean, dry face as the entry condition rather than an afterthought.
On siliceous slate and quartzite, sealing is often optional for durability, since the dense stone already resists water and staining well; it is chosen for look and for soiling resistance in specific settings. On the more absorptive edges and on any calcium-based stone in the mix, it is more valuable. Either way, the sequencing point is identical: a sealer is a finish applied to a face you have already declared clean, and getting that order wrong is the most common way a “fixed” haze reappears as a permanent one.
Specify the Job So Haze Never Returns
For a distributor or contractor who hands over stone repeatedly, the goal is not to remove haze better; it is to make a job that generates less of it. Several decisions upstream do that work before the cleaning bucket is ever filled.
Choose the format that fits the crew’s skill. Bonded ledger panels and engineered Z-cladding reduce the number of open joints the installer has to keep clean, so haze has fewer places to hide than it does on loose random stone. Where the finish is being handled by a general labor crew rather than a stone specialist, that reduction in joint count is a real risk control, not just a labor saving. It is worth being deliberate about grout and mortar choice too; the mortar, thinset and adhesive system and its water content shape how much residue the face collects.
Write the cleaning and sealing sequence into the scope, with the same specificity as the installation. “Clean the face before sealing, using pH-neutral product, working in sections, siliceous stone only for any acidic step” is a line that prevents the callback. Confirm the stone family in writing at ordering so the crew cannot guess wrong, and reference the installation method so jointing and face-cleaning are done as one controlled operation rather than two rushed ones. A little mistake-prevention discipline here is far cheaper than a face-etching dispute at handover.
Finally, fold the first real clean into the maintenance plan you hand the client, not the punch list you chase today. Haze you prevent and clear at installation is a one-time cost; poor aftercare, done with the wrong household cleaner, is how a wall that was bright on day one is dull and spotted in year two. Building that into a longer stone maintenance routine protects the finish and the relationship at the same time.
And where the joints themselves are the issue, not the face, the technique for filling flush versus recessed joints on a bonded panel is covered in the grouting guide for stacked stone panels, because getting joint depth right is what makes the face-cleaning step downstream predictable instead of a fight.
Frequently Asked Questions
How long do I have before grout haze becomes hard to remove?
Haze is easiest while the cement is still green, generally within roughly the first day or two at normal site temperature. Cure time varies with the grout product, temperature and humidity, so treat the manufacturer’s window as the authority and work sooner rather than later; the harder the film cures, the higher up the cleaning ladder you are forced.
Will a pH-neutral cleaner remove haze from a rough split face?
It removes most light haze when used with a soft brush, clean water and frequent rinsing. A rough face may need a second pass and a bit more agitation along the texture, but pH-neutral is the safe default that works on every stone type, so exhaust it before considering anything stronger.
Can I use vinegar or an acid stripper on stone veneer?
Only on confirmed siliceous stone such as slate or quartzite, as a late, label-controlled step with short contact and a hard rinse. Never on calcareous stone such as marble, limestone or travertine, where acid dissolves the face and leaves a permanent etch that looks nothing like the haze you started with.
Is grout haze the same as the white film after sealing?
No. Haze is cement left on the face; a white cloudy film after sealing usually means sealer went on over damp joints or leftover haze, locking it in. Clean and dry fully first, and if a haze film is present, lift it before you ever bring out the sealer.
What if the white keeps coming back after I clean it?
Recurring white that spreads or sits behind the joints is usually efflorescence, salts migrating from moisture behind the wall, not surface cement. That is a drainage and moisture problem to diagnose separately, not a reason to escalate to stronger acids on the face.
Conclusion
Grout haze is a surface problem with a surface solution, provided you respect three things: the clock, the chemistry, and the order of operations. Catch it while the cement is green, read whether you are standing in front of siliceous or calcareous stone before you open a bottle, and climb the cleaning ladder one rung at a time instead of starting at the top. Do those three and a fogged wall is an afternoon of careful work rather than a re-clad one.
- Treat haze as cement on the face, and keep it separate from etching (permanent damage) and efflorescence (salt from behind the wall).
- Go gentle first: water, then pH-neutral, then a labeled haze remover, then acid only on confirmed siliceous stone.
- Never acid a calcium-based face, and never pressure-wash a natural face to chase haze.
- Clean and dry completely before sealing, or you lock the haze in permanently.
- Reduce haze at the source with format and spec choices, and fold the correct first clean into maintenance.
Need a stone family, format or product-specific cleaning window confirmed before you commit to a job? Talk to the Top Stone Panels team and we will match the cladding and the handover sequence to how your crew actually works.