A stone bar counterfront takes the punishment that no wall in the venue takes. Glasses are set down hard against its top edge and citrus syrup runs down the face. A barback’s rag crosses it every few minutes, and the stool ring scrapes the bottom band all night. Yet it is almost always specified as a leftover wall decision: whatever was approved for the feature wall gets wrapped around the bar and the detailing is improvised on site.
Four ideas follow, each one an approach to that vertical face in a hospitality setting. Every one carries a panel format, a corner and edge return, a spill line, a toe-kick or bottom band, a lighting read and a named product. The result is a drawing, not a preference.
- Specify the counterfront separately from the wall behind it: it is read at hand height, cleaned daily, and struck by glassware.
- Panel modules of 15x60cm, 15x55cm, 20x55cm and 15.2x61cm let the course lines land on the rail and toe-kick lines rather than in the middle of the face.
- Pre-made L-corners with staggered legs take the 45-degree miter off the bar returns, which is where more than half the corner labor and roughly 20 percent of the waste normally sit.
- Relief is a lighting decision: at grazing angle a riven face multiplies its own shadow, and the joints multiply with it.
- The spill line needs a physical stop and the bottom band needs a setback, because caulk beads and flush kicks are maintenance items from day one.
Why a Counter Front Needs Its Own Spec
A bar front and a feature wall are judged by different eyes. A stone feature wall in a restaurant is read from across the room, where relief and tone carry the whole elevation. The front of a bar is read at arm’s length, with a drink on it, by someone leaning on it. It is also read by the person who wipes it at the end of the night.
That distance changes five decisions: relief depth, the spill stop, the corner return, the bottom band, and how the face takes a rag at service height. Mop water and boot toes live in that bottom band, which is why it rarely stays in stone. For buyers new to the format itself, the primer on what stacked stone panels are explains the backed-panel logic these five decisions depend on.
Module is the quiet one. A 15 cm course height means the face divides into 15 cm bands, so three courses cover 45 cm and two cover 30 cm. Set the rail and toe-kick lines at course breaks and the field reads as built. Set them at random heights and a sliver piece lands in the customer’s eyeline. The same arithmetic applies to a cash wrap’s width, where a 60 cm panel module decides whether the vertical joint sits on the front or on the return.
A hotel reception desk is the nearest cousin to a cash wrap and shares its corner problem, which the office reception stone wall build works through in an office setting.
Idea 1: Riven Back Bar Under Grazing Light
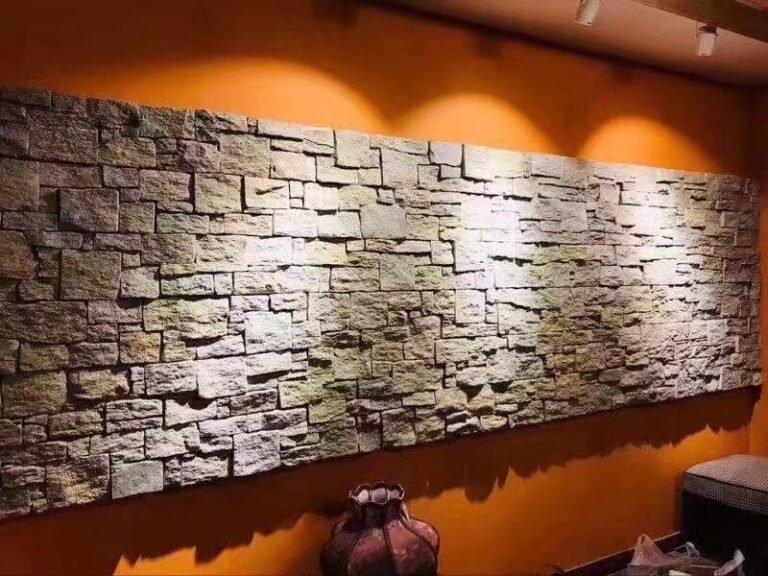
The back bar is the vertical face behind the glassware shelves and the bottle display, and it is the most photographed surface in the room. It is also the one lit worst. Tape light run along the top or bottom of the face grazes it, and at that angle the relief throws a long shadow off every edge. A riven, split-face stone is exactly the right answer, because the horizontal shadow lines repeat the shelf lines and the bottle rhythm instead of fighting them.
Specify it as split-face thin stone veneer in slate or quartzite, and hold the face with batch vein selection. Hand-sorted stone drawn from one nominated vein keeps 95 percent or greater color-transition consistency, and warm low-angle lighting is precisely where an unsorted mix shows up as patches. The tone that looks uniform under diffuse daylight turns into stripes and blocks under a warm strip light. Color control belongs at the quarry sorting bench, not on the scaffolding.
Keep the relief honest in the reach zone. The band that a bartender’s hands and speed rails cross collects syrup, ice melt and label glue. A deeply fissured face there becomes a cleaning argument every morning. Run the lower reach at a tamed relief and let the deeper split face carry above the top shelf line, where light does the work and hands do not.
End the face at a cabinet return or a reveal with a formed corner rather than a field cut. Keep the joint off the shelf-fixing line, so a bracket never lands on a seam. Where the back bar sits against a mirrored rear panel, a shadow gap at the junction stops the stone edge from chipping against glass. At the floor line the base plinth stays set back, or stays in a plain hard material, so the mop never reaches a textured edge.
Idea 2: The Cash Wrap With Factory Corners
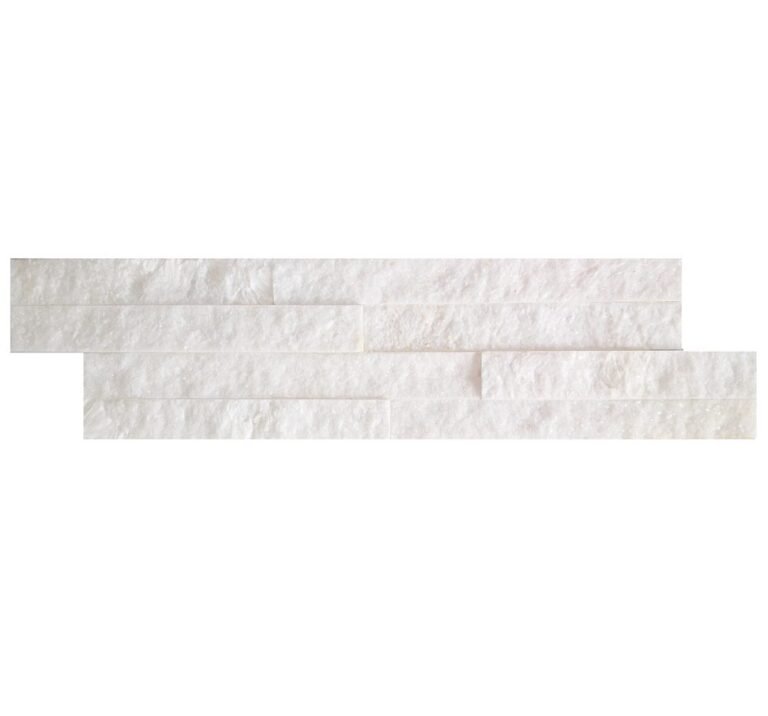
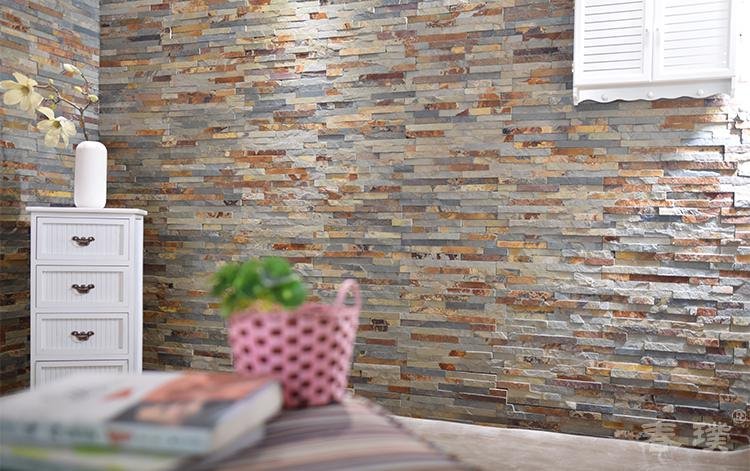
A cash wrap is a small stone box in the middle of the queue, with four external corners and two of them dead center in the customer’s eyeline. It is the highest-risk face on the floor plan because there is nowhere to hide a bad return. The format that behaves well here is the standard stacked stone panel line in 15x60cm or 15x55cm, glued or mesh-backed. Order it so the module works with the wrap rather than against it.
Turn the module through the drawing. Where the wrap face matches the panel’s 60 cm module, one panel set with that dimension vertical carries the field seam onto the return instead of the front plane. The course height then breaks at the rail line. On a wider face the panel sits horizontally and the vertical joints are staggered course by course. Either way, draw the joint map before ordering, because a trade that decides bond on the day will put a centered vertical line down the front of the bar.
Corners decide whether it looks built or applied. Pre-made L-corner units come as asymmetric sets: 6×12 with 6×6 inch legs, and 6×16 with 6×8 inch legs. The alternating leg length breaks the vertical joint around the turn, so no joint runs straight down an arris. Because the corner is factory-made, the site skips the 45-degree miter entirely. That removes the chipped-edge risk and carries the reported saving of more than 50 percent of corner labor and about 20 percent of material waste. Downlights in the queue-side soffit graze those corners, and a riven face under that light shows every joint.
The spill line is the functional detail. The worktop should nose forward of the stone face, or a trim should cover the junction. Then a spilled cocktail runs down the stone and off the front instead of into a butt joint. A bead of sealant feathered over that edge is the standard shortcut and the standard failure: it lifts, it blacks, and it is the first thing a manager notices.
Below, keep the toe-kick set back and in a hard, plain material. Stone run down to the floor puts a textured band exactly where boot heels, mop water and dropped ice land. It reads dirty sooner than any wall in the room.
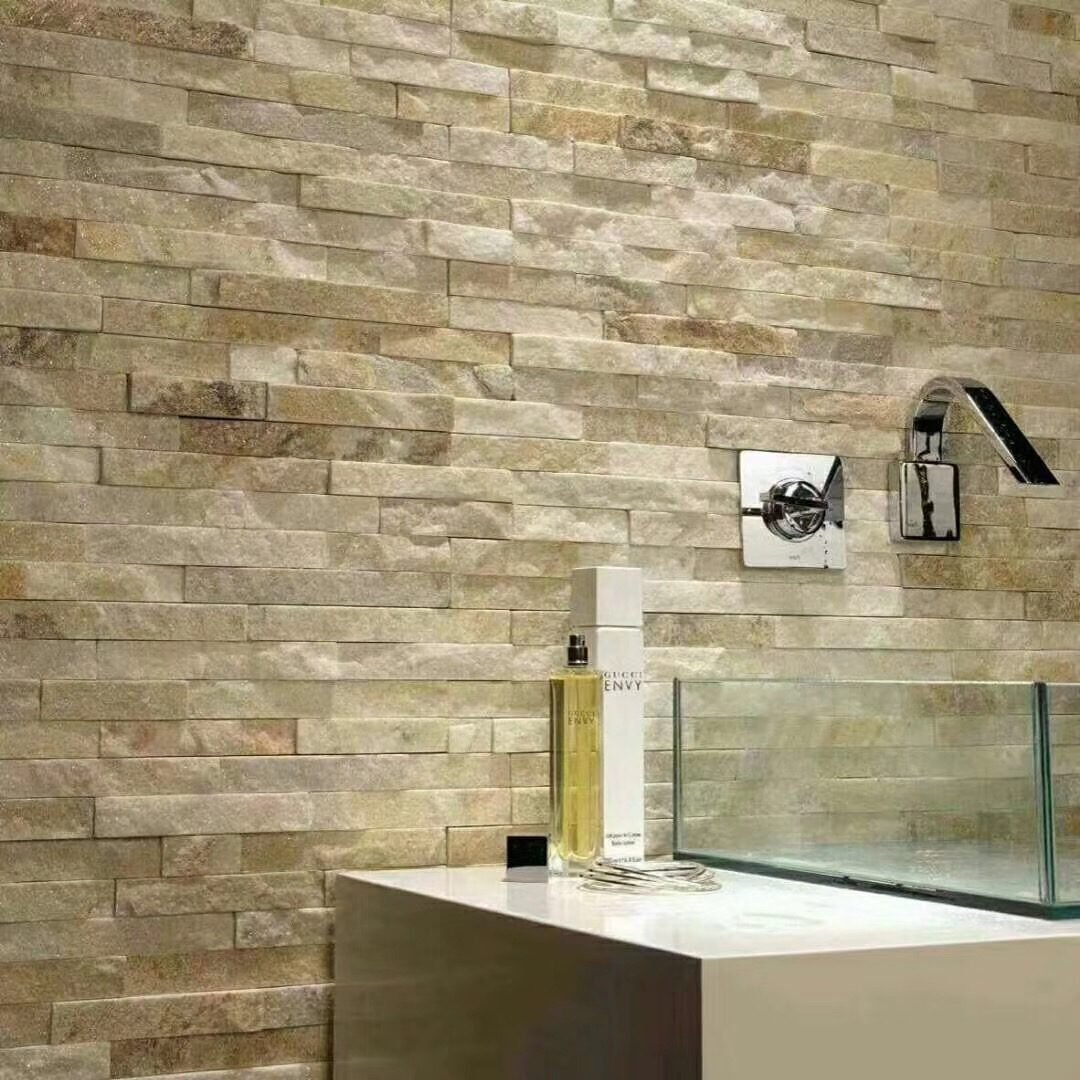
Idea 3: Bar Island Ends From Column Kits
A bar island or service island is a long front with two ends, and the two parts need different answers. The field wants continuity. The ends want to read as solid objects, the way a masonry pier reads, because that is what stops a long island from looking like a clad cabinet.
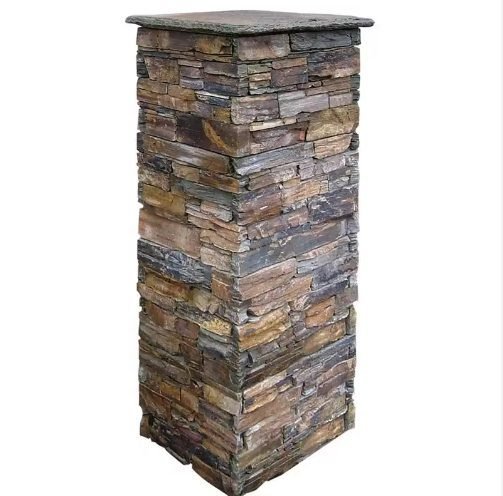
Stone column and pillar kits solve the ends directly. Supplied as 40x40cm or 50x50cm sections, they form island ends and bar supports. The end of the run becomes a pier with a real arris instead of a wrapped edge. For the base run behind them, interlocking Z-panels in 20x55cm or 15.2x61cm, cement-backed or mesh-backed, self-align and hide the vertical joint. That is the difference that matters when pendant lights pool down a long front and every seam would otherwise throw a line.
The lower third of an island front is an impact zone that a wall never meets. Stool bases strike it, footrests scrape it, and cleaning equipment hits it at pace. The bond system is what keeps a face like that attached. Marine-grade epoxy is specified through -30C to +50C cycling with a 100 percent zero pop-off result, the durability reference worth asking any supplier for on a high-touch commercial front.
Treat the residential version as a separate brief. The stacked stone kitchen island build covers the domestic case, where sink splash and dishwasher heat do the damage instead of bar stools. Relief runs calmer there, because the island is read from a breakfast table rather than from a queue.
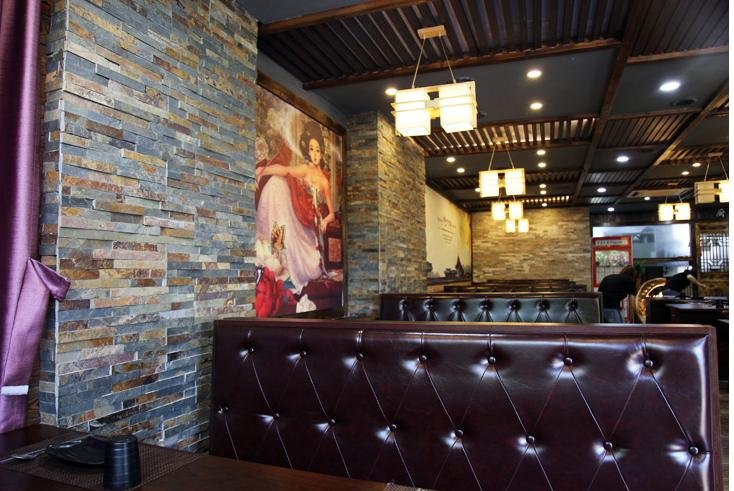
Idea 4: Z-Panel Fronts for Quick Service
A quick-service or grab-and-go counter is a long front punctuated by several points of sale, a pickup pass and usually a drink station. It is cleaned on a timetable and hose-sprayed at close. The design question is not how handsome the face is but how repeatable it is across a long run, and how well it survives washing.
The panel answer is the modular one. Interlocking Z-panels in 20x55cm and 15.2x61cm male-female formats self-align. That keeps a long front on a consistent course and hides the vertical joints a raking strip light would otherwise expose. The same module repeats around the pass and the POS returns, so the drawing does not need a bespoke detail for every change of direction.
At service height, specify a tamed face rather than a deep split. The reach band of a pickup counter takes cup rings, syrup and sanitizer, and a smoother relief wipes without the rag fraying. Let the texture return above the splash line and let the counter top carry a forward nosing so liquid runs clear of the joint. Sealing follows the individual stone’s requirements and the cleaning schedule is written, because no natural stone front is stain-proof or antibacterial on its own. The Natural Stone Institute publishes the maintenance and cleaning guidance worth quoting in that specification.
The stone stops above a recessed kick with a trim or a shadow line rather than fading into the floor. That leaves the floor scrubber and the mop water hitting a plain face. For the facade-scale version of the same detail, see stone cladding on a retail storefront, where the termination logic carries over. There the abuse pattern is weather rather than service.
Detailing Rules Shared by All Four
This section is the schedule version of the four ideas: what gets fixed, element by element, before the drawing leaves the studio.
| Counter element | Panel format | Backing | Edge and corner |
|---|---|---|---|
| Riven back bar | Split-face thin veneer, vein-sorted | Glued or mesh | Formed corner into reveal or cabinet return |
| Cash wrap | 15x60cm / 15x55cm stacked panels | Glued or mesh | Staggered pre-made L-corners on all four arrises |
| Island field and ends | Z-panels 20x55cm / 15.2x61cm; column kits 40x40cm / 50x50cm | Cement or mesh | Pier arris at the ends, hidden joints in the run |
| Quick-service counter | Interlocking Z-panels, tamed face at reach | Cement backed | Male-female module repeat around the pass |
Five details then repeat across every hospitality counter front, whatever the element. Fix them in a schedule so that no idea above gets value-engineered back into a generic wall spec at tender.
Spill line. The worktop noses forward, or a trim covers the junction. Liquid is managed geometrically, never with a bead.
Corners. Factory L-corners on every external arris at hand height, because that is where a chipped miter is noticed and where the labor saving actually lands.
Bottom band. Recessed kick, stone stopped above it, and the stop detailed with a shadow line or trim rather than a cut edge fading into the floor.
Lighting. Grazing light is the design tool and the diagnostic. Whatever it reveals on a mock-up at night will be visible in the finished venue.
Cleaning. Sealed to the stone’s requirements, a written regime, and a relief choice that a rag can physically cross without shredding.
| Detail left generic | What it becomes | Fix to specify |
|---|---|---|
| Sealant bead at the spill line | Blacked, lifting edge | Worktop nosing or trim |
| Field-cut 45-degree corner | Chipped arris, straight joint | Staggered pre-made L-corners |
| Stone run to the floor | Scuffed, wet kick band | Recessed plain kick |
| Deep relief at hand height | Syrup and glue in fissures | Tamed face in the reach band |
Frequently Asked Questions
What is a stone counterfront?
The cladding on the vertical face of a bar, back bar, cash wrap or island base. It sits below the worktop and above the floor or toe-kick, and it does not include the horizontal working surface.
Which panel format suits a bar front?
Stacked stone modules in 15x60cm or 15x55cm handle short faces and cash wraps. Interlocking Z-panels in 20x55cm or 15.2x61cm suit long runs, because they self-align and keep the vertical joint out of view.
How are bar corners and returns handled?
With pre-made L-corner units in staggered leg lengths, so the joint breaks around the turn. That removes the on-site 45-degree miter, which is where more than 50 percent of corner labor and about 20 percent of material waste normally sit.
Does a stone bar front need sealing?
Yes. Natural stone at service height should be sealed to the individual stone’s requirements and kept on a written cleaning schedule. Stone is tough, but it is neither stain-proof nor antibacterial by itself.
How much relief belongs on a back bar?
Enough to cast a shadow under grazing light and no more. Deep split faces look striking at a shallow lighting angle but trap syrup and label glue within reach of the bartender’s hands. Tame the relief in the band that gets wiped.
Conclusion
A bar front earns its keep on detailing, not on the photo of the stone. Choose the module so the course breaks land on the rail and kick lines, then choose the face by how the lighting will graze it. Keep the reach band tame enough to wipe and let factory corners carry every arris the queue can see.
Key takeaways:
- Four hospitality faces, four specs: riven back bar, cash wrap, island ends in column kits, and a modular quick-service front.
- Modules of 15x60cm, 20x55cm and 15.2x61cm decide where the joints fall, so draw the bond before ordering.
- Pre-made staggered L-corners remove the field miter and with it more than 50 percent of corner labor.
- Spill line gets a physical stop, toe-kick stays set back, and the stone is sealed and cleaned as natural stone.
Send the bar elevations and the finish schedule to the Top Stone Panels team. Panel format, corner set, relief and vein batch then get fixed element by element, against one drawing set.