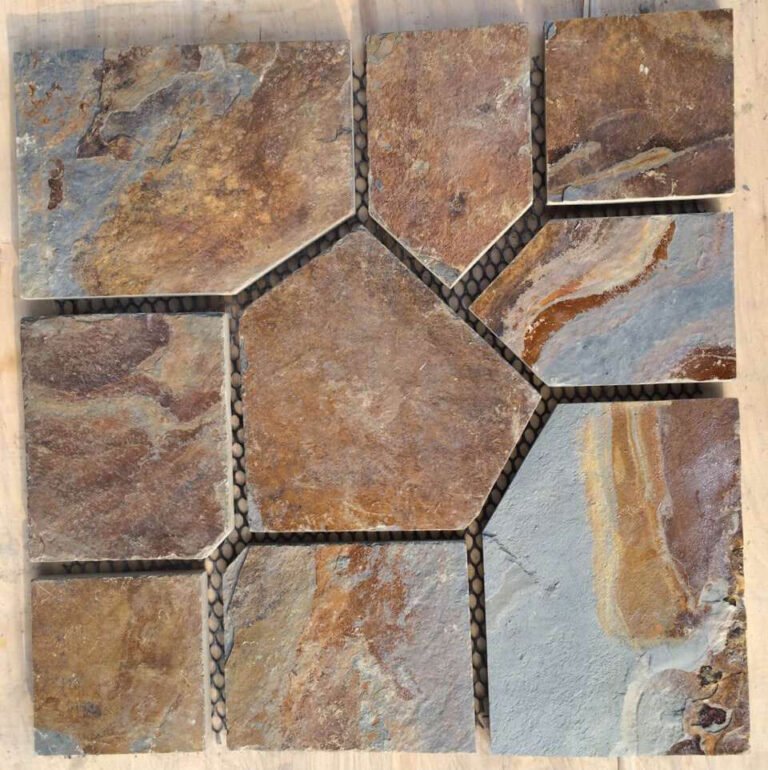
A stacked stone kitchen island does one thing a cabinet island cannot: it takes the most-used surface in the house and makes it look like it was built by a quarry, not a cabinet shop. The island is already the breakfast bar, the homework desk and the room’s center of gravity, so the vertical face people stare at all day deserves better than a flat painted panel. Real ledger panels give that face texture, natural shadow lines and a permanence that reads from the doorway.
This guide walks through four stacked stone kitchen island designs that hold up in real kitchens, then the panel formats, corner pieces and buying numbers you need before you quote a project. If you supply or install for wholesale buyers, the sourcing section at the end is where the math matters: sample speed, production lead time, MOQ and what a factory-direct price actually covers.
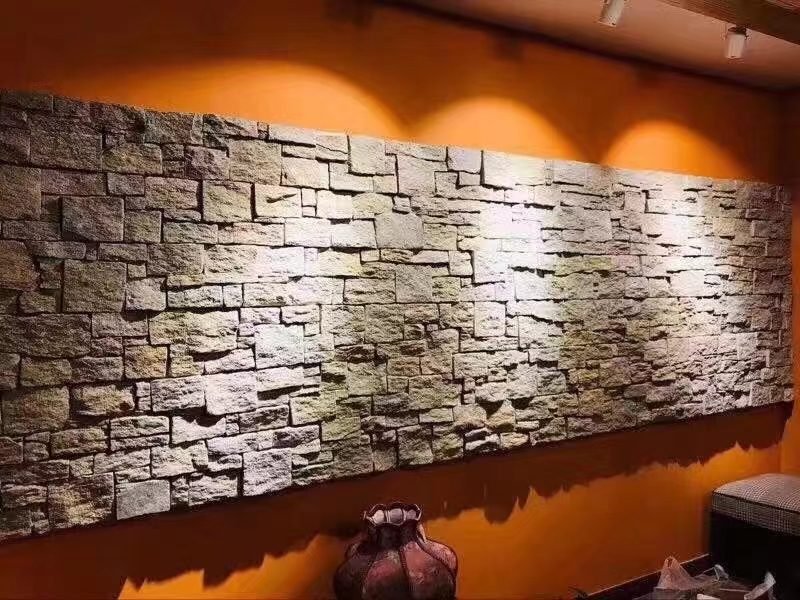

- Four layout directions for a stone island: full-wrap base, stone ends with a two-tone base, waterfall stone base, and outdoor kitchen island.
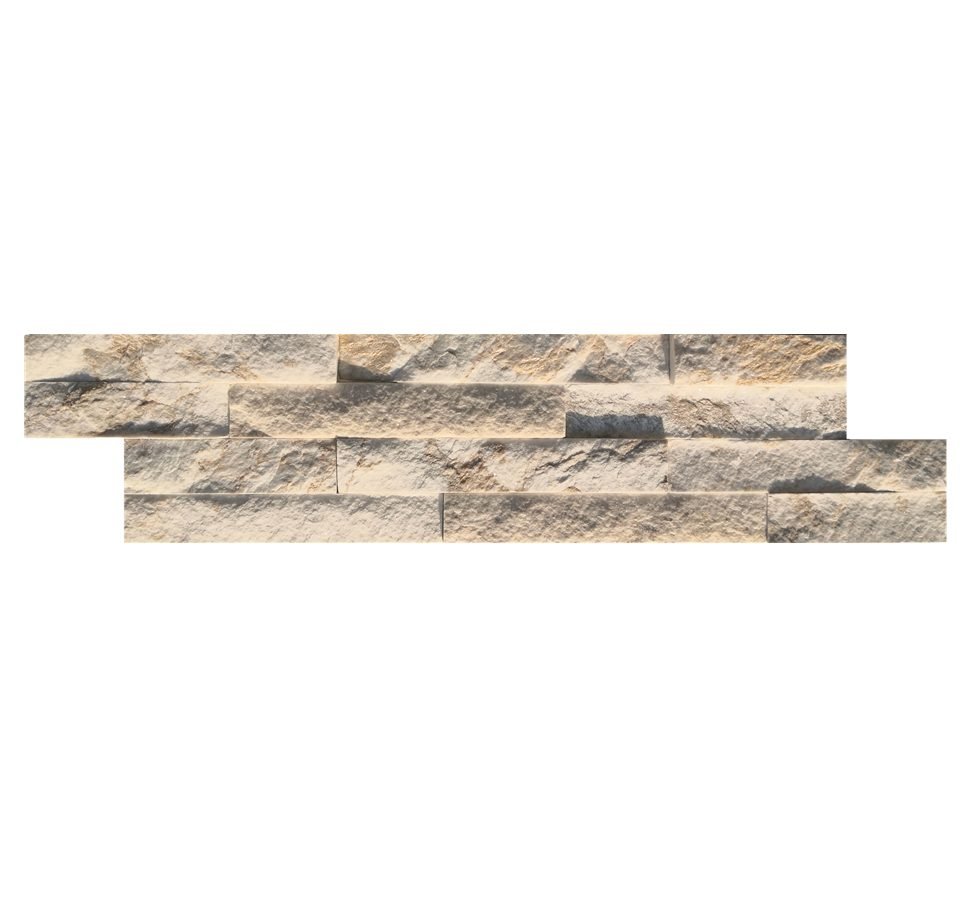
- Standard stacked panels measure 15×60 cm; ultra-thin ledgestone measures 36×10 cm, so even island returns stay light and bondable.
- Pre-made L-corners remove on-site 45-degree miter cutting — roughly 20% less material loss and over 50% less corner labor.
- Natural slate and quartzite are Class A non-combustible with -30 C to +50 C tolerance, which is what makes them safe around cooktops.
- Single-vein batch selection keeps color transition 95%+ consistent, the difference between a clean island and a patchwork one.
- Wholesale criteria: samples in 1-3 days, production 20-25 working days, MOQ one 20GP container per line.
Why a Stacked Stone Kitchen Island Works
The first question buyers ask is safety, so settle that before any design talk. Natural slate and quartzite are 100% non-combustible; the panels carry Class A fire performance and tolerate -30 C to +50 C swings, which is the same envelope used for exterior cladding in cold climates. A kitchen cooktop sits nowhere near those limits, and neither does steam from a sink. The material is not merely safe around heat — it is one of the safest finishes you can put in a kitchen.
The second question is weight, and this is where panel format decides the project. Real ledger panels are thin: standard stacked panels run 15×60 cm in adhesive or mesh-backing construction, and ultra-thin 36×10 cm ledgestone exists specifically for interior feature work. Built like an interior wall with the right substrate, an island base carries that load without drama. The panels bond to cement board or plywood with cement-based adhesive; the prep discipline is the same one we detail in the substrate preparation guide for stone veneer.
Weigh the design case honestly. Stone on an island competes with the backsplash and the countertop for attention, and a full-wrap island in a small galley can swallow the room. In a kitchen with 3+ meters of run, it becomes the anchor. The ratio question has a practical answer: wrap everything when the island is large and centrally placed; use stone as a feature layer when the island is modest. That logic drives the four designs below.
Four Design Ideas That Transform a Kitchen
The designs divide by how much stone you commit. Each one changes the kitchen’s reading of weight and warmth, and each has a panel format that suits it best.
Full-Wrap Island Base
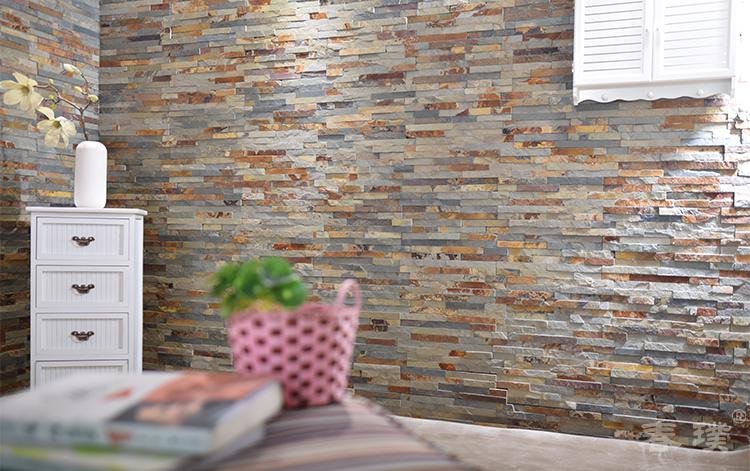
The full-wrap design clads every visible face of the island in 15×60 cm stacked panels, from the floor up to the countertop overhang. This is the look that photographs like a masonry monolith: continuous texture, no cabinet joints, no toe-kick line. It suits large, centrally placed islands where the stone carries the room, and it pairs naturally with a waterfall countertop because both surfaces run uninterrupted.
Full-wrap is also the most demanding version to specify. Because the whole perimeter is stone, vertical seams on the end returns must align and corners must turn cleanly — that is exactly what pre-made L-corner pieces exist for. The asymmetric set (6″x12″ + 6″x6″) staggers the corner joints so the wraps read as one surface instead of two walls meeting. Verdict: highest visual payoff, biggest stone commitment; ideal for islands over roughly 180 cm long. Advantages include a sculptural, hide-everything base that hides cabinetry gaps; the trade-off is material quantity and a longer install than a two-tone approach.
Stone Ends With a Two-Tone Base
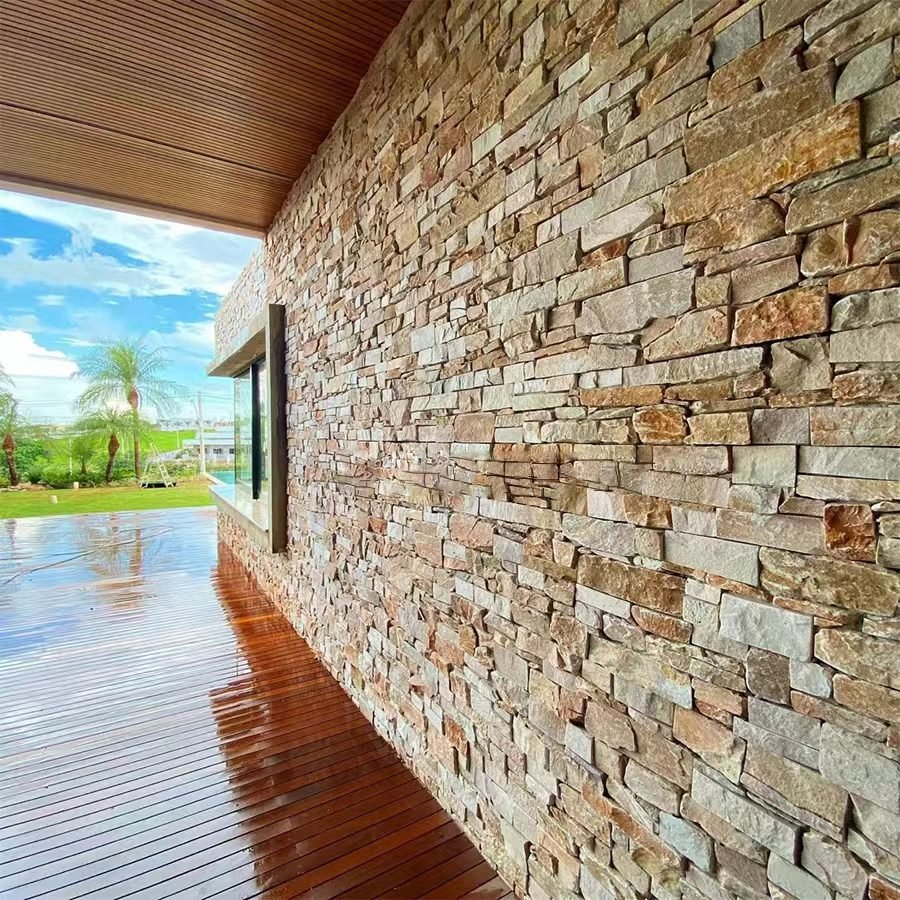
Here stone covers the two island ends and the front face, while the back-facing side stays cabinet color. The effect is a stone slab look from the living room and a light, open look from the kitchen work side. It is the smartest budget move in this list: stone coverage drops from four faces to three — about a quarter less panel — yet the silhouette from the room’s main viewpoint barely changes.
This is the design where corner pieces earn their keep. Because you stop and start stone at a visible edge, the end returns need a crisp 90-degree turn; pre-made L-corners give you that without on-site miter cutting, which is worth about 20% material loss savings and over 50% of corner labor. For a remodel budget with a showpiece requirement, this is the default recommendation. Verdict: the best balance of drama and cost. Advantages are lower cost, easier future cabinet changes and a lighter visual mass; the trade-off is that the back face remains plain cabinetry.
Waterfall Stone Base and Counter
Waterfall treats the countertop as a falling surface: the quartz slab folds down the island ends to the floor, and the stacked stone base sits behind or beneath it for a continuous monolith silhouette. The combination works because the two materials share a vertical plane — the stone base grounds the island while the waterfall ends frame it.
This design is unforgiving about color drift. When a waterfall slab lands next to a stone base, any tonal jump reads instantly as a patchwork. That is why batch matters: single-vein selection keeps color transition 95%+ consistent within an order, which is the difference between a composed island and a messy one. Thin 36×10 cm ledgestone is the right format here, because waterfall ends often include a curve or a tight return that a smaller unit wraps more cleanly. Verdict: the monolith look; requires disciplined color control. Advantages include a clean, high-end silhouette; the trade-off is limited tolerance for shade variation, so batch and vein selection become non-negotiable.
Outdoor Kitchen Island in Stone
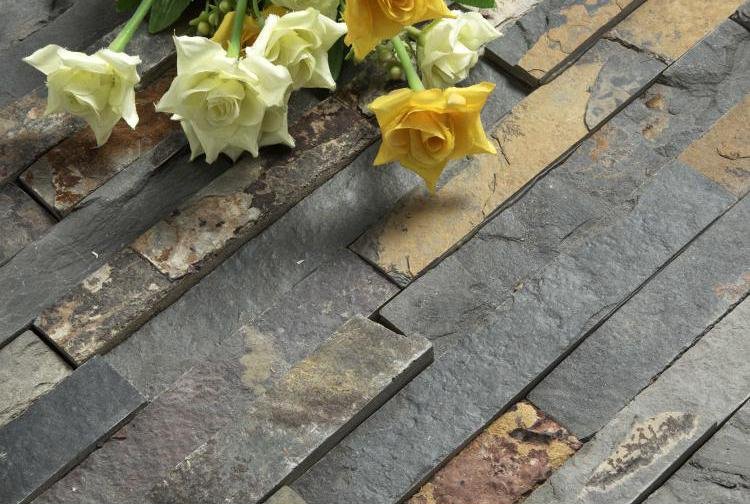
The same panels that anchor an indoor island step outside without a change in specification. Slate and quartzite hold up to coastal salt spray and high humidity, keep their color under UV, and carry Class A fire performance — which matters when a grill sits inside the island. The outdoor version is where the supplier’s packaging discipline surfaces: panels that survive a 20GP container crossing arrive straight, flat and ready to set.
One honest difference between indoor and outdoor: cleaning. Outside, pollen and grime accumulate faster, so the base benefits from the same penetrating sealer you would use near an indoor sink, applied on the manufacturer’s schedule. The outdoor island also looks strongest when it borrows the house’s material language, so stone columns and the island base can close the design loop together. Verdict: extends the kitchen outdoors with zero material compromise. Advantages are weather durability and fire safety; the trade-off is sealing maintenance outdoors.
Specifying Stone Panels for an Island
Once the design direction is set, the spec reduces to four choices: format, backing, corners and stone family. The table below is the shortcut version; the two decisions that most often get skipped are backing and corner treatment, and both show up on the job site as cracking or chipped returns.
| Panel format | Backing | Corner solution | Best fit |
|---|---|---|---|
| 15×60 cm stacked panel | Adhesive or mesh | Asymmetric L-corners 6″x12″ + 6″x6″ | Full-wrap base, tall finishes |
| 15×55 cm stacked panel | Adhesive or mesh | Symmetric L-corners 6″x12″ + 6″x12″ | Precise courses, even returns |
| 36×10 cm thin ledgestone | Mesh-backed | Small returns or cut wraps | Waterfall ends, curved bases |
| Split-face loose veneer | Adhesive over scratch coat | Asymmetric 6″x16″ + 6″x8″ | Texture-led, rustic styles |
Four numbers close the loop on sourcing. First, the bonding layer: panels carry marine-grade epoxy that withstands 26.5-ton shipping loads, so what arrives is structurally intact — the failure mode you are avoiding is a face that debonds after installation. Second, the corner math: pre-made L-corners remove on-site 45-degree miter cutting, saving about 20% material loss and over 50% of corner labor. Third, the family matter: slate reads cool and dark, quartzite runs brighter and more uniform, and both are natural stone rather than manufactured cast panels. Fourth, the budget reality: factory-direct pricing only makes sense when you buy in volume, which is why the MOQ sits at one 20GP container per line rather than a project’s worth of panels — the full stacked stone product range, including every panel format and L-corner set above, is specified there.
If you are comparing panel samples before an order, the sample evaluation checklist is worth printing before you approve anything.
Building a kitchen island program? Whether you are a distributor stocking stone or a contractor quoting a project, you need panels that arrive uniform, corners that fit, and a supplier who answers within a day.
Samples in 1-3 days · production 20-25 working days · MOQ one 20GP container · FOB Tianjin Xingang
Design Rules for Kitchen Island Stone
Stone is not a forgiving finish, so four rules keep a project from looking wrong in real light.
Rule one: match proportion to visual weight. A compact island in a small kitchen should not wear a full wrap; the stone will read as a wall, not a counter. Reserve full-wrap for islands around or above 180 cm. Below that, the two-tone design keeps the room from feeling heavier than it is.
Rule two: light changes the stone more than color does. Sparkle-family quartzites flash under pendant light and look flat in morning shade. If the island sits under a strong pendant cluster, sparkle white or ice grey rewards the investment; a charcoal slate stays calm under the same light. Test your panel sample under the actual pendants before committing a vein, not in a showroom.
Rule three: know where to seal and where not to. The splash zone beside the sink and behind the cooktop takes the beating, and a penetrating sealer keeps oil and food stains out of the stone’s natural pores. Water absorption is the number that tells you how aggressively a natural stone drinks — the ASTM C97 water absorption test is the standard measure. Reapply on the sealer manufacturer’s schedule. Away from water and cooking, natural stone needs little beyond dusting, and the natural stone sealing guide walks through product choice and timing.
Rule four: decide the backsplash relationship before you order. A stone island base plus a stone backsplash can compose beautifully or compete for attention; the stone backsplash island layout guide shows the continuity options. As a rule of thumb, let one surface lead — either the island wraps and the backsplash stays quiet, or the backsplash leads and the island uses a two-tone base.
Color also deserves a decision, not a hope. The same single-vein logic that keeps an island uniform applies to the whole kitchen: if the island base and a feature wall draw from the same ledger family, order them in the same batch so the veins stay continuous. The stacked stone color guide maps the available families, from Alaska Gray to Midnight Black, and explains which read cool or warm under kitchen fixtures.
What Wholesale Buyers Should Check
The design side sells the homeowner; the sourcing side is where a distributor or contractor either protects margin or gives it back. Five checks separate a serious factory partner from a broker pretending to be one.
Check one: color control is a process, not a promise. Ask how the supplier selects stone for a batch. A factory that locks to a single quarry vein and hand-sorts by skilled masons holds color transition at 95%+ consistency. That matters less for a single island and more for a container of panels that will be installed across multiple projects.
Check two: the sample is the contract. Physical samples ship in 1-3 days, and the factory lab will reverse-engineer a competitor’s sample in about three days for a density, cut-tolerance and backing comparison. If a supplier cannot put a sample in your hands within a week, the production line behind them will move the same way.
Check three: production lead time is a scheduling weapon. Standard production runs 20-25 working days; first orders with custom carton printing run 25-30. That window is generous enough for a project calendar and tight enough to respect, so an order placed at the notification stage still lands on schedule.
Check four: the shipping math decides profitability. Thin, light panels load more square meterage into a 20GP container, which directly lowers landed freight per square meter. Confirm the pallet build, the packing protocol — 3-5 layer cartons, plywood pallets, 4-6 steel straps, air-bag bracing — and whether the supplier provides loading and inspection video before the container sails from Tianjin Xingang.
Check five: the terms are simple and provable. Payment runs 30% deposit and 70% before shipment, with FOB, CIF or DDP available. A supplier’s MOQ of one 20GP container per line is standard for factory-direct stone; anything much smaller usually means they are a trader sourcing from multiple factories and your color control went out the door.
For the full audit sequence — factory verification, and what to do with a competitor’s quote before you respond — the batch and vein selection guide goes deeper. When you are ready to price a program, reach the factory directly through the wholesale inquiry page with your market and target color families.
Frequently Asked Questions
Can you use stacked stone on a kitchen island?
Yes. Thin ledger panels bond to a flat, rigid substrate — cement board or plywood — with cement-based adhesive, and an island base is prepared exactly like an interior feature wall. Panels set course by course, with L-corners finishing the returns.
Is stacked stone safe around a kitchen cooktop?
Natural slate and quartzite are 100% non-combustible with Class A fire performance and tolerate -30 C to +50 C swings. Normal appliance clearances still apply, but the stone itself poses no fire risk behind a cooktop.
How do you attach stacked stone panels to an island?
Panels adhere with cement-based or polymer-modified thin-set over a flat, dust-free substrate. Corners use pre-made L-corner pieces so no on-site 45-degree miter cutting is needed; epoxy-bonded panel faces install mortar-free.
Does a stacked stone island need sealing?
Near the sink and cooktop, yes — a penetrating sealer stops oil and food stains reaching the stone’s natural pores, reapplied per the manufacturer’s schedule. Away from water and cooking, the stone needs little beyond dusting.
Which stone formats work best for a kitchen island?
15×60 cm stacked panels suit tall full-wrap faces where fewer seams read calmer; 36×10 cm thin ledgestone wraps ends and curves; split-face loose veneer suits rustic designs. All three come in slate or quartzite families.
What is the MOQ for stacked stone panels?
The MOQ is one 20GP container per product line, with samples shipping in 1-3 days and standard production in 20-25 working days. FOB, CIF and DDP terms are available from Tianjin Xingang.
Conclusion
A stacked stone kitchen island earns its keep because it turns the room’s most-looked-at surface into a material statement rather than a cabinet panel. Choose the commitment level first — full-wrap for a large central island, two-tone for a budget that wants the look without the cost, waterfall base when silhouette matters, and the outdoor version when the kitchen runs outside. Then lock the spec: 15×60 cm panels or 36×10 cm ledgestone, the right L-corners, and a batch that holds color at 95%+.
- Match wrap style to island size; full-wrap suits islands around or over 180 cm.
- Pre-made L-corners remove miter cutting: about 20% material loss and over 50% corner labor saved.
- Splash-zone sealing matters; away from water, natural stone needs little.
- Wholesale minimum is one 20GP container, with samples in 1-3 days and production in 20-25 working days.
If you are preparing a quote or a stock order, send the design intent and your target color families to the factory team — the wholesale inquiry page returns with panel formats, corner pieces and a loading plan that fits the container.