
This guide covers the full thin stone veneer installation process for exterior walls, from substrate inspection through final sealing. Every step below reflects techniques we validate at our factory in Yixian, Hebei, where Top Stone Panels produces natural split-face veneer strips cut to ±1 mm tolerance on infrared CNC lines. Whether you are working with random-length strips, thin ledgestone panels, or stacked stone panels, the installation fundamentals remain the same.
If you have already worked through our stacked stone veneer panel installation guide, you will recognize several overlapping principles here. Thin stone veneer strips, however, demand tighter layout planning and more careful joint control because each piece is an individual unit rather than a pre-assembled panel.
1. Tools and Materials Required
Before the first stone goes on the wall, stage every tool and material within reach. A missing trowel or an incorrect mortar mix mid-installation causes cold joints and schedule delays.
| Category | Item | Specification / Notes |
|---|---|---|
| Substrate Prep | Wire brush, grinder with cup wheel | Remove laitance, paint, efflorescence |
| Substrate Prep | Self-leveling compound (if needed) | For concrete walls exceeding 6 mm deviation over 2 m |
| Waterproofing | Fluid-applied membrane or sheet membrane | Vapor-permeable; compatible with cementitious mortar |
| Weather Barrier | Metal lath (if required by substrate) | Galvanized, self-furring, 25 mm diamond mesh |
| Mortar / Adhesive | Type S mortar or polymer-modified thin-set | ANSI A118.4 or A118.15 for exterior thin-set |
| Mortar / Adhesive | Scratch coat mortar (for lath substrates) | Type S, applied at 10-12 mm thickness |
| Application | Notched trowel (6 mm or 10 mm notch) | Notch size depends on stone thickness |
| Application | Flat trowel, pointing trowel, margin trowel | For back-buttering and joint work |
| Cutting | Wet tile saw with continuous-rim diamond blade | 10-inch minimum; water-cooled to reduce dust |
| Cutting | Angle grinder with diamond blade | For on-site notching and outlet cutouts |
| Layout | Chalk line, spirit level (1.2 m), story pole | Establish horizontal courses and plumb lines |
| Safety | Safety glasses, respirator, gloves, knee pads | Silica dust rated respirator when dry-cutting |
| Finishing | Jointing tool (convex or concave profile) | Match desired joint appearance |
| Finishing | Penetrating silane/siloxane sealer | Breathable, UV-stable, for exterior natural stone |
2. Substrate Preparation
The substrate determines whether your veneer stays bonded for decades or fails within a single freeze-thaw cycle. Every exterior substrate must be structurally sound, dimensionally stable, clean, and free of bond-breakers such as oil, curing compounds, paint, or efflorescence.
Acceptable Exterior Substrates
Poured concrete and CMU (concrete masonry units). These are the most reliable substrates for thin stone veneer. Concrete surfaces should be roughened to a minimum CSP-3 profile. Remove form release agents with a muriatic acid wash (diluted 10:1) followed by a thorough rinse. New concrete must cure for at least 28 days before veneer application.
Cement backer board. Use only exterior-rated cement board (e.g., 12.5 mm or thicker) fastened to studs at 150 mm on-center along edges and 200 mm on-center in the field. Tape and fill all joints with alkali-resistant mesh tape and thin-set before applying the weather barrier.
Exterior plywood or OSB. Wood-frame sheathing requires a metal lath and scratch coat before veneer installation. Fasten galvanized self-furring lath with corrosion-resistant nails or staples, penetrating the framing by at least 25 mm. Apply a 10-12 mm scratch coat of Type S mortar, score it horizontally, and allow it to cure for 24-48 hours. For a more detailed look at how panel-based systems compare, see our guide on what stacked stone panels are and the substrates they require.
Existing masonry or stucco. Inspect for hollow spots, cracking, or delamination. Remove unsound areas and patch with a cementitious repair mortar. A sound existing stucco coat can serve as the substrate directly, provided it is clean and mechanically keyed.
3. Waterproofing and Weather Barrier
Exterior walls absorb and transmit moisture. A weather barrier behind the veneer manages that moisture and protects the structural substrate. The approach depends on local building codes and climate zone, but the following principles hold universally.
Fluid-applied membranes are brushed, rolled, or sprayed onto the substrate to form a continuous, seamless barrier. Choose a membrane that is vapor-permeable (minimum 10 perms) so trapped moisture can escape. Apply at the manufacturer’s recommended thickness — typically two coats — and pay close attention to inside corners, penetrations, and the transition at the foundation.
Sheet membranes (self-adhered or mechanically fastened) are another common option. Lap joints should be a minimum of 50 mm, and all seams must be sealed per the manufacturer’s instructions.
In freeze-thaw climates — anywhere temperatures routinely drop below -5°C — a drainage plane or air gap behind the veneer is advisable. Furring strips or a dimpled drainage mat create a capillary break that lets water drain downward to a weep system at the base of the wall. Top Stone Panels engineers its thin stone veneer products to perform across a -30°C to +50°C range, but the weather barrier system is the installer’s responsibility and the first line of defense against moisture damage.
At window and door openings, extend the weather barrier to the rough opening and integrate it with the window flashing. Use pre-formed flexible flashing tape at all inside and outside corners of openings.
Retaining wall faces need the same substrate and corner discipline; our retaining wall veneer installation guide covers the drainage-first sequence.
4. Layout and Dry-Fit Planning
Random-length thin stone veneer strips give a natural, organic appearance — but randomness requires planning, not improvisation. Before mixing any mortar, lay out several square meters of stone on a flat surface near the work area.
Establish Reference Lines
Strike a level chalk line at the base of the installation area. For multi-story walls, use a story pole marked at every 300-400 mm of vertical height to track courses as you work upward. Snap vertical plumb lines at every 1.5-2 m interval to keep the field flat and prevent drift.
Dry-Fit and Blend
Open multiple boxes of stone and pull pieces from each. Natural stone varies in color and thickness even within the same quarry vein. Top Stone Panels applies same-vein color sorting at the factory to minimize batch variation, but blending on-site ensures the most uniform appearance across the wall. Avoid clustering pieces of identical shade in one area.
Identify the thickest pieces in your batch and set them aside for areas where you need extra bond thickness to compensate for substrate irregularities. Reserve the thinnest, flattest pieces for outside corners and tight cut situations around openings.
Plan the Joint Pattern
For random-strip veneer, vary the horizontal joint lengths so no two consecutive vertical joints align. A good rule: offset vertical joints by at least one-third of the stone length. Mark the approximate position of control joints, expansion joints, and shelf angles on your layout drawing — these structural elements must align with the building’s movement joints.
5. Mortar and Adhesive Selection
The bonding material is arguably the single most consequential choice in the installation. Two options dominate exterior thin stone veneer work.
Type S Mortar
Type S mortar — a blend of Portland cement, hydrated lime, and graded sand — is the traditional choice for adhered masonry veneer. It provides high compressive strength (minimum 12.4 MPa) and good bond strength, and it accommodates minor substrate irregularities thanks to its thicker application profile (typically 10-15 mm). Type S is the required mortar when installing over metal lath and a scratch coat, and it is specified by most North American building codes for exterior adhered veneer (refer to the TMS 402 Building Code Requirements for Masonry Structures).
Polymer-Modified Thin-Set Mortar
For direct-bond installations over concrete or cement board — where no lath or scratch coat is used — a polymer-modified thin-set mortar meeting ANSI A118.4 or A118.15 provides excellent bond strength in a thin profile (3-6 mm). Thin-set is faster to apply, produces less mess, and is the standard in European installations following ETAG 004 or EAD 090062-00-0404 guidelines. For exterior use, verify that the product data sheet confirms freeze-thaw resistance.
Mixing Tips
Mix mortar to a peanut-butter consistency — it should hold a notch when combed with the trowel and support the weight of a stone without sagging. Discard any mortar that has begun to stiffen (initial set typically occurs within 60-90 minutes depending on ambient temperature). Never retemper partially set mortar with water.
6. Installing the Stone
With the substrate prepared, weather barrier applied, layout planned, and mortar mixed, installation begins.
Start at the Bottom
Begin at the base of the wall on the lowest full course. If a weep screed or flashing is present at the foundation line, maintain the manufacturer-specified clearance (usually 25-50 mm) between the bottom of the first stone and the top of the screed. This gap allows moisture to drain.
Back-Butter Every Piece
Apply mortar to the back of each stone with the flat side of the trowel, pressing firmly to fill all surface voids and achieve full contact. For natural split-face veneer, the back surface is often uneven — back-buttering compensates for this and eliminates air pockets that cause bond failure.
Comb the Substrate
Using the notched side of the trowel, comb mortar onto the wall in one direction (horizontal for horizontal joints). Work in manageable sections — roughly 1-1.5 m² at a time — so the mortar stays wet and tacky. In hot, dry conditions (above 32°C), reduce the working area and mist the wall lightly before applying mortar.
Press, Twist, Seat
Place each stone against the combed mortar, press firmly, and give it a slight twisting motion to collapse the ridges and achieve full bedding. Maintain the joint width specified in your layout — for random-strip veneer, 10-15 mm is typical. Use plastic spacers or small offcuts as temporary joint gauges.
Check level and plumb after every four or five pieces. Adjust by adding or removing mortar behind the stone, not by prying the stone after the mortar has started to set.
Stagger Joints and Blend Courses
As you work upward, stagger each course relative to the one below it. No two vertical joints should fall within 150 mm of each other on adjacent courses. Vary the stone lengths in each row so the pattern reads as natural rather than modular. Pull from multiple boxes continuously to distribute color variation.
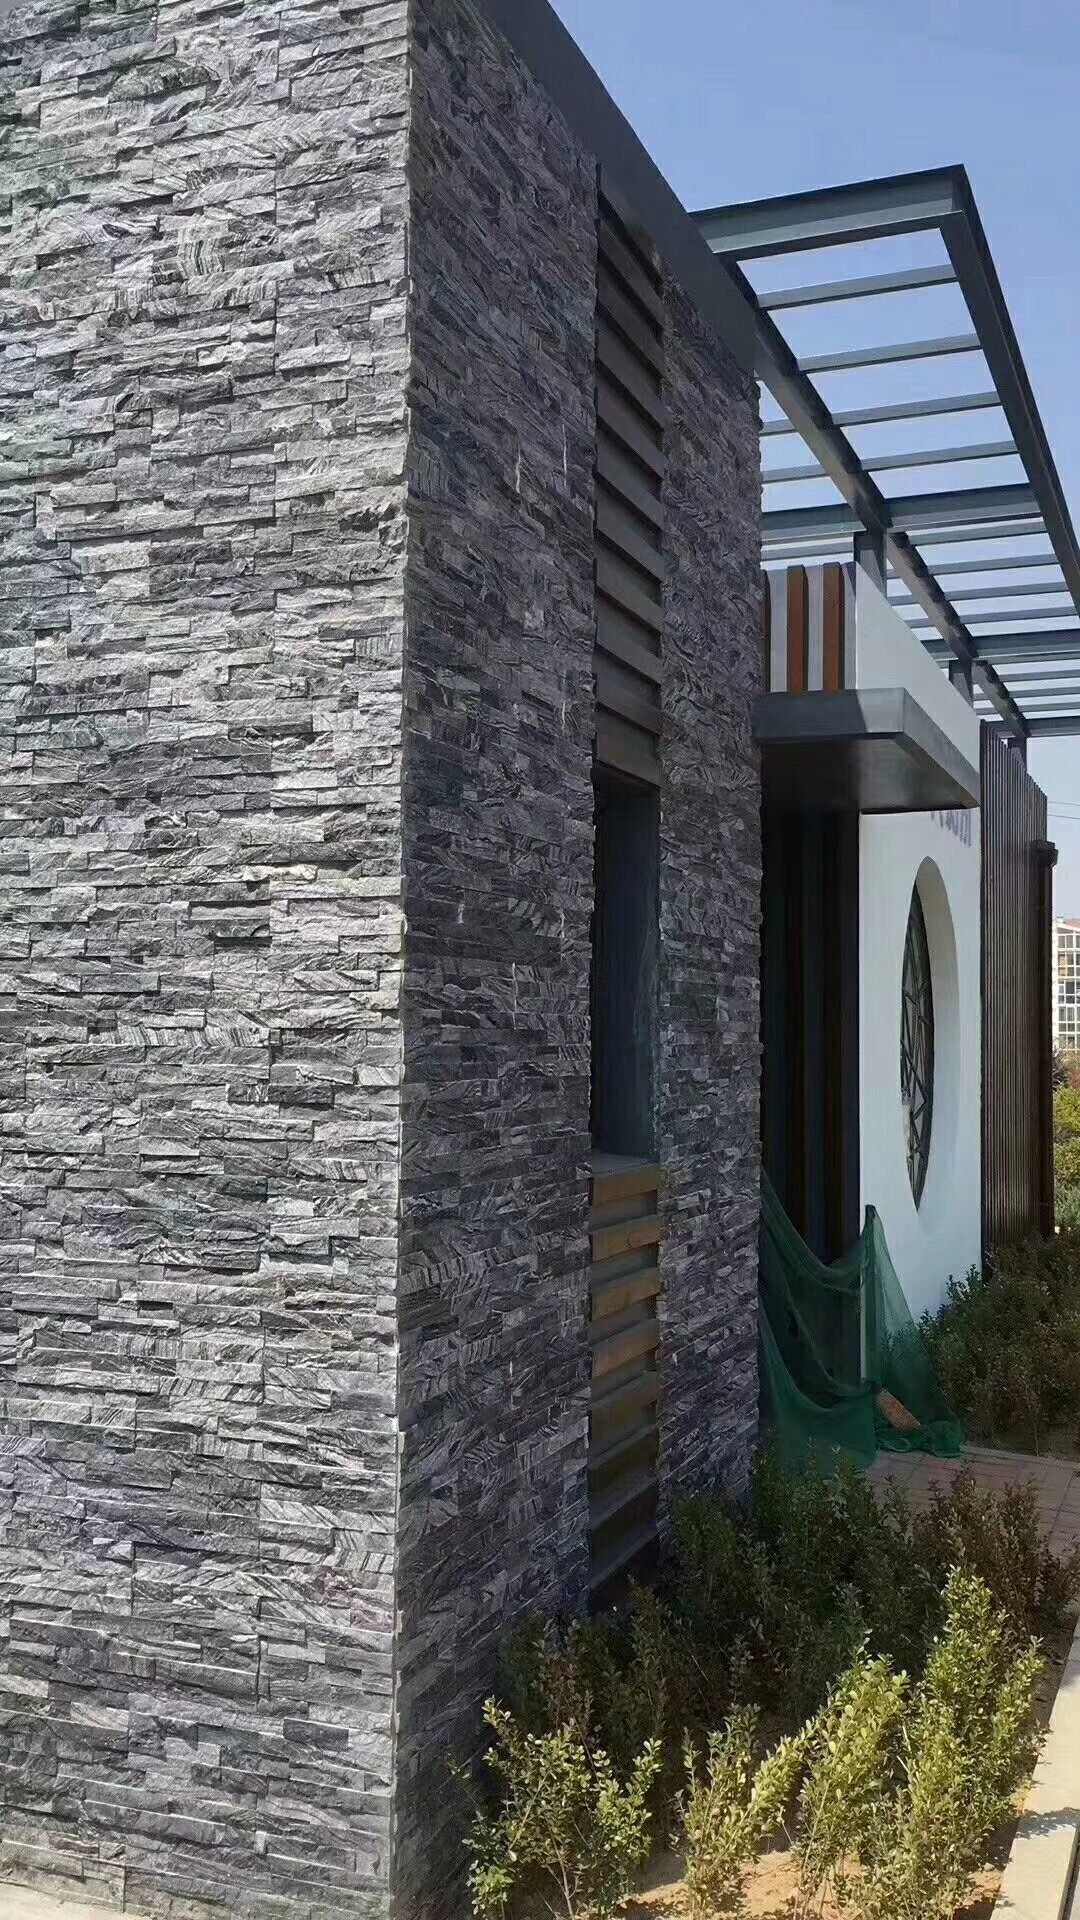
At outside corners, alternate the direction of overlap: Course 1 has the long piece wrapping from the left face; Course 2 wraps from the right face. This interlocking pattern strengthens the corner visually and mechanically.
7. Cutting and Fitting Around Openings
Windows, doors, electrical outlets, pipe penetrations, and HVAC sleeves all require precise cuts. Plan cuts during the dry-fit stage so you know exactly which pieces need modification.
Straight Cuts
Use a wet tile saw with a continuous-rim diamond blade for clean straight cuts. For natural stone strips under 15 mm thick, a 250 mm (10-inch) saw handles most cuts comfortably. Feed the stone slowly and steadily — forcing the material causes chipping on the exit edge.
L-Cuts and Notches
For cuts around window sills, outlet boxes, or pipe penetrations, an angle grinder with a 115 mm diamond blade provides the maneuverability a tile saw cannot. Make multiple shallow passes rather than trying to cut through the full thickness in one pass. Score the cut line on both faces of the stone before making the through-cut to minimize spalling.
Corner Pieces
For a clean outside corner, use factory-produced L-corner pieces when available — Top Stone Panels’ stacked stone range includes matching L-corners for this purpose. When corners must be field-cut, miter two pieces at 45° and join them with a thin mortar bed, ensuring the split face wraps continuously around the corner.
Maintain Joint Continuity
Cut pieces should maintain the same joint width as full stones. If a cut piece is narrower than 50 mm at the visible face, consider using a larger adjacent stone instead — very thin slivers are fragile and visually disruptive.
8. Grouting and Joint Treatment
Once the mortar has cured sufficiently (typically 24 hours at 20°C), proceed with joint treatment. The joints between thin stone veneer strips are both a structural element and a defining visual feature.
Mortar Joint Fill
The most common approach is to fill joints with the same Type S mortar used for bonding, or with a dedicated pointing mortar tinted to match or contrast the stone. Load the mortar into a grout bag and pipe it into the joints, pressing firmly to eliminate voids. Work the joint tool (convex, concave, or flat iron) over the mortar while it is thumbprint-hard — usually 30-60 minutes after filling — to compact it and create a weather-resistant profile.
A tooled joint is denser and more water-resistant than an un-tooled joint. In high-rainfall climates, a concave or V-profile joint sheds water more effectively than a flush or raked joint.
Dry-Stack or Tight-Joint Look
Some designs call for minimal visible mortar between stones. In this case, stones are set with tight, 1-3 mm joints and no separate grouting step is performed. The bond mortar that squeezes out during installation becomes the joint. This technique works best with calibrated thin veneer — products like the 36×10 cm thin ledgestone panels from Top Stone Panels, which are factory-cut to tight thickness tolerances.
Clean-Off
Remove excess mortar from stone faces before it hardens. Use a stiff nylon brush and clean water. For stubborn mortar smears on the stone surface, wait until the mortar has fully cured and then clean with a diluted phosphoric acid or proprietary stone cleaner, following the manufacturer’s dilution and dwell-time instructions. Always test the cleaning solution on an inconspicuous area first.
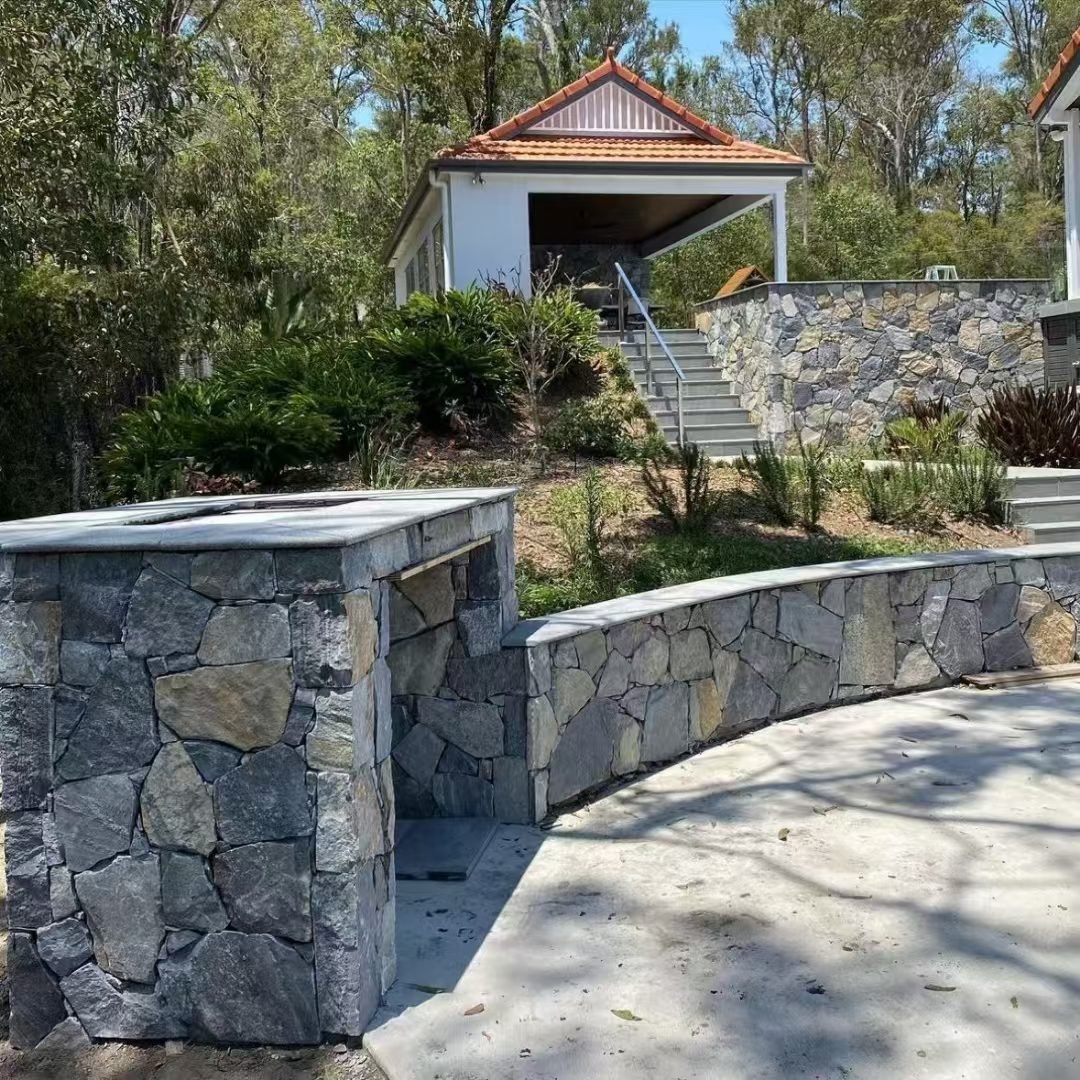
9. Sealing and Final Protection
Natural stone is porous to varying degrees. Slate, quartzite, and sandstone — the three materials Top Stone Panels quarries and processes — each have different absorption characteristics, and all benefit from a penetrating sealer on exterior installations.
Choosing a Sealer
Use a breathable, penetrating silane/siloxane sealer designed for exterior natural stone. Penetrating sealers do not form a surface film; instead, they line the pore structure of the stone and repel liquid water while allowing water vapor to escape. This breathability is critical — a non-breathable film-forming sealer on an exterior wall traps moisture inside the stone, accelerating spalling during freeze-thaw cycles.
Avoid solvent-based sealers on lighter-colored stone, as they can cause yellowing over time under UV exposure. Water-based siloxane formulations are UV-stable and do not alter the natural color or texture of the stone.
Application Protocol
Apply the sealer after the mortar joints have fully cured (minimum 7 days, ideally 14-28 days depending on the mortar type and ambient conditions). Spray or roll the sealer onto a clean, dry wall in two coats, allowing the first coat to penetrate fully before applying the second. Coverage rates vary by product, but expect to use approximately 3-5 m² per liter per coat on split-face stone.
Seal in overcast conditions or during cooler parts of the day. Direct sunlight causes the sealer to flash off before it penetrates, leaving a hazy residue on the stone surface.
10. Common Installation Mistakes to Avoid
Even experienced masons can make errors when transitioning from full-thickness masonry to thin veneer. The following mistakes account for the majority of callbacks and failures.
Skipping the weather barrier. Thin stone veneer is a cladding, not a waterproofing system. Without a properly installed weather barrier behind the veneer, water reaches the substrate, migrates into the framing, and causes rot, mold, and structural damage. This is the single most expensive mistake to fix because remediation requires removing the stone.
Insufficient back-buttering. Applying mortar only to the wall and pressing the stone into it leaves voids behind the stone. Voids become water reservoirs, and in freezing climates the expanding ice breaks the bond. Every piece must be back-buttered individually.
Working in extreme temperatures. Mortar should not be applied when the ambient temperature is below 4°C or above 38°C unless cold-weather or hot-weather procedures are followed per the mortar manufacturer’s instructions. In cold weather, use heated mixing water and insulate the wall after installation. In hot weather, shade the work area and dampen the substrate.
Ignoring movement joints. Buildings move. Thermal expansion, wind load, and differential settlement all create stress in the wall assembly. If the building design includes control joints or expansion joints, those joints must carry through the veneer. Do not bridge a structural movement joint with stone.
Using the wrong mortar. Interior-rated thin-set, mastic, or organic adhesives have no place on an exterior wall. They lack freeze-thaw durability and will degrade under sustained moisture exposure. Verify that the product data sheet explicitly states “exterior use” and cites the relevant standard (ANSI A118.4/A118.15, EN 12004 C2, or equivalent).
Rushing joint cleaning. Aggressive acid cleaning before the mortar has fully cured can etch the joint surface and weaken the bond. Wait the full cure period before any chemical cleaning.
11. Frequently Asked Questions
Can thin stone veneer be installed directly over painted brick?
Not without preparation. Paint is a bond-breaker. You must either mechanically remove the paint (grinding, sandblasting) or install a metal lath and scratch coat over the painted surface to create a new bonding substrate. If the paint is lead-based, follow EPA RRP rules for containment and disposal.
How much does thin stone veneer weigh per square meter?
Natural thin stone veneer typically weighs 20-25 kg/m², depending on stone type and thickness. This is roughly one-quarter the weight of full-thickness stone cladding, which is why thin veneer rarely requires additional structural support on standard wood-frame or steel-frame walls.
Do I need a building permit for exterior stone veneer?
In most North American and European jurisdictions, adhered masonry veneer on an exterior wall requires a building permit. The applicable codes are typically the International Building Code (IBC) Chapter 14 or Eurocode 6, depending on your region. The installer or general contractor should pull the permit and schedule inspections for the weather barrier (before stone is applied) and the completed installation.
How long does thin stone veneer last on an exterior wall?
When installed correctly — with a proper weather barrier, the right mortar, full back-buttering, and sealed joints — natural thin stone veneer lasts as long as the building itself. Natural slate and quartzite are geologically stable materials that do not degrade under UV exposure, and Top Stone Panels’ products carry an A-grade fire rating and salt-spray resistance for coastal applications.
Can I install thin stone veneer in cold weather?
Yes, with precautions. Maintain the ambient and substrate temperature above 4°C during installation and for 48 hours afterward. Use heated mixing water (not exceeding 49°C), store materials above freezing, and cover the finished work with insulated blankets. Refer to the Cold-Weather Construction provisions in TMS 402 or your local masonry code for detailed requirements.



