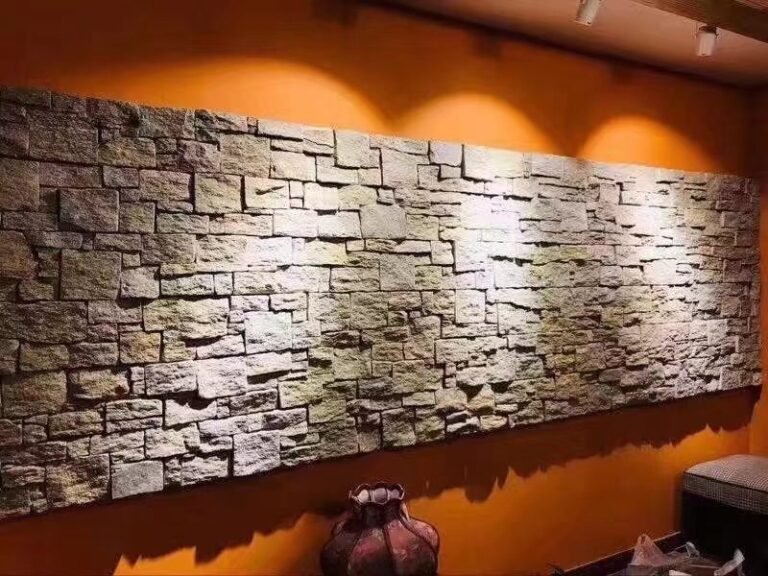
A builder’s field guide to transforming a plain fireplace into a natural stone centerpiece using real slate and quartzite veneer panels.
There is a moment, about four hours into a fireplace stone veneer install, when you step back and the room has changed. The boxy drywall surround that looked like every other builder-grade fireplace in the neighborhood is gone. In its place, courses of split-face quartzite catch the afternoon light, their mineral bands throwing amber and charcoal shadows across the hearth.
That moment is why we do this work. And getting there is less complicated than most people assume. A standard single-wall fireplace surround covers roughly 3 to 4 square meters of stone. With the right substrate, a logical installation sequence, and quality panels, an experienced installer can take a fireplace from bare framing to finished stone surround in a single working day.
This guide walks through every stage of stone veneer fireplace installation, from choosing your stone and prepping the wall to cutting around the firebox and finishing the mantel shelf. Whether you are a contractor adding fireplace work to your services or a homeowner planning a weekend renovation, the principles stay the same.
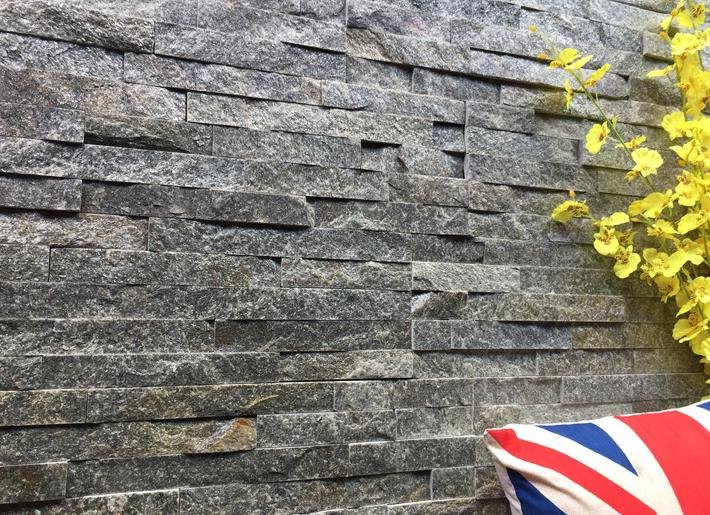 A stacked stone fireplace surround transforms an ordinary wall into a textured focal point.
Why Natural Stone Veneer for Fireplaces
Fireplaces generate heat, soot, and occasional sparks. The material surrounding the firebox needs to handle all three without degrading. Natural stone veneer, specifically slate and quartzite, checks every box that building codes and practical experience demand.
The primary advantage is fire resistance. Natural stone carries an A1 fire rating, the highest classification available. The material is non-combustible, will not contribute to flame spread, and emits zero toxic fumes when heated. Heat tolerance extends well beyond fire rating: Top Stone Panels products are tested across -30°C to +50°C without cracking, warping, or discoloring. That range covers indoor fireplace surrounds where the stone surface near the firebox can exceed 80°C, as well as outdoor fireplace installations enduring seasonal freeze-thaw cycles.
At 15-25mm thickness, stacked stone panels weigh roughly 35-55 kg per square meter. Substantial enough to feel permanent, yet light enough that standard cement backer board and mortar support it without additional steel framing. Compared to full-thickness building stone at 80-120mm, you get the same visual depth at a fraction of the weight and cost.
No two panels are identical. The mineral veining in natural quartzite, the cleft texture of slate, the way light plays across a split face, these are variations that manufactured products spend enormous effort trying to replicate. Every fireplace ends up looking unique, even when two customers order the same product line from the same batch.
Choosing the Right Stone Type for Your Fireplace
Not every stone veneer product performs identically on a fireplace surround. The three main options, stacked stone panels, thin ledgestone, and thin stone veneer, each bring different visual qualities and installation considerations. Here is how they compare:
| Feature | Stacked Stone Panels | Thin Ledgestone | Thin Stone Veneer |
|---|---|---|---|
| Panel size | 15 × 60 cm / 15 × 55 cm | 36 × 10 cm | Various (custom cut) |
| Thickness | 15–25 mm | 8–12 mm | 5–7 mm |
| Weight (approx.) | 35–55 kg/m² | 18–25 kg/m² | 12–18 kg/m² |
| Visual profile | Dimensional, layered, rustic | Sleek, linear, contemporary | Smooth to lightly textured |
| L-Corner available | Yes | No (mitre-cut on site) | No |
| Fire rating | A1 non-combustible | A1 non-combustible | A1 non-combustible |
| Best fireplace style | Traditional, rustic, lodge | Modern, minimalist | Transitional, subtle accent |
| Installation difficulty | Moderate | Moderate | Easier (lighter panels) |
Stacked stone panels are the most popular choice for fireplace surrounds. The 15x60cm format covers wall area efficiently, the layered texture creates genuine visual depth, and L-Corner pieces wrap fireplace columns without visible cut seams. If you want that classic “stone chimney” look, this is the product.
Thin Ledgestone panels deliver a completely different aesthetic. The 36x10cm strips create long horizontal lines that suit modern interiors. Being lighter (under 25 kg/m²), they can go on substrates that might not support full-weight stacked stone.
Thin Stone Veneer at 5-7mm is the lightest option. It works where weight is a genuine constraint, such as a prefabricated fireplace insert not engineered for heavy cladding. The visual trade-off is less textural depth, but it is still 100% natural stone with an A1 fire rating.
For a deeper look at stacked stone options specifically, our Stacked Stone Fireplace Veneer Design Guide covers color palettes, pattern layouts, and real project photos.
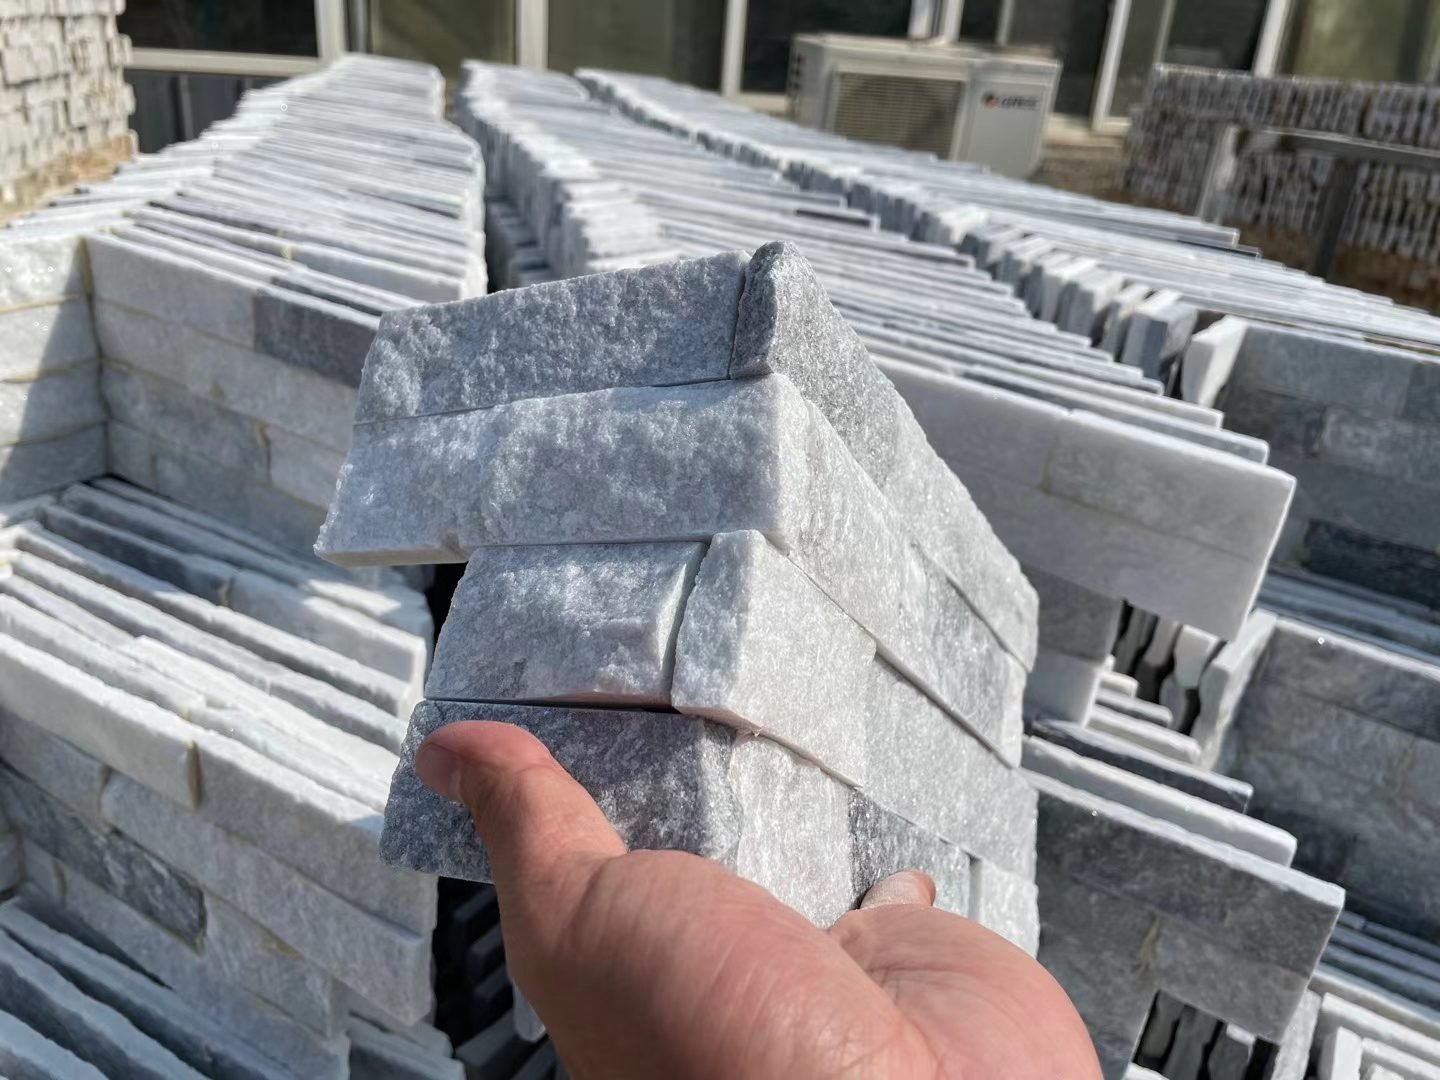
L-Corner pieces wrap fireplace columns with factory-cut 90-degree transitions.
Tools and Materials You Will Need
A stone veneer fireplace installation does not require specialty equipment beyond what most tile setters and masons already carry.
Substrate Preparation
- Cement backer board (12mm minimum) with corrosion-resistant screws (32mm)
- Self-adhesive fiberglass mesh tape for board joints
- Waterproof membrane (liquid-applied or sheet)
- Metal lath and staples (masonry/concrete block only)
Installation
- Type S mortar or polymer-modified thin-set adhesive
- 6mm notched trowel and flat trowel for back-buttering
- Spirit level (600mm), laser level, tape measure, chalk line
- Rubber mallet and temporary ledger strips for first-course support
Cutting and Finishing
- Wet tile saw with continuous-rim diamond blade
- Angle grinder with stone cutting disc for notching
- Grout float or pointing trowel, stiff-bristle brush for joint tooling
- Damp sponges and penetrating stone sealer (apply after 7-day cure)
Substrate Preparation: Building the Right Foundation
The most common reason stone veneer fireplace installations fail is the substrate, not the stone or the mortar. Stone veneer weighs 35-55 kg per square meter. Over a 4-square-meter surround, that is 140-220 kg hanging on a vertical surface. The wall behind it must be engineered to carry that load.
For wood-framed walls (most common in North American construction), remove any existing drywall down to the studs. Inspect framing for moisture damage or rot and replace compromised members. Install 12mm cement backer board horizontally, securing to every stud with corrosion-resistant screws every 150mm along edges and 200mm in the field. Stagger board joints like brick courses and tape all seams with alkali-resistant fiberglass mesh tape.
For masonry or concrete block walls, the surface must be clean, sound, and free of paint or sealers that would prevent mortar adhesion. Attach galvanized metal lath with concrete anchors, then apply a scratch coat of mortar and let it cure 24 hours before installing stone panels.
Regardless of substrate type, check flatness with a 1200mm straightedge. Any deviation greater than 3mm needs correcting with shims or a leveling coat. Natural stone panels are rigid and will not conform to a wavy wall. Apply a waterproof membrane over the backer board on exterior walls or outdoor fireplaces; liquid-applied membranes work best around irregular fireplace openings. For the detailed process, see our guide on applying mortar to stone veneer panels.
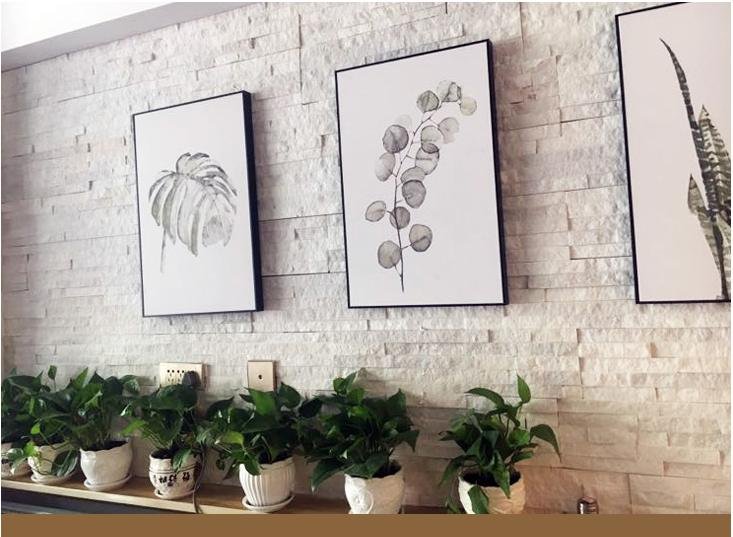
Proper substrate preparation ensures panels lie flat with consistent, tight joints.
Step-by-Step Installation: Hearth, Surround, and Mantel
With the substrate prepared and panels staged, the installation follows a bottom-up sequence. The logic is simple: gravity helps you. Each course of stone rests on the one below it, so once the first row is level and secure, everything above it has a stable shelf to sit on.
1 Establish Reference Lines
Mark a level line on the wall at the top of your hearth stone or hearth extension. This is your starting point. Use a laser level to project this line across the entire fireplace face and onto any return walls. From this line, snap a vertical centerline on each wall section. These two reference lines (horizontal baseline and vertical centerline) govern the entire layout. Every panel you install should be checked against them.
2 Dry-Lay and Plan the Pattern
Before mixing any mortar, lay panels on the floor in front of the fireplace, arranged roughly as they will appear on the wall. Mix panels from multiple boxes and avoid clustering all dark or light panels in one area. Plan cuts so no edge panel is less than 100mm wide, as narrow slivers look unfinished.
3 Install the Hearth and First Course
Mix your mortar to a peanut-butter consistency: thick enough to hold a ridge when you drag the notched trowel through it, but wet enough to spread without tearing. Butter the back of each panel with a flat trowel, then comb the wall surface with the 6mm notched trowel, holding it at a consistent 45-degree angle. Press the panel firmly into the mortar bed, push it slightly upward, then settle it down. Hold for 10 seconds. The suction created by this press-and-hold technique is what gives you a strong initial bond before the mortar cures.
For the first course, install a temporary ledger strip (a straight board screwed to the wall at your reference line) to support the panels until the mortar sets. Remove the strip after 24 hours and fill the screw holes with mortar.
4 Build Up the Surround
Work one wall section at a time, completing each from bottom to top before moving on. Stagger vertical joints by at least 150mm between courses. Check level and plumb every two courses. If a panel sits high, tap it with a rubber mallet. If it sits low, remove it, add mortar, and reset it rather than trying to shim from above.
5 Install L-Corner Pieces
At any 90-degree return (the sides of a fireplace column, the edge where the surround meets a perpendicular wall), use L-Corner pieces instead of trying to butt-cut two flat panels together. Corner pieces have a factory-formed 90-degree bend that wraps the edge cleanly. Alternate the orientation of corner pieces from course to course, one with the long leg going left, the next with the long leg going right. This creates a natural, hand-laid appearance rather than a visible repeating pattern. For more detail on cutting and fitting corners, see our corner piece fitting guide.
6 Cut Around the Firebox Opening
The firebox opening is the most visible cut on the entire project, so take your time here. Measure the opening width and height, then transfer those measurements to the panel face with a pencil and straightedge. Cut with a wet saw using a continuous-rim diamond blade. A segmented blade will chip the stone edge. Maintain at least 25mm clearance from the metal firebox frame on all sides to allow for thermal expansion. If the firebox has a curved top arch, template it with cardboard first, trace onto the stone, and make relief cuts with the angle grinder before snapping out waste pieces.
7 Install the Mantel Shelf
The mantel shelf typically sits at 1100-1200mm above the hearth, but confirm this with the homeowner or designer before drilling. Install heavy-duty steel brackets into wall studs, not just into the backer board. Run stone panels up to the underside of the mantel shelf, leaving a 3-5mm gap. Fill that gap with a flexible, heat-resistant silicone sealant that matches the stone color. This gap accommodates the slight differential movement between the stone-clad wall and the mantel shelf, which may be wood, steel, or stone itself.
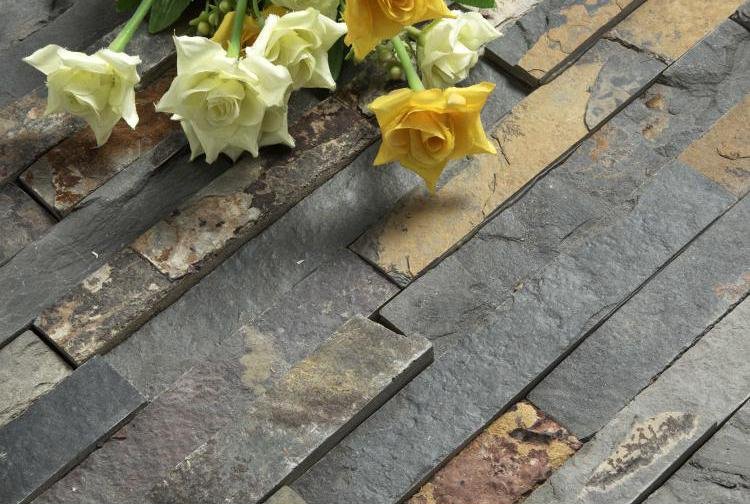
A finished mantel shelf installation showing the clean junction between stone panels and the shelf above.
Cutting and Fitting: Working Around Obstacles
A fireplace surround is never a blank rectangle. Electrical outlets, gas lines, TV mounting hardware, and HVAC vents all intrude into the stone field.
Electrical outlets and switch plates: Remove the cover plate and measure the box opening. Transfer the measurement to the back of the stone panel (cutting from the back reduces face chipping). Cut with the angle grinder, making four relief cuts and removing the waste rectangle. The panel should overlap the box by at least 12mm so the cover plate hides the cut edge. Use an extra-deep cover plate if the stone thickness puts the outlet too far recessed.
Gas line penetrations: Cut a circular opening 6mm larger than the pipe diameter using a diamond-tipped hole saw. Seal the gap with fire-rated silicone after the stone is set.
TV mounting: The bracket must anchor to wall studs behind the stone, not to the stone itself. Install the bracket before laying stone, then cut panels to fit around the bracket arms. Confirm the bracket location before the first panel goes on the wall; retrofitting a mount through finished stone is painful and expensive.
For a complete walkthrough of stone cutting techniques, including how to handle curved cuts and inside miters, see our companion guide on cutting and fitting stone veneer panels.
Grouting, Jointing, and Final Finishing
Once all panels are installed and the mortar has set for at least 24 hours, the joints need finishing. You have two aesthetic options.
Grouted joints give a traditional masonry appearance. Mix a sanded grout or Type N mortar to match or deliberately contrast the stone color. Load grout into a pointing trowel and fill each joint completely, pressing material in to eliminate air pockets. Once the grout reaches thumbprint hardness (usually 20-30 minutes), tool the joint with a concave jointing tool to a smooth, recessed profile. Standard joint depth is 5-8mm, creating shadow lines that emphasize individual stone courses.
Dry-stack or tight-joint installation leaves joints unfilled, showing the raw panel edge. This works best with precisely cut panels where factory edges meet cleanly. The visual effect is more contemporary: a wall of stone with texture and color variation but no mortar lines. Tight joints do allow dust to collect between panels, so this option suits indoor fireplaces better than outdoor ones.
Regardless of joint style, clean the stone face immediately after jointing. Natural stone is porous, and dried mortar leaves a haze that is difficult to remove later. Use a damp sponge and wipe in one direction, rinsing frequently. For stubborn mortar smears, diluted muriatic acid (1:10 with water) will dissolve them, but test on an inconspicuous area first and neutralize with baking soda afterward.
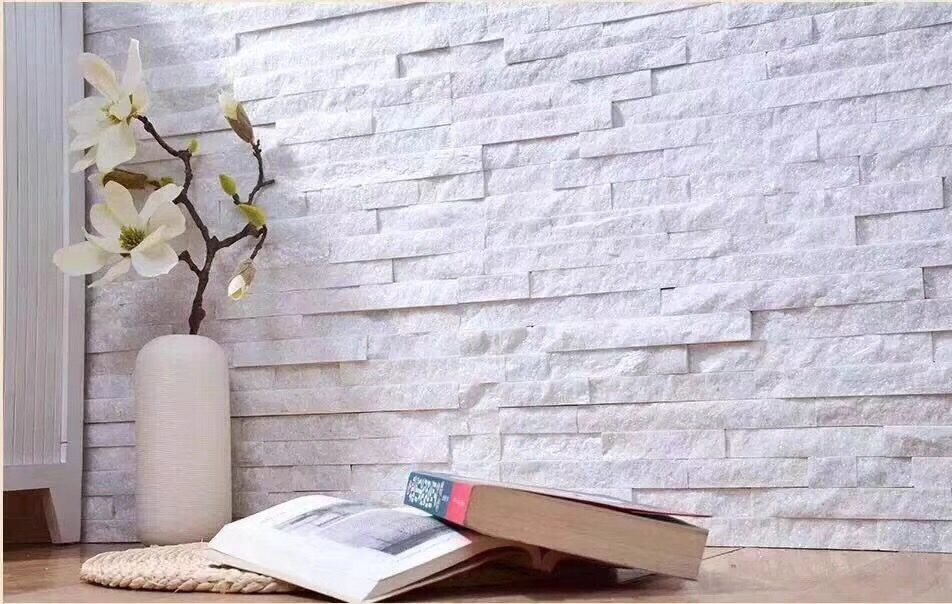
Split-face textures catch side-lighting, adding depth and drama to the fireplace surround.
Fireplace Design Ideas: 5 Styles to Inspire Your Project
Stone veneer fireplace installation is not just a technical exercise. The design choices you make determine whether the finished fireplace blends into a room or becomes the reason people enter it. Here are five proven approaches.
1. The Full-Height Statement Wall
Run stacked stone panels from hearth to ceiling, treating the entire wall as a single stone surface. Best in rooms with ceilings of 2.7m or more, this creates the impression of a traditional masonry chimney breast. Pair with a chunky wood mantel and recessed LED strip lighting along the top edge. Our interior stone wall design guide has eight completed examples of this treatment.
2. The Floating Modern Surround
Use thin ledgestone panels on a fireplace wall that stops 300-400mm below the ceiling, leaving a shadow gap. The floating effect reads as contemporary and intentional. Combine with a linear gas firebox and polished concrete hearth for a gallery-like aesthetic.
3. The Two-Tone Contrast
Install dark stone (charcoal slate or black quartzite) on the surround and paint surrounding walls in warm white. The contrast gives the fireplace a framed, portrait-like quality. This approach works particularly well when the fireplace is centered on a large wall with ample blank space on either side.
4. The Rustic Lodge Look
Use multi-colored stacked stone with grouted joints, a heavy timber mantel beam, and wrought-iron fireplace accessories. Add stone-clad columns on either side of the firebox using stone column wraps to extend the masonry feel beyond the main surround.
5. The Outdoor Fireplace Wall
Build a stone-clad fireplace wall on a patio or covered deck using the same stacked stone panels (freeze-thaw rated to -30°C). Extend the stone cladding laterally to create a seating wall that ties the fireplace into the broader outdoor living space. See our stone accent wall ideas for complementary outdoor applications.
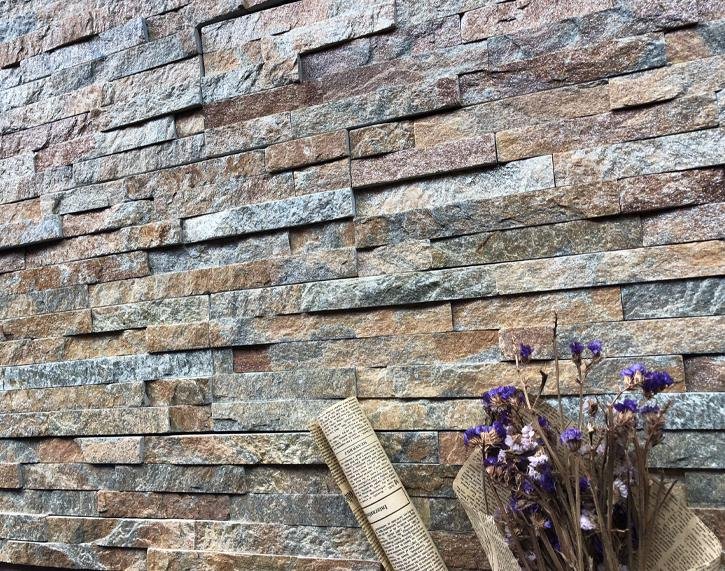
A floor-to-ceiling stone feature wall turns the fireplace into an architectural anchor.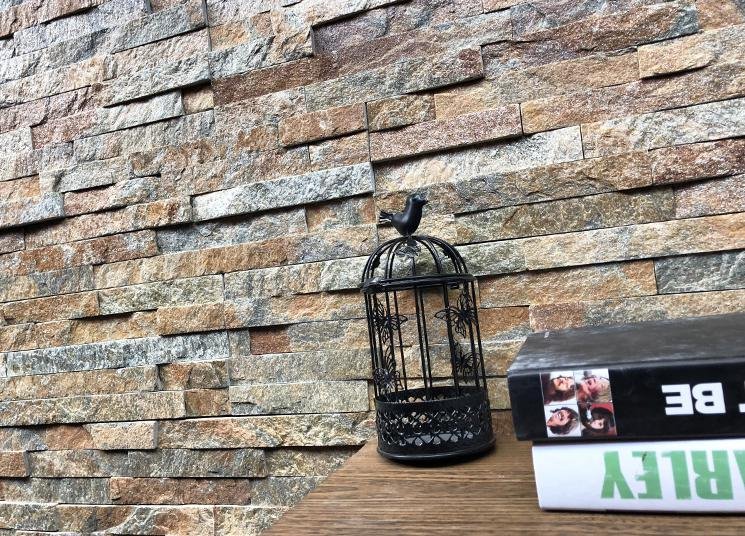
Color variation across panels adds visual interest and confirms the use of genuine natural stone.
Maintenance and Long-Term Care
Natural stone fireplace surrounds are among the lowest-maintenance finishes in a home. The stone itself will outlast the building. A few simple practices keep the installation looking its best for decades.
Regular cleaning: Dust weekly with a soft brush or vacuum brush attachment. Soot and ash from wood-burning fireplaces accumulate on lower panels near the firebox. Wipe with a pH-neutral stone cleaner and a soft cloth. Avoid acidic cleaners (vinegar, lemon-based products) as they can etch calcite-bearing stones like some slates.
Sealing: Apply a penetrating stone sealer (siloxane or fluoropolymer based) after mortar has fully cured, typically 7-14 days. Sealing does not significantly alter the stone’s appearance but makes cleaning easier and reduces soot absorption. Reapply every 2-3 years indoors, annually for outdoor installations exposed to rain and freeze-thaw cycles.
Joint inspection: Annually check mortar joints for cracking or crumbling, particularly around the firebox opening where thermal cycling is most extreme. Small cracks can be repaired with matching grout or caulk. Widespread cracking may indicate substrate movement that needs structural attention.
Outdoor fireplaces: Before winter, inspect the top edge of stone cladding where water can penetrate behind panels if cap flashing is compromised. Our panels are rated for freeze-thaw cycling to -30°C, but trapped water freezing behind the veneer can push panels off the wall. Keep cap flashing and weep holes clear.
For more on selecting the right thickness for your project, which affects both thermal performance and maintenance requirements, see our stone veneer thickness guide from 15mm to 40mm.
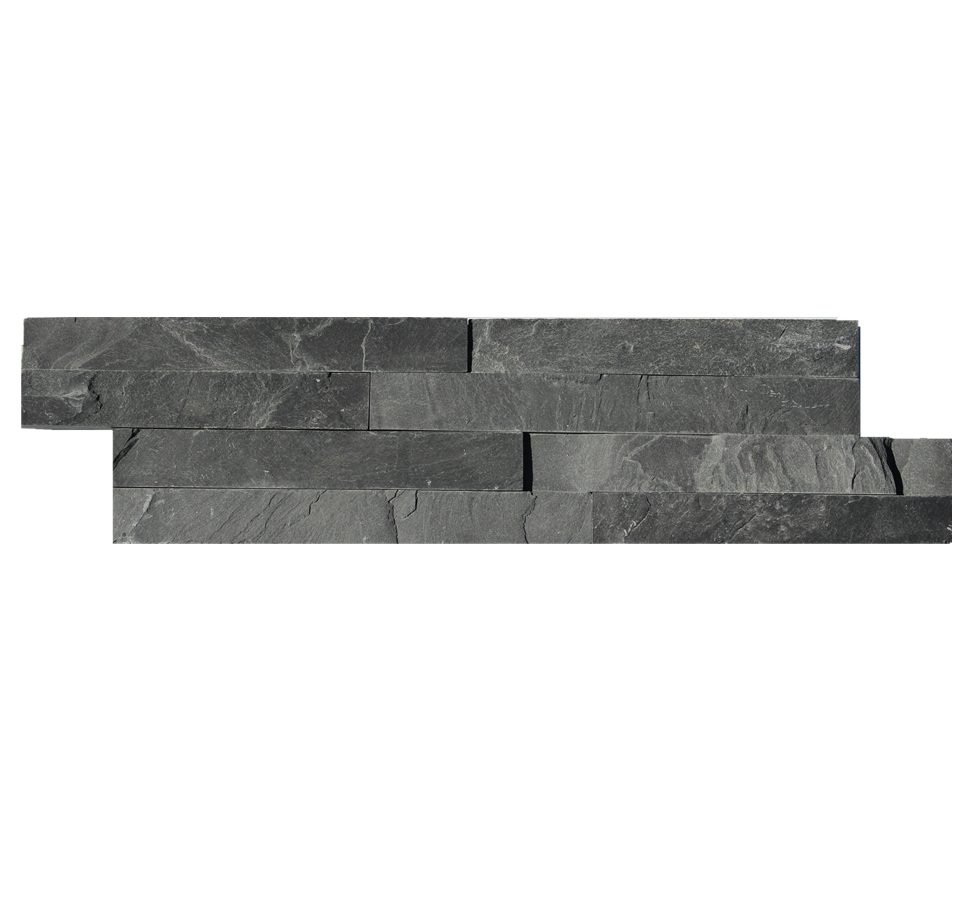
Thin ledgestone in black quartzite delivers a sleek, contemporary fireplace aesthetic.
Frequently Asked Questions
Can natural stone veneer be installed directly over drywall around a fireplace?
No. Natural stone veneer panels weigh 35-55 kg per square meter, far exceeding what standard drywall can support on its own. You must install cement backer board (at least 12mm thick) over the framing, secured with corrosion-resistant screws every 150mm into the studs. For areas within 300mm of the firebox opening, add a heat-resistant membrane between the backer board and the stone panels. Skipping this step is the single most common cause of installation failure.
How long does a stone veneer fireplace installation take from start to finish?
A standard single-wall fireplace surround (roughly 3-4 square meters of stone coverage) can be completed in one full day by an experienced installer. Substrate preparation adds 2-3 hours if you are starting from bare studs. First-time DIYers should budget two days: one for prep and layout, one for installation and grouting. Allow a full 24 hours of cure time before lighting the fireplace.
Is natural stone veneer fireproof for use on fireplace surrounds?
Yes. Natural slate and quartzite carry an A1 fire rating, the highest classification for non-combustible materials. The stone itself will not burn, emit toxic fumes, or discolor from sustained heat exposure. Top Stone Panels products use marine-grade epoxy bonding and cement backing, both engineered to maintain structural integrity under the high temperatures a fireplace generates.
Do I need to seal natural stone veneer on a fireplace surround?
Sealing is recommended but not mandatory for indoor fireplace surrounds. A penetrating stone sealer makes cleaning easier and protects against soot staining. Apply sealer after the mortar has fully cured (minimum 7 days). Reapply every 2-3 years depending on fireplace usage. For outdoor fireplaces, sealing is strongly recommended to protect against moisture-driven freeze-thaw damage.
What is the difference between stacked stone panels and thin ledgestone for fireplace installation?
Stacked stone panels (15x60cm or 15x55cm) are 15-25mm thick and feature multiple stone strips bonded to a mesh or cement backing, creating a dimensional, layered look. Thin ledgestone panels (36x10cm) are ultra-thin at 8-12mm and offer a sleeker, more linear profile. Both are 100% natural stone with A1 fire ratings. Stacked stone suits rustic and traditional designs; thin ledgestone works better for contemporary, minimalist fireplace surrounds.
Ready to plan your stone veneer fireplace project?
Top Stone Panels ships 100% natural slate and quartzite veneer panels worldwide from our facility in Hebei, China. Request a sample kit or talk to our team about panel specifications, lead times, and distributor pricing.
Visit topstonepanels.com or explore our six stone veneer product lines.