
The honest answer about when to seal natural stone veneer depends on four inputs: the stone’s density, the exposure conditions, the installation system behind the stone, and the sealer chemistry being considered. Dense slate and quartzite cladding on a ventilated exterior often performs better unsealed, because the stone absorbs little water and any coating risks trapping what little gets in. Porous sandstone around a pool coping, or a split-face veneer behind a kitchen cooktop, is a different story — there, the right penetrating sealer earns its cost within the first year. This guide covers the decision framework, the sealer types, the application sequence, and the maintenance cycle that keeps the decision valid.
Key Takeaways
- Sealing protects the stone surface against staining and moisture damage — it never replaces the waterproofing layer behind the cladding.
- Dense slate and quartzite absorb little water; exterior cladding in these stones often performs best unsealed, since the stone is UV stable and tolerates –30 °C to +50 °C swings without coating.
- Penetrating silane/siloxane sealers are the default for stone veneer: below-surface protection, unchanged texture, vapor-permeable.
- Topical film-forming sealers are the wrong product for split-face and natural-cleft veneer — they trap moisture, haze, and blister.
- Seal porous sandstone in wet areas, kitchen splash zones, salt-exposed copings, and graffiti-prone commercial walls.
- Apply sealer only after adhesive, mortar, and grout have fully cured; never seal the bonding face of a panel.
- The water-drop test decides re-seal timing: no beading and quick darkening means the protection is spent.
What Sealing Actually Does
Sealer is a surface treatment, not a structural element. Its job is to slow down what enters the stone’s face: water carrying dissolved salts, oil-based stains, dirt suspension, and biological growth. A good sealer buys time — minutes to hours between a spill and permanent staining — so maintenance can remove the contaminant before it bonds into the stone.
Three claims about sealer need correcting up front. First, sealer is not waterproofing: the weather-resistive barrier behind the cladding is what keeps water out of the wall assembly, and the waterproofing sequence is covered in our guide to waterproofing behind stone veneer on exterior walls. Second, sealer does not strengthen stone or stop cracking. Third, sealer is not permanent — every chemistry degrades under UV exposure, thermal cycling, and abrasion, which is why maintenance schedules exist.
What sealer genuinely delivers is stain resistance and easier cleaning. On an unsealed porous surface, red wine, grease, or rust-laden water wicks into the pore structure and sets. On the same surface treated with a penetrating sealer, the liquid beads and stays removable. For a distributor’s customers, that difference is the entire sales argument — the sealer converts a maintenance liability into a wipe-down.
When Not to Seal
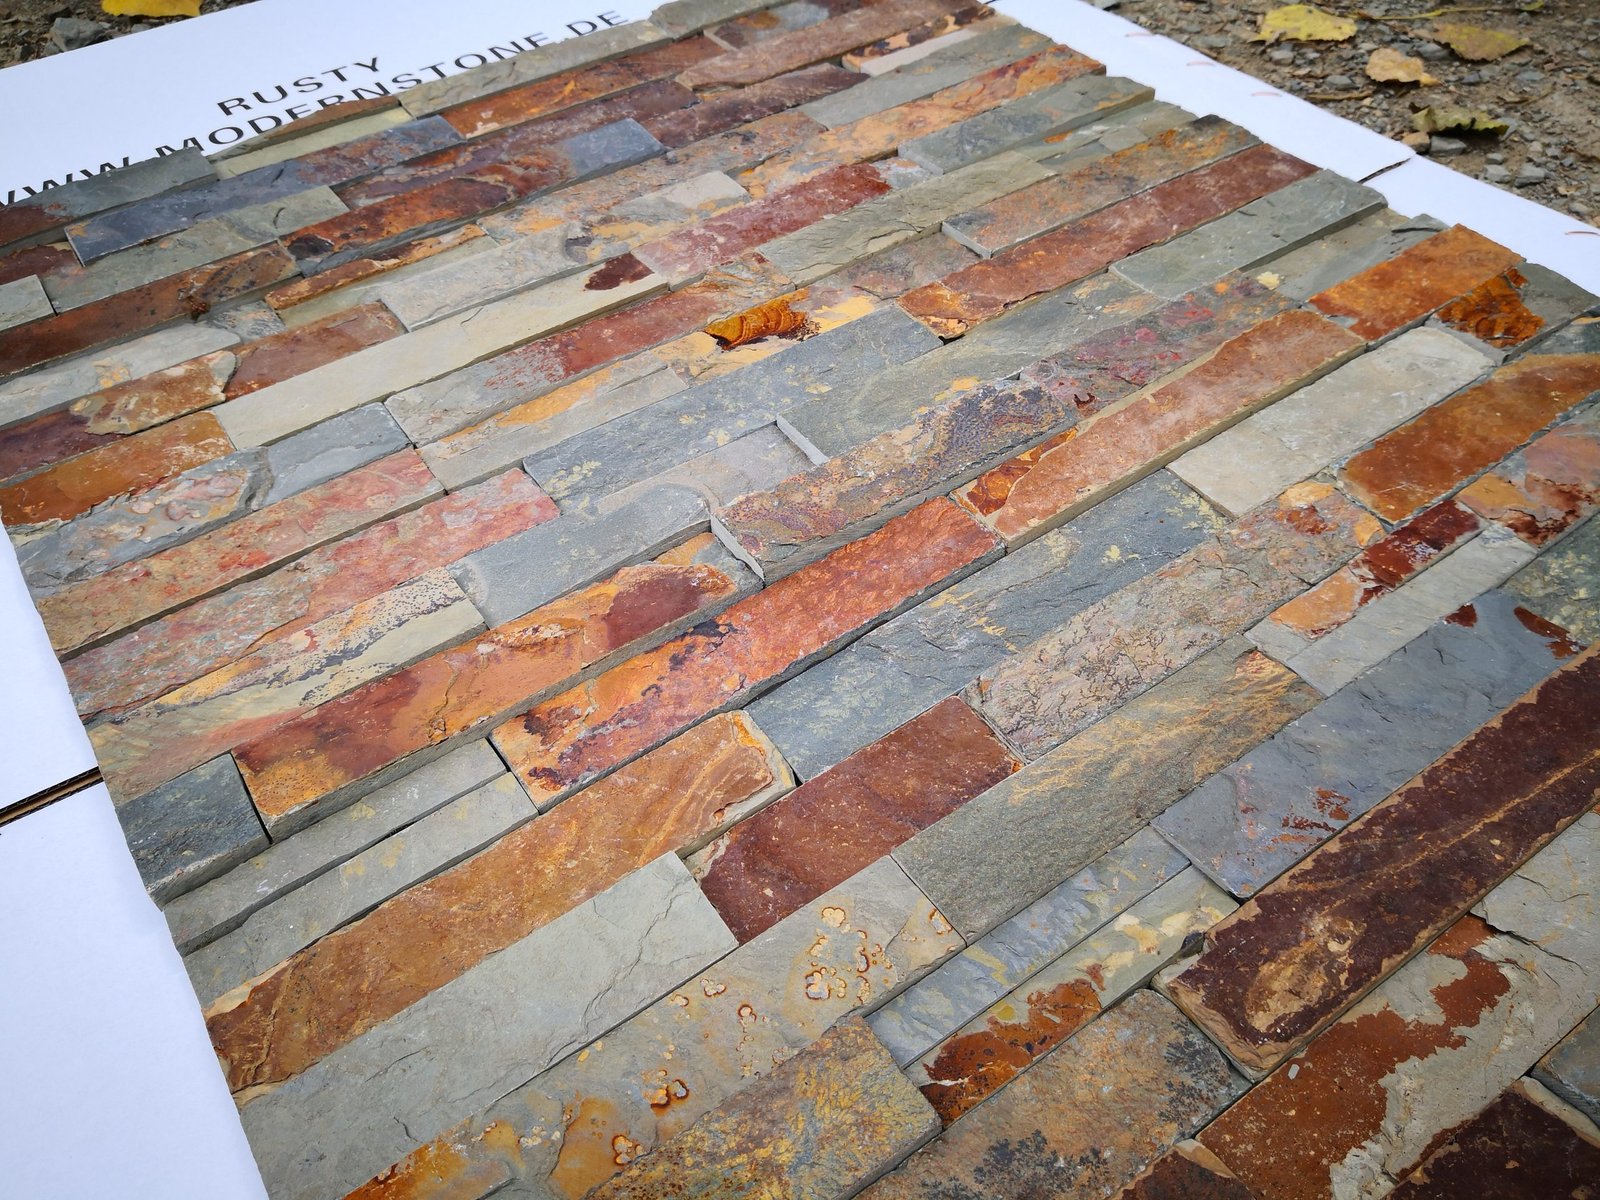
The industry default of “seal everything” wastes money and sometimes damages the wall. Dense metamorphic stone — slate and quartzite — has a tightly interlocked crystal structure that absorbs very little water compared with sedimentary stones. Exterior cladding in these materials routinely performs without sealer, and three properties of the stone itself explain why.
First, low absorption means little water enters the face in the first place, so there is little for the sealer to block. Second, the stone is dimensionally stable through temperature: slate and quartzite veneer from Top Stone Panels tolerates swings from –30 °C to +50 °C, which is the full envelope of North American continental climates, without relying on any coating. Third, the stone is UV stable — the color does not fade in direct sun, so the wall does not need a coating to preserve its appearance. The UV behavior is documented in our guide to natural stone UV stability.
The engineering risk of sealing dense stone on an exterior wall is asymmetric. If the sealer works, it saves almost nothing. If it fails partially — and topical sealers degrade unevenly under sun and rain — it traps moisture on the protected patches, creates visible patchiness, and can blister in freeze-thaw cycles. The freeze-thaw mechanism is detailed in our guide to freeze-thaw resistance in natural stone. An unsealed dense-stone wall dries uniformly after rain; a badly sealed one dries in stripes.
One caveat: unsealed does not mean unmaintained. An unsealed slate facade still benefits from an annual rinse and periodic cleaning with a pH-neutral stone cleaner in high-pollution areas. The stone’s own density is doing the protection work; maintenance just keeps its surface clean.
When Sealing Is Worth the Cost
Five application classes justify sealing. In each, either the stone is porous, the exposure is aggressive, or cleanup difficulty is high — often all three.
1. Sandstone and porous stone in wet or exterior exposure. Sandstone’s grain structure absorbs water readily, which suits its warm aesthetic but demands protection where rain, splash, or irrigation is constant. A penetrating sealer slows absorption while leaving the stone breathable. The warm-tone formats in the flagstone and paving range follow the same logic for horizontal surfaces that hold water.
2. Kitchen splash zones and fireplace hearths. Split-face veneer behind a cooktop collects grease aerosol; hearth stone collects ash and soot. The texture that makes the stone beautiful makes it a trap for contaminants. A penetrating sealer here converts a permanent stain risk into a wipe-down, and a color-enhancing variant can deepen the tone deliberately rather than letting grease do it accidentally.
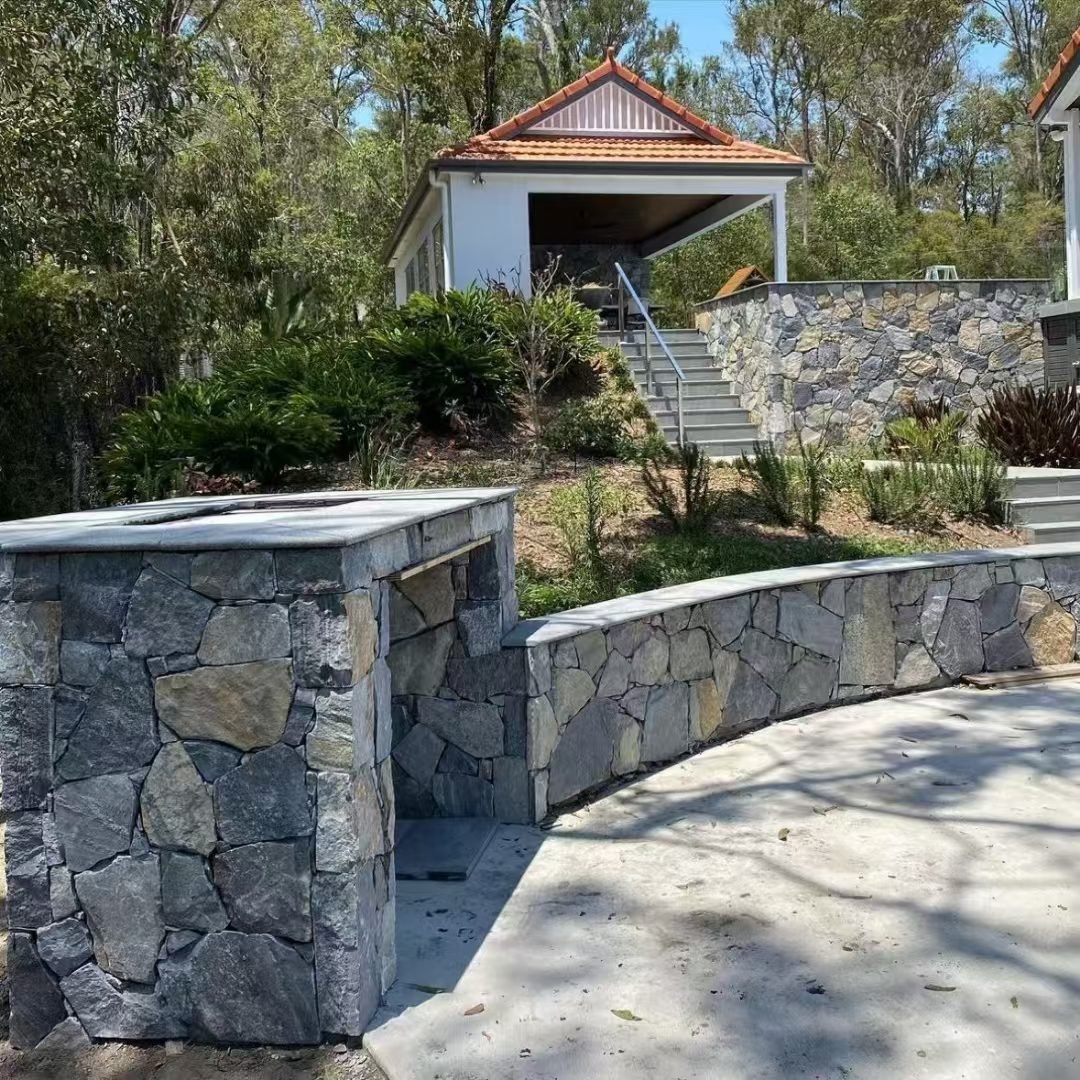
3. Pool copings and salt-exposed stone. Saltwater pools and coastal facades combine two aggressive agents: salt crystallization and constant wetting. Natural stone resists salt spray well — one reason it dominates coastal specification — but sealing reduces the salt solution’s dwell time on the surface and slows crystallization in the pore mouths.
4. Graffiti-prone commercial walls. Paint and marker ink penetrate unsealed stone deeply enough to resist standard cleaning. A penetrating sealer plus a sacrificial anti-graffiti coat on high-risk elevations turns removal into a wash-off cycle. For retail and street-facing facades, this is cheaper than any restoration.
5. Interior wet rooms. Shower walls and bathroom feature walls in natural stone face constant humidity and soap-film deposition. Sealing eases cleaning and reduces the mineral spotting that hard water leaves on textured faces.
Sealer Types Compared
Three sealer families cover the market. The choice is not a brand question; it is a chemistry question, and the chemistry has to match both the stone’s porosity and the exposure.
| Sealer Family | How It Works | Best Use | Avoid On |
|---|---|---|---|
| Penetrating (silane/siloxane) | Soaks below surface, lines pores, repels water and oil | Exterior cladding, most veneer | Nothing structural — safe default |
| Color-enhancing penetrating | Same penetration plus wet-look tone deepening | Dull split-face, warm sandstone | Stones meant to stay matte |
| Topical film-forming (acrylic/urethane) | Sits on surface as a continuous film | Polished interior floors only | Split-face, natural cleft, exterior walls |
The recommendation is unambiguous: for stone veneer, penetrating chemistry is the default, and film-forming sealers should stay off the wall. A topical film on split-face veneer fails in a predictable sequence. The film pools unevenly in the clefts, glosses where it thickens, blocks vapor trying to exit the wall, and then blisters where trapped moisture freezes. Repair means stripping the film chemically — work that costs more than the original installation.
Within penetrating products, silane-based sealers penetrate deepest and suit dense stone; siloxane-based products sit shallower and suit medium porosity; blended products split the difference. Manufacturer datasheets state the intended substrate porosity — matching that line to the stone type is the entire selection task. Test every candidate on a sample piece first; Top Stone Panels ships physical samples within 1–3 days, sized exactly for this kind of sealer trial.
Application Step by Step
Application is straightforward when the preconditions are met, and every failure in the field traces back to a skipped precondition rather than to the spraying itself.
Step 1 — Confirm full cure. Adhesive, mortar, and grout must be fully cured before any sealer touches the wall. Sealing over uncured bond coats traps curing moisture and starves the bond of the air it needs. Typical thin-set and grout systems need days, not hours — follow the adhesive manufacturer’s stated cure time, then add margin.
Step 2 — Clean completely. Sealer locks in whatever is on the surface. Dust, mortar haze, efflorescence, and handling marks all become permanent once sealed. Clean with a pH-neutral stone cleaner and a soft brush, rinse thoroughly, and let the wall dry fully. Warning: acid-based cleaners etch the stone face and should not be used on natural cleft surfaces.
Step 3 — Test absorption. Flick water on the dry wall. Dense slate will bead it for a long time; sandstone will darken within minutes. The result predicts sealer uptake and tells you whether the stone is even a candidate. On dense stone that beads water indefinitely, reconsider whether sealing is the right investment at all.
Step 4 — Apply evenly. Use a low-pressure sprayer, roller, or brush depending on texture depth. Work in manageable sections, keep a wet edge, and saturate evenly without runs. On deep split-face texture, a brush works sealer into the clefts that a spray misses. Warning: pooling sealer dries into visible glossy patches — back-brush any puddle within minutes.
Step 5 — Wipe and cure. After the manufacturer’s dwell time, wipe any unabsorbed residue off the face. Let the wall cure without rain, splash, or dust exposure for the stated period. Two thin coats outperform one heavy coat every time.
Maintenance and Re-Seal Timing
No sealer is permanent, and maintenance planning should start at specification, not at first failure. Typical guidance for penetrating sealers on exterior stone is re-application every two to five years — the range is wide because climate drives it. A wall in full sun with freeze-thaw winters degrades coating performance faster than a shaded wall in a mild maritime climate.
The water-drop test replaces the calendar. Place a few drops of clean water on the surface in an inconspicuous spot. Beading that holds for several minutes means protection is intact. Water that soaks in and darkens the stone within a minute or two means the sealer has spent itself. Run the test on the most exposed elevation — south-facing walls in the northern hemisphere age first.
Between re-seals, the routine is light: an annual rinse with clean water, and a pH-neutral cleaner with a soft brush every two to three years in polluted or coastal environments. Never pressure-wash sealed stone at close range or high setting; the jet strips sealer from pore mouths and can drive water behind the cladding at joints. The maintenance economics are what make the product sellable for distributors — present the cycle as a feature: sealed stone is the lowest-maintenance cladding option in its class, not a burden.
Sealing in Panel Installation Systems
Factory-assembled panels add one critical constraint: the bonding face must never be sealed. Panel systems bond by mechanical grip and chemical adhesion — marine-grade epoxy on cement or mesh backing, or thin-set mortar keyed into the panel back. A film of sealer on that face defeats both mechanisms, and the failure mode is silent until a panel debonds months later.
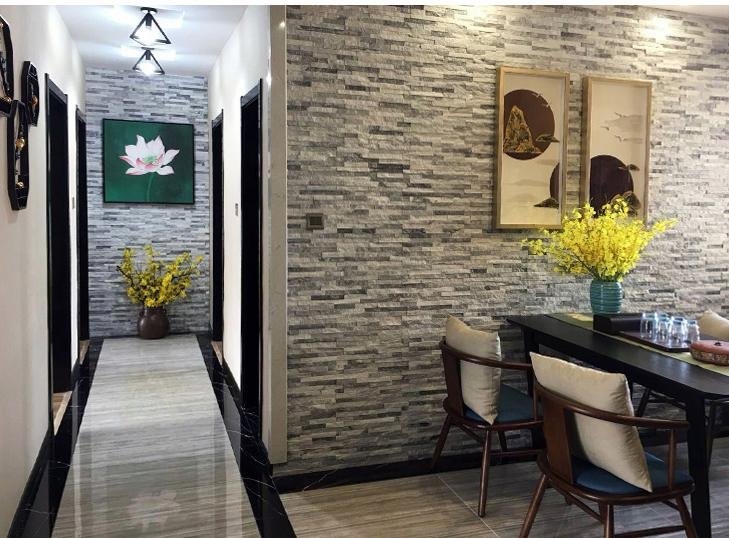
The correct sequence for panel installations is: install, cure fully, clean, then seal the finished face only. Done in that order, you seal natural stone veneer without weakening any bond in the system. For grouted ledgestone, protect the grout decision too — grout itself is porous and often benefits from sealing, but grout and stone may take different products; check that the chosen sealer is rated for both. The grouting options are covered in our guide to grouting stacked stone panels.
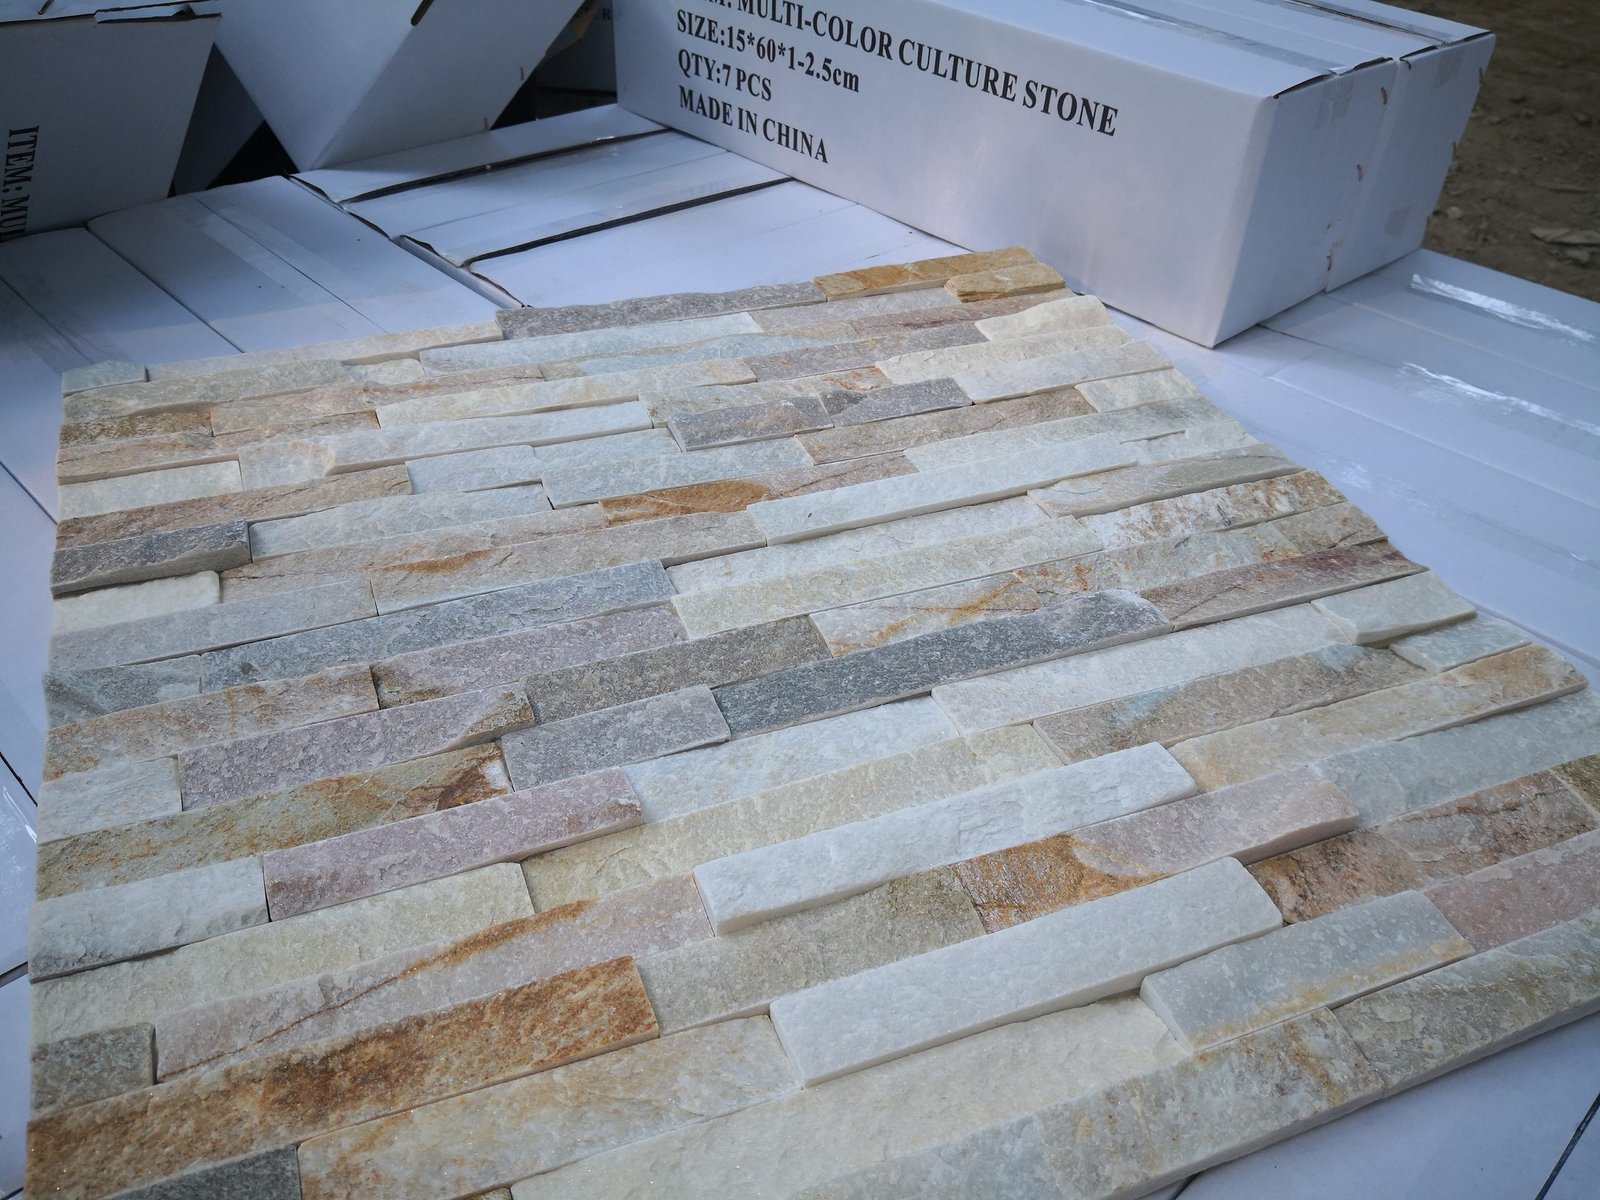
Dry-stack installations simplify the picture: no grout means one surface to consider, and many dry-stack walls in dense slate run happily unsealed for their whole service life. The panel formats themselves — stacked stone in 15×60 cm and 15×55 cm, mini ledgestone in 36×10 cm — are listed on the stacked stone and thin ledgestone product pages, where the backing options determine which adhesive chemistry applies.
Test Sealers on Real Stone, Not Brochures
Top Stone Panels ships physical samples within 1–3 days — enough material to run the water-drop test, trial your chosen sealer, and inspect the cured result before any container commitment. Quarry-direct pricing, 3-step factory QC, and full export documents on every order.
Slate · Quartzite · Sandstone | MOQ 1×20GP | COO + ISPM 15 | 1–3 day sampling
Common Sealing Mistakes
Five mistakes account for nearly every sealing failure reported on natural stone veneer. Each one is cheap to avoid and expensive to reverse.
1. Sealing damp or dirty stone. Sealer over moisture clouds the finish; sealer over dust locks it in permanently. The wall must be clean and fully dry — no exceptions, no shortcuts with a heat gun.
2. Using a topical sealer on exterior split-face. Covered above because it is the most common and most destructive error: film-forming products trap moisture, haze, and blister on textured natural-cleft stone.
3. Sealing the panel bonding face. Any sealer film on the back of a panel undermines adhesive grip. Mask panel backs during any pre-installation surface treatment, or treat only after installation.
4. Ignoring temperature and sun during application. Applying sealer to a sun-heated wall flashes the carrier off before penetration; applying below the product’s minimum temperature prevents proper curing. Apply in the shade-side hours, within the manufacturer’s stated temperature window.
5. Sealing dense exterior slate by reflex. The risk-reward was covered in the When-Not-to-Seal section, but the mistake persists: coating a dense, UV-stable, freeze-thaw-tolerant stone with a product that can only add risk. Ask what problem the sealer solves on that specific wall. If the answer is vague, skip it.
Conclusion
Sealing is a targeted tool, not a universal ritual. Match the decision to the stone’s density, the exposure, and the installation system, and the wall gets protection exactly where it needs it — and no added risk where it doesn’t.
- Dense slate and quartzite on ventilated exteriors often run best unsealed: UV stable, –30 °C to +50 °C tolerant, Class A fire rated, and low-absorption by nature.
- Seal porous sandstone, splash zones, salt-exposed copings, graffiti walls, and interior wet rooms with a penetrating silane/siloxane sealer.
- Never seal the bonding face; never use film-forming products on split-face exterior stone; always cure-clean-then-seal.
- The water-drop test governs re-sealing: no beading, quick darkening, time to re-apply.
The risk runs one direction: over-sealing. A wall sealed by habit rather than diagnosis carries coating failure risk without a problem to solve. Before your next specification, request stone samples from Top Stone Panels and run the absorption test on the actual material — the water drops will make the decision for you.
Frequently Asked Questions
Does natural stone veneer need to be sealed?
Not always. Dense metamorphic stones like slate and quartzite absorb very little water, so exterior cladding in these stones often performs without sealer. Sealing becomes worthwhile for porous stones such as sandstone, for interior wet areas, kitchen splash zones, and stone exposed to salt water or de-icing chemicals.
What is the best sealer for natural stone veneer?
For most cladding applications, a penetrating (impregnating) silane or siloxane sealer is the correct choice. It sits below the surface, repels water and oil-based stains, and leaves the stone’s natural texture and vapor permeability unchanged. Topical film-forming sealers should be avoided on split-face and natural-cleft veneer.
How often should exterior stone veneer be resealed?
Typical guidance for penetrating sealers on exterior stone is re-application every two to five years, depending on climate, sun exposure, and sealer chemistry. The water-drop test gives the actual answer: if a few drops of water no longer bead on the surface and darken the stone within a few minutes, it is time to re-seal.
Will sealing change the color of the stone?
A natural-look penetrating sealer produces little or no color change when applied correctly. Color-enhancing sealers deliberately deepen tones and add a wet look. Always test any sealer on a sample piece or an inconspicuous corner before coating the full wall.
Should stone veneer be sealed before or after installation?
After. Sealing the bonding face before installation can prevent mortar and adhesive from gripping the panel. Seal the finished face only after the adhesive or mortar has fully cured, keeping sealer off joints until any grout has also cured, and following the sealer manufacturer’s cure times.
Can sealing trap moisture inside stone veneer?
Yes, if the wrong product is used. Film-forming topical sealers can block vapor transmission and trap moisture behind the coating, which leads to hazing, blistering, and freeze-thaw damage in cold climates. Breathable penetrating sealers avoid this by leaving the stone vapor-open.



