
Waterproofing failures account for more stone veneer callbacks than any other single issue in exterior cladding installations. Industry data from the Tile Council of North America and masonry restoration contractors consistently point to the same root cause: inadequate or missing moisture management behind the veneer. When water gets trapped between the stone and the structural wall, the damage compounds quickly and the repair costs dwarf the original installation budget by a factor of three to five.
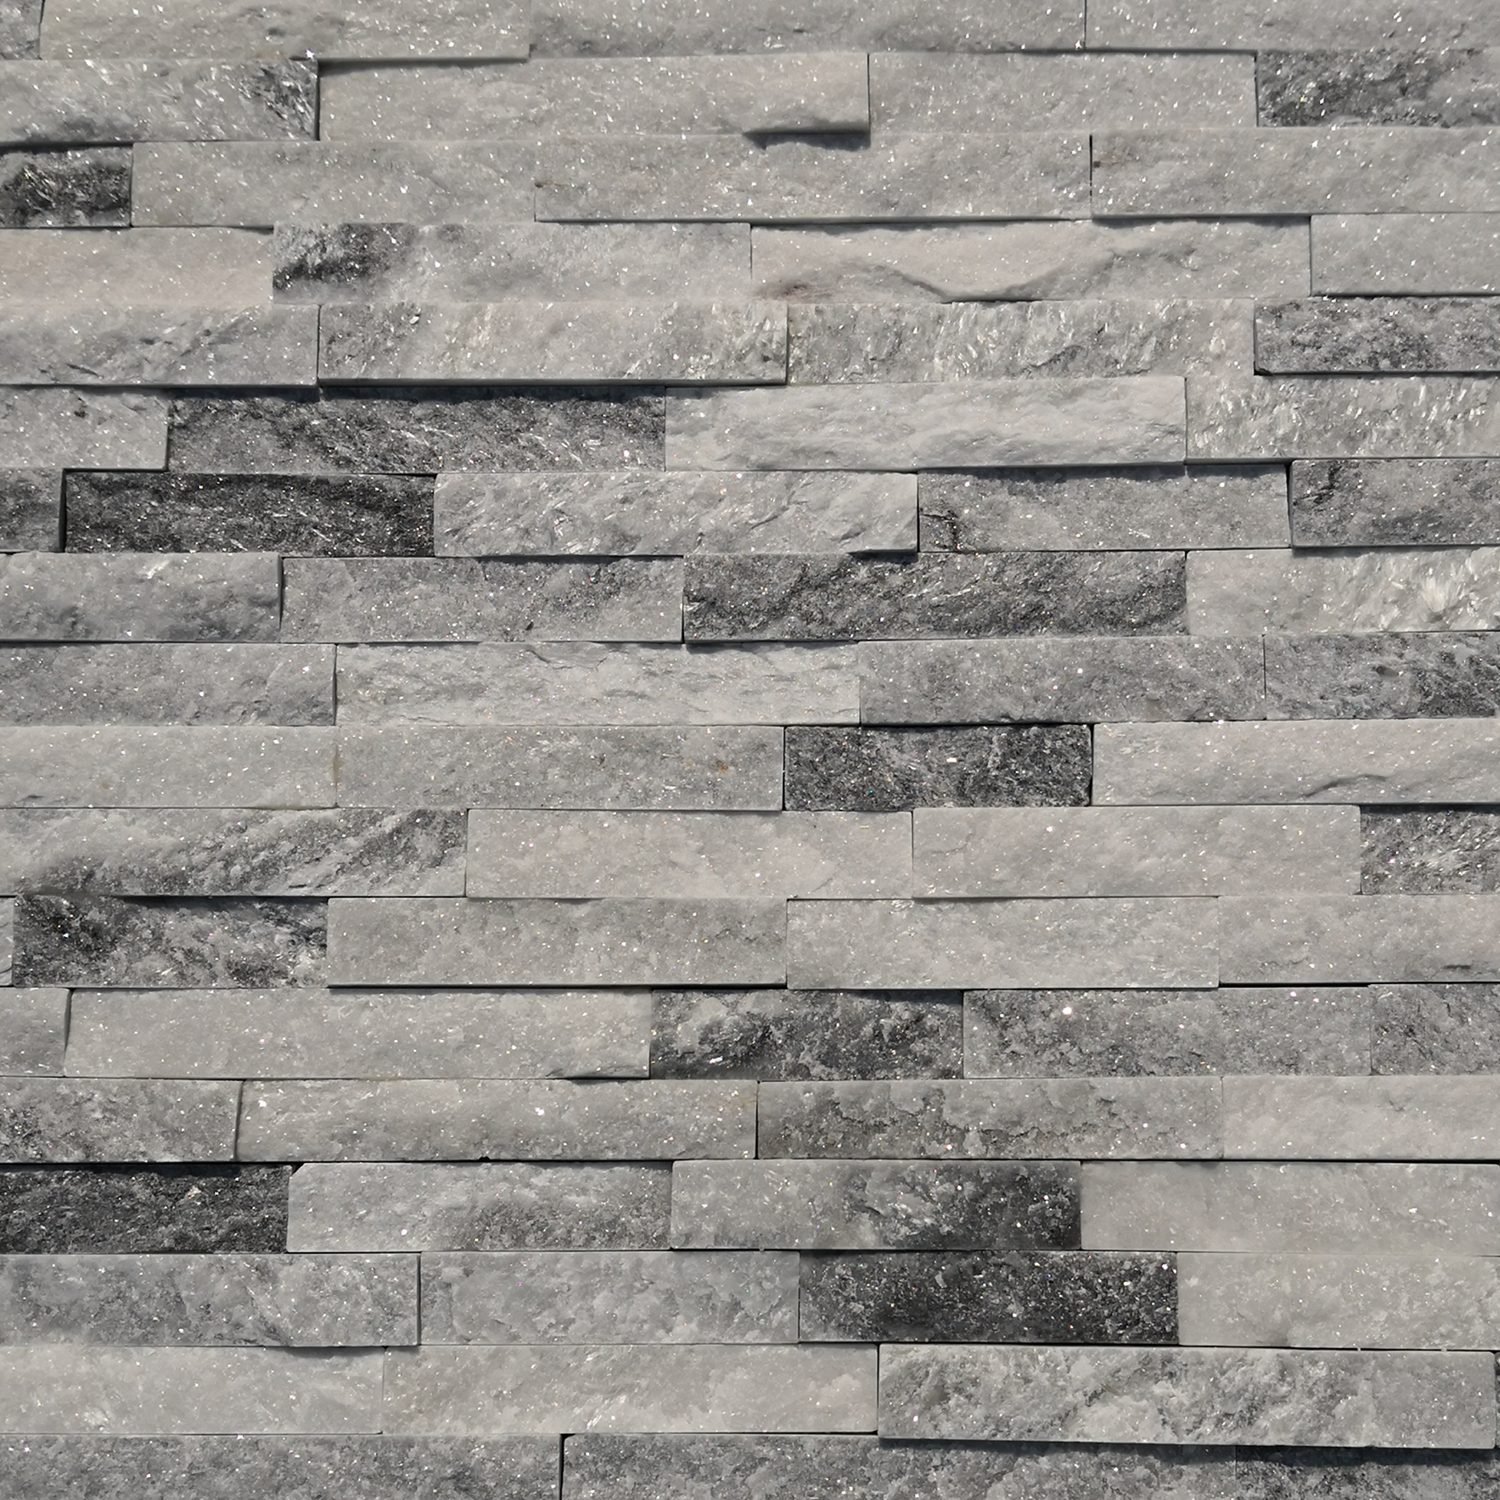
Why Waterproofing Behind Stone Veneer Matters
Exterior stone veneer is a reservoir cladding. Unlike metal panels or sealed EIFS systems, natural stone and mortar joints are not watertight—they absorb and transmit moisture. When wind-driven rain hits a stone wall, water penetrates through three pathways: directly through porous mortar joints, through hairline cracks at the stone-to-mortar interface, and through capillary action within the stone itself if the material has high absorption.
Once water reaches the back of the veneer, it encounters the cavity space. If that cavity has no drainage path, water pools against the structural wall. The consequences escalate in a predictable and expensive sequence:
- Efflorescence: Dissolved salts migrate through the stone face, leaving white crystalline deposits. This is cosmetic at first but signals ongoing moisture movement through the assembly.
- Spalling and delamination: In freeze-thaw climates, trapped water expands approximately 9% by volume when it freezes. Repeated cycles crack the mortar bond and pop stone faces off the wall. Stone veneer rated for temperatures from -30°C to +50°C (such as the slate, quartzite, and sandstone panels manufactured by Top Stone Panels stacked stone) will still fail if freeze-thaw cycling occurs inside a waterlogged cavity rather than on the stone face.
- Mold and rot: On wood-framed walls, persistent moisture behind the veneer creates conditions for fungal growth and wood decay. OSB and plywood sheathing lose structural capacity when chronically wet.
- Corrosion of metal components: Moisture trapped against metal lath, anchors, and fasteners accelerates corrosion, compromising the mechanical attachment of the stone.
- Structural damage: In severe cases, water reaching the structural framing causes rot in wood studs, corrosion in steel studs, and deterioration of CMU mortar joints.
The cost of a callback involving stone veneer removal, waterproofing remediation, and reinstallation typically runs $40 to $80 per square foot, compared with $2 to $5 per square foot for proper waterproofing during initial installation. That ratio alone makes the case for doing it right the first time.
The Anatomy of a Properly Waterproofed Stone Veneer Wall
A correctly assembled stone veneer wall manages water through layered defense: each component handles a specific function, and the system works because no single layer is asked to do everything. Here is the complete assembly from interior to exterior:
EXTERIOR                                         INTERIOR
←———————————————————————————————————————————————————————————→

[Stone Veneer] [Mortar Bed] [Metal Lath] [Drainage  ] [WRB      ] [Structural]
[15-30mm thick][10-15mm    ][Scratch Coat][Air Gap   ] [Moisture ] [Wall      ]
[Panel or      ][Type S or  ][+ Base Coat ][3/8" min. ] [Barrier ] [Concrete/ ]
[Individual    ][Polymer-   ]             ]           ] [        ] [CMU/Wood  ]
[Stone Units   ][Modified   ]             ][Drainage  ] [Grade D ] [Frame +   ]
[              ][Mortar     ]             ][Mat or    ] [Paper / ] [Sheathing ]
[              ][           ]             ][Furring   ] [Fluid-  ] [          ]
[              ][           ]             ]           ] [Applied ] [          ]
                                        ][+ Weep    ] [         ] [          ]
                                        ][Holes at  ] [         ] [          ]
                                        ][Base      ] [         ] [          ]
←———————————————————————————————————————————————————————————→
EXTERIOR                                         INTERIOR
Layer 1 — Structural Wall. The substrate must be sound, clean, and dimensionally stable. For concrete or CMU walls, fill voids and repair spalled areas. For wood framing, use minimum 1/2-inch plywood or OSB sheathing, properly fastened to studs at 16 inches on center. All sheathing joints should be gapped 1/8 inch to accommodate expansion.
Layer 2 — Weather-Resistant Barrier (WRB). This is the primary waterproofing layer. It is applied directly to the structural wall or sheathing and must be continuous from the base flashing to the top of the wall, lapped shingle-style so water always drains outward and downward. The WRB is the single most important component in the assembly for achieving a waterproof stone veneer exterior installation.
Layer 3 — Drainage Plane / Air Gap. A drainage cavity between the WRB and the back of the mortar bed allows any water that penetrates the veneer to drain downward by gravity to the weep system at the base. This can be created with a dimpled drainage mat, corrugated furring strips, or a three-dimensional mesh mat. Minimum cavity depth: 3/8 inch (10mm), though 1/2 inch or more performs better in high-rainfall regions.
Layer 4 — Metal Lath and Scratch Coat. Galvanized, self-furring metal lath provides the mechanical key for the mortar bed. A scratch coat of mortar (approximately 3/8 inch thick) is applied over the lath, scored horizontally, and allowed to cure for 24 to 48 hours before the stone is set. The scratch coat must bond to the lath, not bridge across the drainage cavity.
Layer 5 — Mortar Bed and Stone Veneer. The stone is set into a fresh mortar bed using Type S mortar or a polymer-modified thin-set mortar, depending on the stone format and substrate. Each stone unit is buttered on the back and pressed into the mortar with a slight twisting motion to ensure full contact.
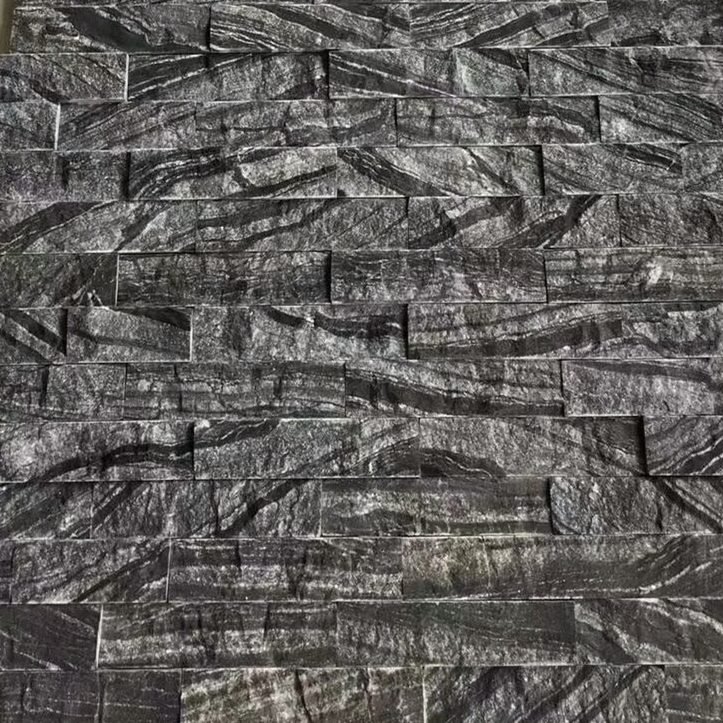
Choosing the Right Weather-Resistant Barrier (WRB)
The WRB is the primary line of defense in any stone veneer moisture barrier system. Four main product categories are used, each with distinct advantages for stone veneer applications:
Grade D Building Paper (Asphalt-Impregnated Felt)
The traditional choice and the one most commonly specified in building codes for stone and masonry veneer. Grade D paper (ASTM D226 Type I or Type II) is vapor-permeable, allowing the wall to breathe while blocking liquid water. It is installed in two layers for stone veneer per many code jurisdictions—the first layer against the sheathing, the second layer serving as a bond-break between the WRB and the metal lath/scratch coat.
- Pros: Proven track record spanning decades; code-accepted everywhere; inexpensive; compatible with mortar contact.
- Cons: Tears easily during installation; degrades under UV exposure if left uncovered for extended periods; requires careful lapping (2-inch horizontal, 6-inch vertical minimums).
Fluid-Applied Membranes
These are trowel-, roller-, or spray-applied elastomeric coatings that cure to form a seamless, monolithic membrane directly on the substrate. Products like Sto Gold Coat or Prosoco R-Guard are common on commercial projects. They bond directly to concrete, CMU, and properly prepared sheathing.
- Pros: Seamless coverage eliminates lap vulnerabilities; bonds to complex geometries and penetrations easily; doubles as an air barrier; excellent adhesion for stone veneer mortar systems.
- Cons: Higher material cost; requires trained applicators for uniform mil thickness; surface must be clean and dry during application; difficult to inspect coverage after lath is installed.
Self-Adhered Membranes
Rubberized asphalt or butyl-based membranes with a release liner, applied by peeling and pressing onto the substrate. These products (such as Henry Blueskin or Grace Ice & Water Shield) provide excellent waterproofing performance. Note: this refers to waterproofing membranes applied behind the stone, not to any type of adhesive-backed stone product.
- Pros: Consistent thickness; strong adhesion; self-sealing around fasteners; performs well in below-grade and high-moisture conditions.
- Cons: Most expensive WRB option; surface preparation is critical; cold-weather installation requires primers; can be difficult to apply on textured CMU surfaces.
House Wraps (Spunbonded Polyolefin)
Products like Tyvek HomeWrap or Typar are widely used in residential construction. They are lightweight, easy to install, and vapor-permeable. For stone veneer, house wraps should be used with a drainage mat or furring strips to protect the wrap from mortar contact and to maintain the drainage cavity.
- Pros: Fast installation; good vapor permeability; widely available; cost-effective for large residential projects.
- Cons: Vulnerable to tears and UV degradation; not designed for direct mortar contact; requires a separate drainage mat to protect from stone installation; some jurisdictions require supplemental protection for house wraps behind masonry and stone.
Recommendation for stone veneer: On commercial projects and high-end residential, fluid-applied membranes provide the best balance of waterproofing performance and compatibility with mortar-set stone installations. On residential projects with budget constraints, two layers of Grade D building paper remain the code-compliant standard. Always verify local code requirements, which may reference ASTM E2556 or ICC-ES evaluation reports for specific WRB products.
Installing the Drainage Plane and Weep System
The drainage plane is what separates a wall that manages water from a wall that traps it. Without an air gap between the WRB and the back of the stone veneer assembly, any water penetrating the veneer sits directly against the moisture barrier. Over time, even a well-installed WRB will develop pinholes, fastener penetrations, and lap vulnerabilities—and standing water in the cavity will find every one of them.
Creating the Air Gap
Three methods are standard practice:
- Drainage mats: Three-dimensional polymer mesh mats (such as Enkadrain or MTI Sure Cavity) are installed over the WRB. These mats provide a consistent air gap, a drainage channel, and a mortar-resistant surface that prevents the scratch coat from bridging the cavity. This is the preferred method for stone veneer because it protects the WRB from mortar squeeze-out during installation.
- Furring strips: Corrugated plastic or treated wood furring strips (1/4 to 1/2 inch thick) are fastened vertically over the WRB at stud locations. The metal lath is then attached to the furring strips. This method works but requires careful alignment and can create mortar bridges between strips.
- Dimpled membranes: HDPE dimpled sheets (such as Delta-MS or Platon) create a robust drainage cavity. These are more commonly used in below-grade applications but perform well behind stone veneer in high-rainfall zones.
Weep Screed and Weep Holes
At the base of the wall, a weep screed (typically a corrosion-resistant metal or PVC flashing with integrated weep openings) is installed at the bottom of the drainage cavity. The weep screed serves two functions: it terminates the bottom of the veneer, and it provides an exit point for water draining down the cavity.
The International Building Code (IBC Section 1404.3) requires weep holes at a maximum spacing of 33 inches on center. In practice, many installers place open-head joint weep vents at every other mortar joint, which typically yields 16- to 24-inch spacing. The weep screed must be installed above finished grade (minimum 4 inches, 6 inches preferred in splash zones) and must be continuous with the flashing system.
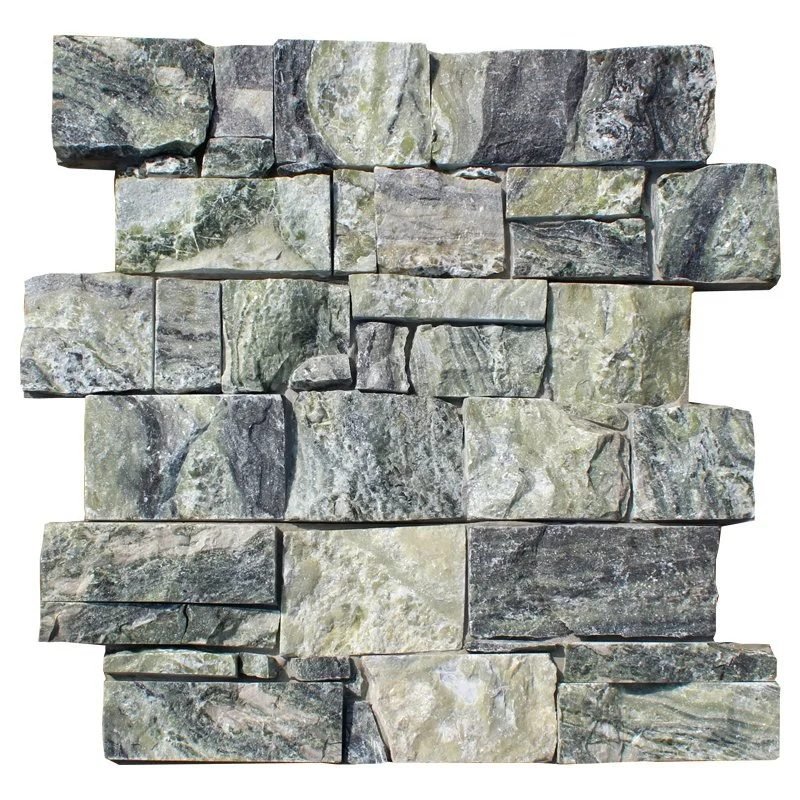
Flashing Details That Prevent Water Intrusion
Flashing is where most stone veneer waterproofing failures actually occur. The WRB and drainage plane handle the field of the wall, but penetrations, transitions, and terminations are where water concentrates and where installation errors are most common.
Head Flashing (Above Openings)
Above every window, door, and penetration, head flashing must direct water outward and away from the opening. The flashing extends from the inside face of the drainage cavity to a point past the exterior face of the stone veneer, with end dams formed at each side to prevent water from running sideways behind the veneer. Metal head flashing (26-gauge galvanized steel or aluminum) is preferred for stone veneer because it holds its shape under the weight of the stone above.
Sill Flashing (Below Windows)
Sill flashing is installed beneath window sills and at the base of any recessed element. Like head flashing, it must extend from the WRB through the drainage cavity to the exterior face with end dams. The sill flashing should slope a minimum of 1/4 inch per foot toward the exterior.
Through-Wall Flashing at Shelf Angles
On multi-story buildings, stone veneer is typically supported at each floor by a steel shelf angle. Through-wall flashing must be installed above each shelf angle to catch water in the cavity and redirect it to the exterior. The flashing laps over the shelf angle and extends through the veneer to form a weep shelf with visible weep holes.
Kick-Out Flashing at Grade Transitions
Where the stone veneer terminates near grade, kick-out flashing directs water from the drainage cavity outward, away from the foundation. The bottom of the stone veneer should be a minimum of 4 inches (6 inches preferred) above finished grade, with a weep screed and flashing bridging the gap between the veneer and the foundation waterproofing.
Step Flashing at Roof Intersections
Where stone veneer meets a roof surface, step flashing is installed in a shingle pattern, with each piece lapping over the one below it. The step flashing integrates with the roof underlayment and extends up behind the WRB on the wall. This is a critical detail on porch roofs, deck intersections, and dormers.
Metal vs. flexible flashing: For stone veneer, rigid metal flashing (galvanized steel, aluminum, or copper) is generally superior to flexible membrane flashing because it maintains its shape under the weight and thermal movement of the stone. Flexible flashing (peel-and-stick membrane flashing) is acceptable for secondary details and curved surfaces, but the primary flashing at heads, sills, and shelf angles should be metal.
Mortar and Adhesive Selection for Wet Environments
The mortar or adhesive that bonds the stone to the wall also plays a role in moisture management. The choice depends on the stone format, substrate, and exposure conditions.
Type S Mortar
Type S mortar (1 part Portland cement, 1/2 part lime, 4-1/2 parts sand) is the standard bedding mortar for adhered stone veneer per ASTM C270. It has a compressive strength of approximately 1,800 psi and good bond strength. For exterior applications in freeze-thaw climates, Type S mortar should include an air-entraining admixture to improve freeze-thaw resistance of the mortar joint itself.
Polymer-Modified Mortar
Polymer-modified thin-set mortars (ANSI A118.4 or A118.15) offer superior bond strength and flexibility compared to traditional Type S mortar. They are the preferred adhesive for thin ledgestone panels and other thin-format stone veneers installed using the thin-set method. The polymer additives improve adhesion to difficult substrates and accommodate the thermal expansion differences between the stone and the substrate.
Epoxy-Set Stone
For the most demanding wet environments—fountains, pool surrounds, coastal installations with salt spray exposure—marine-grade epoxy bond provides the strongest and most water-resistant attachment method. Z-Panels from Top Stone Panels use cement backing and mesh backing systems that are compatible with both standard mortar and epoxy-set installations. The epoxy bond itself is impervious to water, eliminating the mortar layer as a potential moisture pathway.
Cement Backing vs. Mesh Backing
The backing system on the stone panel affects how the veneer interacts with moisture:
- Cement backing: A thin layer of Portland cement mortar is pre-applied to the back of the stone panel at the factory. This provides a consistent, flat bonding surface and improves mortar adhesion during installation. Cement-backed panels are the preferred choice for wet exterior applications because the cement layer bonds integrally with the field-applied mortar.
- Mesh backing: A fiberglass mesh is bonded to the back of the stone with marine-grade epoxy, holding individual stone pieces together as a panel. Mesh-backed panels are lighter and allow the mortar to bond directly to the stone back. They are suitable for exterior walls when installed with a proper drainage cavity and WRB system.
Both backing systems from Top Stone Panels are engineered for freeze-thaw performance rated from -30°C to +50°C, with UV-stable epoxy bonds that do not degrade under prolonged sun exposure.
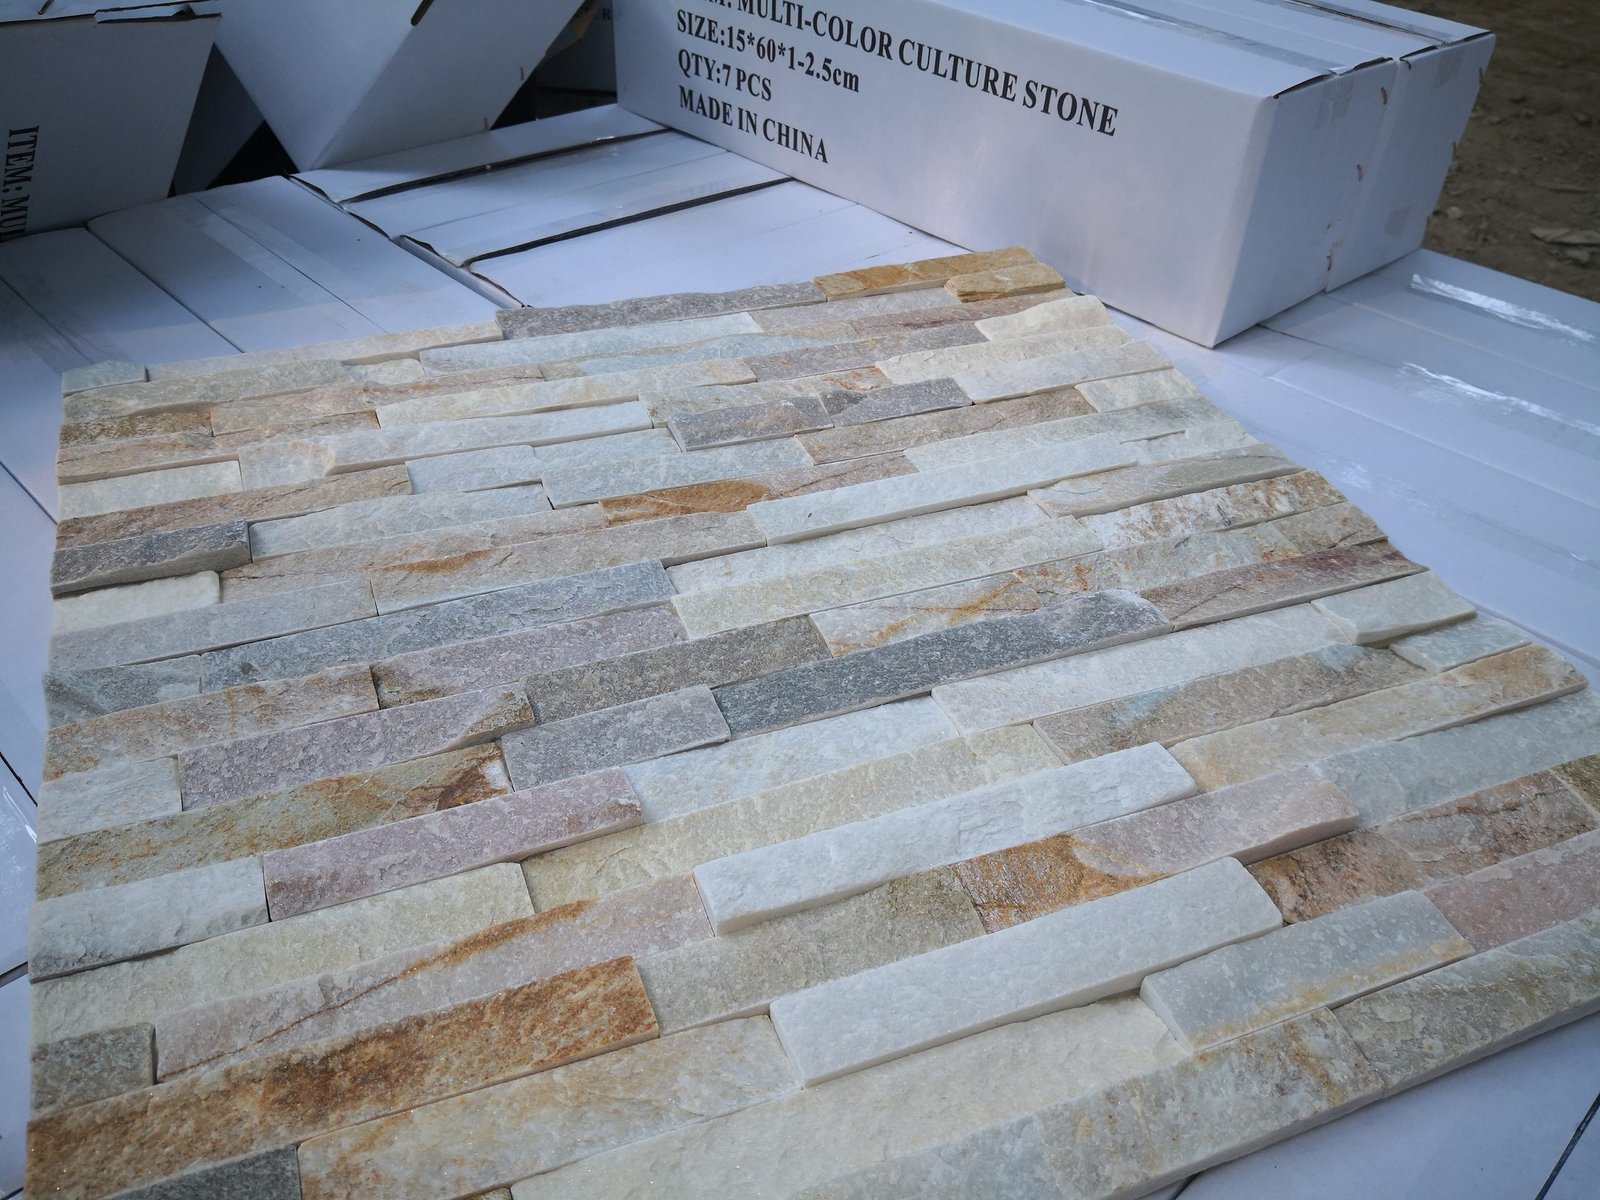
Sealing the Stone Surface: When and Why
Whether to seal the face of natural stone veneer on exterior walls is one of the most debated questions in the trade. The answer depends on stone type, climate, and exposure—and getting it wrong can cause more damage than doing nothing at all.
When Surface Sealing Is Recommended
- Sandstone and other high-absorption stone types in freeze-thaw climates
- Walls exposed to heavy salt spray (coastal installations within 1 mile of the ocean)
- Stone in high-splash zones (near fountains, irrigation, or grade-level landscaping)
- Projects where the owner wants to minimize natural weathering and color change
When the Stone Should Breathe
- Slate and quartzite, which have inherently low water absorption (typically less than 0.5% for slate, less than 0.25% for quartzite)
- Interior-conditioned walls where vapor drive is from interior to exterior
- Humid climates where trapped vapor behind a film-forming sealer will condense inside the stone
Penetrating Sealers vs. Film-Forming Sealers
Penetrating sealers (silane/siloxane): These are the correct choice for exterior stone veneer. They penetrate the pore structure of the stone and mortar, creating a hydrophobic barrier below the surface while leaving the pores open for vapor transmission. The stone sheds liquid water but can still release water vapor. Products based on silane/siloxane chemistry (such as Prosoco SXE or W.R. Meadows Siloxa-Seal) are the standard for exterior masonry and stone applications.
Film-forming sealers (acrylic, urethane, epoxy): These create a surface film that blocks both liquid water and water vapor. On exterior walls, this traps moisture inside the stone. When that moisture freezes, the resulting expansion causes spalling—the stone face cracks and flakes off. Film-forming sealers should never be used on exterior stone veneer.
Application timing: If sealing is desired, wait a minimum of 28 days after installation for the mortar to fully cure. Apply the sealer to a clean, dry wall in temperatures between 40°F and 90°F. Most penetrating sealers require two coats applied wet-on-wet for adequate coverage.
Common Waterproofing Mistakes to Avoid
The following table summarizes the most frequent installation errors that compromise the waterproofing behind stone veneer on exterior walls, along with their consequences:
| Mistake | Consequence |
|---|---|
| Skipping the WRB entirely | Water penetrates directly to the structural wall; code violation; rot, mold, and structural failure within 2-5 years |
| No drainage cavity or air gap | Water has no escape path; sits against WRB; accelerated degradation of barrier and substrate |
| Omitting weep holes at the base | Water accumulates in the cavity; efflorescence, freeze-thaw spalling at the base course |
| No flashing above windows and doors | Water channels behind the veneer at openings; interior leaks and window frame rot |
| Missing kick-out flashing at grade | Splash-back saturates the base of the wall; stone delamination and foundation moisture intrusion |
| Applying film-forming sealer on exterior stone | Traps moisture inside the stone; spalling and face cracking during freeze-thaw cycles |
| Sealing both the front and back of the stone | Creates a vapor-impermeable sandwich; any moisture entering the stone has no escape route |
| No expansion joints at floor lines | Thermal movement cracks the veneer; cracks become water entry points |
| Mortar bridging the drainage cavity | Creates a direct path for water from veneer to WRB; defeats the entire drainage system |
| Using non-air-entrained mortar in freeze-thaw zones | Mortar joints crack and crumble within 2-3 winters; water enters through joint failures |
Waterproofing Details by Stone Type
Different stone panel formats have different installation methods, and the waterproofing details shift accordingly. Here is how the approach adapts to the three primary product types from Top Stone Panels.
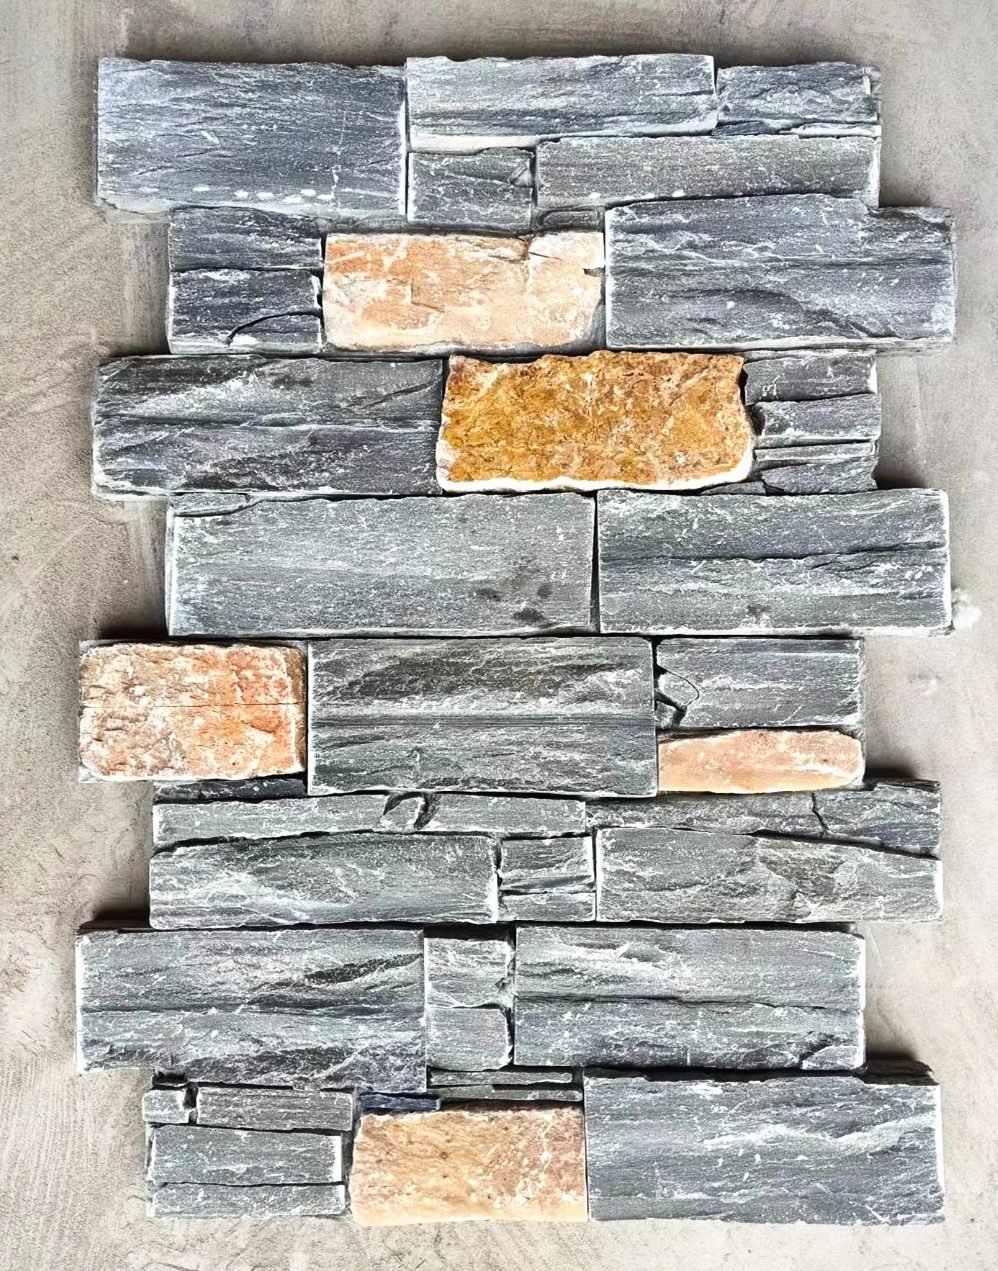
Stacked Stone Panels (15x60cm Mortar-Set)
Stacked stone panels are the most common format for exterior feature walls and building facades. At 15x60cm (approximately 6×24 inches), these panels are set in a full mortar bed over metal lath and scratch coat. The waterproofing assembly follows the standard five-layer system described above.
Key details for stacked stone:
- Because the panels are relatively thick (typically 15-30mm), the mortar bed should be a minimum of 10mm to provide full coverage behind the stone.
- The scratch coat must cure for 24-48 hours before panel installation to prevent bond failure.
- Horizontal joints between stacked courses should be fully packed with mortar to prevent water channeling behind individual courses.
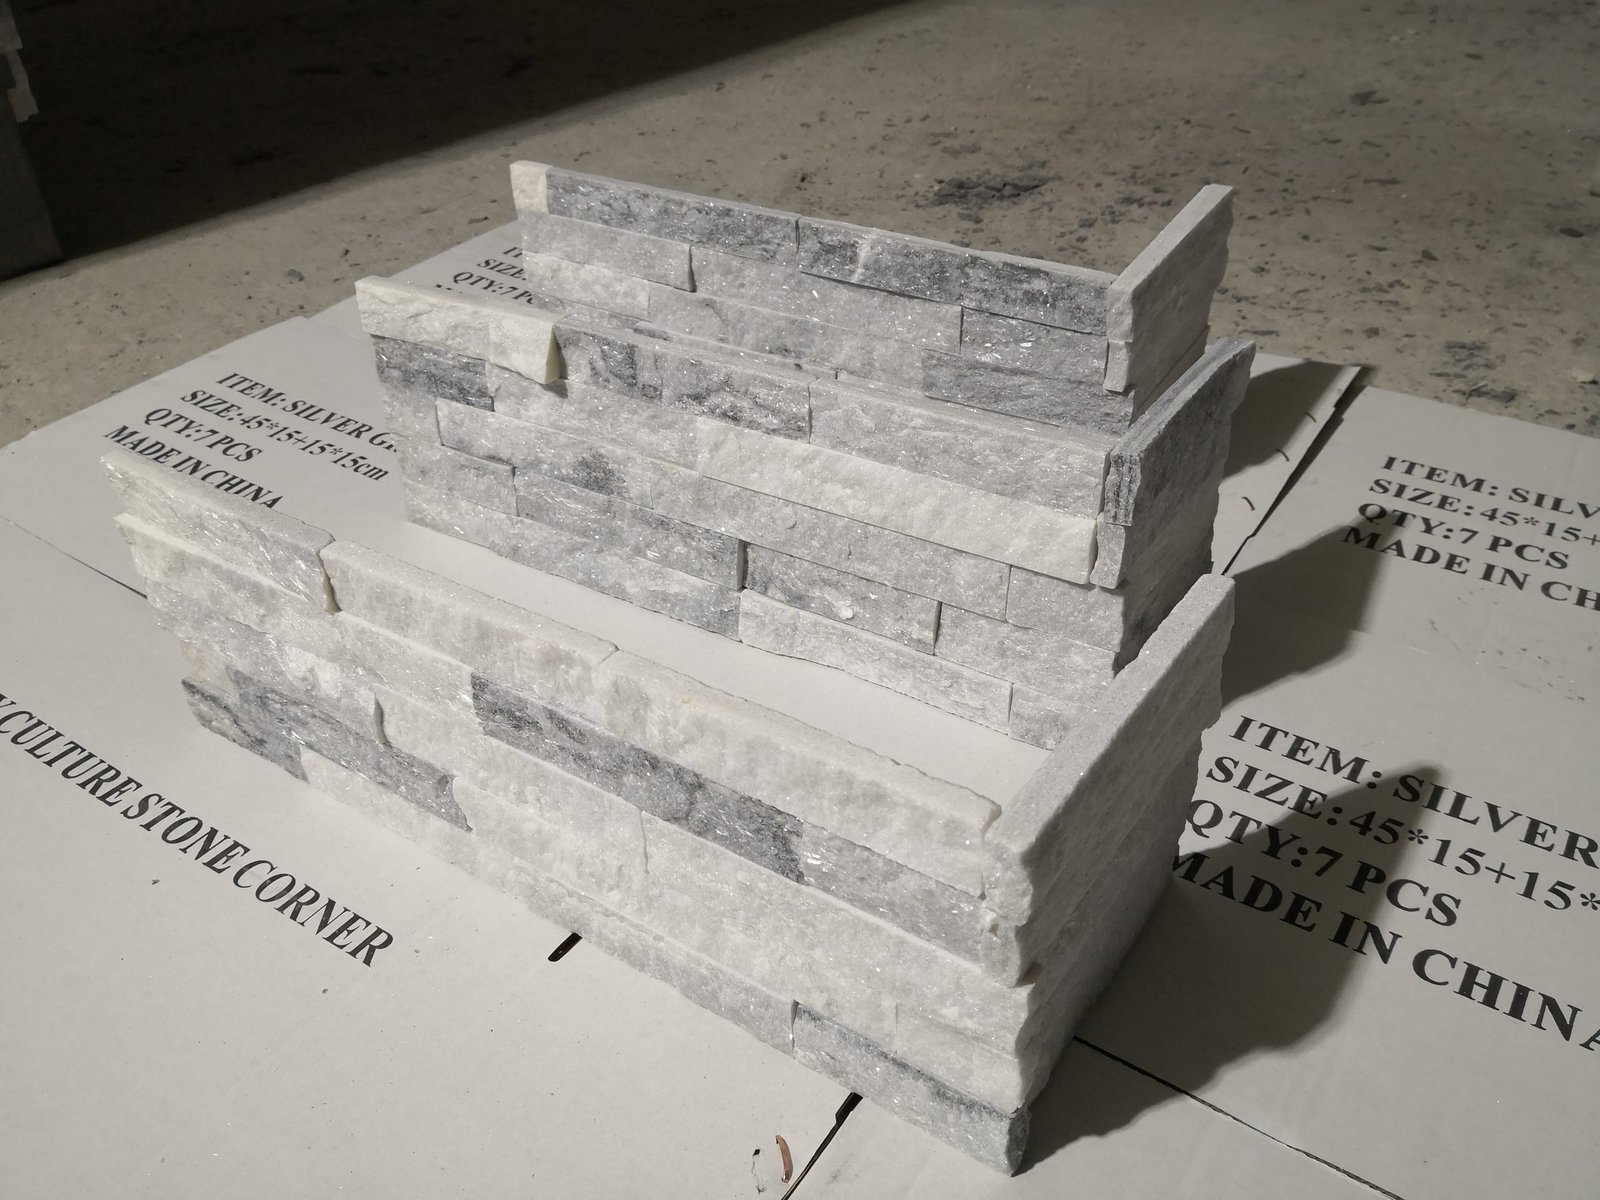
- At corners, use factory-made corner pieces rather than field-cut miters, which create thin, fragile mortar joints prone to cracking and water entry.
Interlocking Z-Panels (Cement-Backed, Mechanical Attachment)
Z-Panels feature an interlocking profile that reduces visible joints and provides a more continuous stone face. Available in 20x55cm and 15.2x61cm formats, these panels come with cement backing or mesh backing pre-applied at the factory. The interlocking design inherently reduces the number of open mortar joints, which reduces water entry points.
Key details for Z-Panels:
- The cement backing provides a consistent bonding surface that improves mortar adhesion in wet conditions.
- The interlocking Z-profile means water running down the face of the wall is less likely to penetrate at horizontal joints.
- The drainage cavity and WRB requirements remain identical to stacked stone—the reduced joint count on the face does not eliminate the need for a full waterproofing assembly behind the panels.
- At the base course, ensure the weep screed is compatible with the panel thickness so the first course seats properly without blocking weep openings.
Thin Ledgestone (Thin-Set Method)
Thin ledgestone panels at 36x10cm are the lightest and thinnest stone veneer format, designed for installations where weight and thickness are constrained. These panels are installed using a polymer-modified thin-set mortar over a properly prepared substrate.
Key details for thin ledgestone:
- Because thin-set mortar is applied at 3-6mm (compared to 10-15mm for standard mortar beds), the substrate must be flatter and more precisely prepared.
- The WRB and drainage plane are still required. On concrete or CMU substrates, a fluid-applied membrane is the preferred WRB for thin-set installations because it provides a smooth, consistent surface for the thin-set bond.
- On wood-framed walls, a cement backer board should be installed over the WRB and drainage mat to provide a suitable substrate for thin-set adhesion.
- The reduced mortar thickness means less material to absorb and hold water, but it also means less tolerance for substrate movement—expansion joints at floor lines are critical.
Frequently Asked Questions
Do you need a moisture barrier behind stone veneer?
Yes. The International Building Code (IBC Section 1404.2) requires a weather-resistant barrier behind all exterior wall claddings, including adhered and anchored stone veneer. The moisture barrier protects the structural wall from water that penetrates through the stone, mortar joints, or both. Installing stone veneer without a WRB is a code violation and a predictable failure.
What goes behind stone veneer on exterior walls?
From the structural wall outward: a weather-resistant barrier (building paper, fluid-applied membrane, or house wrap), a drainage plane or air gap created by a drainage mat or furring strips, metal lath (for mortar-set installations), a scratch coat of mortar, and then the mortar bed and stone veneer. Flashing is integrated at all penetrations, transitions, and terminations throughout the assembly.
How do you prevent water damage behind stone veneer?
The three principles are: (1) block water from reaching the structural wall with a continuous WRB, (2) provide a drainage path so any water that enters the cavity can exit through weep holes at the base, and (3) flash every penetration, transition, and termination to redirect water outward. Proper mortar selection and optional surface sealing with a breathable penetrating sealer provide additional protection.
Can natural stone veneer get wet?
Natural stone veneer can absolutely get wet. Slate and quartzite have extremely low water absorption rates (under 0.5% and 0.25% respectively), making them highly resistant to water damage on the exposed face. The panels manufactured by Top Stone Panels are freeze-thaw rated from -30°C to +50°C. The issue is not the stone getting wet—it is water reaching the back of the veneer and becoming trapped against the structural wall, which is why the waterproofing assembly behind the stone is critical.
Do you need weep holes in stone veneer?
Yes. Weep holes are required by building code (IBC Section 1404.3) at the base of stone veneer installations. They provide the exit point for water draining from the cavity behind the veneer. Without weep holes, water accumulates at the base, leading to efflorescence, freeze-thaw damage, and deterioration of the bottom courses. Maximum spacing per code is 33 inches on center.
Should you seal natural stone veneer on exterior walls?
Sealing is optional. For low-absorption stone types like slate and quartzite, sealing is often unnecessary because the stone itself resists water penetration. For higher-absorption stone like sandstone, or for installations in aggressive environments (coastal salt spray, heavy freeze-thaw), a breathable penetrating sealer (silane/siloxane) can extend the life of the installation. Never use a film-forming sealer on exterior stone—it traps moisture and causes spalling.
Source Your Stone Veneer from a Factory That Understands Installation
Top Stone Panels has supplied natural stone veneer to distributors, builders, and landscape architects across North America and Europe for over 18 years. Our 100% natural slate, quartzite, and sandstone panels are manufactured with CNC precision, backed with marine-grade epoxy, and shipped with a 3-step QC process and zero-breakage guarantee. With production capacity of 80,000 m²/month for stacked stone and 60,000 m²/month for thin ledgestone, we handle projects from single-container trials to ongoing supply programs.
Request a sample or quote: Contact Top Stone Panels
Browse products:
Stacked Stone |
Z-Panels |
Thin Ledgestone |
Thin Stone Veneer



