
Stone veneer on a retaining wall is a one-week upgrade that changes the whole yard. A bare concrete block wall reads as engineering; the same wall covered with natural stone panels reads as a hardscape feature. The install itself is mechanical — prepare, bond, level, cap — and any crew that has applied tile or mortar can handle it with the right base work.
Top Stone Panels ships the two formats that dominate retaining wall jobs, 15x60cm and 15x55cm stacked stone panels and 36x10cm mini ledgestone, with L-corner pieces pre-cut at the factory. This guide walks the process in the order it happens, and it flags the drainage work that most installers skip.
- Veneer covers a retaining wall with roughly the same thickness and a fraction of the dead weight of full stone.
- Fix drainage behind the wall before you start; water pressure is the #1 cause of veneer failure on retaining walls.
- Install L-corner pieces first; factory-cut corners save about 50% of corner labor versus cut-and-miter on site.
- Start the base course on a solid footing or the cap of the structural wall, then work up in staggered rows.
- Use mortar or exterior-grade adhesive matched to the substrate; cap the top with coping to protect the bond.
- Samples arrive in 1-3 days, and a standard panel order produces in 20-25 working days.
Why Use Veneer on a Retaining Wall
Full-thickness stone is still the classic look for retention walls, but it is heavy, slow, and expensive to build. Stone veneer panels give the same visual — a natural split-face wall — at a fraction of the weight and labor. A crew of two can typically cover a medium retaining wall in days, not weeks.
The weight math is the argument that wins on engineered walls. Thin veneer panels add roughly 1.5cm to 3cm of applied depth with lightweight backing. Full stone can add several times that thickness as dead load on the wall and its footing. On an existing wall not designed for extra weight, that difference decides whether the project is even possible.
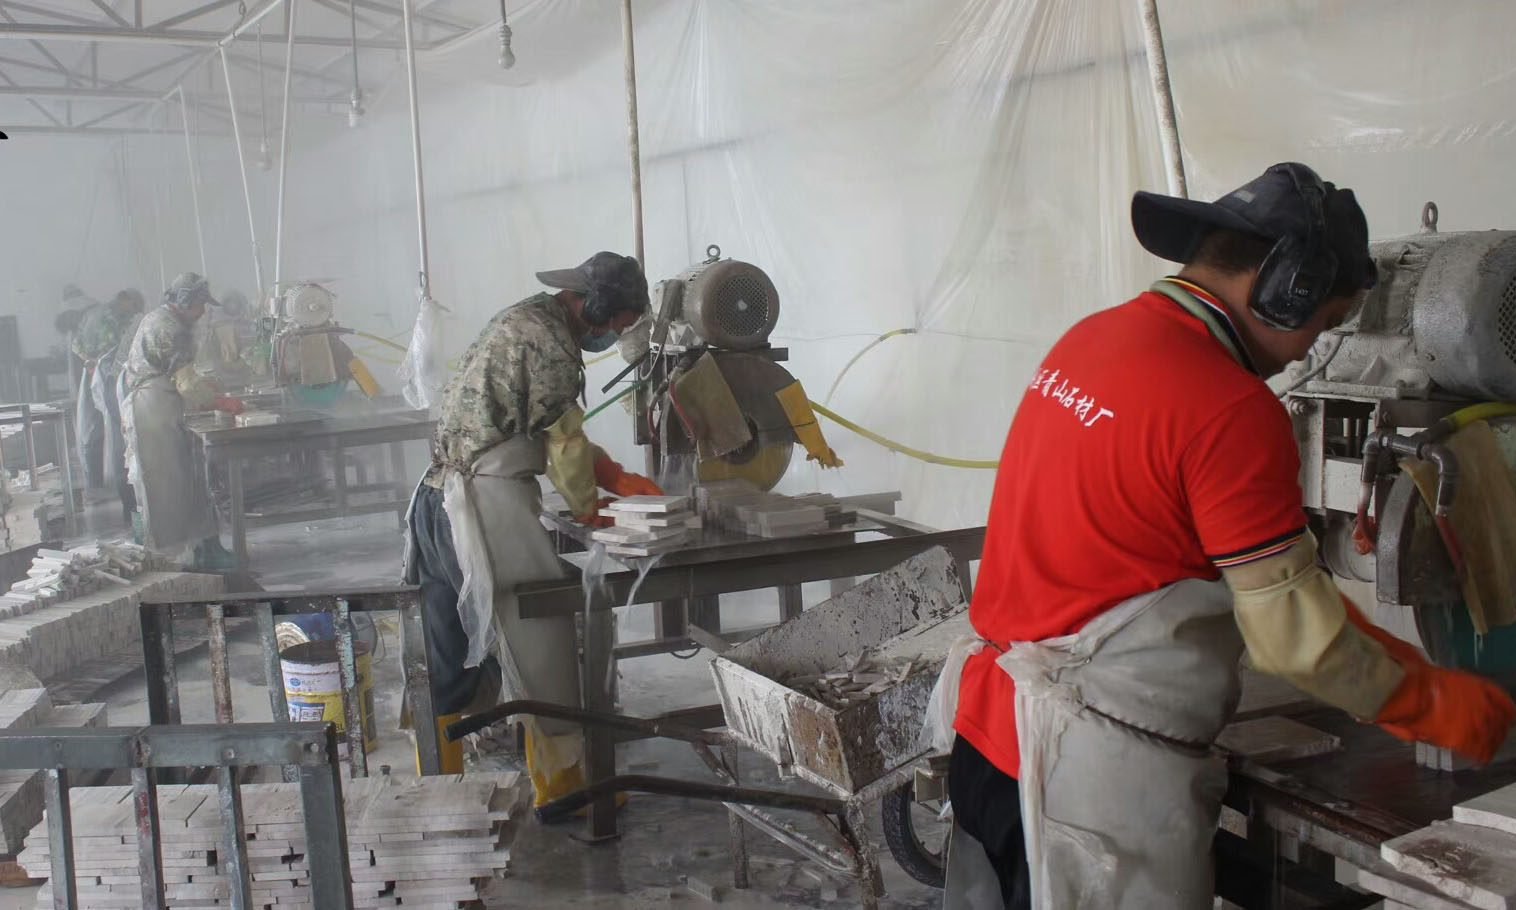
Veneer also fixes the two practical problems that make full stone painful: corners and cutting. Pre-cut L-corner pieces remove the slowest job in masonry. Panels cut by infrared CNC arrive square and consistent, slashing on-site waste by about 20% versus hand-cut random stone. Our stacked stone panels ship with factory L-corner kits, and the fitting sequence for each corner type is covered later in this guide.
Read the Wall First
Not every retaining wall is ready for veneer, and the ones that fail usually fail because nobody looked at the structure before the glue went on. Walk the wall and check the three things that matter.
Structural soundness. Veneer is a skin, not a brace. Cracks wider than a hairline, bulging block, or a wall that leans more than it did last season need an engineer’s verdict before you invest in panels. A wall that moves will crack the veneer no matter how well the panels are bonded.
Drainage. Retaining walls live with soil pressure and water on the back side. If the wall has no gravel backfill and perforated drain pipe, or the pipe is clogged, water builds up and pushes. That pressure can pop panels off the face in the first hard winter. Fix the drainage behind the wall before you install one panel. On poured or finished walls, install a surface drain and weep system at the base if there is none.
Substrate condition. Concrete block and poured concrete are the ideal bases. Segmental retaining-wall block also takes veneer if the face is stable and clean. What veneer cannot fix: painted or sealed surfaces that shed adhesive, crumbling mortar joints, and walls with active efflorescence. Each of those needs a treatment step first, covered below. Industry guidance from the Natural Stone Institute covers veneer substrate requirements in detail.
If the wall wraps a corner or meets a house wall, note the corner count now. Every outside corner you plan to wrap needs L-corner pieces, and ordering them with the panels beats fabricating them on site.
Tools and Materials Checklist
| Category | What you need | Why it matters |
|---|---|---|
| Surface prep | Wire brush, pressure washer, masonry patching compound | Bond fails on dust, loose mortar, and moving joints |
| Bonding | Stone-veneer mortar or exterior-grade adhesive, notched trowel | Even comb lines control panel depth and joint gap |
| Subgrade lath | Metal lath, stainless fasteners (where surface requires it) | Mechanical key on smooth or sealed concrete |
| Cutting | Angle grinder with diamond blade, eye and dust protection | Clean, square cuts at seams, openings, and ends |
| Leveling | Long spirit level, string line, spacers | One crooked first course creates a crooked wall |
| Finishing | Capstones or coping, masonry sealer, grout bag for joints | Top protection drives water away from the bonded face |
Order the panels, L-corners, and caps together and confirm quantities against your wall area. Retaining walls have a lot of edge: corners, stairs, openings, and the top run. A 10% overage covers cuts and breakage on a straight run; corners and steps push that higher.
Prepare the Surface
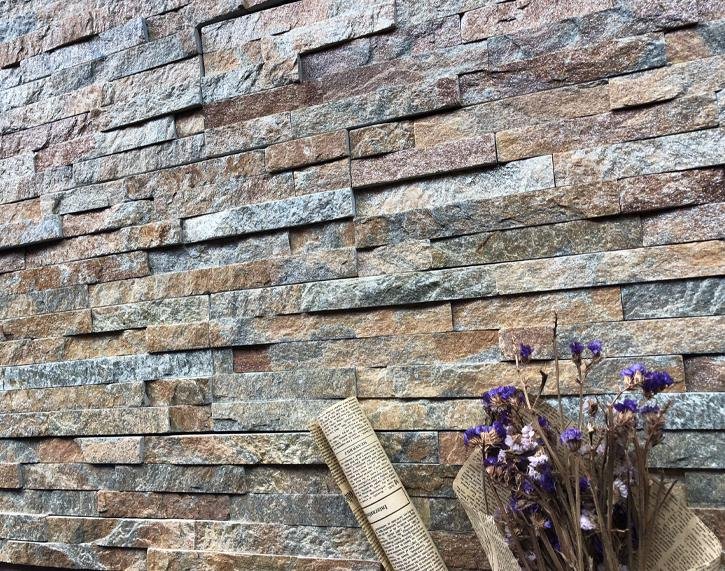
Preparation is where retaining wall veneer jobs are won, because retention walls sit partly below grade where moisture and frost attack the bond line.
Clean the face. Pressure-wash the wall and let it dry completely. Remove efflorescence with a masonry cleaner if it is present; the white salt powder breaks the bond between adhesive and block. Brush out loose mortar and dust with a stiff brush.
Repair the substrate. Fill hairline cracks with patching compound and let it cure. Knock off any protruding mortar. A flat, stable face gives the panels a uniform bond plane.
Add a mechanical key where needed. Smooth, sealed, or painted concrete needs metal lath fastened over the surface to give the adhesive something to grab, followed by a scratch coat of mortar. This step is what keeps panels on the wall when winter moisture gets behind them.
Confirm drainage before you build. Behind the wall: gravel backfill with a perforated drain pipe leading daylight or to a drain, so water never sits against the back face. In front at the base: leave weep openings or a gravel path at the wall base so water that collects can escape. If the existing wall already drains properly, skip to layout. If it does not, fix it first — no surface work can rescue a waterlogged wall. Our stone veneer on concrete foundation wall guide covers the below-grade prep in the same order.
Plan the Layout
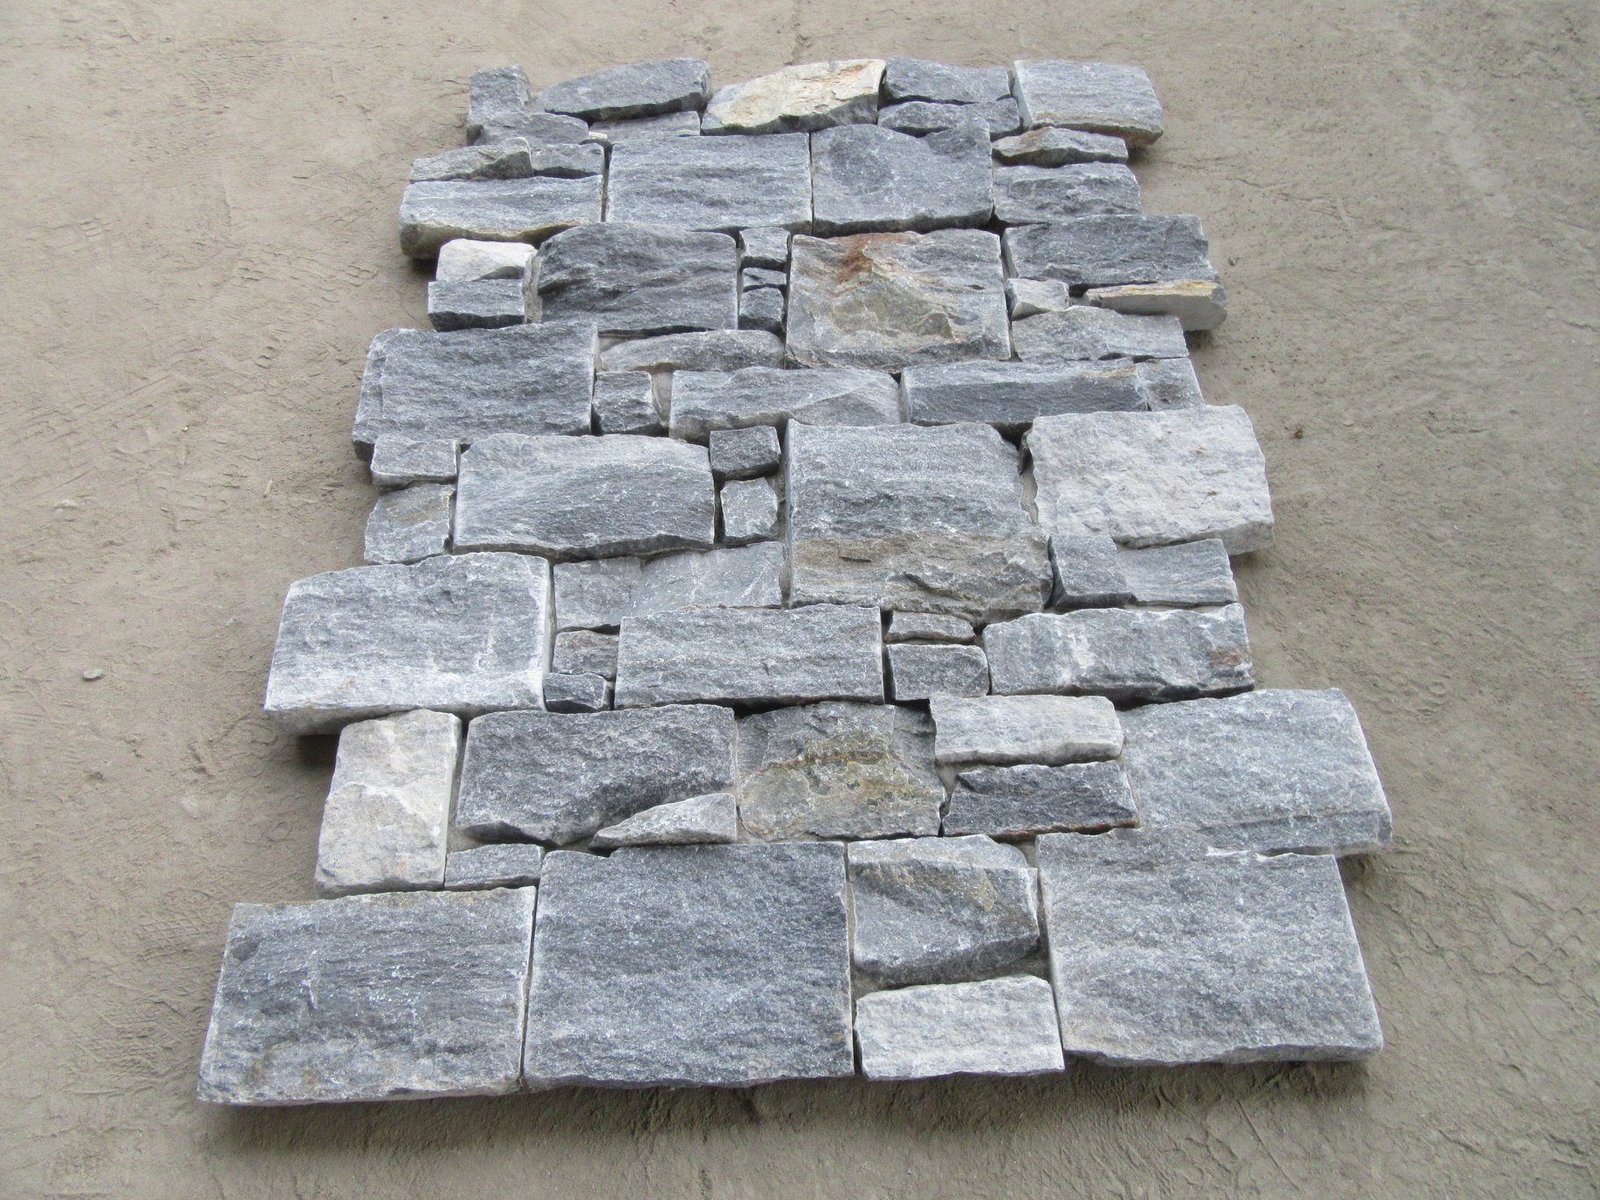
Dry-fit before you bond anything. Spread the panels out in front of the wall and arrange them the way you will hang them, mixing boxes to blend tone variation across the face. Stone is a natural product, so panels in the same order vary slightly. Blending that variation is what makes a wall look like stone instead of tile.
Start at an outside corner and work away from it, because the corner is the visual anchor of the wall. Hang the L-corner piece first, then fill along the face, then back to the corner for the next course. Stagger the vertical joints by roughly half a panel between courses; stacked panels look wrong when the joints line up into columns.
Mark every panel that needs a cut. Straight cuts on the ends are common on retaining walls, which sit hard against the slope and rarely come out to a full panel. Cut with an angle grinder and diamond blade, score first on the face side, then cut through from the back. Dry-fit the cut piece before applying adhesive.
Decide the joint style now. A flush, tight joint (dry-stack look) needs no grinding and suits stacked panels. A recessed mortar joint adds a Mediterranean feel to ledgestone and takes a grout bag after the panels set. Either works on a retaining wall; just stay consistent, because mixing joint styles on one face reads as a mistake.
Install the Panels
Step 1: Set the base course
The first course carries the whole wall. Begin on a solid footing, the structural wall cap, or the bottom of the concrete face — never on soil. Apply mortar or exterior-grade adhesive to the substrate with a notched trowel, butter the back of the panel, and set it in place with a slight twist. Check level with a long spirit level before the bond grabs.
Step 2: Work the corners upward
Set the L-corner pieces for each course, building the outside corner up one course at a time. Pre-formed corners mate the two faces of the wrap without a visible seam, which is the finish that makes a wrapped retaining wall end read as a solid stone column. This is the roughly 50% labor saving the factory corners deliver over hand-mitering.
Step 3: Fill the face in rows
Fill between corners course by course, staggered as planned. Keep the bond line even; panels sit at a consistent depth relative to the substrate. Check level every few panels and strings across the course to catch drift early. Mistake the third course and the top looks worse than the base.
Step 4: Cut and fit openings and ends
Where the wall meets stairs, drains, or a house wall, measure twice and cut once. Diamond-blade cuts leave a clean edge that reads fine against the rough split face. For drains and weep openings, leave the opening clear and frame it; never bury a weep under a solid panel.
Step 5: Let it set, then point the joints
Let the bond cure before any jointing. For recessed joints, pack mortar into the joints with a grout bag and tool it with a jointer or brush. For a flush look, leave the tight stacked joints as they are and just clean away squeeze-out. Wipe the face with a damp sponge to remove mortar film before it hardens — work in small patches so the squeeze-out never has time to cure.
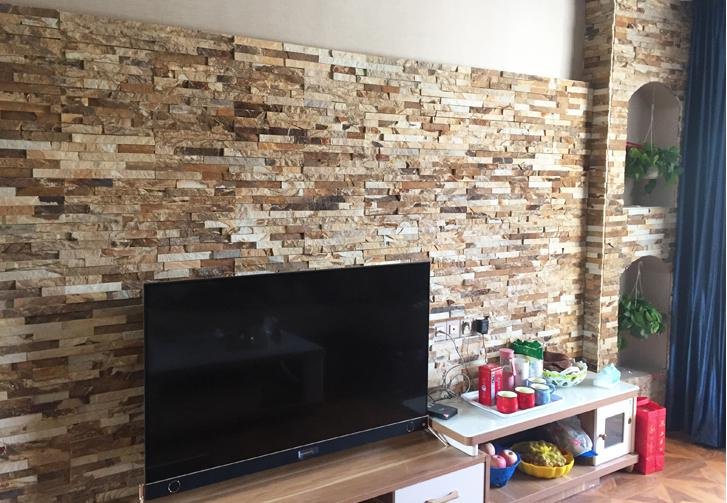
For the same workflow on a building wall rather than an outdoor structure, see our thin stone veneer exterior installation guide.
For the mortar spec and mixing detail, our mortar application guide goes section by section.
Corners and Capping
Corners and the top edge are what separate a professional retaining wall from a hobby job.
Outside corners. Wrap the corner with L-corner pieces at every course. A wrapped corner looks like a stone column at the end of the wall. Never miter panels across the corner unless you want a seam and an extra hour per corner. Our stacked stone corner guide covers the fitting sequence for different corner sizes.
Inside corners. Where the wall returns into a structure or another wall, one-piece L-shape corners handle the inside wrap. These need a slightly different profile than outside corners, so order them as a separate line item.
Top cap. Capstones or coping pieces close the top of the wall. The cap sheds water off and away from the bonded face. Without it, rain runs down the panels at the top course, and the first freeze drives water behind the bond. Set the caps level and slightly pitched outward, with the joints sealed. A retaining wall with a proper cap and weep base is a finished system, not a skin on a wall.
Common Mistakes to Avoid
- Skipping drainage. The #1 cause of veneer failure on retaining walls is water pressure behind the wall. Test the existing drain before you start; fix it before you buy panels.
- Bonding to dust. Adhesive grabs masonry, not dust. Clean, dry, loose-mortar-free faces are non-negotiable.
- Unlevel base course. One crooked first row multiplies upward. Set the base course on a true line and check it twice.
- Lining up joints. Unstaggered joints create visual columns and weak lines on the face. Break the stagger by half a panel every course.
- Burying weeps. Drain openings at the base exist to let water out. Framing them with cut panels keeps the wall functional and looking clean.
- Outdoor adhesive, indoor assumptions. Use an exterior-rated bond for any wall that sees frost or below-grade moisture, and give it the full cure time the product specifies.
- Forgetting the cap. An uncapped wall accelerates the exact moisture damage you worked to prevent. Cap it, seal it, done.
Need panel quantities for a retaining wall project?
Send your wall length, height, and corner count. We quote panels, L-corner kits, and capstones for one 20GP container minimum, with samples in 1-3 days.
15x60cm stacked panels | 36x10cm mini ledgestone | Factory L-corners | 20-25 day production
Frequently Asked Questions
Can you install stone veneer directly on a concrete block retaining wall?
Yes, after the surface is clean and sound. Concrete block is the standard substrate for stone veneer when the face is dust-free and stable. Sealed or painted block needs metal lath for a mechanical key.
Does a retaining wall need drainage before installing veneer?
Yes. Gravel backfill and a perforated drain behind the wall, plus weep openings at the base, keep water from pressing on the wall. Fix drainage before any panels go up.
What adhesive or mortar should I use for stone veneer on a retaining wall?
Use stone-veneer mortar or an exterior-rated adhesive matched to the substrate and climate. Below-grade and frosty climates demand exterior-rated bonding with full cure time.
Is stone veneer cheaper than full-thickness stone for a retaining wall?
Generally yes. Veneer uses less stone, needs no heavy structural support, and installs much faster. The pre-cut L-corner system removes the slowest on-site task.
Do you need a footing for a veneer retaining wall?
For a new wall, yes, the structural wall needs its designed footing. The veneer itself sets on the wall’s cap or structural base, never on soil or gravel.
How long does stone veneer installation take on a retaining wall?
A two-person crew typically completes a medium wall in a few days after the drainage fix. Pre-cut L-corner panels and boxed layout keep the time down; complex corners and stairs add days.
Conclusion
A veneer retaining wall succeeds or fails before the first panel is bonded. The wall core must be sound, the drainage must work, and the surface must be clean. After that, the process is mechanical: set a true base course, work corners upward, stagger the face rows, and cap the top.
- Veneer panels give the full-stone look at a fraction of the dead weight and install time.
- Drainage and drainage protection are prerequisites, not optional extras, on every retaining wall.
- Factory L-corners cut corner labor roughly 50%, and CNC-cut panels reduce on-site waste about 20%.
- Capstones and weep openings turn a stone skin into a finished, draining wall system.
Match the panel format to the wall: 36x10cm mini ledgestone for a clean, linear garden wall, and 15x60cm stacked panels for a heavier rustic face. Send us your wall dimensions and corner count, and we will quote the panels, L-corners, and caps against your plan within 1-3 days of a sample request.



