
A failed stone veneer job over poured concrete rarely fails on the day it is installed. It fails the first wet spring, when water finds the one thing the crew skipped: the bond surface, the drainage line, or the cure time. Poured concrete looks like the easiest substrate in the world — flat, solid, already vertical — and that simplicity hides three traps. The surface is sealed with form-release oil that rejects mortar. The wall sits in the wettest zone on the building, at grade, where water test codes most. And the pour was probably ordered onto the schedule before anyone asked whether it had cured enough to bond to. This guide covers installing natural stone veneer panels on a poured concrete foundation wall the way a bond that lasts through winters actually gets built.
The steps below apply to the above-grade face of a poured concrete foundation, cast-in-place walls, and concrete stem walls up to the point where a siding system takes over. Sibling guides cover the two substrates most often confused with this one: concrete block walls, which key into their mortar joints, and brick retrofit, which works around paint and protrusions. Poured concrete is different in every way that matters to surface prep.
Key Takeaways
- Let the pour cure 28 days before installing veneer; green concrete bleeds moisture into the bond and invites winter debonding.
- Remove form-release oil and efflorescence, repair honeycomb, and etch smooth float finishes — the bond layer attaches to surface, not intentions.
- Water is the first layer: cap flashing up top, weep screed or drainage at the bottom, finished stone above grade with positive drainage.
- Three bonding routes work: thin-set on sound concrete, scratch coat over lath for glazed surfaces, cement board over studs where framing exists.
- Set the first course on a level ledger with corners first; a straight start row is the cheapest insurance a facade has.
- Step 1 — Assess the Concrete
- Step 2 — Prepare the Concrete Surface
- Step 3 — Manage Water First, Not Last
- Step 4 — Choose the Bonding System
- Step 5 — Lay Out the First Course
- Step 6 — Set the Panels
- Step 7 — Cut and Fit Around Obstacles
- Step 8 — Finish, Point, and Cure
- Failure Modes and How to Avoid Them
- FAQ
Step 1 — Assess the Concrete
Check three things before mixing anything. First, the age of the pour. Concrete that left the forms less than 28 days ago is still shedding mix water; bonded veneer over it traps that moisture, which surfaces later as efflorescence or as a failed bond line in the first freeze. Second, run a water test on the face: mist the wall and watch. A face that beads water retains release agent or a dense float finish; a face that absorbs quickly is readier to bond. Third, confirm the finished stone will sit above final grade and that drainage falls away from the wall — the water rules in Step 3 change what you build below that line.
Use a level to trace the highest point of grade and mark the veneer’s starting course at least a few inches above it. The building code floor for clearance between ground and cladding is set by the International Code Council; any bond between soil and stone is unsuitable because it gives water, termites, and salts a direct bridge into the finish.
The stone itself deserves the same check before the crew arrives. Panels should be the same product family and batch; our stacked stone panels are factory-sorted by vein so a shipment reads as one wall, not a patchwork. Confirm quantity against your layout with the quantity calculation guide before the pallets open.
Step 2 — Prepare the Concrete Surface
Poured concrete surfaces fail veneer in four ways, all fixable before the first trowel: release agent, efflorescence, honeycomb, and float-glass smoothness. Power-wash the wall to strip dirt and loose material, then hit release-agent residue and salt deposits with a masonry cleaner and a stiff brush, rinsing thoroughly after. Efflorescence is water-soluble; clean it with the right chemical and rinse well, because any film left behind becomes the barrier the bond never crosses.
Chip loose pieces from honeycombed areas, patch voids with a cementitious repair mortar, and let repairs cure. Then address the finish. A smooth, burnished float finish has no tooth, and adhesive veneer over it is a gamble no bond layer can win. Scrub-blast, acid-etch, or mechanically scarify the face until it has a sandpaper texture. If the surface is questionable beyond repair — painted, sealed, or otherwise compromised — skip direct bond and go the lath route in Step 4.
Warning: Never bond veneer over form-release oil. The oil exists to release forms, and it releases your veneer with equal enthusiasm. If the oily sheen persists after washing, lath and scratch coat are mandatory.
Step 3 — Manage Water First, Not Last
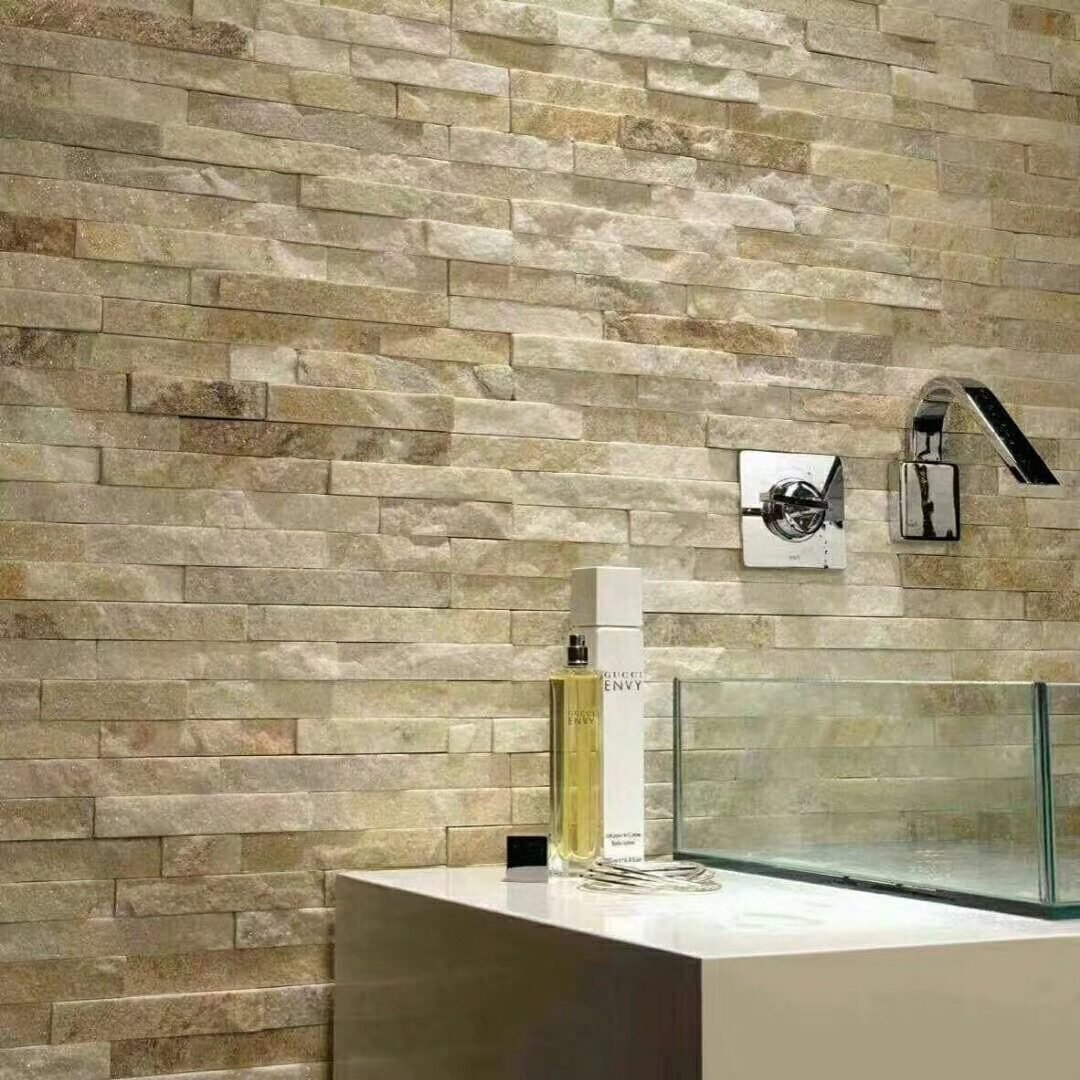
Foundation walls are water infrastructure that happens to look like a wall. Sorted in advance, water is a non-issue; sorted after the stone goes up, it is a lawsuit. Install cap flashing over the top of the veneer zone so rainfall sheds past the finish. At the bottom, set a weep screed or drainage plane that lets any water that does get behind the wall escape rather than sit on the concrete bond line.
Keep the finished stone above grade. Below the grade line, water pressure is a structural problem that bonded veneer cannot solve — that zone is the domain of waterproofing and drainage board, not cladding. Above grade, the sequence is: stone starts above the drain line, cap flashing sheds the top, and weep openings or a perforated screed drain any penetration. The complete envelope logic is in the waterproofing guide for stone veneer exteriors.
Retaining walls that wrap into grade follow the same drainage-first discipline; our retaining wall veneer installation guide walks the full sequence.
Step 4 — Choose the Bonding System
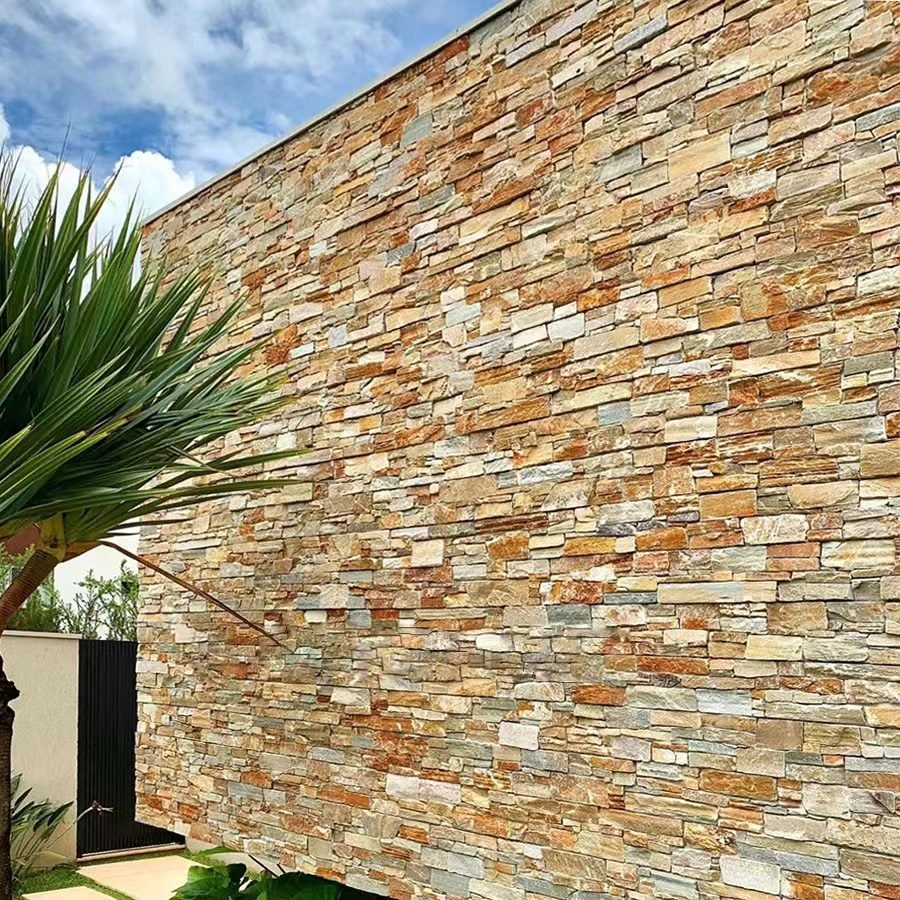
Three systems bond veneer to poured concrete, and the wall selects which one. Sound, rough, clean concrete takes a bonded thin-set or masonry adhesive directly — the fastest route and the one most substrata never earn. Glazed, painted, or release-oil-stained concrete gets metal lath screwed to the wall with a scratch coat struck over it; the lath carries the load mechanically, so the poor surface no longer matters. Where stud framing sits behind the pour, cement board over the studs gives the veneer a familiar, tile-ready substrate.
| Bond Route | Surface It Needs | Install Speed | Best For |
|---|---|---|---|
| Bonded thin-set / adhesive | Sound, rough, clean concrete | Fastest | Most new pours |
| Scratch coat over metal lath | Glazed, painted, oily, uncertain | Two-pass (scratch + set) | Problem surfaces |
| Cement board over studs | Framing behind the wall | Fastest layout, extra substrate | Renovation, interior finishes |
Whichever route applies, the substrate logic — plywood, cement board, or metal lath — is covered in depth in the substrate preparation guide, and mortar mixing and application in the mortar application guide. Get the mix right in both: too wet and panels slump, too dry and the bond starves.
Step 5 — Lay Out the First Course
Scribe a level line at the top of the veneer start, then fix a temporary ledger board on that line. The ledger holds the first course dead-level while the adhesive grabs, and it is the single cheapest piece of insurance on the job — a first course that is one degree off converts into a visibly tilted wall by the top. Dry-lay the first row on the ledger before anything is bonded: corners, returns, and field pieces in place, joints eyed, cuts confirmed.
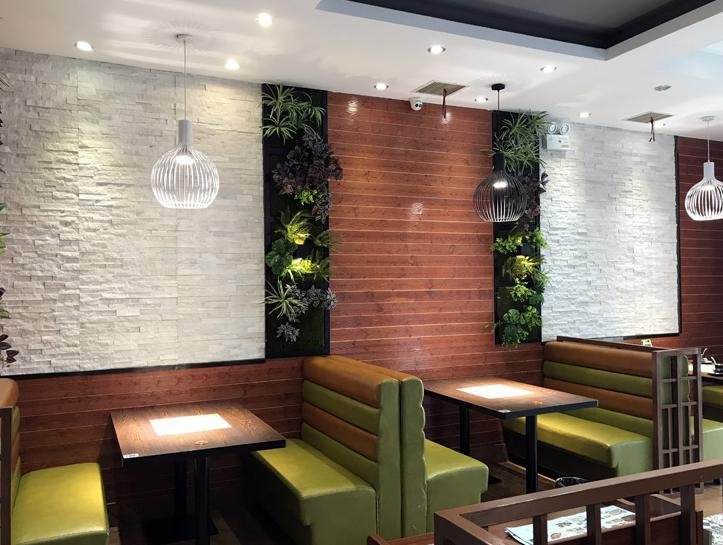
Start setting at the outside corners and work inward. Corners anchor the rhythm of the field, and on stacked stone the L-corner panels wrap the turn in one piece so the vertical joint stays continuous. If the layout fights — an odd mold line, a big cut at a corner — fix it on the dry-lay before mortar, not after three courses have set.
Step 6 — Set the Panels
Bond the panels bottom-up against the ledger. Apply the adhesive or mortar to the wall with a notched trowel, combing open ridges. Back-butter each panel too — a full contact bed, not a perimeter smear. Stone veneer panels are heavy; a dab-and-splash placement leaves voids under the panel that flex and crack the face in cold weather. Tap each panel home with a rubber mallet, check it with a level, and hold a consistent joint width as you go.
Move the ledger up course by course, or pre-nail a second level line every course if the wall runs long. Keep expansion joints at the design points — typically at building corners and large wall transitions — because natural stone walls move seasonally and a rigid run from corner to corner has nowhere to flex. The setting-room details, joint rubbing, and grout choice follow this same sequence whether you are using stacked panels or the step-by-step stacked stone install guide.
Step 7 — Cut and Fit Around Obstacles
Foundation walls arrive with the building’s plumbing attached: vents, dryer flues, hose bibs, and risers cross the veneer zone. Notch panels around each penetration with a diamond blade on a wet saw, cutting to the penetration plus a margin. Hard contact between stone and pipe transfers building movement into the stone; the small gap opens the tolerance so neither side drags on the other.
Cut from the back of the panel where the finished face matters, and dress the cut edge with a rubbing stone so the cut panel matches its factory neighbors. Wet saws do the cleanest work on dense slate and quartzite faces; dry blades on an angle grinder work for short notches but leave burn on high-density stone. Proper tool discipline for each material is in the stone veneer cutting guide.
Step 8 — Finish, Point, and Cure
Cut stone at the top of a wainscot reads unfinished, so cap it. Run a precast or stone cap bonding across the top course of a foundation wainscot, extending the cap out past the stone face a few centimetres to throw water clear of the face. Point the joints the same day the panels set — ridged, flush, or recessed to the design — and pack joints fully; a half-filled joint is a moisture pocket in waiting.
Finally, respect the cure. Adhesive and grout both need time free of heavy wetting and freezing; keep the wall out of rain and below-freezing temperatures for at least 48 hours after jointing, longer in cold weather. Then seal the stone if the specification calls for it — sealing decisions and products are covered in when and why to seal natural stone veneer.

Failure Modes and How to Avoid Them
Three failures cover most foundation-wall veneer callbacks. Debonding happens when release agent, dust, or a float finish starved the bond — everything Step 2 exists to prevent. Efflorescence happens when water sits on the concrete bond line and drags salts to the face — the weep screed and cap flashing in Step 3 cut it off at the source. And panel cracking happens when a rigid wall run has no expansion joint and thermal movement has nowhere to go but through the stone. None of the three is cured by re-pointing; each is cured by the layer above it in this guide.
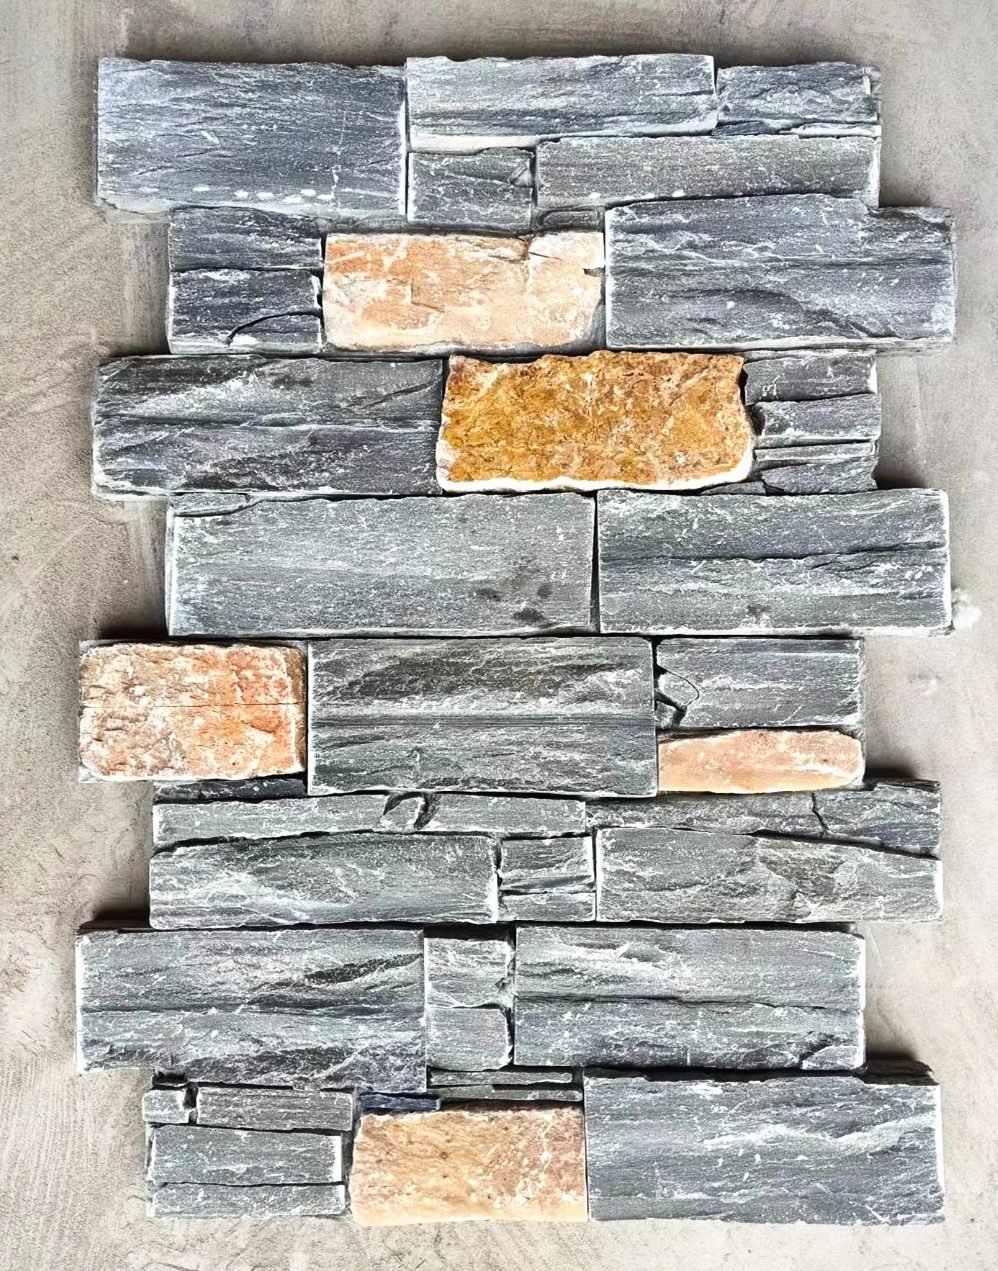
For cold climates, the stone’s own freeze-thaw survival is the baseline the wall depends on; dense slate and quartzite faces pass ASTM C666 cycling from -30°C to +50°C, and the mortar system around them is what keeps water out of the joint. The physics are detailed in freeze-thaw resistance and density, and the concrete-side chemistry — curing, efflorescence control, and what a repair mortar should do — follows Portland Cement Association guidance.
FAQ
Can you install stone veneer directly on poured concrete?
Yes, provided the concrete is clean, sound, and free of release agents, and the stone starts above grade with a drip flashing and weep system. A glossy smooth pour needs etching or lath before the bond layer goes on.
How long must concrete cure before installing veneer?
Let the pour cure at least 28 days before veneer installation. Green concrete bleeds excess moisture that pushes into a bonded cladding and can trigger efflorescence and debonding inside the first winter.
Should stone veneer go below grade on a foundation wall?
Keep the finished stone above grade. Below-grade sections need a waterproofing system and drainage, not bonded veneer, and code calls for clearance between cladding and soil. Above-grade, manage water with flashing and a weep screed.
What stops stone veneer from falling off a concrete wall?
Bond surface preparation does. Release agent residue, smooth float finishes, dust, and efflorescence all starve the bond. Etch, clean, and lath when unsure; then the adhesive or scratch coat carries the full panel weight.
Do you need a scratch coat on concrete for stone veneer?
Only when the surface needs it. Sound, rough, clean concrete accepts a bonded thin-set or masonry adhesive directly. A scratch coat over metal lath is the answer for glazed, painted, or dubious concrete where direct bond would be a gamble.
Conclusion
Poured concrete does not defeat veneer; skipped preparation does. Give the pour its 28 days, strip the release agent and the salts, manage the water with flashing and a weep screed, and the bond has nothing to fight. Choose the bonding route your wall’s surface actually earns, run the first course on a ledger with corners first, and the veneer above it will outlast the season that exposes every shortcut.
Risk checklist before you start:
- Cure. Under 28 days means moisture is still leaving the concrete — that moisture is where winter debonding comes from.
- Surface. Release agent, efflorescence, dust, and float-gloss all starve bond; etch, clean, or lath before the first trowel.
- Water. Cap flashing above, weep screed below, finished stone above grade with positive drainage — in that order.
- First course. Level ledger, corners first, dry-laid pattern check; a straight start makes the whole wall straight.
Confirm the stone batch and thickness before the pour is even scheduled. Contact Top Stone Panels for physical samples — they ship in 1-3 working days, so the panel in your hand matches the wall in your plan.



