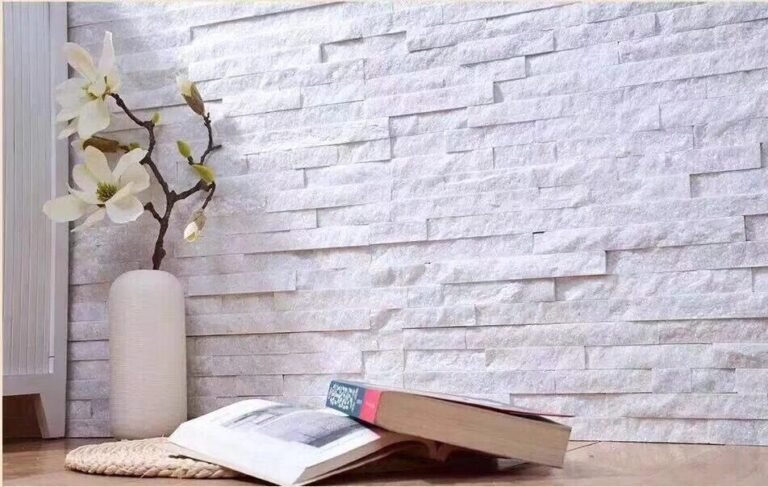
Manufactured stone veneer failures rarely start on the wall. They start in the specification, the trailer meeting, and the ordering window. Every claims file we review with distributors and contractors has the same signature: a moisture detail skipped, a corner improvised, a box mixed without thought, or a crew rushing the layout because the schedule was already sold. The ten most common stone veneer installation mistakes are repeatable, documented, and mostly preventable before the first panel is fixed.
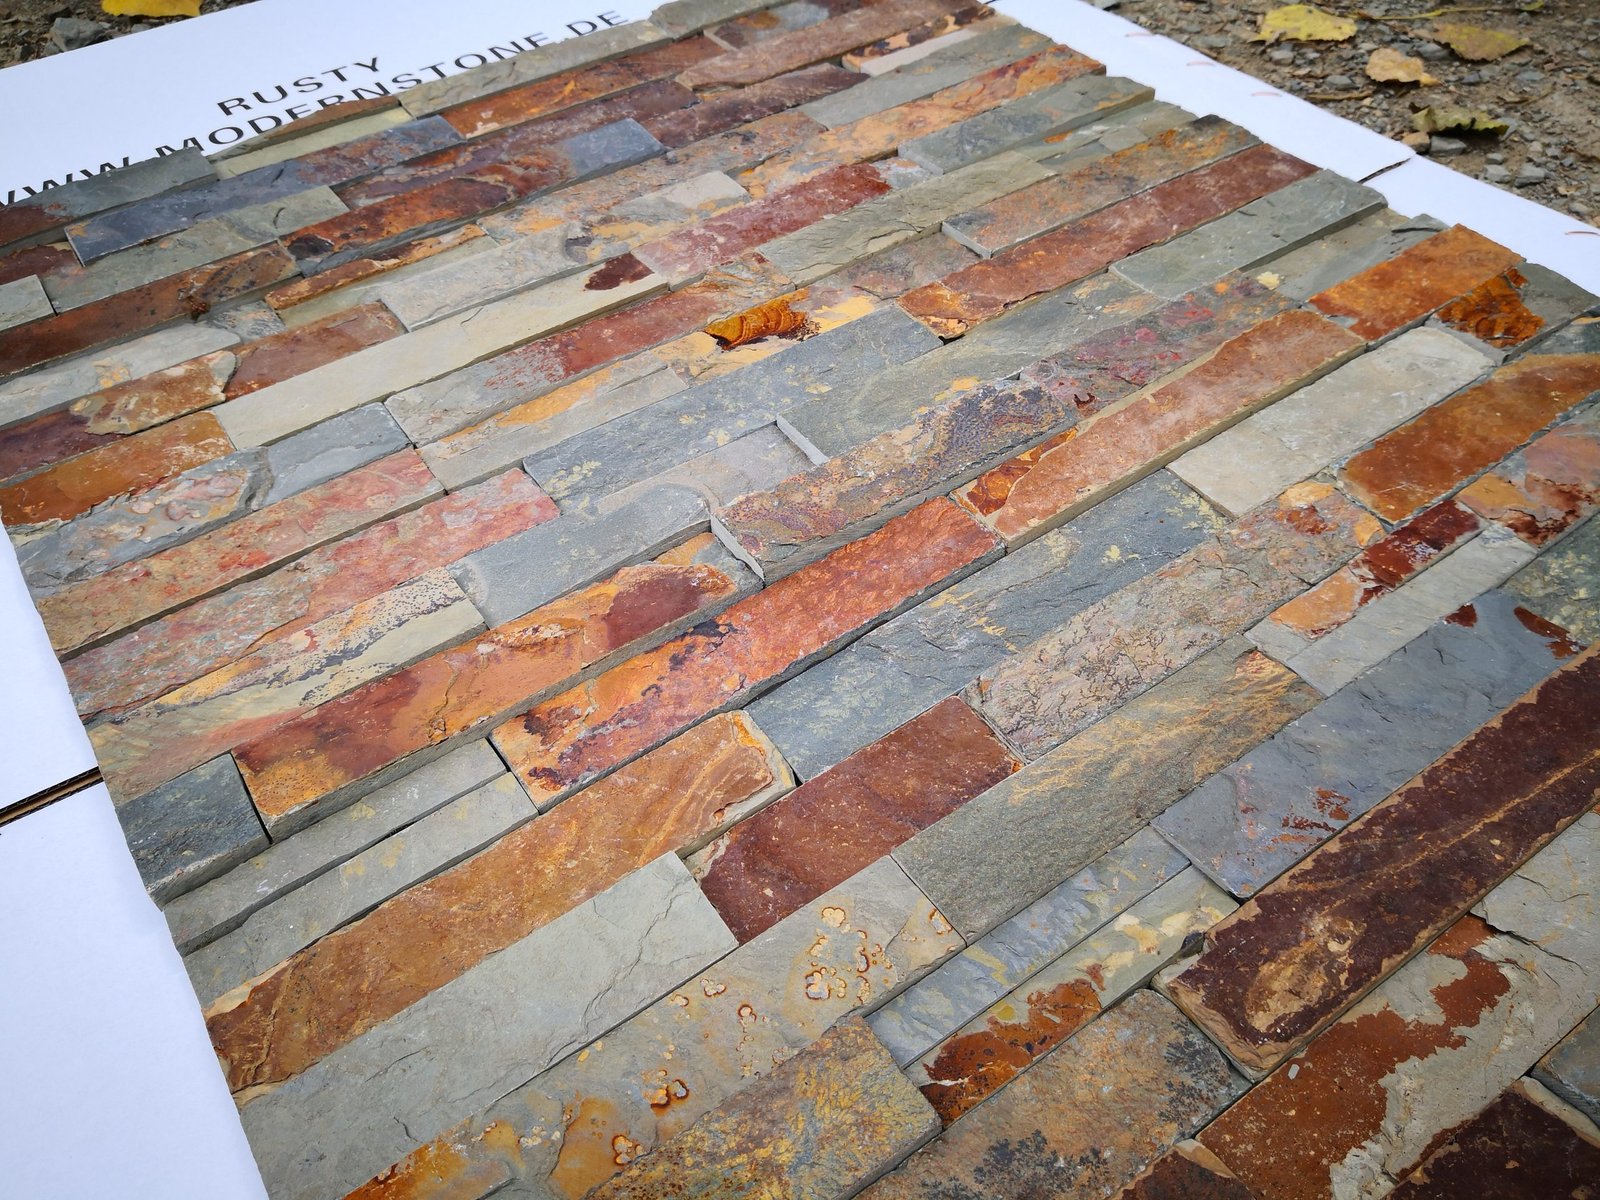
Natural stone panels are a factory-made system, which changes the installer’s job. A panel carries its own geometry, backing, and color program. Top Stone Panels ships stacked stone at 15x60cm and 15x55cm, Z-panels at 20x55cm and 15.2x61cm, and pre-made L-corners that eliminate about 50% of on-site corner labor. The install mistakes below are the ones that cancel those factory advantages.
This guide lists ten errors in the order crews actually make them, with the consequence and the fix for each. It closes with a prevention checklist you can put in the job trailer.
- Moisture barrier and flashing failures cause most exterior failures; both are caught at spec time, not on the wall.
- Partial mortar coverage and no back buttering are the leading cause of popped stones.
- Pre-made L-corners ordered with the panels cut about 50% of corner labor versus miter cutting on site.
- Dry-fit the layout before fixing; infrared precision cutting already reduces waste by roughly 20%, but only if the pattern is planned.
- Blend panels across boxes on every job; batch-specific vein selection holds color transition consistency above 95%.
- Natural slate and quartzite handle -30°C to +50°C, but mortar and grout still need protected, above-freezing cure conditions.

- Mistake 1: Skipping Moisture Barrier and Flashing
- Mistake 2: Installing on the Wrong Substrate
- Mistake 3: Thin Mortar and No Back Buttering
- Mistake 4: Cutting Corners On Site
- Mistake 5: Ignoring Movement Joints
- Mistake 6: Rushing Layout With No Dry-Fit
- Mistake 7: Grout Haze and Wrong Grout Timing
- Mistake 8: Sealing Too Soon or Not at All
- Mistake 9: Mixing Boxes Without Blending
- Mistake 10: Installing in Freezing Conditions
- The Prevention Spec You Can Hand the Crew
- FAQ
- Conclusion
Mistake 1: Skipping Moisture Barrier and Flashing
Water gets behind every exterior wall at some point. The assembly question is where it goes next. On adhered veneer, the weather-resistive barrier and the flashing at windows, doors, and wall bases are the planned exit routes. Skip them, and water runs down the back of the panels into the floor system.
The consequences are slow and expensive: darkened patches, efflorescence, freeze-thaw heaving in cold climates, and interior damage a year after the crew has left. ICC model building codes govern exterior veneer assemblies, and the moisture-barrier plus flashing detail is code practice, not a premium upgrade. Our wet-area guide covers the waterproofing specifics for bathrooms and high-moisture zones.
The fix: run the barrier and flashing into the spec before ordering, and photograph the detail before the veneer covers it. A moisture failure discovered after the wall is finished costs weeks, not hours.
Mistake 2: Installing on the Wrong Substrate
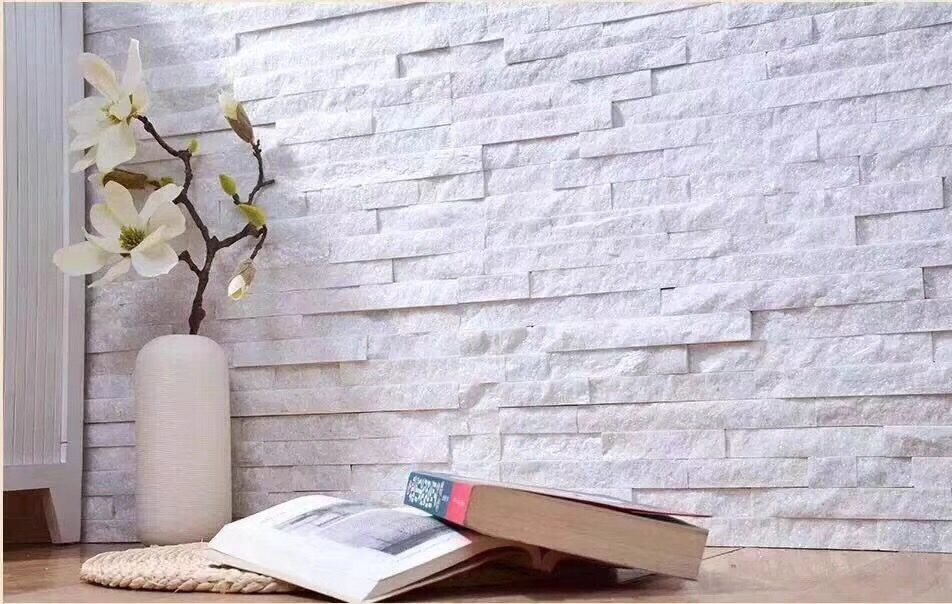
Veneer bonds only as well as the surface behind it. The classic failures come in three versions. Panels go directly to bare framing with no metal lath. Panels adhere to painted masonry without a mechanical key. Cement board goes on where the substrate was not engineered for the bond.
Each one fails differently. Framing without lath moves with wind and settlement. Painted masonry sheds mortar like a duck sheds water. The substrate question is the first thing a claims reviewer checks, because it is the first thing the camera photographs.
The fix: match the substrate to the project. Dense, stable, unpainted surfaces accept direct adhesion. Frame and sheathing take metal lath or an approved cementitious backer before the mortar bed. When the wall is a retrofit over an unknown assembly, ask the specification writer, not the supplier.
Mistake 3: Thin Mortar and No Back Buttering
Pop-offs are the most common veneer failure. The cause is almost always the same: mortar troweled thin on the wall, stone pressed on, and the back of the unit never actually bedded. A panel that looks flat can carry half its surface un-bonded.
Veneer practice calls for near-full coverage on the back of each unit. Work the panel into the wet mortar and check the transfer now and then — pull a panel and look. If the ridges are intact and the back has no mortar, you know exactly what changes.
The fix: back-butter the unit, set it into the wet bed with firm pressure, and inspect transfer on the first few pieces of every job. Also mind the mortar: dried-out, re-tempered mix loses its grab. On a factory panel with a mesh or epoxy backing, this step protects the system you paid for.
Mistake 4: Cutting Corners On Site
Every corner cut by hand is a negotiation. The installer miter-cuts a return, the joint widens or narrows, the ledger pattern steps out of alignment, and the wall starts reading as patched. Corners are where the schedule races the skill level and the skill usually loses.
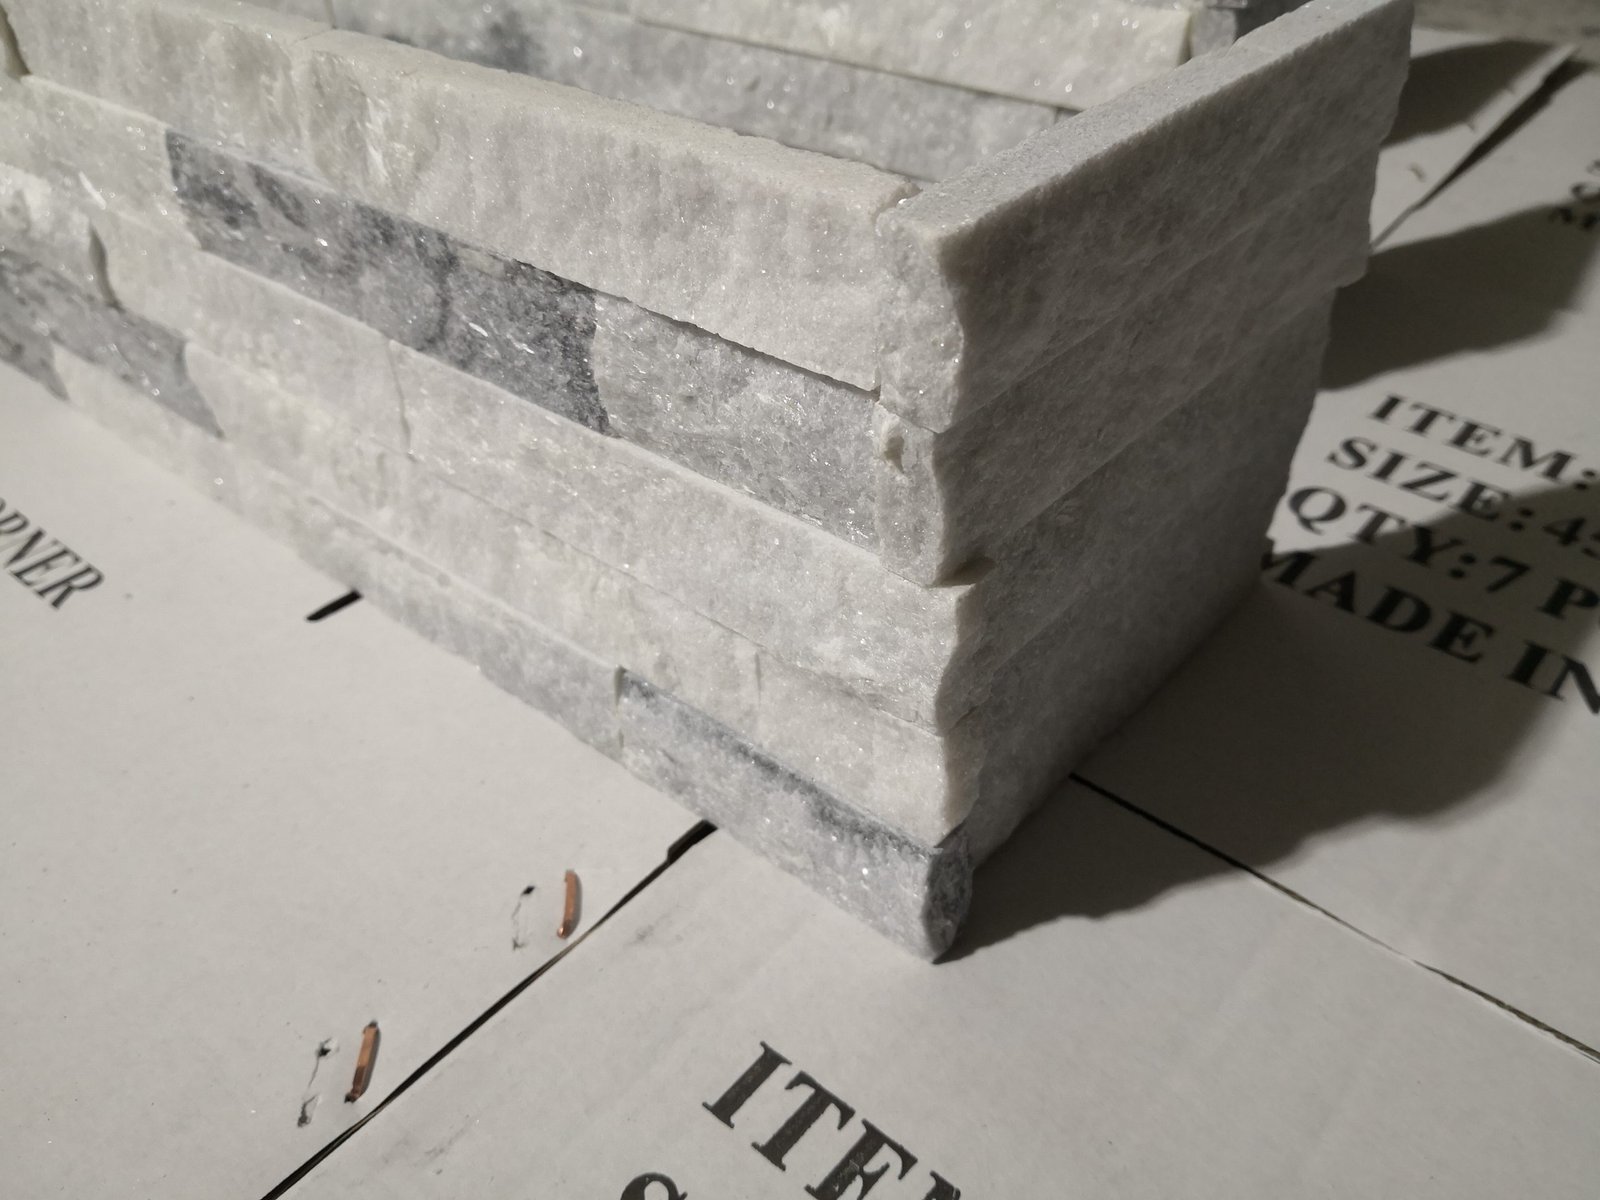
Top Stone Panels supplies pre-made L-corners as a standard companion to the stacked stone and Z-panel lines. The factory builds the 90-degree turn with the same staggered-joint design as the panels, which removes the entire on-site tolerance problem. The labor effect is the number worth quoting: roughly 50% of corner installation labor disappears when you stop mitering.
The fix: count inside and outside corners at ordering time and add them to the container. If the project is already running, the caps and coping guide shows the finishing-pieces logic that belongs in the same order.
Mistake 5: Ignoring Movement Joints
Stone does not move much, but the building behind it does. Concrete cures, wood dries, and steel frames deflect. Veneer locked rigid across a plane change or a long wall turns that movement into cracking, buckled panels, or popped units.
Movement joints belong at changes in plane, at floor lines, and where the substrate itself has control joints. The sealant used in those joints stays flexible; a rigid mortar joint in the same location becomes the crack. This detail is standard cladding practice, and it is cheaper than the repair it prevents.
The fix: mark the joint plan on the layout drawing before dry-fit. Keep sealant joints clear of mortar and sized to the movement the designer expects.
Mistake 6: Rushing Layout With No Dry-Fit
Stone panels arrive in a color program, not a random scatter. Stacked stone and ledgestone have a joint rhythm, and the boxes carry the color range the quarry sorted. Crews that fix straight from the box wander into concentration of dark pieces, repeating shapes, and a layout that fights the veneer’s own logic.
Dry-fitting before any mortar is mixed pays for itself in two ways. It catches the pattern issues while panels are still loose. It plans the cuts so the 20% waste reduction from the factory’s infrared CNC cutting is not thrown away by bad cutting decisions on site. The full method is covered in the dry-fit layout guide.
The fix: lay out the start course on the floor or a bench, decide the pattern, and number the panels. Hour in the trailer, not on the wall.
Mistake 7: Grout Haze and Wrong Grout Timing
Stone veneer joints are packed, tooled, and then wiped — in that order, with patience. Wiping too early smears the mortar across the split face. Wiping too late leaves dried mortar that sandblasts off the panel surface and deposits haze in every fissure.
Grout haze on natural split-face stone is not a cosmetic footnote. The dried film darkens the color, blocks the surface texture the architect picked, and requires a chemical haze remover or light acid wash that itself risks the stone. The careful float and sponge schedule takes two minutes per joint.
The fix: let the joints firm up, clean with a clean sheepswool float or sponge, and remove haze the same day. If haze does dry, test the haze remover on an offcut before it touches the wall.
Mistake 8: Sealing Too Soon or Not at All
Two opposite mistakes land in the same claims file. Sealing too soon traps moisture in fresh mortar, which causes white blotches and milky patches on the stone. Sealing never — on interiors especially — leaves light stone open to stains that the warranty conversation turns into a display case.
Sealer works on a clean, cured surface. That rule is simple and almost universally rushed. The membrane-backed panels from Top Stone Panels arrive clean from the factory 3-step QC. The jobsite then decides whether that clean surface gets sealed before or after the splash zone gets used.
The fix: cure the mortar per the product’s schedule, dry the wall, test the sealer on an offcut, then seal the whole face in one run. In wet areas, seal before the space is commissioned.
Mistake 9: Mixing Boxes Without Blending
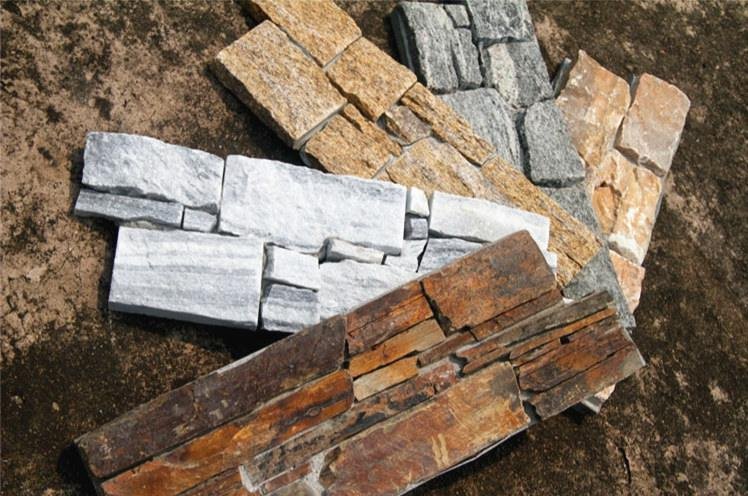
Natural stone is sorted, not manufactured to a single RGB value. Top Stone Panels locks an order to one quarry vein, and batch-specific vein selection holds color transition consistency above 95%. That consistency still leaves a tonal range across the shipment, which is the beauty and the trap.
The trap is installing box by box. One wall segment ends up cool, the next warm, and the facade reads as a horizontal patch. Blend panels from several boxes as you go, across the entire surface, and the natural variation reads as character instead of error. For single-wall technique, see the color-mixing guide.
The fix: open a working set of three to five boxes before you start, and rotate through them as the wall climbs. Keep reorder color codes identical if you have to order more.
Mistake 10: Installing in Freezing Conditions
Natural slate and quartzite are cold-climate materials; the panels from Top Stone Panels carry a -30°C to +50°C rating for use in exterior walls. The mortar between them is the weak link. Cement-based mixes cure slowly below about 5°C and stop curing entirely if they freeze before reaching strength.
Pouring a wall in a cold snap is a schedule decision with a ten-year effect: joints that never reach designed strength, efflorescence, and popped edges in the first winter. Cold-weather masonry practice exists precisely because the material science does not negotiate.
The fix: check the night temperature before pouring, protect fresh joints with curing blankets or enclosures, and keep the mortar mix water-free of ice. If the forecast says freeze before the joints firm, wait a day.
The Prevention Spec You Can Hand the Crew
The ten failures above are preventable at three moments: ordering, spec review, and the first hour of the wall. The table turns each mistake into one line a project manager can check.
| Mistake | Caught at | Prevention line |
|---|---|---|
| Missing moisture barrier | Spec | Barrier and flashing written in |
| Wrong substrate | Spec | Lath or backer on the drawing |
| Thin mortar | First hour | Full coverage, transfer check |
| On-site corners | Ordering | L-corners counted with panels |
| No movement joints | Spec | Joint plan on the layout |
| No dry-fit | First hour | Pattern decided off the wall |
| Grout haze | First hour | Tool, wait, wipe schedule |
| Bad sealing | Spec | Cure, dry, test, seal |
| Box-by-box color | First hour | Blend from 3-5 boxes |
| Freezing install | Schedule | Protect joints in cold snaps |
Two of the ten — corners and color — are factory decisions. Ordered with the panels, L-corners cut about 50% of corner labor and the vein program protects the facade’s color story. The other eight are jobsite decisions that a short pre-pour meeting covers in ten minutes.
FAQ
What are the most common stone veneer installation mistakes?
The ten most common are skipping moisture barriers, wrong substrate prep, thin mortar or no back buttering, on-site corner cutting, missing movement joints, no dry-fit layout, grout haze, sealing too soon, mixing boxes without blending, and installing in freezing weather.
Do I need a moisture barrier behind stone veneer?
Yes for exterior walls. A weather-resistive barrier plus through-wall flashing at penetrations keeps water out of the assembly, per ICC model building code practice.
How much mortar coverage does stone veneer need?
Approach full coverage on the back of each unit and work the stone into wet mortar. Partial coverage is the leading cause of popped stones.
Can stone veneer be installed in freezing weather?
The stone itself handles -30°C to +50°C. Mortar and grout cure slowly and can freeze below about 5°C, so protect fresh joints or wait for warmer conditions.
How do I fix stone veneer that is installing uneven?
Stop the run, check the mortar transfer and the substrate, and dry-fit the next course before continuing. Uneven runs usually come from thin mortar or a skipped dry-fit layout.
Conclusion
Stone veneer installation mistakes are a chain, not a mystery. The moisture detail is skipped in the spec, the substrate is whatever the first crew built, the corners are improvised, and the color runs box by box. Every link is a decision a project manager can move earlier in the schedule.
The prevention checklist, in one breath: spec the barrier and joints, prep the substrate, order L-corners with the panels, dry-fit the pattern, blend the boxes, and keep the mortar warm. A ten-minute pre-pour meeting and one ordering call cover all ten.
When the panels themselves come from a factory that counts corners into the container and sorts color by vein, the installer’s job gets simpler. See the interlocking Z-panel and thin stone veneer lines, or request samples and the install spec sheet for your next project.