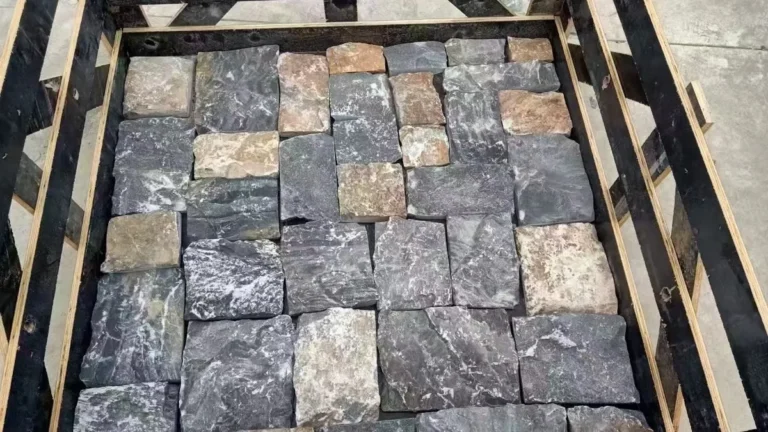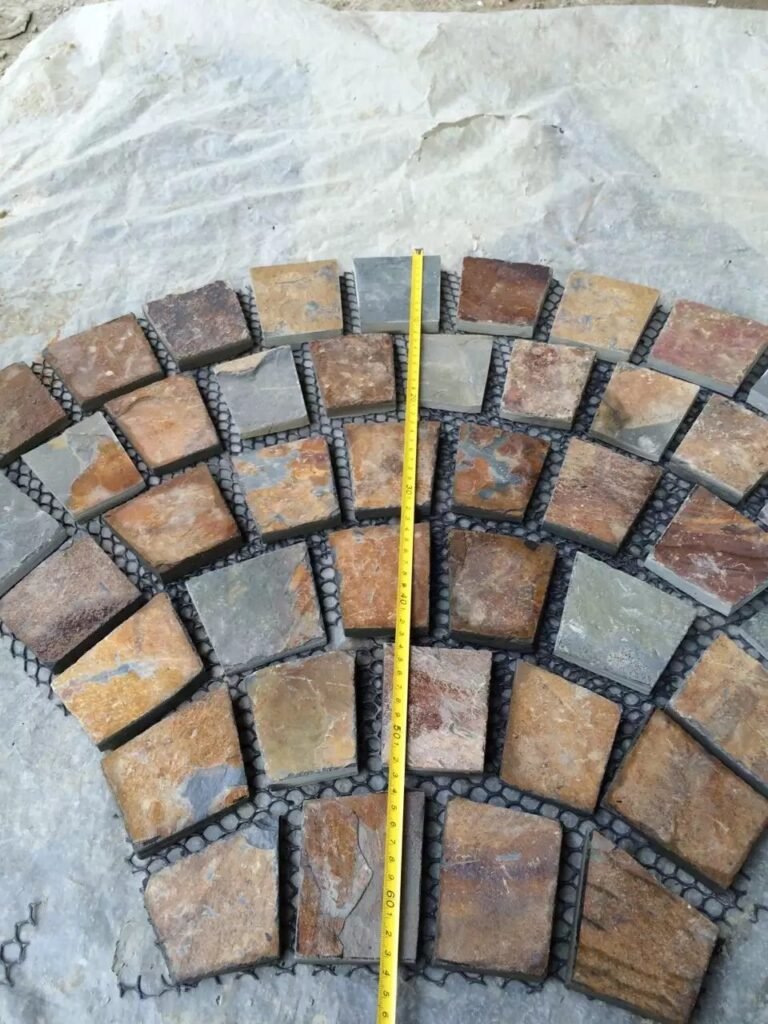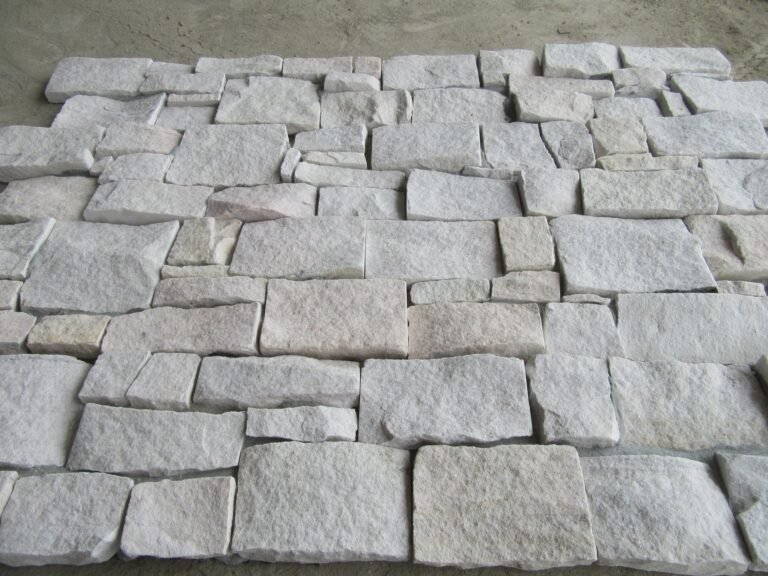
A stone veneer wall is judged on what happens behind it. The stone is the visible layer; the failures that matter start at the concrete, with a wall wicking water upward, sitting out of plane, or running cold enough to condense the room’s humidity on its face. The decision that determines whether it is still tight in five years happens at the concrete.
A basement wall is the one interior wall in a house that is in permanent contact with the ground. That single fact changes the substrate rules. The assembly has to manage moisture that arrives from outside, accept a surface that was never finished to interior tolerances, and stay inside a weight limit that applies to interior adhered veneer and to nothing else in the building.
A stone veneer basement wall is built in the order a project meets it: test the concrete, choose between direct bond and a furred assembly, prepare the surface, set the panels, and inspect what you built. It applies to cast concrete and masonry foundation walls finished on the interior side, in basements, walk-outs, and lower levels.
- Test the concrete for moisture before the stone order ships, not after. ASTM D4263 is a preliminary indicator that takes 16 hours; ASTM F2170 gives a quantitative relative humidity reading, but only where a concrete slab is involved.
- Interior coatings do not stop hydrostatic water. If the wall is wet from the outside, the fix is drainage and waterproofing, and the stone waits.
- Direct bond suits a flat, sound, dry wall and keeps the thinnest profile. Furring plus cement backer decouples the stone from the concrete and buys a service cavity, at the cost of floor area.
- IBC 2021 Section 1404.10.3 caps interior adhered veneer at 20 psf, about 97.6 kg/m2, and that budget has to cover stone plus mortar.
- Efflorescence is evidence of water movement, not a cosmetic defect. Sealing the stone does not fix it.
A Basement Wall Is a Moisture Source, Not a Substrate
Concrete below grade is porous, and the soil around it is not dry. Water reaches the wall by capillary action through the concrete and the footing, and in poorly drained ground it arrives under hydrostatic pressure. Neither path stops at the interior face just because someone painted it. A coating on the inside of a foundation wall does not hold back water that is being pushed from the outside; it traps the water at the coating line and moves the problem to the slab joint, the base of the wall, or the first cold spot.
That is why the order of operations matters. Moisture control comes first, surface preparation second, and the adhesive bond third. An installer who reverses that order is gluing stone to a wall that will keep changing moisture content after the adhesive has cured.
Temperature is the second variable. Below-grade concrete tracks ground temperature, which in heating climates stays cooler than the finished room through the cooling season. A cool surface in a humid room is a condensing surface. A wall that tests dry in February can bead moisture in July when the basement is open to the rest of the house and the dehumidifier is off. The stone does not create that moisture, but it will hold it against the wall if the assembly has no way to dry.
Efflorescence is the visible version of the same story. The white salt bloom on concrete or on the stone face is dissolved salt carried to the surface by water and left behind when the water evaporates. It is a diagnostic, not a cleaning problem. Where it appears and how fast it returns tells you whether the wall is still moving water.
Test the Concrete Before You Order Stone
Two tests answer two different questions, and both are worth writing into the job file before a single crate is booked.
ASTM D4263-24, the plastic sheet practice, is a preliminary indicator of capillary moisture in concrete. The method is simple and the result is binary in practice: moisture collects under the sheet or it does not. The standard itself frames the test the way an installer should read it, as a check performed before applying a coating, not as a laboratory measurement of how much water the wall contains. Use it to screen the wall and to document the condition on the day you looked.
ASTM F2170-19a answers a different question, and its scope is the concrete floor slab. Probes sit in drilled holes and read relative humidity at depth, which is the number a flooring or coating manufacturer asks for. It is not a wall test: the method is written around a slab, and a slab reading does not describe the wall above it. Probe readings describe the concrete’s internal moisture rather than the surface film, and they can be repeated later to show that a slab has dried.
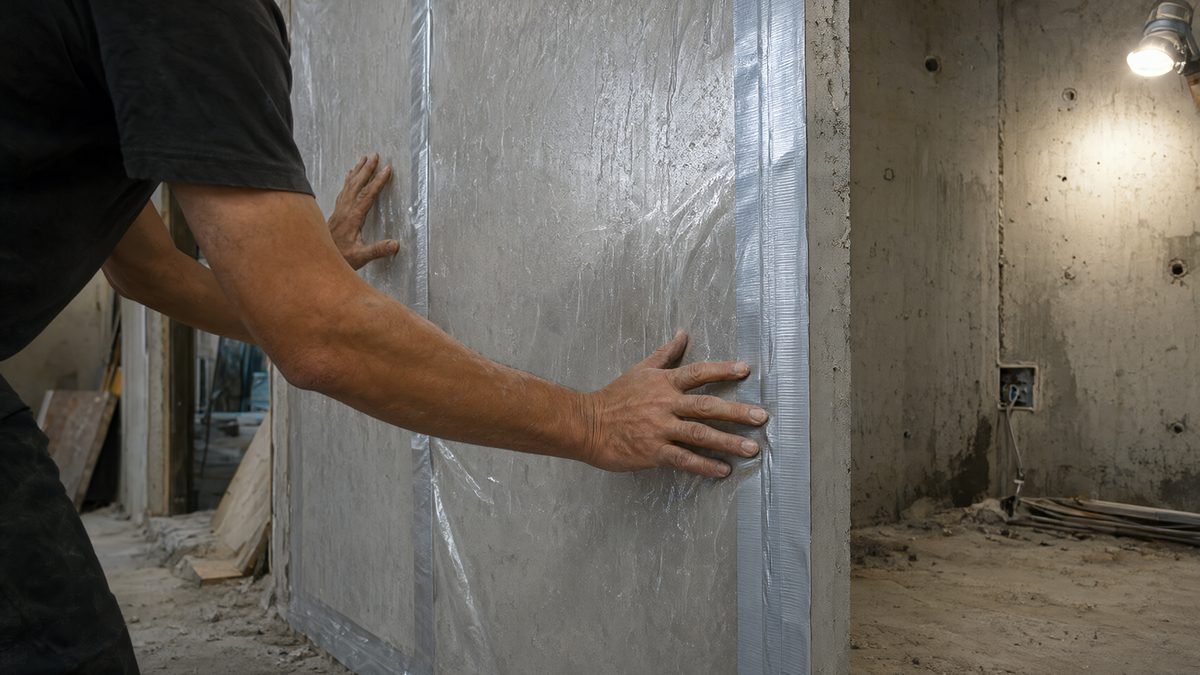
A calibrated moisture meter fills the gap between the two. It is not a standard test, but a mapped set of comparative readings across the wall shows where the wet zones are and whether they follow a crack, a downpipe outside, or the base of the wall. Readings taken at the same points after a drying period show whether the condition is stable.
| Check | What it answers | Limit |
|---|---|---|
| ASTM D4263-24 plastic sheet | Is capillary moisture present at the surface? | Indicative, not quantitative |
| ASTM F2170-19a in-situ probes | What is the relative humidity inside the concrete? | Quantitative, point-specific |
| Calibrated moisture meter | Where are the wet zones and how do they move? | Comparative, not a standard test |
What the results decide is straightforward, provided the sheet stays taped long enough to mean something: 16 hours, over an 18 by 18 in. (450 by 450 mm) area, before it is lifted. A wall that shows no condensation under the sheet, meter readings that do not climb toward the base, and no returning efflorescence can be taken forward to direct bond, subject to one more number: the maximum substrate moisture or relative humidity printed on the thin-set datasheet. That published limit, not a rule of thumb, is the pass mark for the adhesive in the bucket, and the meter or probe reading is compared against it. A wall that shows condensation under the sheet, rising readings near the base, or salt bloom that returns after cleaning is not ready for stone, no matter how flat it looks. The assembly choice in the next section assumes the wall has passed that screen. If it has not, the work is exterior drainage, footing drainage, or interior waterproofing, and the stone is scheduled after it.
Two Assemblies: Direct Bond or Furring
There are two responsible ways to put natural thin stone on a basement wall, and they solve different problems.
Direct bond sets the panels on the concrete with a polymer-modified cementitious adhesive. It keeps the finished face closest to the structural wall, costs the least in materials, and preserves floor area. It depends entirely on the concrete being sound, dry enough to bond, and flat within the tolerance the adhesive manufacturer publishes for the trowel size; that flatness figure comes off the datasheet, not off the eye. On a wall that meets those conditions, it is the cleanest detail, and it is the one that lets a basement bar or media wall sit within a few millimetres of the foundation line.
A furred assembly builds a second wall in front of the concrete: vertical furring or steel studs anchored to the foundation, then cement backer board, then the stone. The cavity decouples the stone from the concrete, gives wiring and insulation a home, and removes the bond from the moisture equation because the adhesive now grips backer board rather than foundation concrete. It costs floor area and money, and it introduces a new rule: the cavity must be able to dry or be conditioned. A sealed cavity with a vapor retarder on both sides is a condensation chamber.
| Condition | Direct bond | Furred assembly |
|---|---|---|
| Concrete condition | Sound, dry, flat enough for an adhesive bed | Tolerates out-of-plane walls and minor surface defects |
| Moisture risk | Must be resolved before bonding | Decoupled, but the cavity still has to dry |
| Finished profile | Thinnest; preserves floor area | Adds the depth of furring, cavity, and backer |
| Services and insulation | Surface-mounted or chased before the stone | Wiring and rigid insulation fit in the cavity |
| Adhesive substrate | Prepared concrete | Cement backer board |
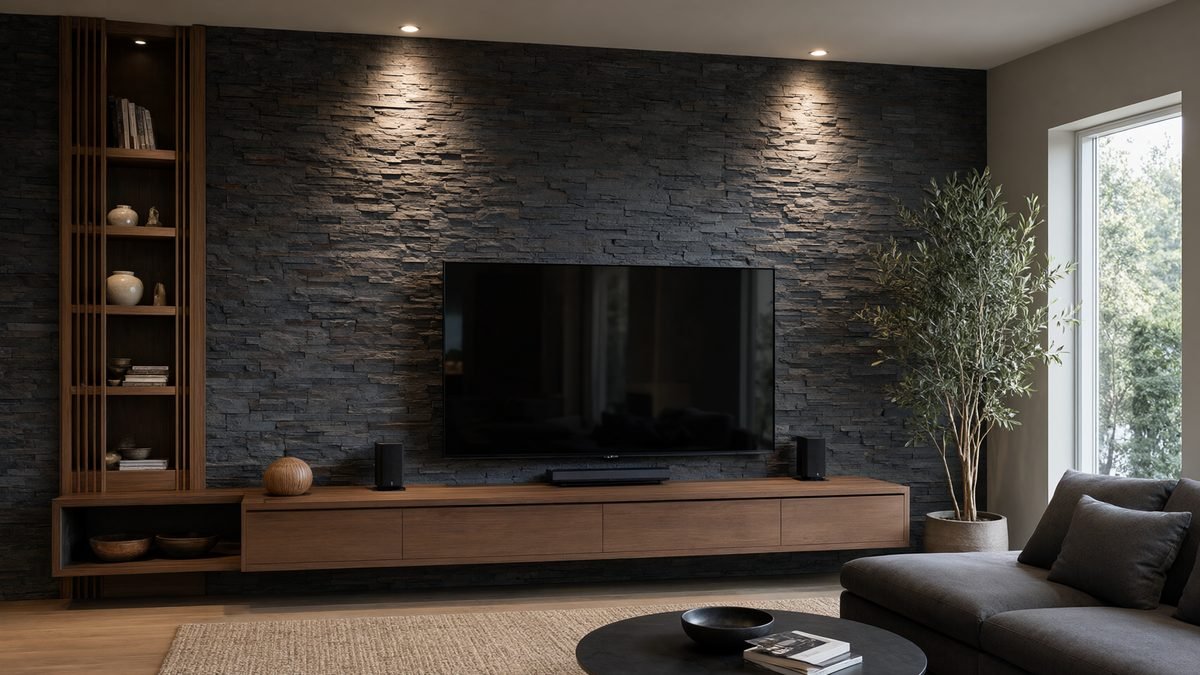
| Best fit | Feature wall, bar front, media wall on a dry wall | Full-room finish, uneven walls, cold or damp-prone basements |
The choice is not a preference. It follows from the test results and from what the room needs behind the stone. A whole-room finish in a walk-out basement that also needs insulation is a furred job. A single feature wall in a conditioned lower level with a dry, flat foundation is a direct-bond job.
Direct Bond, Step by Step
Direct bond on concrete succeeds or fails on preparation. The adhesive is not a levelling compound and it is not a coating that seals a dusty surface. The bond it produces has a test behind it: ASTM C1823/C1823M measures shear bond strength of adhered dimension stone, and that is the figure to ask an adhesive supplier for. ASTM C1780 covers installation methods for cement-based adhered masonry veneer; it is not scoped to natural stone panels, so it cannot stand in for a stone-specific method on a basement wall. The same logic runs through the comparison of plywood, cement board, and metal lath, which is worth reading before choosing between a bonded and a furred wall.
Strip the wall first. Paint, form-release agent, curing compound, and efflorescence all sit between the adhesive and the concrete and all reduce bond. Grinding or abrasive blasting opens the cement paste and gives the adhesive a mechanical key. Bugholes and honeycomb are filled with a cementitious patching mortar and struck flush while the surrounding concrete is still damp, so the patch cures with the wall rather than on top of it. Dust is removed before anything else happens.
Apply the bond coat the adhesive manufacturer specifies. On absorbent or dusty concrete, a primer or bonding slurry controls how fast the adhesive loses water and prevents a skin from forming before the panel is pressed.
Mix a polymer-modified cementitious thin-set to the consistency the bag calls for, then use the trowel in two passes. The flat side burns a thin layer into the concrete, which is what actually wets the surface. The notched side leaves ridges that collapse when the panel is pressed. Back-butter the panel as well, particularly on the mesh-backed formats, because the back of a natural stone panel is not a flat plane and the ridges alone will not reach every high point.
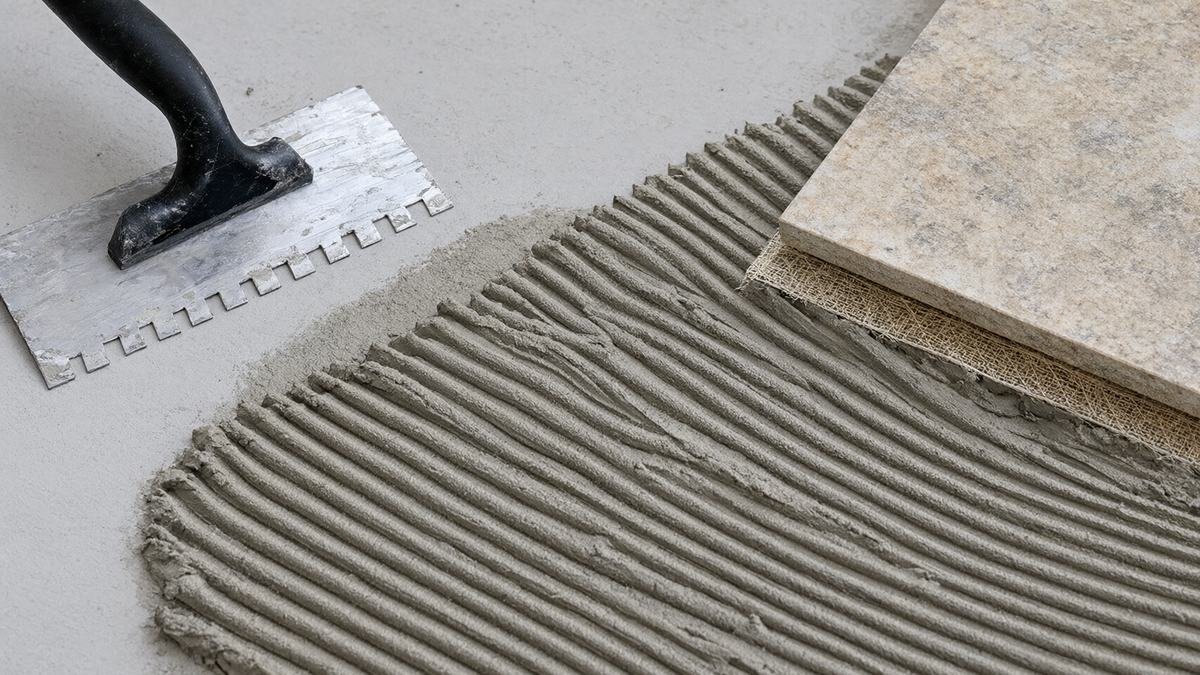
Set the first course from a level line, not from the floor, because basement slabs and walls are set separately and do not share a datum. Press each panel with a slight slide perpendicular to the ridges, then check it with a tap test. A dull, solid sound is bonded. A hollow sound means the panel is sitting on ridges without contact and has to come off before the adhesive sets.
Work in lifts and keep the face plumb as you go. Cut panels belong at the edges, in the corners behind trim, and around penetrations, not in the middle of a field where the joint pattern reads.
Whether the setting is done by the general contractor’s crew or a specialist is a separate decision with its own cost and risk profile; the DIY versus professional comparison for interior stone veneer sets out the cost and risk split.
The Furred Assembly, Step by Step
The furred assembly moves the bond off the concrete, but it adds a frame that has to be built correctly before the stone means anything.
Lay out the furring or studs to the backer manufacturer’s spacing for the wall height. Fasten through the furring into the concrete with concrete screws or mechanical anchors of a length that gives full embedment; powder-actuated fasteners are a poor choice in thin or cracked foundation walls, where the shock can spall the concrete on the far side. Shim the frame plumb and flat. The stone will follow the backer, and the backer will follow the frame.
Install cement backer board over the frame, with joints staggered and fasteners driven flush. Tape the joints with alkali-resistant mesh embedded in thin-set, and treat the corners the same way. Paper-faced gypsum board does not belong in a damp basement behind stone, regardless of what the moisture readings said on the day of installation.
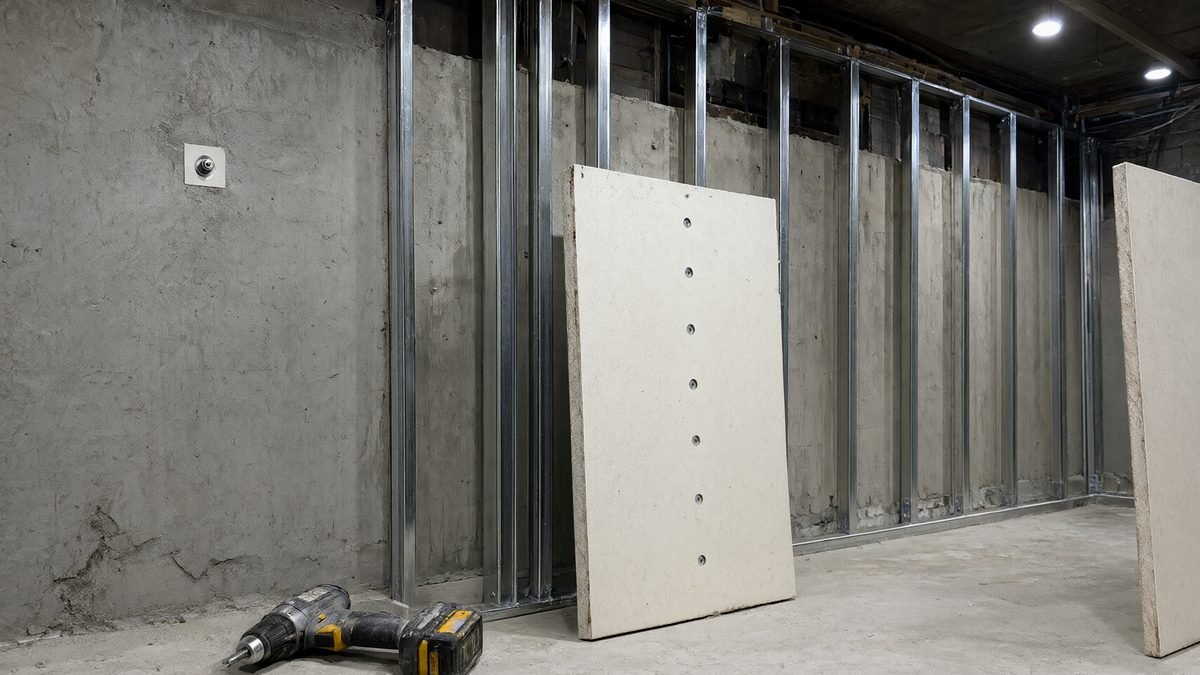
The cavity needs a drying path. Rigid insulation can sit against the concrete, but a second vapor retarder on the room side traps moisture between the two. If the basement is conditioned, the cavity is closed and fireblocked at floor and ceiling lines, as IBC 718 requires for concealed spaces, and the assembly dries inward through the backer and the stone; a vented cavity is not a drying strategy on a below-grade wall. If the room is not conditioned, the moisture problem is a building-envelope problem and the stone is scheduled after it.

Weight, Thickness, and the 20 psf Ceiling
Interior adhered veneer has a code ceiling of its own. IBC 2021 Section 1404.10.3 caps interior adhered masonry veneer at 20 pounds per square foot, printed as 0.958 kilonewtons per square metre in the code and equal to about 97.6 kilograms per square metre. The limit applies to the veneer assembly, so the stone and the mortar behind it are counted together. Run the arithmetic on the format before the order: at 97.6 kg/m2, a 15×60 cm panel covers 0.09 m2 and carries a total budget of about 8.8 kg including its share of mortar, while a 36×10 cm panel covers 0.036 m2 and carries about 3.5 kg.
That budget is generous for thin stone and tight for anything else. The thinner the panel, the more of the 20 psf is left for the adhesive bed and the more forgiving the wall can be. A 36×10 cm ultra-thin ledger panel spends far less of the 97.6 kg/m2 than a standard 15×60 cm stacked panel, and both leave more than a full-bed stone wall, which is a different system with different anchorage and different rules. If the project is comparing the two, the thin veneer versus full-thickness stone comparison is the place to start, not the adhesive bag.
Verify the number rather than estimating it. Ask for the panel weight per square metre on the colourway datasheet, then weigh a sample panel and compare. A supplier that answers with a weight for each colourway is giving you a number you can check with a scale; colour sorting is a separate claim, documented separately, and one does not prove the other. Coverage per container is a function of panel weight and thickness, so both figures belong on the same document as the format and the corner kit.
The rule that follows from the numbers: direct bond takes the thinnest format that meets the design, because every millimetre of thickness is weight spent against the 20 psf budget, and a furred assembly is where the heavier, deeper-relief stacked format belongs, because the frame carries it and the stone is no longer bonded to the foundation. The thin stone veneer range covers both, and the substrate rules behind them are the same ones described here.
Corners, Ends, and the Bar Front Transition
Corners are where a basement feature wall stops being a flat field and starts showing whether the layout was planned. The five basement accent wall layouts we build for media walls, bars, and gyms all run into the same corner question, and the answer is the same whether the wall is a full room or one elevation. Two details decide the result: how the outside corner is turned, and what happens where the stone meets a bar, a column, or a window return.
Factory L-corners are the faster and cleaner answer. Our stacked stone corner kits ship in three sets: asymmetric 6×12 in with 6×6 in and asymmetric 6×16 in with 6×8 in, where the alternating legs let the vertical joint stagger as the courses rise, and a symmetric 6×12 in with 6×12 in, which holds a consistent joint line up the corner. The alternative is cutting 45-degree mitres on site, which burns material, exposes the cut face, and adds a joint that has to be filled and finished. The factory position is that pre-made corners remove the mitre entirely and return roughly 20 percent of the material otherwise lost to cutting, with more than 50 percent lower labour cost at the corner.
Inside corners and ends need the same discipline. Alternate the panel direction at an inside corner so the joint does not run continuously up the wall. At a bar front, plan the transition before the wall is set: the bar face is a separate plane from the wall behind it, and the corner kit or a returned end panel is what closes the difference. Cap the top edge of a bar front with a stone or solid-surface piece that overhangs the face, so the top course is not an exposed end grain.
Hold the first course off the slab. Concrete floors wick moisture, and a stone course set directly on an unseparated slab has a permanent capillary path into the bottom of the wall. A capillary break and a base trim detail cost little at the drawing stage and save the bottom course later.
Joints, Movement, and What Cracks
Adhered veneer moves. The concrete moves with temperature and moisture, the backer board moves differently, and the stone itself moves least of all. The joints are where that difference is absorbed or where it becomes a crack.
TMS 402/602 is the installation standard that IBC Chapter 14 points to for adhered veneer, and it is where joint locations, substrate conditions and the rest of the installation requirements come from. Put movement joints where the substrate changes, where the wall changes plane, at the intervals the drawings set for long uninterrupted runs, and around penetrations. At the perimeter, use a flexible sealant rather than grout; the joint is sized to the sealant’s movement capability, so its width and width-to-depth ratio come from the sealant datasheet for the movement expected at that location, not from a fixed gap. A joint cut narrower than that minimum tears instead of stretching. Grout at a ceiling line or a column face has nowhere to go when the wall moves, so it cracks and the crack reads as a failure of the stone.
The cracks an inspector will find first are at board joints, at inside corners, and along the line where a furred wall meets a direct-bonded return. None of them is random. Each sits at a discontinuity that the layout either anticipated or ignored.
Efflorescence, Sealers, and Humidity
Efflorescence is salt, and salt arrives with water. Sealing the stone face does not stop it, because the salt is coming from behind the stone and the sealer is on the front. A film-forming sealer on a damp basement wall makes the problem worse by reducing the wall’s ability to dry inward.
Use a breathable sealer if the project needs stain resistance, and only after the assembly has cured and the wall has been shown to be stable. Do not seal a wall that is still moving moisture. The order is water control, then drying, then sealing.
Humidity control belongs to the room, not the stone. The EPA guidance for moisture and mold is to keep indoor humidity below 60 percent and ideally between 30 and 50 percent. In a basement, that means a dehumidifier sized for the volume and a closed door to the rest of the house during humid months. A basement held at 70 percent relative humidity is outside that guidance, and mold can grow on the dust that settles into any textured surface, stone included; no sealer prevents that.
Stone Veneer Basement Wall: Sequence and Inspection
The sequence that keeps a basement wall out of trouble is short and unforgiving, and it starts before the first test. A wall poured last week is still curing: 28 days is the age at which concrete is assessed, and a sheet test run before that records curing water rather than the wall’s service moisture.
- Test the concrete and record the results with locations and photos.
- Resolve moisture at the source: drainage, waterproofing, or both.
- Choose direct bond or furred assembly from the test results and the room’s needs.
- Prepare the substrate: strip, grind, patch, dust off, or frame, backer, tape.
- Lay out the field and the corners before mixing adhesive.
- Set the panels, back-buttering and tap-testing as you go.
- Cure to the adhesive manufacturer’s data sheet before any stress, cleaning, or sealing.
- Inspect, document, and recheck after the first heating season.
Inspection is a short list done properly. Tap-test the field and the corners; hollow spots are the defects that show up later as loose panels. Check plumb and level against the layout line, not against the floor. Confirm adhesive coverage at a removed panel or at a test panel set for the purpose. The acceptance figure is the one the adhesive datasheet states. For an area that can get wet, the thin-set coverage requirement is 95 percent, the wet-area figure in ANSI A108.5, the ceramic-tile installation standard; where the adhesive datasheet sets a different number, the datasheet governs. Full contact at the edges and corners is the detail to check on the lifted panel. Open time and initial set are separate numbers on the adhesive datasheet: a panel can be combed, set and adjusted inside the open time, and once initial set begins it is not lifted at all. Photograph the wall before the stone and after, so the file shows what the installer started with.
The recheck matters as much as the installation. A basement wall that was marginal in summer may show efflorescence or a hairline at a board joint after a winter of heating and a wet spring. Finding it in the first year is a maintenance item. Finding it in the fifth year is a rebuild.
What the Factory Should Put in the Box
Several of the failure modes described here are settled before the container leaves, by what the supplier is willing to put in writing.
Ask for the panel weight per square metre on the colourway datasheet, the backing specification, and the corner kit dimensions. Ask how the batch was colour-sorted, because a basement feature wall is viewed at close range under artificial light, where a batch-to-batch shift that would disappear on an exterior facade reads as a patch. Our production locks the same quarry vein and hand-sorts for at least 95 percent colour consistency across a batch, which is the number that matters when the wall is two metres from a sofa.
Ask for the test data behind the bond claim, by format. Our stacked formats are bonded with a marine-grade epoxy and tested from minus 30 to plus 50 degrees Celsius, the range that covers a Canadian winter and a Gulf summer in the same product line. The ultra-thin ledger format is a different panel, so its bonded-panel data belongs on its own datasheet; a test that covers one format is not evidence for another. That test is about the bond surviving transport and service, not a substitute for the wall-side moisture work described above.
Then ask for the logistics that fit a basement project: mixed pallets, corner kits in the same shipment as the field panels, and a lead time that matches the schedule. Fast-moving stock ships in about 20 working days from Tianjin; a first order with printed cartons runs 25 to 30 working days. Standard terms are 30 percent deposit with the balance before shipment, after the loading video and photo package are approved. None of that replaces a moisture test, but it removes the excuses that appear when a wall is opened and the material is wrong.
Frequently Asked Questions
Can you install stone veneer directly on a basement concrete wall?
Yes, when the concrete is sound, dry enough, and flat enough for an adhesive bed. Direct bond is the thinnest and least expensive option, and it is the right one for a feature wall in a conditioned basement that has passed a moisture screen. It is the wrong option for a wall that is still moving water.
Do I need furring over a basement wall?
It depends on the wall. Furring is the responsible choice when the wall is out of plane, when the room needs insulation or wiring behind the stone, or when the concrete is marginal on moisture and cannot be improved from the exterior. The cavity decouples the stone from the foundation, provided the cavity can dry or is conditioned.
How do I know the wall is dry enough for stone?
Use the plastic sheet practice to screen for capillary moisture, a calibrated meter to map the wall, and in-situ relative humidity probes on the slab where a quantitative reading is needed. Compare the reading with the substrate limit on the thin-set datasheet, then look at the history: returning efflorescence or rising readings near the base means the wall is still moving water, and the stone waits until the source is addressed.
What is the weight limit for stone veneer on an interior wall?
IBC 2021 Section 1404.10.3 caps interior adhered masonry veneer at 20 pounds per square foot, about 97.6 kilograms per square metre. The limit covers the veneer assembly, so stone and mortar count together. Thin formats leave the most headroom.
Will stone veneer cause mold in a basement?
Stone does not create moisture. Where a basement sustains the humidity in which mold can grow, it grows on dust that settles into any textured surface, stone included; the EPA advises keeping indoor humidity below 60 percent and ideally between 30 and 50 percent, so fix water at the source and use a breathable sealer rather than a film-forming one.
Conclusion
The stone on a basement wall is the last decision, not the first. The first is what the concrete is doing: whether it is dry, whether it is flat, and whether the water that reaches it has somewhere to go. Test it, record it, and let the result choose the assembly. Direct bond on a dry, flat wall is the cleanest detail in the building. Furring on anything less is the detail that keeps the stone tight.
If you are specifying a basement feature wall, a bar front, or a media wall, send the wall condition and the plan. We will match the panel format, the corner kit, and the backing to the assembly your installer is building, and tell you what the factory can and cannot cover. Start with the thin stone veneer range or the ultra-thin 36×10 ledger panels.