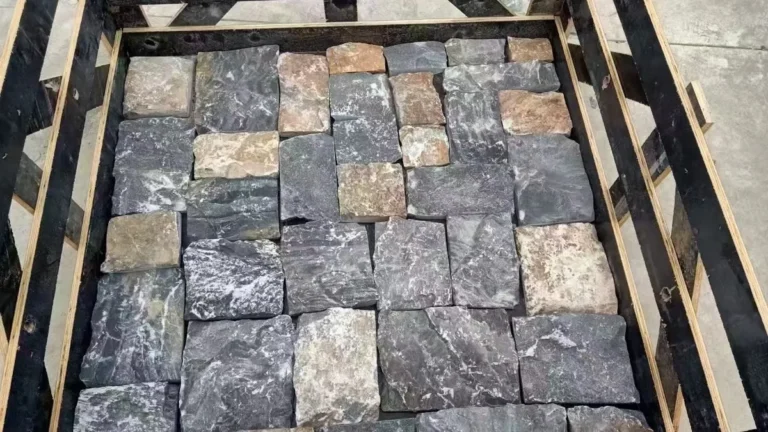
A laser level does exactly one job: it throws a true horizontal or vertical reference plane across a wall and holds it there. Every other measurement in stone veneer layout descends from that plane. On a bonded panel wall it replaces the string line masons have trusted for a generation. On a long run it replaces a line that sags in the middle.
Here is the number that settles most layout arguments before the first panel moves. A standard 15×60 cm stacked stone panel is 150 mm tall, so a 3 m wall is exactly 20 courses. Bed loose split stone with the 3/8 inch to 1/2 inch mortar joint that full-depth work calls for, and each course stands 160 to 163 mm. Those same 20 courses now reach 3.20 to 3.26 m. Fit whole courses instead and the leftover band at the top is 66 to 120 mm tall, which has to be sawn down or hidden.

- A 150 mm module gives 6.67 courses per metre and 20 courses per 3 m. A 100 mm mini ledgestone course gives exactly 10 per metre.
- Loose stone plus a 3/8 to 1/2 inch bed joint pitches at 160 to 163 mm per course, a 200 to 260 mm drift over 3 m.
- A green line laser rated 1/8 inch at 30 ft self-levels within 4 degrees and reaches 115 ft unaided, 400 ft with a receiver.
- Ordering overage is 3% on a simple run and 5 to 7% where high cuts multiply, and your grid chooses which one you pay.
- Prefabricated L-corners remove about 20% of corner material waste and better than 50% of corner labour, if the datum lands full legs at the turn.
Set Your Datum Line Before the First Panel
The datum is the one horizontal line everything else is measured from. Get it wrong and nothing above is salvageable, because stone has no adjustability. Mortar absorbs a few millimetres. Stone absorbs nothing.
Pick the height for access, not habit
Most crews set the line at tripod chest height, because it is the easiest height to reach. Choose it so the beam clears the scaffold deck and can be re-projected without climbing. If you cannot reach the line at both ends of the run, you will end up eyeballing, which is the failure the laser was meant to remove.
Establish two reference lines
Set a primary datum for the field courses and a second control line at the finished sill or floor elevation. The gap between them tells you how many whole modules fit, and that gap decides where the cut course lands. Add a vertical control line at each outside corner so the wall is controlled in both axes.
Re-project the datum around every break
Walls break at returns, window heads, and control joints. Carry the line through with a receiver on the bracket, then mark the far side. Treating each break as a fresh start inherits whatever error the previous leg collected.
Write the datum height on the wall
Mark the height in permanent marker at both ends and at each re-projection. On day three, when a second crew mobilises, that mark is the only reliable handoff.
Self-levelling limits decide the risk. A line laser that stops self-levelling will flash and drop the beam if a tripod leg gets nudged, and the crew then keeps laying to a line that stopped being true an hour earlier.
Match the Laser Grid to the Panel Module
Draw the grid in the units the stone arrives in. Marking 300 mm increments against a 150 mm module guarantees every second course crosses a line. Two product families reach a jobsite from our Yi County quarry, and they behave differently.
Bonded panels fix the joint at the factory
Stacked stone panels are laminated to a backing at a set gauge. Interlocking Z-panel and S-panel formats run 20×55 cm or 15.2×61 cm with male and female edges that self-register. With these, the module is the course. Set laser divisions equal to panel height and vertical seams hide themselves, because the edge decides where the next panel sits.
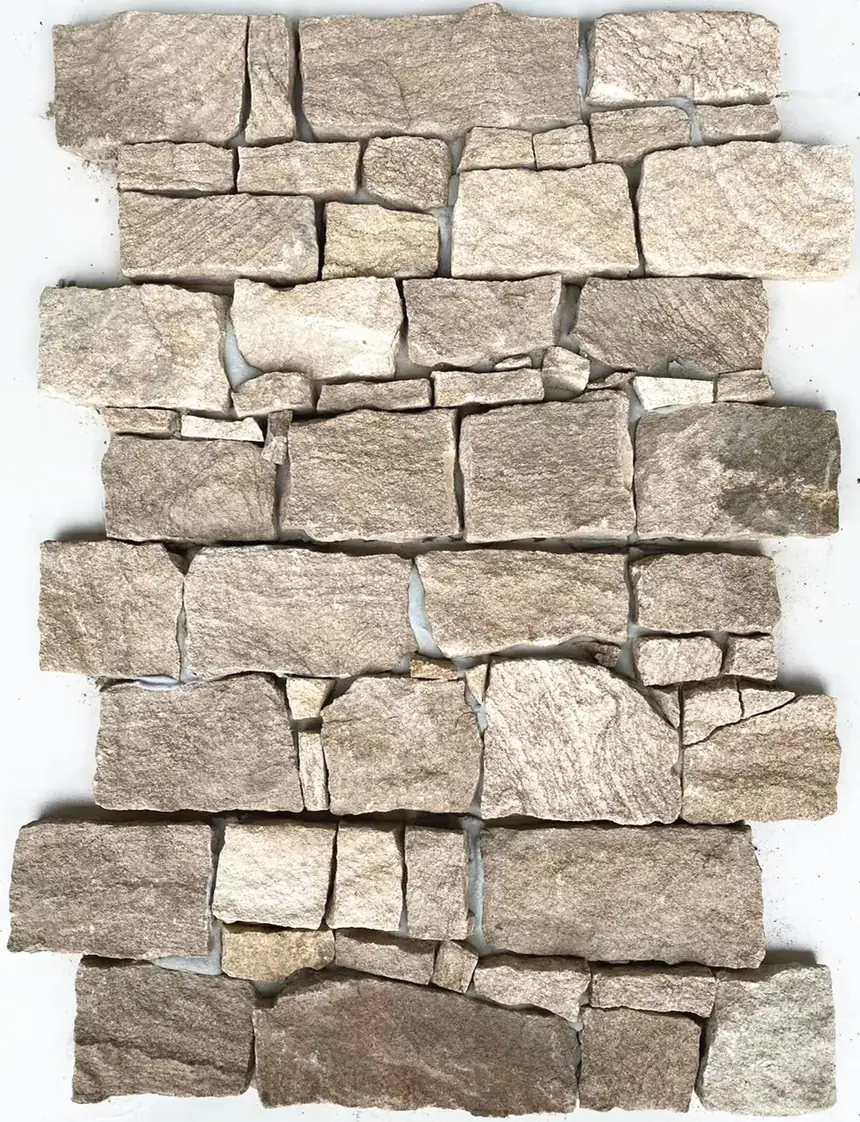
Loose stone adds the trowel to the arithmetic
Split-face veneer bedded in mortar is stone height plus bed joint. Full-depth practice keeps joints between 3/8 inch and 1/2 inch in both directions, which is why the 160 to 163 mm pitch outruns a 150 mm grid. Lay loose stone to a module-only grid and the drift surfaces around the fifth course, when the top is already committed.
Divide the height before you divide the laser
Take the finished height and divide by the module. A 3 m reveal at 150 mm gives a clean 20 courses. The same reveal bedded at 163 mm gives 18.4 courses, and that 0.4 is your cut course. Decide now whether the remainder lands at the top, at a sill shadow line, or behind a downpipe.
Never mix two modules on one plane
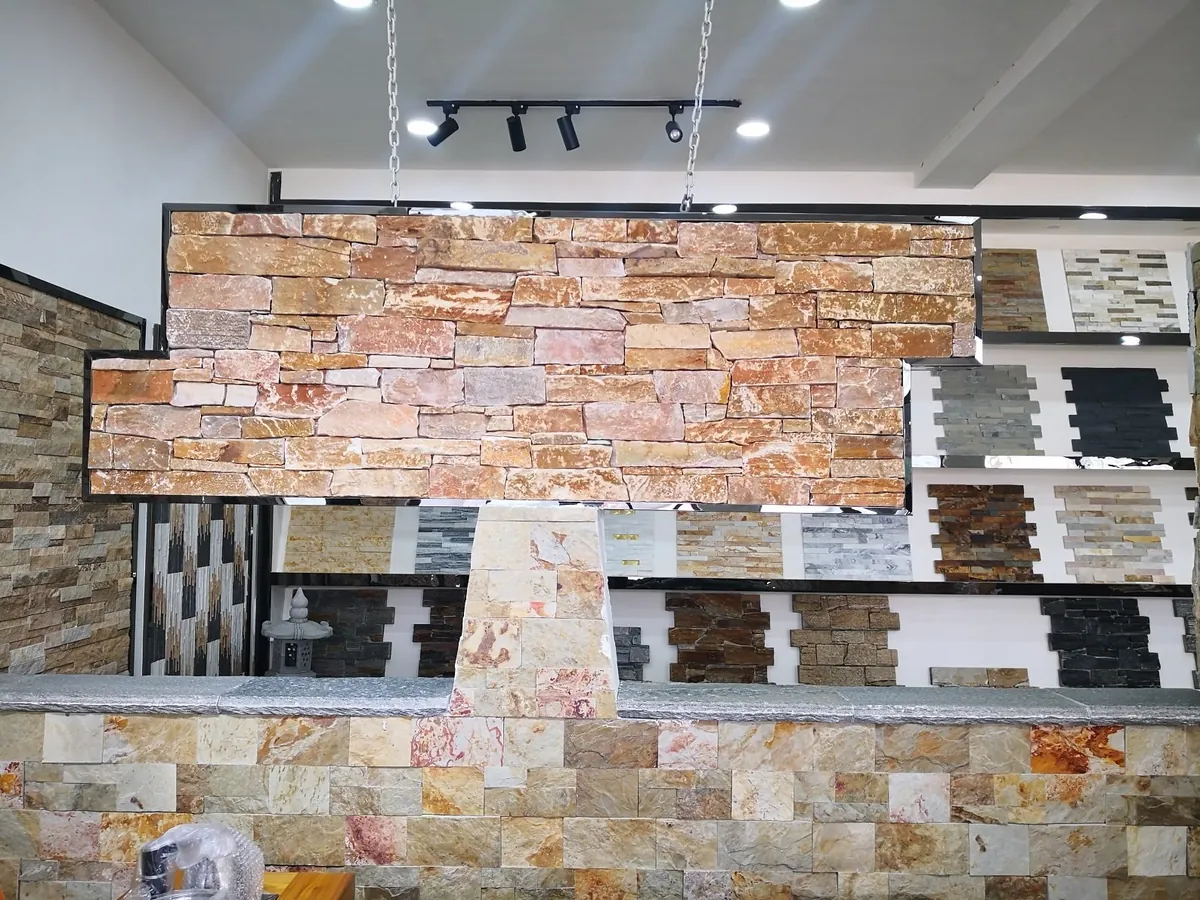
Run 15×60 cm field panels and 36×10 cm mini ledgestone in one reveal and the courses never reconcile. Where a design genuinely wants two formats, separate them with a belt course or a change plane, and put the transition on the datum so both grids start from it.
| Product line | Course height | Courses per metre | Courses per 3 m |
|---|---|---|---|
| 15×60 cm stacked panel | 150 mm | 6.67 | 20 |
| 15×55 cm stacked panel | 150 mm | 6.67 | 20 |
| 36×10 cm mini ledgestone | 100 mm | 10 | 30 |
| 20×55 cm Z-panel | 200 mm | 5 | 15 |
| 15.2×61 cm Z-panel | 152 mm | 6.58 | 19.7 |
| Loose stone bedded at 10 to 13 mm joints | 160 to 163 mm | 6.14 to 6.25 | 18.4 to 18.8 |
Pick the Right Laser for the Wall
Three variables pick the tool: run length, daylight, and whether you need one plane or a grid. An indoor cross-line unit is useless on a 90 m elevation at 2 pm in July. A site-grade rotary on a bathroom wall wastes the money that should have bought better lath.
Line lasers for interiors and short exteriors
A green cross-line rated 1/8 inch at 30 ft covers almost every interior job. Bosch publishes that tolerance alongside a 4 degree self-levelling window and a 115 ft unaided range, extending to 400 ft with a receiver, on its GLL 3-330 CG green line laser. Beam colour is not cosmetic. Red beams wash out in daylight and green stays readable at distance, which is why exterior facades are almost always laid with green units or a detector.
Rotary lasers for facades and long sightlines
On a facade a rotary heads further and holds tolerance better. The Bosch GRL 350 HV is rated plus or minus 1.5 mm at 30 m horizontal. It reads to 60 m unaided and 350 m diameter with a detector, and it carries a manual dual-slope function. Use that to set a deliberate fall instead of a level plane.
Use the receiver when the sun wins
Once the beam is invisible, a receiver on the grade rod restores accuracy, and detector range becomes your real working range. Budget the bracket and one person holding the rod. That second pair of hands is the hidden cost of rotary layout, and it is cheaper than rework.
| Tool class | Published tolerance | Working range | Use it when |
|---|---|---|---|
| Green cross-line | 1/8 in at 30 ft | 115 ft unaided, 400 ft with receiver | Interiors, chimneys, runs under 30 m |
| Red cross-line | Comparable tolerance on paper | Washes out in daylight | Dims and shaded interiors only |
| Rotary, self-levelling | 1.5 mm at 30 m horizontal | 60 m unaided, 350 m with detector | Facades and long datum runs |
| Rotary with dual slope | 3.0 mm at 30 m vertical | Same, plus a set fall | Raked courtyards, battered sills, drainage pitches |
Read tolerance against the joint, not against the beam. A projected line has visible width of its own, so mark to the centre of it and stop treating the top edge as a measurement.
Send us your elevations and we will return the module count, corner sequence, and panel takeoff per face. Samples ship in 1 to 3 working days, with a 1:1 match sample free on replacement orders.
18+ years quarry direct | 220+ containers a year | DFM and 20GP loading check
Rate the tool for the jobsite, not the brochure
Stone work is dusty and outdoors, so the two numbers most buyers skip decide whether the laser survives the job. The GLL 3-330 CG is rated IP 65 for the tool itself, and Bosch’s GRL 350 HV rotary carries IP 56 with a published 30 hour runtime. A mortar-dusted lens with an unsealed housing drifts, and a flat battery mid-facade costs you the datum. Keep a microfiber cloth, spare cells, and a hard case with you.
Verify the Beam Before You Trust It
Every instrument is a hypothesis until you check it against itself on the wall you are about to build. The check costs four minutes and prevents the failure that comes off the whole wall.
Run the rotation check
Level the unit, mark where the beam hits a fixed point, then rotate the base 180 degrees and mark again. Two disagreeing marks mean the beam is not what the electronics claim, and the tripod is fine. Do this at the near end and the far end of the actual run.
Test the self-levelling envelope
Tip the tripod deliberately until the unit flashes and note how far off true that was. A 4 degree window is generous on a scaffold plank and tight on a sloping site. Knowing the limit keeps a bumped leg from quietly voiding your datum.
Check against a known dimension
Measure 3 m up from the sill and tape-mark it. Compare that mark with the projected line. A difference of more than a few millimetres is either an instrument fault or a grade problem, and you want to know which before 20 courses are on the wall.
Re-verify at every setup move
Move the tripod from the north face to the east face and the datum becomes a new reading. Crews that treat a datum as portable find a mismatch at the shared reveal.
Supplier-side full-depth veneer installation guidance still tells installers to keep courses straight with a level and a string line. It never mentions a laser. That is the gap a verified datum closes on any wall longer than one scaffold lift.
Transfer the Grid to the Substrate
The laser gives truth; the substrate gives instruction. Converting one into the other is what makes a layout repeatable, and it is the step that gets skipped when a schedule slips.
Build a story pole from a spare panel
Fix one actual panel to a straight batten. Mark the batten at its own height, again and again, up the full length. That stick is a physical copy of your module and it transfers the grid faster than a tape. Build one per module and label it. Two formats on a mixed elevation will not share a pole.
Snap chalk per course, not per foot
Strike a horizontal chalk line at each course mark between your datum projections. The beam stays as the check; the chalk is what the trowel follows. A crew laying to a floating beam spends the day judging heights, and judgement is where cumulative error enters.
Confirm the wall plane before the lines
Level is not in-plane. Project a vertical and sight the sheathing: a wall that bellies 15 mm mid-run needs packing or a scratch-coat build-up before any grid makes sense. Carrier preparation is a separate discipline with its own rules, and it sits upstream of layout.
Keep drainage details out of the grid
Courses never override water. Per Echelon Masonry full-depth veneer guidance, weep vents stay at maximum 24 inches on centre. Anchors go at 16 inches minimum spacing and within 8 inches of openings and edges. The weather barrier laps 2 to 4 inches horizontally and 6 inches minimum vertically. If a tidy grid puts a weep inside a bed joint, move the weep plan, not the lap. Drainage behind exterior stone has its own full installation treatment.
Lay Out Corners and Openings First
Corners and openings either prove a competent grid or expose it. Both solve with the same move: decide the finished condition at the datum, then let the arithmetic fall where it falls.
Start the corner on a long leg
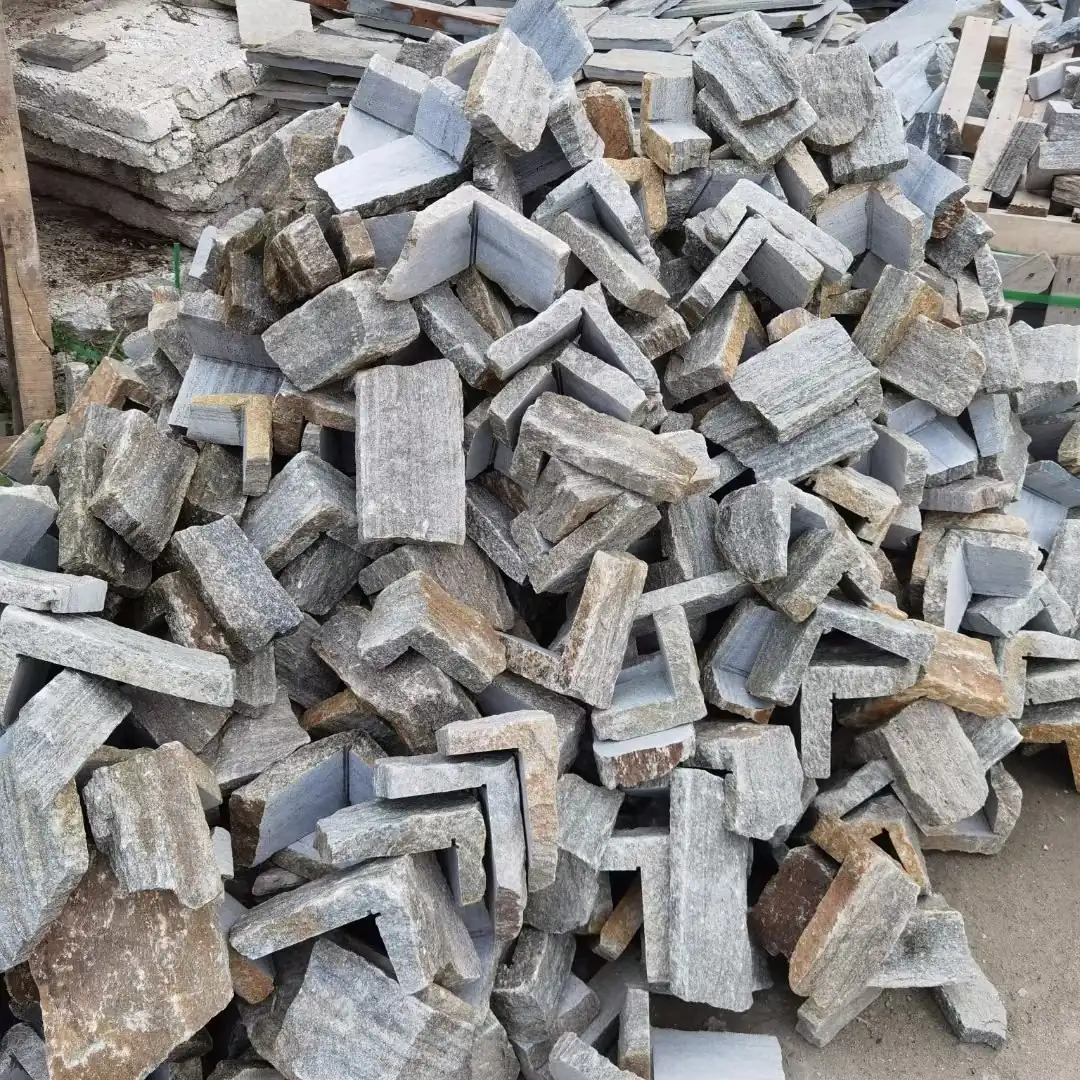
L-corner kits come as asymmetric sets (6×12 inch plus 6×6 inch, or 6×16 inch plus 6×8 inch) and as symmetric 6×12 inch plus 6×12 inch sets. The asymmetric pair exists so alternating legs break the vertical seam on the turn. Plan which leg lands at eye level on the approach side. Set the datum so the sequence starts there, because the corner dictates the field.
Count corners as a separate quantity
Corner units carry the same 150 mm course height as the field, so they ride the grid instead of fighting it. Count corner pieces per linear metre of outside corner and add them to the takeoff before the container is booked. A job that runs short at 90 percent coverage stops, and the replacement lift costs more than the material you saved.
Land the header course whole
At a window, the head bed should sit on a full module, not a sliver. Shift the datum by a fraction of a course until the opening aligns with a joint, then check the sill in the same move. That one shift either buys two clean reveals or produces two visible cuts.
Let the Layout Decide Your Waste Factor
Ordering overage is not a number you pick from a table. It is an output of your grid, and the same wall drawn two ways can land on either side of a 4 percentage point difference in bought material.
Know what the two tiers pay for
Echelon’s installation specification adds 3% for simple runs and 5 to 7% where more cuts are required. High cuts come from short courses at heads and soffits, from corners that were never counted, and from a grid that pushes the partial course into the most visible band.
Corners are where the money hides
Field-cut mitres into natural quartzite and slate consume blade, time, and broken units. Prefabricated L-corners take roughly 20% of that corner waste and more than half the corner labour off the wall, while improving the look. A layout planned to absorb corner kits pulls the 5 to 7% tier back toward 3%.
Dry-stack the first two courses
Lay two courses dry on the longest elevation and stand back. The stack shows seam rhythm, colour spread across boxes, and whether the grid fights the openings. It costs twenty minutes and is the cheapest place to change your mind. Our published catalogue of installation failures traces a disproportionate share of claims to a skipped dry-fit.

Convert the grid into a purchase quantity
Once courses and corner legs are fixed, area converts cleanly. A 15×60 cm panel face covers 0.09 m2, so 1 m2 needs about 11.1 panels, and the 15×55 cm format needs about 12.1. Do that division per elevation and you get a pick list instead of a guess; the facade quantity method covers openings, corners and container split in full. Our stacked stone line publishes the module per format so the grid is written down, not inferred.
Hand the Crew a Factory-Backed Layout Sheet
The most reliable layout is the one nobody invents on site. A supplier who publishes module, corner sequence, and joint behaviour has already written half the sheet.
What belongs on the sheet
One page per elevation. If a crew can work from it without phoning you, the sheet is finished.
| Item on the sheet | Why the crew needs it |
|---|---|
| Datum height and re-projection points | Every course traces back to one agreed reference |
| Module per product line | Stops 12 inch marking against a 150 mm panel |
| Course count per elevation | Turns height into an ordering quantity |
| Corner leg sequence | Decides where the vertical seam breaks on the turn |
| Position of every partial course | Puts the cut above the head, not at eye level |
| Weep and anchor locations | Keeps the grid from blocking the drainage plane |
| Calculated overage | Fixes the 3% or 5 to 7% tier before ordering |
What the factory sends with it
Every Top Stone Panels delivery carries an installation and dieline guide written for the panel format being shipped. Replacement orders go further. Send a physical sample and the lab spends three days comparing vein density, cutting tolerance and backing construction. It then makes a 1:1 sample at no charge, so the new batch matches the old wall. Same-vein selection matters here, because hand-sorted loose stone holds 95% or better colour transition within a batch and no layout hides a vein change.
How pre-production checks protect site layout
Custom projects get a design-for-manufacturability review covering 20GP loading rate and weight per square metre. Thickness tolerance is checked against ocean freight limits before anything is cut. That step protects the gauge you lay to, and bonded panels hold it through marine-grade epoxy rated from minus 30 to plus 50 degrees Celsius and 26.5 tonnes.
Timing that keeps layout on schedule
Samples and short runs ship in 1 to 3 working days. Stock production is 20 working days from Tianjin Xingang, and a first run with private carton printing takes 25 to 30 working days. Order a mock-up set early enough to build the story pole before the crew mobilises. The installation and technical library holds the rest of the sequence.
Conclusion
A laser level does not install stone veneer. It removes the two things that make veneer fail visually: an unreliable reference and an unplanned remainder. Set a datum you can reach and re-project. Draw the grid in the module you are buying. Verify the beam against itself, then decide where the cut goes before the adhesive opens.
- Before the tripod goes up: has every elevation been divided by its module, and do you know where the remainder lands?
- Before the first course: has the beam passed a rotation check at both ends of the actual run?
- Before the adhesive bucket opens: are the chalk courses, the corner leg sequence, and the weep line marked on the substrate?
- Before the order: are corner pieces counted per linear metre and the overage tier chosen deliberately?
Those four gates are the difference between a wall that reads as set out and one that merely got covered. If you want the module grid, corner takeoff and overage tier worked out against your drawings first, Top Stone Panels will run them alongside the sample stage.
Frequently Asked Questions
Do I need a laser level to install stone veneer?
No. A string line and level work on short walls. A laser earns its place beyond one scaffold lift, where a string sags and a hand-marked grid accumulates error course by course.
What accuracy does a laser level need for stone veneer?
Look for 1/8 inch at 30 ft on a line laser, or plus or minus 1.5 mm at 30 m on a rotary. Anything looser disappears inside your 3/8 to 1/2 inch mortar joint tolerance.
Green or red beam for exterior stone work?
Green outdoors. Red beams wash out in daylight, while green units stay readable at distance and reach 400 ft with a receiver on models such as the Bosch GLL 3-330 CG.
How do I mark stone veneer course heights?
Build a story pole from one real panel, mark it at panel height repeatedly, then snap chalk at each mark. Modules are 150 mm, 100 mm, 200 mm or 152 mm depending on format.
Where should the cut course go on a stone veneer wall?
Above door heads, under soffit shadow lines, or behind downpipes. Never at an approach corner at eye height. Divide the finished height by your module and place the remainder on purpose.