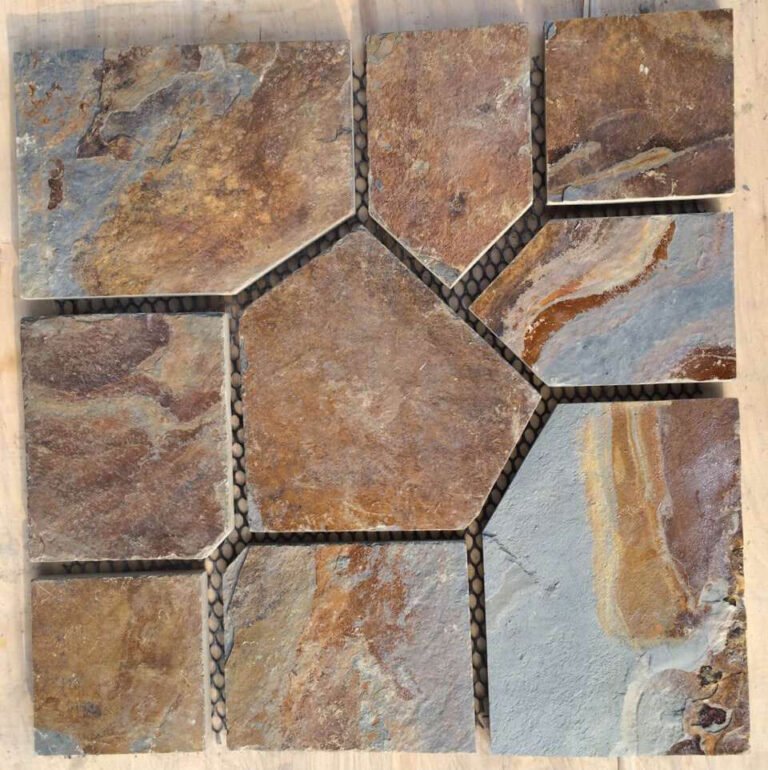
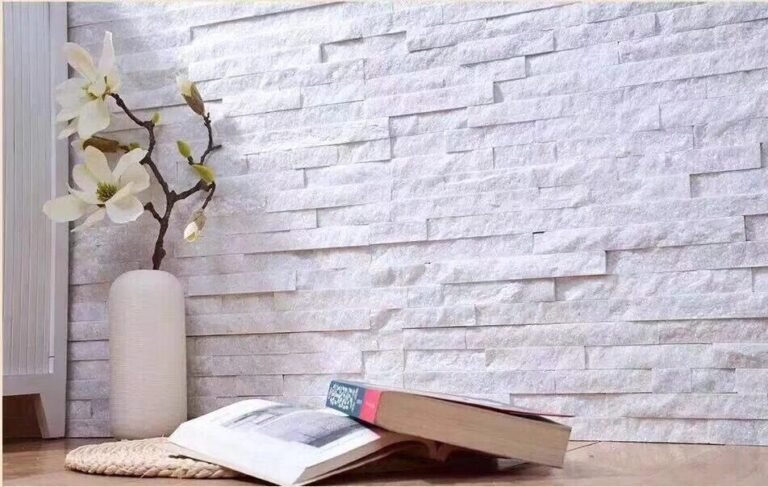
Stand in a finished shower and notice where your hand goes. It goes to the shampoo bottle, and the bottle sits in the niche. That recess is the most-touched square of the entire wet room and usually the least considered: a tile-cut box with a mitred edge, dropped into a wall that was otherwise designed properly.
Facing it in split-face stone changes what the shower reads as, because a niche is viewed at 300mm rather than at 3m. Texture pays off at arm’s length. The three designs below are the ones that hold up in a working wet room rather than only in a render, each with the detail that decides whether it lasts.
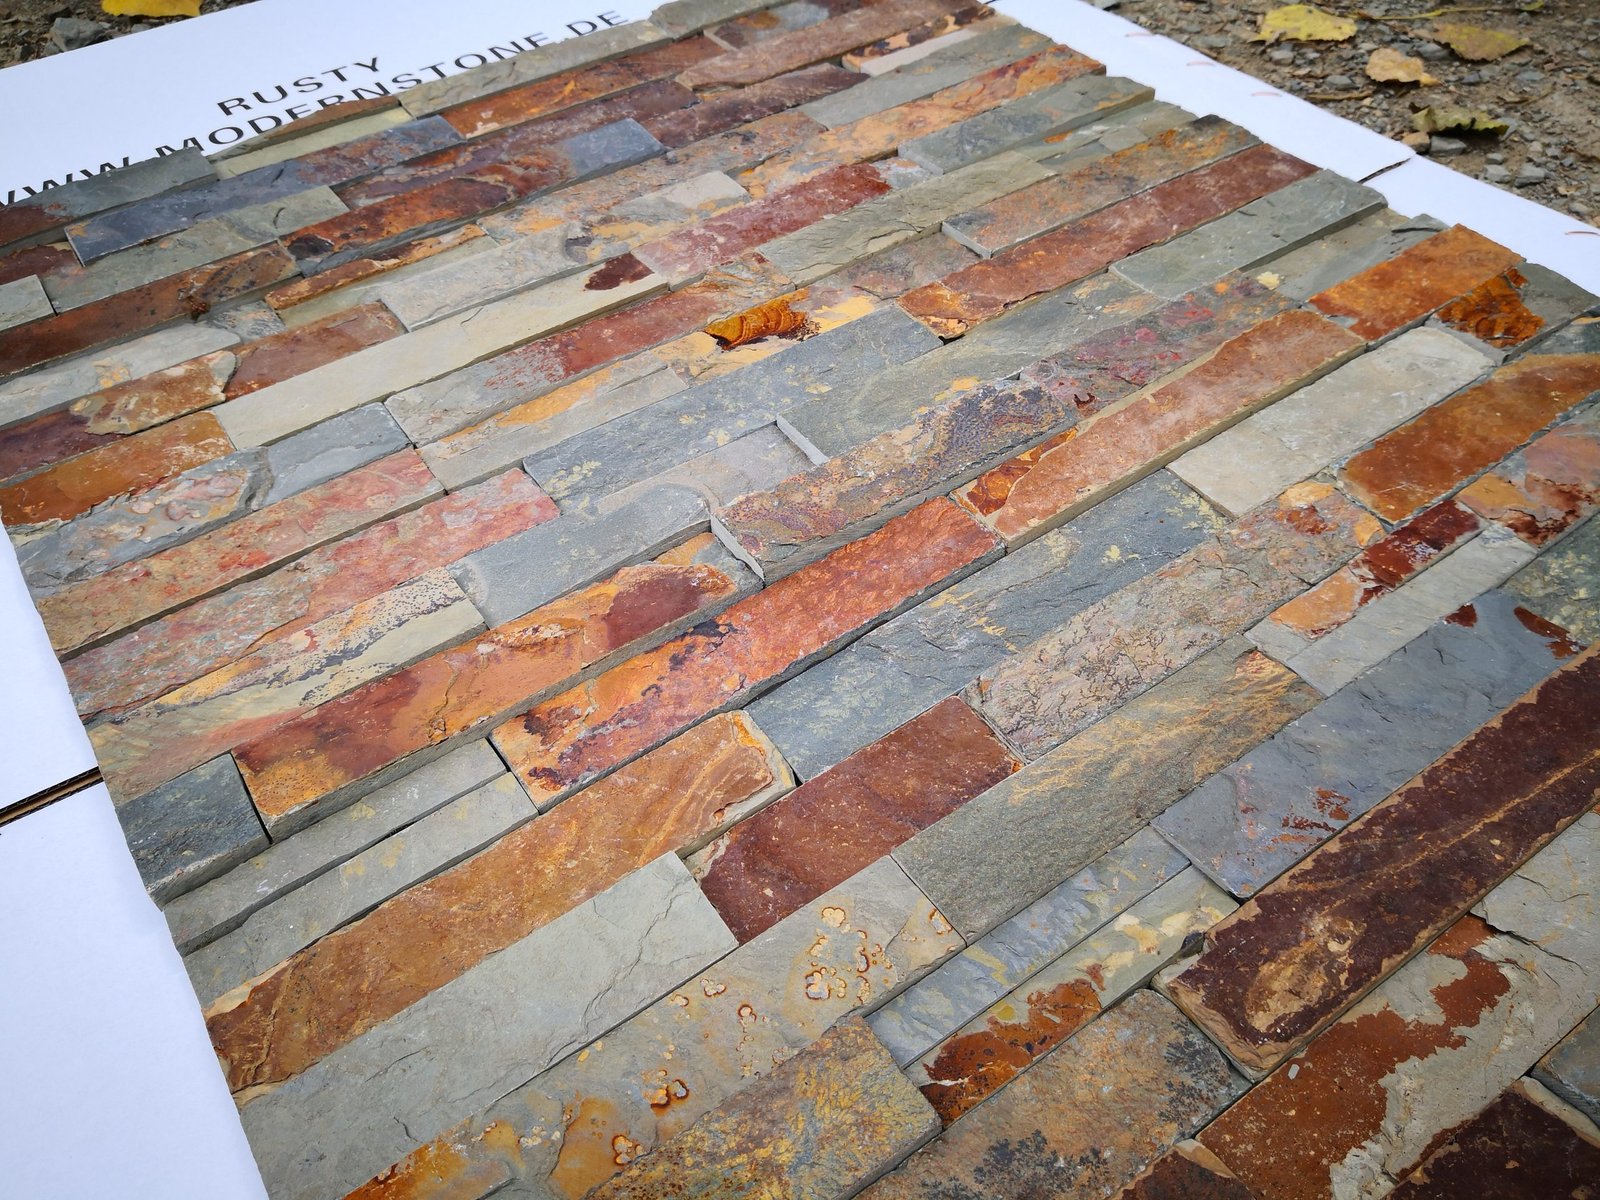
- A niche is a shallow box with three returns, so the facing has to turn the reveal without crowding the shelf.
- Design 1, a full stone reveal with a stone shelf, gives the most cohesion and the most joints to keep sealed.
- Design 2, a ledgestone band against a plain surround, is the fastest to set and the most forgiving of a rough reveal.
- Design 3, a stone box with a solid slab shelf, is the choice for showers that get cleaned weekly.
- Depth is set by framing: expect 60-70mm of usable recess in a standard stud bay.
- The membrane behind the stone decides whether any of the three designs survives.
- Size the Box Before You Choose the Stone
- Design 1: Full Stone Reveal With a Stone Shelf
- Design 2: Ledgestone Band Against a Plain Surround
- Design 3: Stone Box With a Contrasting Solid Shelf
- Choosing Texture That Survives Close Range
- Which Niche Fits Which Bathroom
- Specifying It for a Wet Area
- FAQ
- Conclusion
Size the Box Before You Choose the Stone
Everything downstream of framing is a finish choice, so settle the box first. The recess is cut between studs, and the studs set three of the five dimensions before anybody picks a stone.
Work the arithmetic from nominal framing. A two-by-four wall gives 89mm of cavity, and a bonded membrane, a shelf support and a stone facing consume part of that, which is why a niche built into a standard bay ends up with roughly 60-70mm of usable depth rather than the 90mm the framing implies. Width follows the same subtraction: 600mm stud centres leave about 560mm of clear opening and 400mm centres leave about 360mm. A two-by-six exterior wall is the exception that helps, because its deeper cavity lets a stone shelf and a full reveal both fit.
| Niche dimension | What works | Why |
|---|---|---|
| Interior depth | 60-70 mm usable | Build-up eats the bay |
| Clear width | 360 or 560 mm | Centres minus the stud |
| Height per tier | 200-300 mm | Taller needs a header |
| Shelf pitch | A few degrees forward | Water runs out |
| Reveal return | Thin-format stone | Turns two reveal corners |
| Position | Below the spray plume, at arm reach | Reachable, out of the plume |
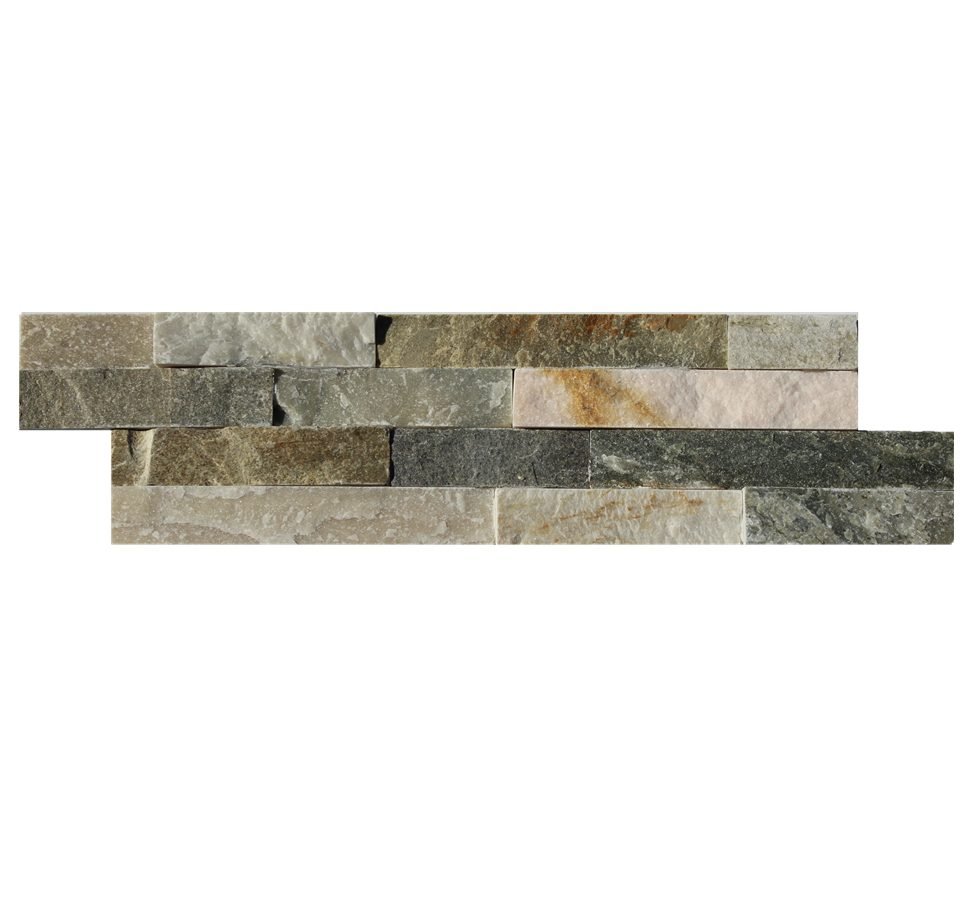
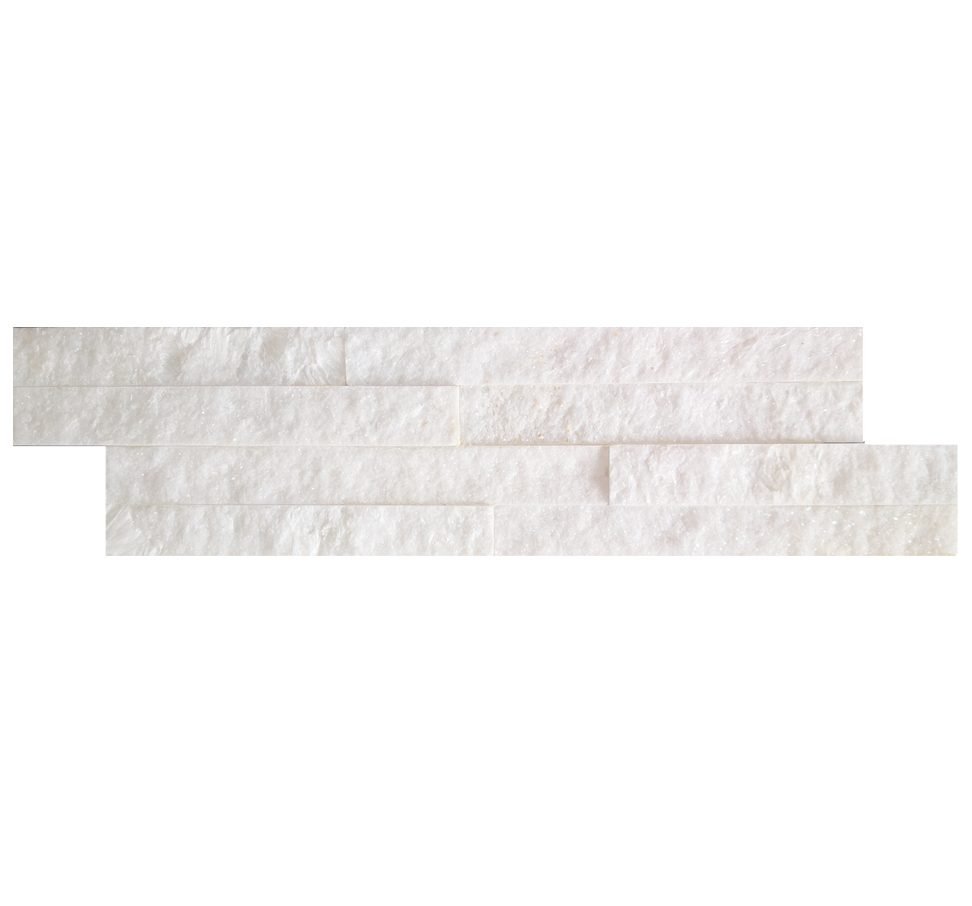
Format is the other half of this decision. A mini ledgestone panel in 36x10cm is a mosaic-scale facing that turns a reveal twice and still leaves the shelf usable, while a heavier stacked-stone panel of the same stone steals centimeters the recess does not have. Thinness in a niche is not a stylistic preference; it is the entry requirement, and the veneer thickness guide from 15mm ultra-thin up covers where each class of face actually belongs.
Design 1: Full Stone Reveal With a Stone Shelf
Run the split face through the opening, around the three returns of the reveal, across the back, and cantilever a solid stone shelf out of the base. The niche stops reading as an insertion and looks like a cut-out in one continuous stone surface. Against a split-face surround, this is the version that photographs as a single material.
| Advantages | Considerations |
|---|---|
| One material wall to recess | Most joints of the three |
| Stone shelf hides the fixing line | Shelf needs solid backing |
| Relief reads at arm’s length | Shallow reveals take care |
| Pairs with a stone surround | Front arris is fragile |
The detail that makes it work is the front edge. Set the stone arris back 3-5mm behind the surround face or trim it with a matched lip; a flush cut edge on a split-face niche is the part that chips in the first month, and a chipped arris inside an enclosure cannot be repaired invisibly. On the returns, a pre-made corner unit beats a site mitre, and the factory credits prefabricated corners with roughly 50 percent less corner installation labor. Fitting corner pieces cleanly covers the mitre route when a pre-made unit does not suit the reveal depth.
Design 2: Ledgestone Band Against a Plain Surround
Keep the shower walls in large-format porcelain or a flat stone and run a horizontal band of split face through the niche, wrapping it onto the wall face above and below the opening. The niche becomes a deliberate band rather than a hole, and the texture sits in a zone you can plan around the spray line.
| Advantages | Considerations |
|---|---|
| Hides reveal irregularities | Plan the band height |
| Fewer stone cuts than a lined box | Two interfaces to seal |
| Suits small enclosures | Reads as a feature |
| Texture in one field | Termination needs sealing |
The band termination is the whole job. A split face ending in a raw cut line against a smooth surround looks unfinished and collects limescale on the step. Square the termination to the niche edge, seal it with a stone-safe sealant matched to the joint width, and let the shelf sit inside the band rather than breaking through it.
A band also solves the small-enclosure problem. In a 900x900mm shower a full split-face surround closes the room in, while one band of mini ledgestone carries the texture and leaves the rest of the wall calm. That is why this version appears more often in refurbishments, where the surround is already fixed and only the recess deserved reworking.
Design 3: Stone Box With a Contrasting Solid Shelf
Line the back and the two returns in split face, then bring a solid honed or flamed slab shelf forward through the opening with a small nose. Texture stays behind the bottles, the surface that gets scrubbed stays smooth, and the front edge is a slab arris rather than a veneer cut.
| Advantages | Considerations |
|---|---|
| Shelf wipes and descales | Batch two materials |
| Slab nose protects the veneer edge | Needs support and a fall |
| Low joint count | Step must drain and seal |
| Suits accessible showers | Nose costs depth |
Specify this one when the niche will be used rather than admired. The shelf carries weight, gets cleaned weekly, and takes the abuse, so making it a solid slab with a bullnose removes the two failures that end stone niches early: a chipped veneer front edge and a rough horizontal joint that holds water against the back panel.
Choosing Texture That Survives Close Range
A niche is inspected at 300mm, standing in water, with a sponge in the hand. That distance and that abuse rule out faces that read beautifully on a facade.
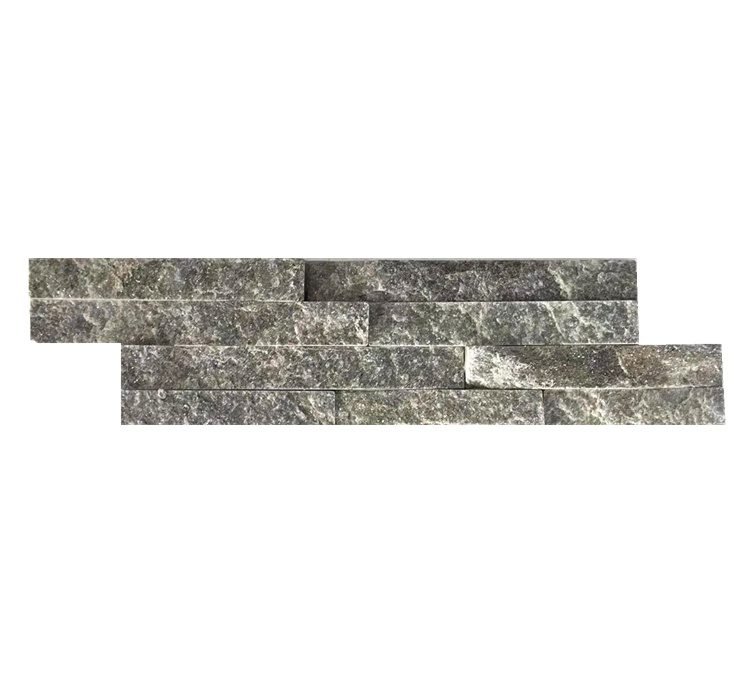
- Mini ledgestone mosaic. The default inside the box. Small relief, tight joints, and a surface a hand can wipe without catching.
- Split-face quartzite with sparkle. Reads as depth under shower lighting and adds a second colour note. Put it on the back panel, where the relief has room, rather than on the returns.
- Deep-relief stacked stone. Strong on a wall, heavy in a recess. Reserve it for a full surround where the eye has distance and the niche can be faced in the same stone.
- Honed or flamed slab. The shelf material. Smooth enough to clean, dense enough to take a bullnose, and the counterpoint a split face needs.
Colour behaves differently wet than dry, and a niche gets wet every day. Slate and quartzite do not fade under UV, but water darkens a split face and pulls out a different tone than the dry sample on a spec sheet. Batch the recess from the same vein as the surrounding wall so the wet-to-dry shift runs across the room instead of being isolated in the box.
Density is the property that decides whether a stone belongs in a daily-wet recess, and it is measured rather than argued about. Ask for the test result against the right standard, because the common one excludes half the product: ASTM C97 covers absorption and bulk specific gravity of dimension stone other than slate, while slate is tested under ASTM C121. Quartzite sits under ASTM C616, the specification for quartz-based dimension stone. The Tile Council of North America Handbook is the reference shower assemblies are detailed against, and the Natural Stone Institute Dimension Stone Design Manual keeps a dedicated wet-areas chapter for the same reason. On our side, how water absorption is measured and specified for stone panels covers what to put on a purchase order. The field version of that test costs nothing: order samples in 1-3 days, soak one for 24 hours, and compare it against the dry one before a batch gets committed.
Which Niche Fits Which Bathroom
The three designs sort by maintenance tolerance, not by style. A new build with a full stone surround should carry the detail through the reveal, because stopping the stone at the recess looks like an unfinished edge. A refurbishment over fixed tiling should band the niche instead of opening the wall. Anything that gets cleaned on a schedule needs a smooth horizontal surface under the bottles, whatever the back panel does.
| Situation | Pick | Reason |
|---|---|---|
| Full stone surround, new build | Design 1 | Continuity is the point |
| Rework over existing tile | Design 2 | Band covers the transition |
| Hotel, gym, family bathroom | Design 3 | Cleanable, protected edge |
| Enclosure under 1 m | Design 2, narrow band | Keeps the room open |
| Roll-in or accessible shower | Design 3 at reach height | Load-bearing, low upkeep |
| Steam or spa enclosure | Design 1, sealed shelf | Stone handles vapour |
Whichever gets picked, the recess is one detail inside a larger wet-room specification. Six spa-style bathroom designs using natural stone veneer covers the surrounds, tub walls and vanity backdrops that the niche has to match.
Specifying It for a Wet Area
A stone niche is a wet-area assembly with a stone finish on it. The build-up order is not negotiable, and it is where most stone-in-shower failures start.
- Framed recess with solid backing. Sheathing behind the box so the shelf and returns have something to bite into.
- Continuous waterproofing. Cementitious backer units are specified under ANSI A118.9, the load-bearing bonded waterproof membrane that goes over them under ANSI A118.10, and the method for installing that membrane under ANSI A108.13, which is written for thin-set ceramic tile and dimension stone. Carry the membrane into the reveal and lap it at the corners; a niche is where a membrane gets punctured most, so inspect it before stone arrives.
- Modified thin-set, not a build-up bed. Specify a latex- or polymer-modified dry-set mortar meeting ANSI A118.4, or the improved modified class under ANSI A118.15 where the shelf needs grab. Thin formats comb onto the wall; a shallow recess with three returns makes a thick bed impossible to control.
- Shelf fixed and tilted forward. Mechanically supported, with the fall set during framing rather than chased in the adhesive. The same logic governs the floor beneath it: the Ceramic Tile Education Foundation states shower floors must slope a quarter of an inch per foot to drain, which is published guidance from the tile industry’s training body rather than a clause to quote in a submittal.
- Sealed after setting, on a schedule. Choose a penetrating sealer suited to slate or quartzite; the technical data sheets for penetrating sealers state that they allow moisture vapour transmission, which is what a wet wall needs, unlike a surface film that adds sheen. Renew on the cycle the product specifies, with a second pass at the front edge and the sill joint. Where the enclosure has a stone floor rather than a tiled one, wet slip is a floor question tested under ANSI A326.3 for dynamic coefficient of friction, and a textured niche face says nothing about the floor’s rating.
The membrane and drainage layer carry the outcome while the facing carries the look, which is why waterproofing best practices for stone veneer in wet areas should be read before the niche is cut, not after it is faced. Sealer choice and the renewal cycle in a humid enclosure are covered in when and how to seal natural stone veneer.
On the supply side, a niche is a small area with demanding finish tolerances, which makes it an awkward purchase on its own. Ultra-thin ledgestone runs 36x10cm at 60,000 square meters per month on slate and quartzite faces, and one 20GP container covers far more than a single bathroom. The practical move for a project buyer is a sample set first and a shared container second, and the thin ledgestone panel range is where the close-range textures sit. The same faces wrap a feature wall outside the enclosure, which turns one small purchase into a matched room.
Frequently Asked Questions
Is natural stone veneer OK inside a shower?
Yes, when the wall behind it is a proper waterproofed assembly and the stone is a dense slate or quartzite set on thin-set. The face is not the waterproof layer, so the membrane has to run continuous into the reveal.
Does a rough stone niche cause cleaning problems?
A deep-relief face inside a recess holds water and limescale. Mini ledgestone or a low-relief split face wipes clean, and a solid slab shelf under the bottles removes the surface that actually gets scrubbed.
Which stone format fits a niche?
A thin format rather than a heavy stacked panel. The recess has to turn two reveal corners and still leave 60-70mm of usable depth, which a standard panel format cannot do inside a stud bay.
Should the niche shelf be sloped?
A few degrees forward sends water out of the recess and into the shower drain instead of letting it stand against the back panel behind the bottles.
Can a niche be added to an existing tiled shower?
Only by opening the wall and rebuilding its waterproofing, so it belongs in a renovation scope rather than a cosmetic update. A ledgestone band over the existing face is the workaround that avoids cutting the wall open.
Conclusion
Three designs, one decision underneath them: how much maintenance you are willing to buy. A full stone reveal buys continuity and costs joints. A ledgestone band buys speed and covers an imperfect reveal. A stone box with a slab shelf buys a surface that survives weekly cleaning. Pick against how the shower gets used rather than against the render.
Key takeaways:
- Thin format is the entry requirement, because the recess turns two reveal corners and still has to leave 60-70mm of usable depth.
- Design 1 for a new full-stone surround, Design 2 for a refurbishment band, Design 3 for any shower cleaned on a schedule.
- Batch the niche with its wall from the same vein, and check samples wet as well as dry.
- Waterproofing, adhesive and shelf fall decide whether a stone niche lasts; the texture only decides whether it is worth looking at.
Top Stone Panels splits ultra-thin ledgestone and split-face quartzite in 36x10cm with same-vein batch control, with samples in 1-3 days for exactly the 24-hour soak described above. Request a niche sample set and match the recess to the wall it sits in.