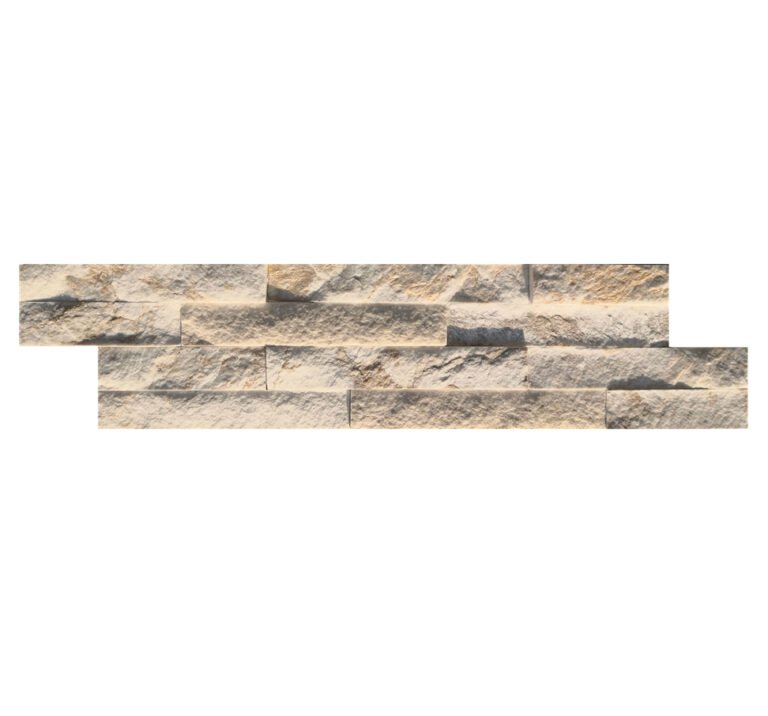
The wall calls that come too late always start the same way: “We already put the rigid foam on, can we just glue the stone to it?” The honest answer is no. The reason is not adhesive strength. Foam board, whether EPS, XPS, or polyiso, is compressible and not a structural substrate. Adhered stone veneer over rigid insulation works, but only if the assembly is designed so the setting material never touches the foam.
This guide covers the three code-safe routes for installing stone veneer over rigid insulation, the drainage and flashing details that keep insulated walls dry, and the sourcing numbers that matter for container buyers. Technical guidance is verified against standard veneer practice, and product facts come from Top Stone Panels, a quarry-owning slate and quartzite exporter in Yixian County, Hebei.
- Never adhere stone directly to foam. Rigid insulation is compressible; the setting material needs a rigid substrate.
- Route A: cement backer board screwed through the insulation into framing, then adhered stone with polymer-modified mortar.
- Route B: self-furring metal lath mechanically fastened into studs, a scratch coat, then a full mortar bed.
- Route C: interlocking Z-panels as a mechanically fastened rainscreen, with foam left behind a ventilation cavity.
- Cold climates require two water-resistive barrier layers plus drainage provision behind the veneer.
- Slate and quartzite veneer tolerates -30 to +50 °C, so the assembly details, not the stone, are the freeze-thaw variable.
- Why Foam Board Can’t Take Stone Directly
- Three Code-Safe Routes
- Route A: Backer Board Over Insulation
- Route B: Metal Lath and Scratch Coat
- Route C: Interlocking Panels on a Rainscreen
- Setting the Stone: Mortar Rules That Apply Anywhere
- Flashing, Sills, and Drainage Details
- Cold-Climate Checks
- What to Buy and What Ships in a Container
- FAQ
- Conclusion
Why Foam Board Can’t Take Stone Directly
Rigid insulation boards are engineered to slow heat transfer, not to carry loads. EPS and XPS foam dent under a fingernail, polyiso facers flex under a thumb, and all three move with temperature swings in ways a thin-set film cannot absorb. Glue a panel to foam and the bond line becomes the single most stressed element in the wall: wind suction, thermal movement, and any trapped moisture all act on it at once.
The accepted veneer practice is explicit about substrates. Bare drywall is not an approved veneer substrate, and neither is foam; approved practice puts a rigid layer, such as cement backer board or metal lath, mechanically fastened into the framing members behind. The rigid panel insulation itself is treated as a thermal layer in the assembly, never as the anchor for adhered stone. Builders who remember that distinction get insulated walls that stay up; the ones who glue stone to foam pay for it at the first freeze.
There is a second reason the direct-glue shortcut fails: drainage. A veneer wall sheds water at the surface, but joints and flashings leak a little by design. The assembly needs a drainage plane behind the stone to route that incidental water out before it reaches the insulation and rot-prone framing. Foam glued flush against stone leaves nowhere for the water to go.
Three Code-Safe Routes
All three routes below share the same principle: a rigid, mechanically anchored base carries the veneer, and the foam stays behind that base. The route you pick depends on the panel format, the building structure, and whether the budget favors labor hours or material cost.
| Route | Assembly | Best for | Watch out |
|---|---|---|---|
| A. Backer board | Foam + cement backer board screwed into studs + adhered stone | Flat-backed panels, smaller elevations | Board seams need tape and mesh; screws must hit framing |
| B. Lath + scratch | Foam + self-furring metal lath into studs + scratch coat + full mortar bed | Irregular split stone, traditional look | Heaviest route on labor; scratch coat must cure before facing |
| C. Rainscreen panels | Foam + vented cavity + mechanically fastened interlocking Z-panels | Large facades, fast installation | Fastener pattern must follow manufacturer layout |
Route A: Backer Board Over Insulation
Route A is the cleanest retrofit path for flat-backed panels, and it is the route most interior installers already know. The foam stays on the wall, and cement backer board becomes the load path. The critical detail is fastener depth: screws must pass through the foam and bite into studs, not just hold the board to the insulation face.
- Lay the water-resistive barrier over the foam, taping the seams, so incidental moisture never touches the foam joints.
- Position cement backer board over the insulation, offsetting the joints from the foam panel joints below.
- Drive corrosion-resistant screws through the board and foam into every framing member, 15-20 cm on center through the field and tight at the edges.
- Tape and mesh the board seams with the manufacturer’s seam treatment so the surface behaves as one plane.
- Set flat-backed panels with polymer-modified mortar, holding a straight reference line and consistent joints of 1.3-2.0 cm for stacked panels.
Backer board is not a moisture cure-all. It wicks water if it sits in a puddle, so the drainage rule still applies: flash the base, keep the bottom of the board 8-10 cm above grade, and let the sill flashing turn water outward. For interior rooms that share the technique, the stone veneer wainscot installation guide shows the same backer sequence on a smaller scale.
Route B: Metal Lath and Scratch Coat
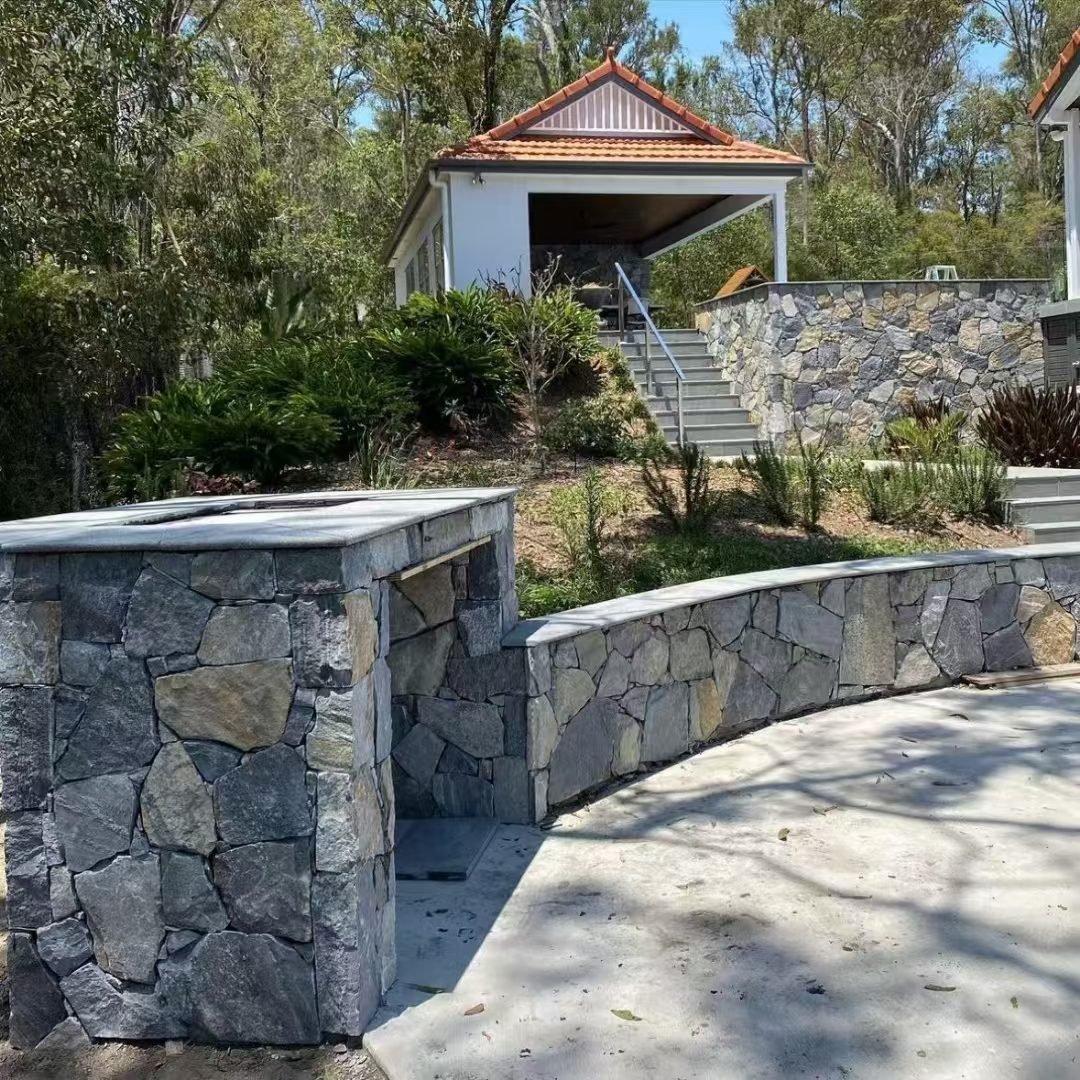
Route B is the traditional exterior veneer assembly and the right answer for irregular split stone. Instead of a board, self-furring metal lath is mechanically attached through the foam into the framing; a scratch coat of mortar is traveled over it; and the stone is set into that rigid plaster base.
- Install two water-resistive barrier layers over the foam, plus a drainage provision, in cold and wet climates.
- Staple or screw self-furring metal lath over the barrier, fastening into framing members and not just the sheathing or foam.
- Lap the lath at seams and at corners so the mesh plane is continuous before mortar goes on.
- Apply a scratch coat of mortar, roughly 10-13 mm, and score it while soft to key the facing bed.
- After the scratch coat cures, set the stone with a full Type S or N mortar bed, back-buttering each piece.
The lath rule is the one installers try to skip: fasten into framing, not into sheathing or foam. A lath stapled only to plywood or held by foam is a floating mesh, and the scratch coat cracks at the first movement. The rainscreen construction guide compares this adhered route with the ventilated option on large projects.
Mortar choice follows the same practice as any full-bed exterior: Type S or N masonry cement or polymer-modified adhered-veneer mortar, applied consolidated rather than skimmed. Fresh mortar wipes off stone in seconds. Cured mortar is a chisel job and a scar, so clean as you go.
Route C: Interlocking Panels on a Rainscreen
Route C removes the bond line from the equation entirely. Instead of adhering the stone to a substrate, interlocking Z-panels mount mechanically on the wall, and the rigid insulation stays behind a ventilated cavity. It is the fastest route for large elevations and the one that gives the drainage plane the most room to work.
Top Stone Panels interlocking Z-panels measure 20×55 or 15.2×61 cm with male-female edges and cement or mesh backing. The mechanical mount is straightforward: furring or tracks carry the panel clips, the Z-edge interlocks the next panel, and fasteners follow the manufacturer’s layout so wind loads route into the framing rather than into the foam. Because the panel face is split slate or quartzite, the finished effect is the same stone wall as the adhered routes, minus wet installation.
This route pairs naturally with continuous insulation, and it is why the Z-panel backing systems guide is required reading for commercial walls: the backing type and fastener pattern are load-bearing decisions, not accessories. The interlocking Z-panel product page lists the two formats and the accessory corners that close out the system.
Setting the Stone: Mortar Rules That Apply Anywhere
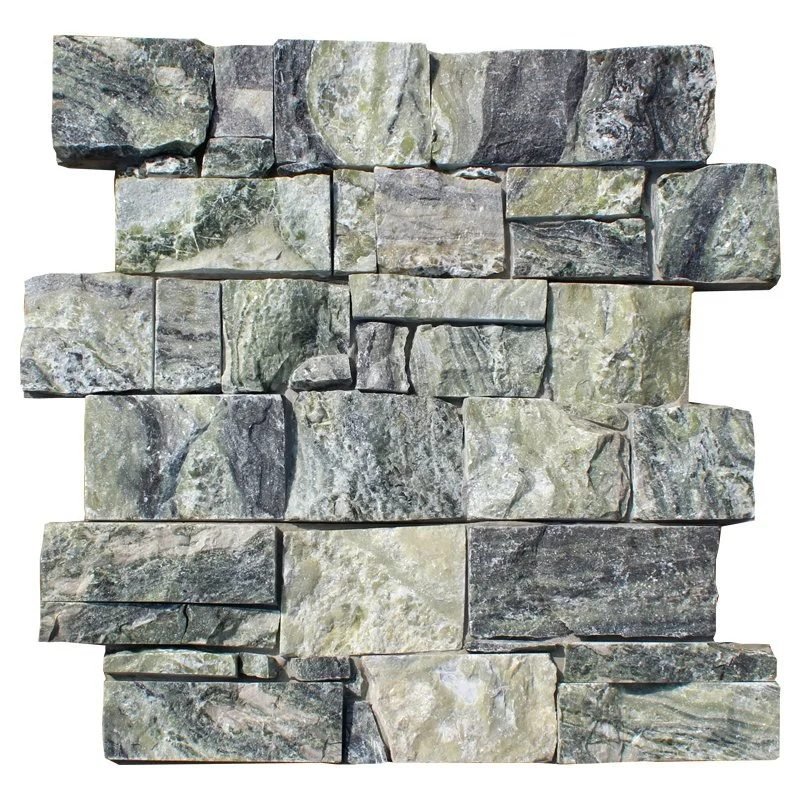
Whichever route carries the stone, the setting rules stay the same. Skim coats are the number-one field failure; a consolidated bed is the cure. Work the mortar onto the panel back, press the panel into the fresh bed, and let the mortar support the entire face rather than “stick” in a thin film. On flat-backed panels, a notched trowel and back-buttering give the bond the polymer-modified mortar needs.
Approved setting materials are polymer-modified mortar at ANSI A118.4-class bond, or site-mixed Type S or N masonry cement. Match the material to the substrate zone and do not mix two wet systems in one bed. Keep joints consistent, strike them while soft, and plan the wall so each zone cures as one system. The weatherproof joint guide covers the exterior sealing pass that protects the setting from the weather after the mortar cures.
Temperature discipline matters more over insulation because the thermal mass behind the stone changes. Do not set when the air will freeze within 24 hours, keep the mortar off in direct rain, and protect a fresh wall with a breathable cover until the bed cures.
Flashing, Sills, and Drainage Details
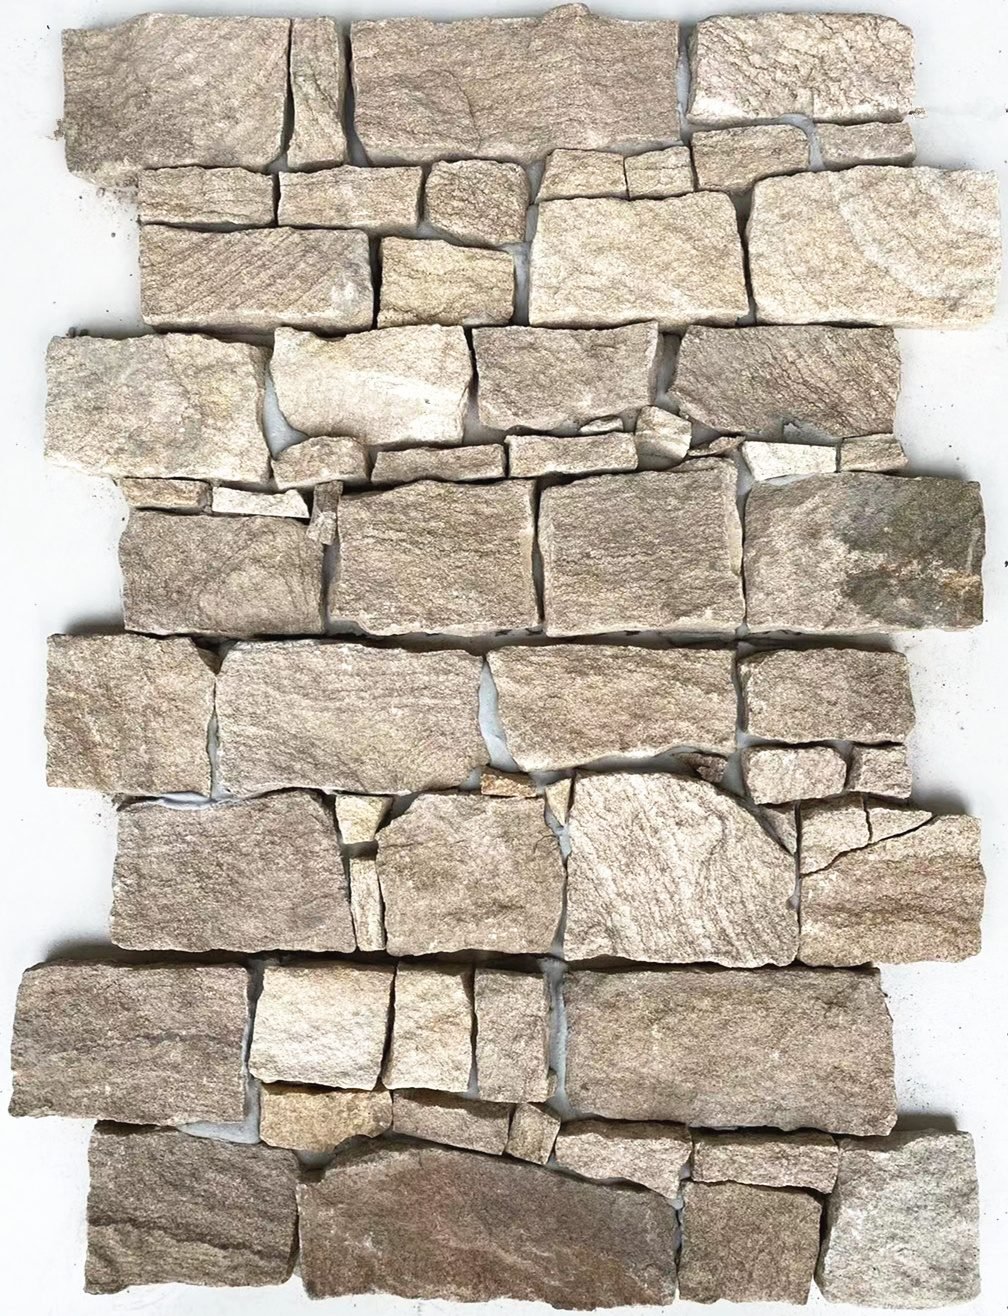
Insulated veneer walls fail at the edges first. Sill flashing, base flashing, and the top termination are the three details that keep incidental water out of the assembly before it can reach the foam and the framing.
- Flash every horizontal break: window sills, wall bases, and balcony slabs need a turned flashing that brings water to the face of the veneer.
- At the base, hold the veneer 8-10 cm above grade or paved surface so splash stays off the setting bed.
- At the top, cap or counterflash the wall so water never runs down the back of the stone.
- Use weep or vent breaks at the base on rainscreen routes so the cavity drains and dries.
- Where a veneer wall meets a roof, the counterflashing must overlap the stone by at least 5-7 cm.
These are the details an inspector walks first, and they are the ones that separate a stone wall from a maintenance account. For the same discipline applied to joints, the installation mistakes guide lists the edge and flashing errors installers repeat most often.
Cold-Climate Checks
Cold climates are where insulated veneer earns its keep, and where a shortcut becomes a claim. Natural slate and quartzite veneer tolerates -30 to +50 degrees Celsius and is ultraviolet-stable, so the stone survives the climate; the assembly has to as well. That means two water-resistive barrier layers plus drainage provision behind lath routes in cold and wet regions, and a vented cavity on rainscreen routes so vapor can exit.
Think of the freeze-thaw path: water gets behind the veneer, freezes, and expands. If the drainage plane is missing, the expansion finds the weakest joint. If it is present, the water drains out before the cold can use it. That is why the insulation layer that makes the building efficient also has to be paired with the drainage details this guide lists; neither substitute for the other.
What to Buy and What Ships in a Container
For container buyers, the sourcing sheet matters because the panel format determines which route is realistic. Flat-backed thin ledgestone suits adhered routes; interlocking Z-panels open the rainscreen route; irregular thin veneer strips demand a full mortar bed. The table below is the supply picture from the factory.
| Product line | Format | Backing | Typical insulated-wall route |
|---|---|---|---|
| Thin ledgestone | 36×10 cm ultra-thin | Epoxy / mesh | Route A on backer board |
| Interlocking Z-panels | 20×55 / 15.2×61 cm | Cement / mesh | Route C rainscreen |
| Thin stone veneer | Random split-face strips | Unbacked split face | Route B lath + full bed |
| Stacked stone | 15×60 / 15×55 cm + L-corners | Cement / epoxy | Route A or B |
| Column kits | Custom 40×40 / 50×50 cm | Cement corner pieces | Route A on backer |
MOQ across lines is one 20GP container, standard production runs 20-25 working days, physical samples ship in 1-3 days, and trade terms go from FOB Xingang to EXW, CIF, or DDP. Route the request through the factory before you commit: matching the panel format to the insulated-wall route at order time costs nothing, and it saves a call-back season later.
FAQ
Can stone veneer go directly on rigid foam board?
No. Foam is compressible and not structural. Install cement backer board or metal lath through the insulation into framing before any adhered stone.
What are the three ways to install veneer over insulation?
Backer board over the foam with adhered stone, metal lath with a scratch coat and full mortar bed, or a mechanically fastened rainscreen with interlocking panels.
Do I need a vapor or water barrier behind the stone?
Yes. In cold and wet climates install two water-resistive barrier layers plus a drainage provision behind the lath or backer assembly.
What mortar should I use for stone veneer over insulation?
Polymer-modified adhered-veneer mortar at ANSI A118.4-class bond or Type S or N masonry cement, applied over the rigid substrate.
Can Z-panels be screwed instead of glued over insulation?
Yes. Interlocking Z-panels mount as a mechanically fastened rainscreen, leaving the foam behind a ventilated cavity.
Conclusion
Installing stone veneer over rigid insulation is not a special material problem; it is a substrate discipline problem. Keep the setting material off the foam, mechanically anchor a rigid base into the framing, and let the drainage details work. The three routes, backer board, lath and scratch, or rainscreen panels, cover every common wall, and the route choice follows the panel format and the schedule.
Buyers who lock the route at order time get the container they can actually use: flat-ledger for backer board jobs, Z-panels for rainscreen facades, random strips for lath walls. Top Stone Panels ships all five lines at a one-20GP MOQ with 20-25 working-day production, samples in 1-3 days, and the factory will confirm which format belongs on your insulated assembly. Ask for the single-plane detail drawing and the backing spec before you order.
Key Takeaways
- Foam never carries stone directly; backer board or lath through the insulation into framing does.
- Route A is fastest for flat-backed panels, Route B for irregular stone, Route C for commercial facades.
- Two water-resistive barriers plus drainage are the cold-climate price of an insulated stone wall.
- Match the panel format to the route at order time; the factory can confirm the backing spec in writing.
Start the conversation with a sample board and a route sketch, and the insulated wall you build will be the one that stays up.