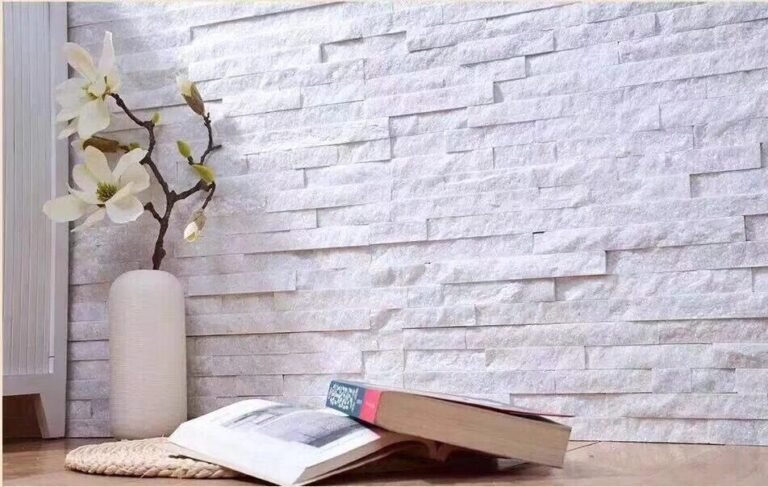
Walk around any veneer wall that is failing and the pattern repeats: the stone face looks dry, solid, and healthy. The damage is behind it. Water finds the joint, the seam, or the flashing gap, and it works from the back forward, softening the substrate and pushing salt to the surface. By the time the wall shows a problem, the problem has been inside for months. Weatherproofing stone veneer is not about making the face waterproof; it is about deciding where water is allowed to go and giving it an exit. This guide covers the five openings that leak, the flashing and sealant details that close them, and the mortar and tooling habits installers need for a joint that survives the first freeze.
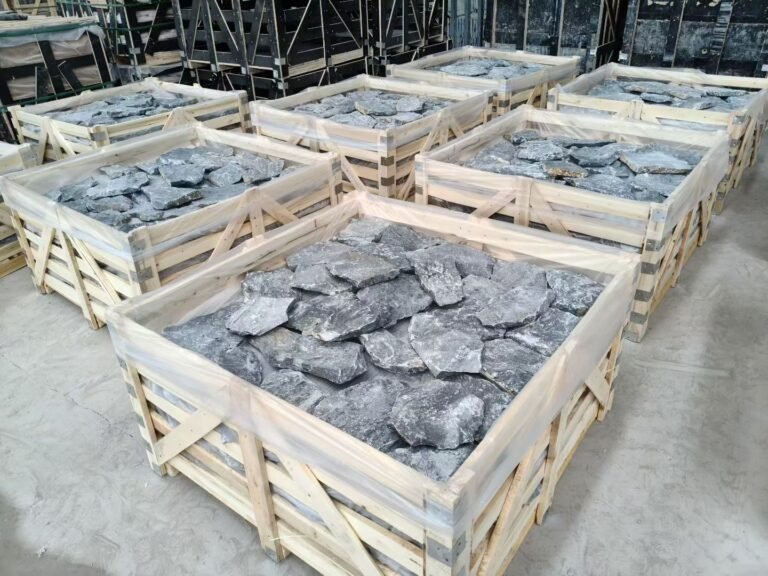
The material itself behaves well if the details are right. Dense slate and quartzite absorb little water, and the factory panels at Top Stone Panels carry cement, mesh, or epoxy backing with a -30°C to +50°C rating. That rating addresses the panel; it does not address the joint between panels. Installers who treat joints as the weak point and detail them accordingly get walls that stay dry; installers who treat the stone as the whole answer get callbacks. The difference is a few hours of flashing work and the right bead of sealant.
- Dense stone is not the leak point; joints, flashes, and penetrations are. Detail those and the wall stays dry.
- Install base flashing and drainage before the veneer; a drained cavity beats any sealant job.
- Bed and tool mortar joints fully; open joints let water reach the substrate and cause efflorescence and spalling.
- Use an elastomeric sealant meeting a standard like ASTM C920 at movement and transition joints, with a backer rod.
- Seal joints around windows, doors, and corners as a second line, and keep movement joints 6-12 mm wide.
- Use breathable penetrating sealers on the face in wet zones; film sealers trap water and cause more damage than they prevent.
- Where Water Actually Enters a Veneer Wall
- Flashing and Drainage Before the Joints
- Mortar Joint Bedding and Tooling
- Sealant Joints for Movement and Transitions
- Windows, Doors, and Corner Details
- Face Sealers: When They Help and When They Hurt
- Measuring Your Detailing Against Failure Modes
- Repairing Failed Joints and Seams
- FAQ
- Conclusion
Where Water Actually Enters a Veneer Wall
Rain falls everywhere on a wall, but the wall fails in specific places. Treat the five entry points separately and the wall behaves. First, mortar joints between panels: an open or incompletely filled joint gives water a straight path to the substrate. Second, sealant joints at movement and transition points: a failed or wrong-width sealant bead turns a control joint into a funnel. Third, flashing gaps at the base, above windows, and at changes of plane. Fourth, penetrations — pipes, vents, conduit, lighting. Fifth, the edges: corners, copings, sills, and the top of parapet walls where water runs behind the veneer.
Rank them by frequency and the first two account for most leaks. A mortar joint that is only 70% filled looks fine from a ladder and leaks from day one. A sealant joint that is too wide for its depth tears because the bead cannot flex. The rest of the list shows up later and is more dramatic when it fails: a missing window head flashing dumps water into the cavity and shows as a stain on the interior wall months afterward.
| Entry point | Leak mechanism | Primary fix |
|---|---|---|
| Mortar joints | Open or partially filled joints | Full bedding and tooling |
| Movement joints | Oversized or undersized sealant beads | ASTM C920 sealant over backer rod |
| Flashing gaps | No drainage path at base or openings | Base, head, and through-wall flashing |
| Penetrations | Unsealed conduit, vents, and pipes | Boot flanges and sealant |
| Corners and copings | Water running behind edges | L-corners, caps, and edge returns |
Flashing and Drainage Before the Joints
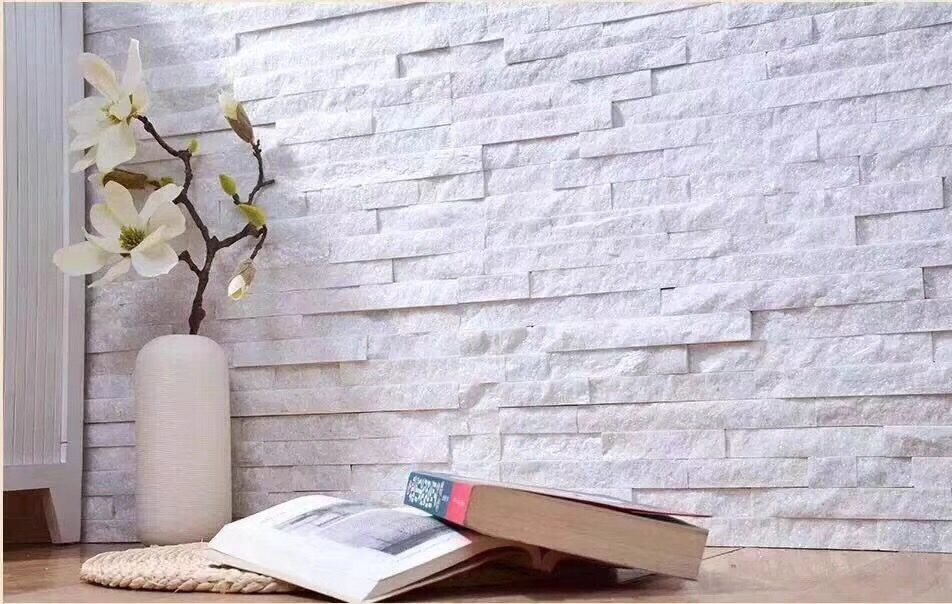
Flashing is the insurance policy that makes every other detail work. A properly flashed wall accepts a small leak here and there, because the flashing catches the water and routes it outside. A wall without flashing converts every leak into a failure. The minimum set for a veneer wall: base flashing at the foundation line that directs water out and away, head flashing and a drip edge above every window and door, and flashing at changes of plane such as floor lines and parapet caps.
The second rule is drainage. Flashing only works if water can move. The waterproofing behind stone veneer guide covers the weather-resistive barrier, weep holes, and the drained gap that carry water out of the cavity. Install the barrier and flashing before the veneer; trying to retrofit drainage behind an installed wall is expensive enough that it usually never happens correctly.
Where the wall meets grade, slope the finished ground away from the foundation and keep the veneer clear of soil contact. Water that sits against the base flashing will find the seam. In wet zones, install a concrete splash or paving strip at the base so rain bounce does not keep the joint wet. The wet-area waterproofing article applies the same logic to showers and pools, where the consequences of failure are immediate.
Mortar Joint Bedding and Tooling
The character of a stone wall is in its joints, and so is its water performance. Mortar joints on veneer panels run 8-12 mm, and every millimeter must be full. Press the mortar into the joint until it contacts the backing material; a joint that looks filled from the face can be hollow behind the edge, which is exactly where water enters. Work in manageable sections and wet the stone edges lightly if the weather is hot, so the mortar does not lose moisture and shrink away from the bond.
Tool the joint while the mortar is still plastic, at the right consistency for the joint profile. A flush or slightly recessed joint sheds water best and reads clean on modern panels. A deeply raked joint casts more shadow and hides imperfections but gives water a ledge to sit on before it dries. The grouting and joint profile guide compares the options for stacked stone. Whichever profile you choose, complete the tooling in one pass so the surface is dense rather than smeared.
Let the mortar cure before weather hits it. A full 24-48 hours of cure in mild weather, longer in cold or damp conditions, produces a joint that holds its shape. Trowel a freshly struck joint in a rainstorm and you wash the fines out of the top layer, leaving a porous groove that spalls on the first freeze. Sequence the work so walls are protected or at least jointed on dry days.
Sealant Joints for Movement and Transitions
Mortar cannot absorb movement. Where walls flex, settle, or change temperature, use a sealant joint instead of a filled mortar joint, and design it as a designed gap, not an afterthought. The classic rule: an elastomeric exterior sealant meeting a standard like ASTM C920 as summarized in the sealant reference, applied at a roughly 2:1 width-to-depth ratio, with a backer rod controlling the depth. A 12-mm-wide joint gets a 6-mm-deep sealant reservoir; the bead bonds only to two faces and stretches instead of tearing at the back.
The backer rod is the detail amateurs skip. Without it, sealant bonds to three faces and pulls apart when the joint moves. With it, the sealant forms an hourglass cross-section that flexes. Size the rod so the sealant depth lands between 6 and 9 mm on standard joints, and tool the bead slightly concave so water sheds off both edges. Movement joints belong every 6-9 m on long walls, at floor transitions, and on both sides of building corners where two wall planes move independently.
Choose the sealant chemistry for the stone. Neutral-cure silicone works with most natural stone and does not stain it. Acrylic latex costs less and paints over, but it does not flex as far and fails faster outdoors. Polyurethane has good adhesion and abrasion resistance but can leave a dark bloom on some stones. Confirm the sealer-stone compatibility on a sample before applying to the wall; a staining bead on a light quartzite face is expensive to remove.
Windows, Doors, and Corner Details
Every opening in a veneer wall is a seam waiting to leak. The window frame meets the veneer at the jamb, head, and sill, and each side has different water behavior. Above the window, a flashing with a drip edge routes water over the opening. At the sill, slope the stone so water sheds forward, and seal under the sill to stop capillary pull. The stone window sills and surrounds article covers the slope and overhang details that keep sills dry.
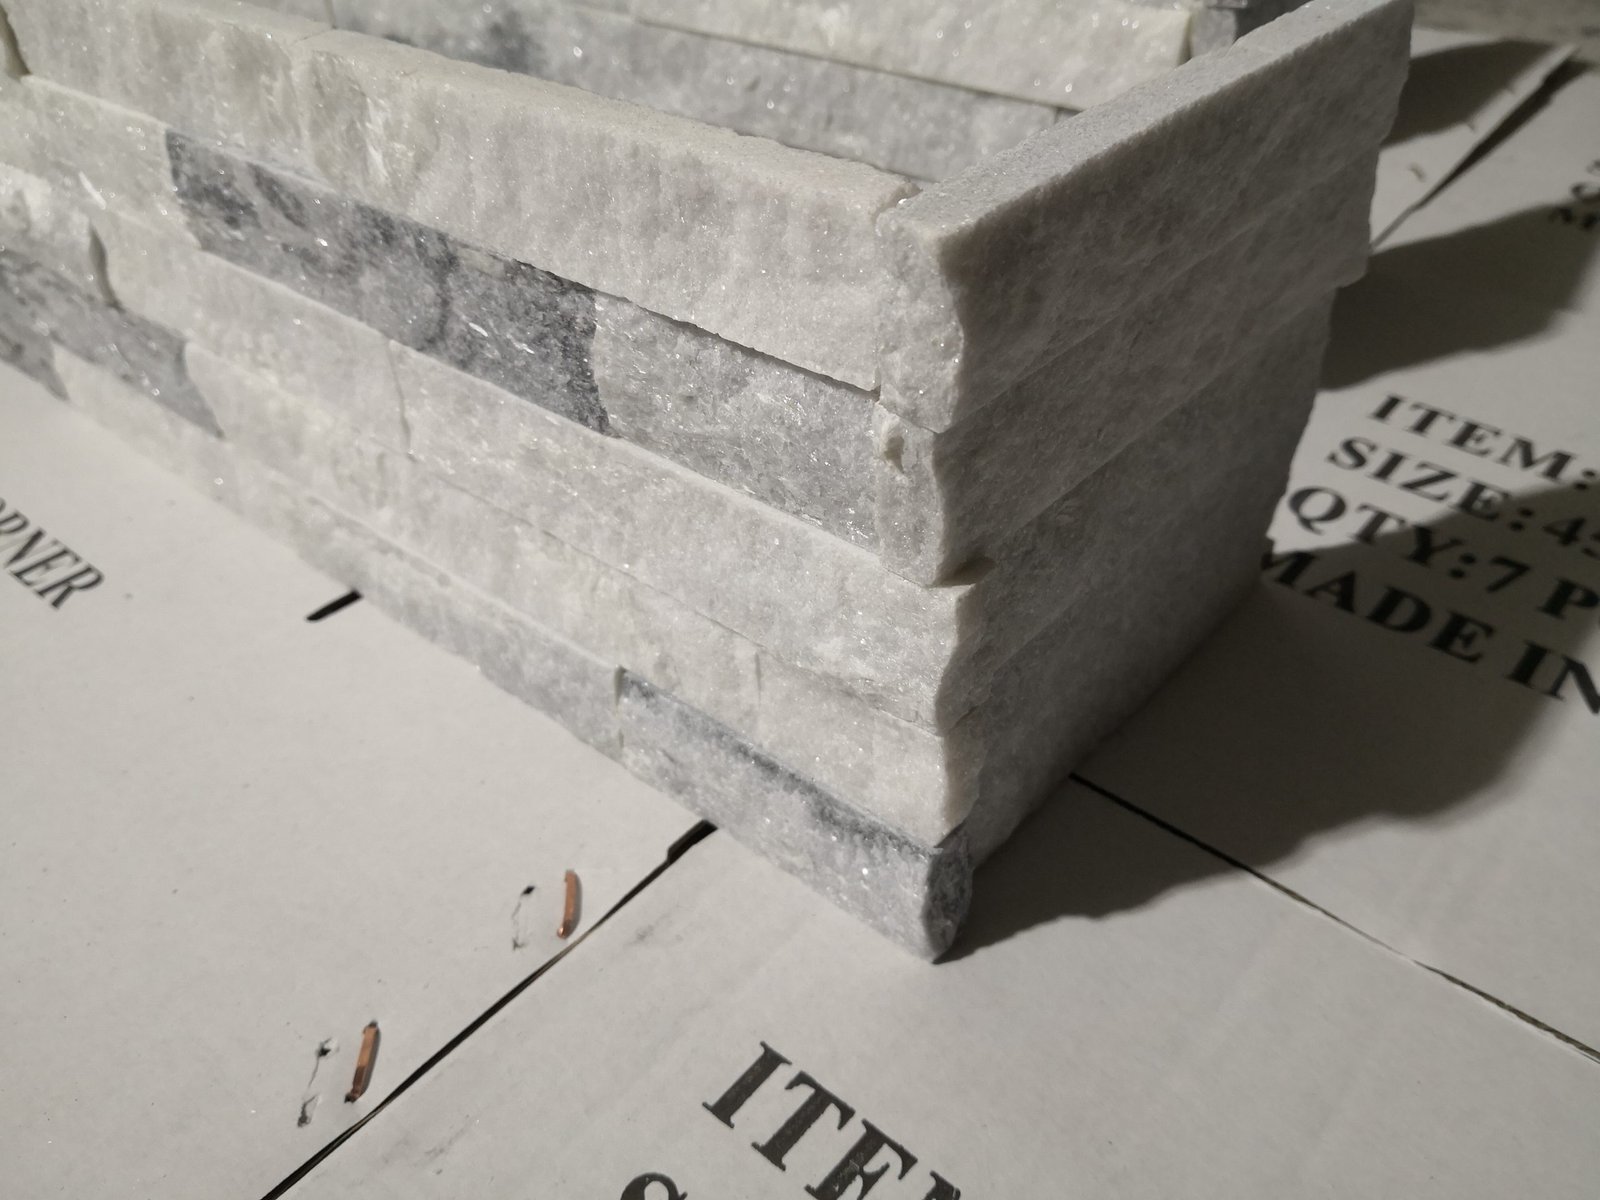
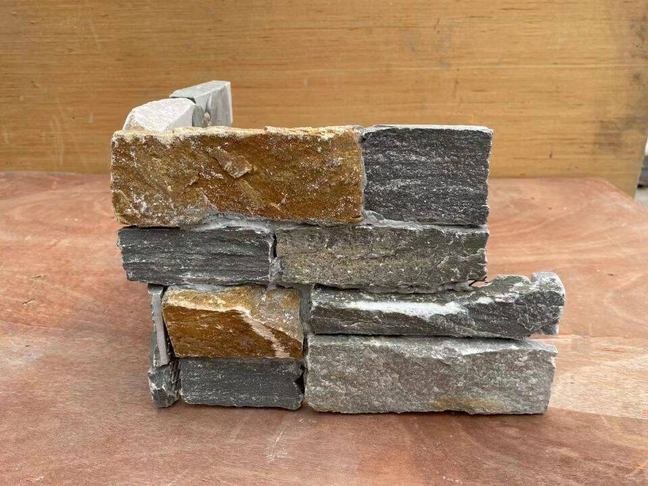
Corners concentrate movement. A wall corner is two planes moving at different rates, so run a continuous sealant joint or a factory-fabricated corner piece with a matching joint system. Pre-made L-corners such as those in the stacked stone product line give a clean 90-degree turn with a designed corner joint, avoiding the field-mitered seam that leaks. But the veneer corner alone does not waterproof the corner; the flashing and the sealant at the top and bottom of the corner complete the detail.
Door thresholds and deck-to-wall transitions need the same treatment, with a slope away from the building and a sealant bead where the deck ledger meets the wall. Where siding, metal, or wood meets veneer, install a transition flashing and seal the interface. The retrofit installation over brick demonstrates how these transitions behave when the veneer is added to an existing building envelope.
Face Sealers: When They Help and When They Hurt
The shortest path to a worse wall is a film-forming sealer on the face of stone veneer. Film sealers close the surface pores, so when water finds a crack or joint, it has nowhere to go and migrates sideways through the wall, causing the exact staining and spalling the owner hired the sealer to prevent. Breathable penetrating sealers behave differently: they line the pores with a low-surface-energy repellent while letting vapor pass, so the stone sheds water but can still dry.
Use a penetrating sealer on moderately porous stone in wet zones, on horizontal surfaces like sills and copings that hold water, and above grade on light-colored stone prone to staining. Skip it on dense slate and quartzite, where the absorption is low enough that a sealer adds little, and skip it indoors where there is no water drive. The sealing guide for natural stone veneer goes through product families and application counts in detail.
The honest hierarchy: flashing and drainage first, joint detailing second, and face sealing a distant third. An unsealed wall with perfect flashing and joints outlives a sealed wall with leaks behind the face. Shift the budget accordingly, and use the sealer budget on the details that actually move water.
Measuring Your Detailing Against Failure Modes
Audit the completed veneer against the known failure modes before the scaffold comes down. Water stains below a window mean the head flashing is missing or the sill sloped wrong. Efflorescence at the base means ground contact or a base flashing failure. Cracks along a corner indicate movement the sealant joint did not absorb. Each failure traces to a single detail, and a pre-close inspection catches most of them at the price of a walk-around.
| Observed symptom | Likely cause | Inspection point |
|---|---|---|
| White salt stain at wall base | Ground contact or missing base flashing | Base flashing and grade slope |
| Interior stain below a window | Missing head flashing or sill slope | Window head and sill details |
| Crack along a building corner | No movement joint at the corner | Corner sealant joint width |
| Water stain on light stone face | Open mortar joint or film sealer trap | Joint fill and sealer type |
| Spalling on horizontal surfaces | Ponding water and freeze-thaw | Coping and sill slope |
Keep a record of what was flashed, sealed, and jointed, with photos. The record turns a warranty call into a 10-minute fix when a leak does appear. It also gives the next crew the exact joint and sealant schedule, which is the difference between a maintainable wall and a mystery.
Top Stone Panels cladding is rated for -30°C to +50°C with batch-matched color and consistent thickness, so your flashing and joint schedule actually line up panel to panel. Wholesale orders start at one 20GP container.
Cement, mesh, and epoxy backing | Pre-made L-corners | 3-step factory QC
Repairing Failed Joints and Seams
Failed joints happen, and the repair sequence is the same one a competent crew uses every time. Cut the failed sealant out square, clean the joint faces so the new bead bonds to stone and not old sealant, install a fresh backer rod, and tool a concave bead of compatible sealant. For mortar joints, rake the old mortar back 10-15 mm, clean out dust, and repoint with the same color and profile as the original — mismatch shows on a sunny morning.
The crack repair and prevention guide covers the panel issues that sit behind joint failures: cracked adhesive bonds, moisture behind the face, and movement the details missed. Fix the water path before resealing, or the repair lasts one season. An efflorescence removal guide covers cleaning the salt stains a leaking wall leaves behind. Cleaning the symptom without fixing the path repeats the job annually.
When the leak is structural enough that whole panels need replacing, use the panel removal and replacement procedure and match the new material to the batch color. A good supplier keeps the vein consistent across repeat orders, which is why the same factory that made the original panels should supply the replacements. Retaining a sample of the installed batch for color matching is standard practice for distributors who value their warranty reputation.
FAQ
How do you waterproof stone veneer joints?
Flash the base and openings, bed and tool mortar joints fully, and use an elastomeric sealant with a backer rod at movement and transition points. Drainage matters more than any sealer.
What sealant should I use between stone panels?
A non-staining elastomeric exterior sealant meeting a standard like ASTM C920. Apply it over a backer rod at roughly a 2:1 width-to-depth ratio, and tool a slightly concave bead.
How wide should movement joints be in stone veneer?
Typically 6-12 mm, with the sealant reservoir about 6-9 mm deep behind a backer rod. Place them every 6-9 m on long walls, at floor transitions, and at building corners.
Should I seal my stone veneer wall?
Use a breathable penetrating sealer on porous stone in wet zones and on horizontal surfaces. Skip film-forming sealers, which trap water, and skip sealing dense slate and quartzite entirely.
Why is my stone veneer leaking around windows?
Usually a missing head flashing or a sill that does not slope. Flash above the opening, drip the sill edge, and seal the fill between frame and veneer so water sheds instead of pooling.
Conclusion
Weatherproofing a stone veneer wall is a sequence of deliberate choices, not a sealer purchase. Flash the base and openings, install a drainage path, bed and tool the mortar joints, and place the right sealant with the right backer rod at every movement and transition joint. Do those four things and the stone face takes the weather while the wall behind stays dry.
Key takeaways:
- Treat joints, flashing, and penetrations as the enclosure; the stone is the finish.
- Install base flashing and a drained gap before veneer, and flash every window head and change of plane.
- Bed mortar joints fully to the backing and tool them to a dense, water-shedding profile.
- Use an ASTM C920 elastomeric sealant over a backer rod at 6-12 mm movement joints.
- Seal only with breathable penetrating products, and drain water before you seal anything.
Walk your current wall and mark the joints, flashing, and transitions against the five entry points here before the next rain. For panels with consistent thickness that make a flashing and joint schedule workable, contact Top Stone Panels, or compare the thin stone veneer line and the z-panel backing guide for your next exterior spec.