
Most chipped edges and blown-out corners on a veneer wall come from two decisions made before the blade ever spins: the wrong tool for the material, and one deep forced pass where four light passes belonged. Natural stone forgives almost nothing at the cut line. Quartzite dulles blades that sail through marble, thin ledgestone snaps cleanly for some installers and shatters for others, and mesh-backed panels fall apart if you cut the skin first. Get the pairing right and every cut on the job comes out clean.
This guide covers how to cut stone veneer panels across every format Top Stone Panels ships: 15x60cm and 15x55cm stacked stone, 36x10cm thin ledgestone, 20x55cm and 15.2x61cm cement- or mesh-backed interlocking Z-panels, and loose-strip thin veneer — with thickness running 15-40mm across the range. You will get a tool-by-material matrix, step-by-step technique for each cutting method, and the silica safety rules that keep your crew off the wrong side of a health inspection. One thing worth knowing up front: the factory does the hard cutting for you. Infrared CNC diamond-blade trimming at the plant is why onsite waste drops by roughly 20% — field cuts should be the exception, not the workflow.
Key Takeaways
- Match the tool to thickness: angle grinder for 20-40mm panels, score-and-snap for 0.7-1.2cm thin ledgestone, wet saw for long straight lines in any format.
- Clean grinder cuts = shallow score pass first, then three to four deepening passes, easing off at the exit to stop breakout.
- Use a diamond blade rated for hard stone and for your grinder’s RPM — quartzite destroys general-purpose abrasive wheels.
- On backed panels, cut the stone strips and keep the mesh or cement skin intact wherever possible.
- Stone dust contains respirable crystalline silica — wet-cut or wear proper respiratory protection, every time.
Know Your Panel Before Choosing a Tool
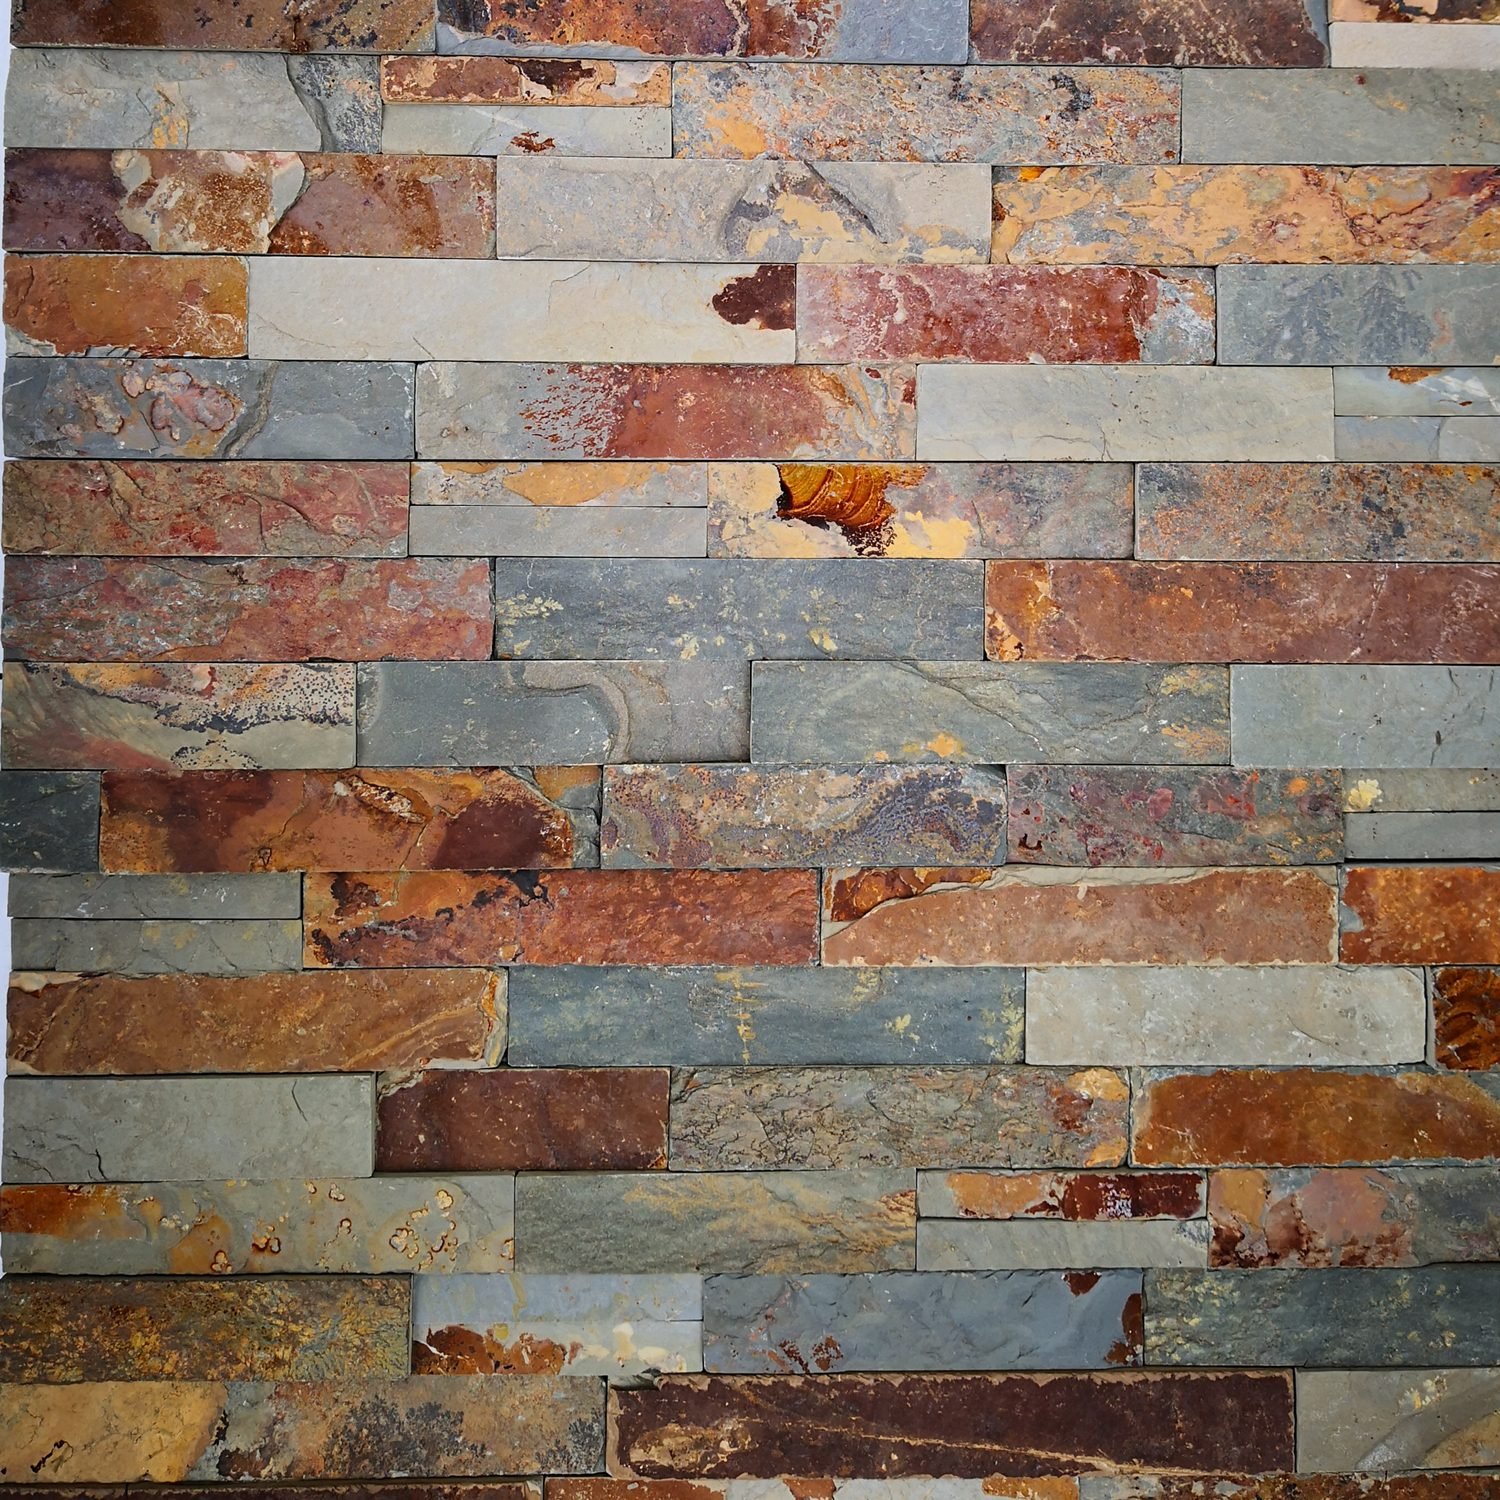
Cutting technique starts with material identification. The four stones in the veneer range — slate, quartzite, marble, sandstone — behave differently under a blade, and the backing underneath changes the rules again. Quartzite sits near Mohs 7 and demands sharp diamond and patience. Slate at Mohs 3-4 cuts fast but delaminates if you force it. Here is the working matrix.
| Panel Format | Typical Thickness | Best Field Cut |
|---|---|---|
| Stacked stone 15×60 / 15x55cm | 20-40mm solid stone | Angle grinder; wet saw for long lines |
| Thin ledgestone 36x10cm | 0.7-1.2cm ultra-thin | Score and snap; nippers for small trims |
| Z-panels 20×55 / 15.2x61cm | Stone strips on cement or mesh backing | Cut strips individually; preserve backing |
| Loose-strip thin veneer | Random lengths, thin section | Score and snap or nippers; select lengths to avoid cuts |
The thickness guide on this site — stone veneer from 15mm to 40mm — explains how section thickness drives weight, substrate, and adhesive choice. It also predicts cutting behavior: thin sections snap, thick sections need a blade, and everything in between rewards a slow feed.
The Five Tools That Cover Every Field Cut
A veneer crew does not need a fabrication shop. Five tools handle every cut that survives a good layout plan, and each earns its place for a different cut type.
| Tool | Best For | Cut Quality |
|---|---|---|
| Angle grinder + diamond blade | Short cuts, notches, openings, anywhere a saw cannot reach | Good with scored multi-pass technique; dry and dusty |
| Wet saw / bridge saw | Long straight cuts, repeat sizing, hard quartzite | Cleanest; water cools blade and suppresses dust |
| Masonry chisel + hammer | Score-and-snap on thin sections, knocking down high spots | Clean snap line on 0.7-1.2cm stone; rough on thick |
| Wide-jaw nippers | Small notches, rounding strip ends, trimming mesh-backed stones | Bite-sized removal; patience beats force |
| Rubbing stone / carbide rasp | Dressing arris burrs after any blade cut | Finishes edges so they sit flush in joints |
One purchase decision matters more than the rest: the blade. Buy diamond blades rated for natural stone — continuous rim or fine turbo — and rated at or above your grinder’s no-load RPM. A blade rated below the tool’s speed can come apart at full spin, and that is a trauma-ward event, not a ruined-workpiece event.
Cutting with an Angle Grinder Step by Step
The grinder is the most-used and most-abused tool on a veneer job. The technique below is the one fabrication shops teach, scaled to field conditions.
- Mark on the face, dry-fit first. Lay the panel in position, mark the cut line on the finished face with pencil or chalk, and confirm the dimension against the opening before cutting. Marking from the back side is how panels end up 10mm short.
- Support the panel close to the cut. Two stable supports, panel spanning a small gap, cut line just past the near support. Clamp or weight the work — vibration is what chips arrises.
- Score the whole line shallow. One light pass, a few millimeters deep, the full length of the line. This groove steers every deeper pass and stops the blade from wandering at the start.
- Deepen in three to four passes. Never force one full-depth cut. Heavy pressure heats the blade, glazes the diamonds, and snaps edges out of hard stone. Steady feed, moderate depth, repeat.
- Slow down at the exit. Breakout happens in the last few centimeters where the offcut side is unsupported. Ease the feed, or have a hand support the offcut, and the exit edge stays square.
- Dress the edge. A few strokes with a rubbing stone or carbide rasp removes the burr so the cut face beds flat and will not chip further in the joint.
Warning worth repeating on every toolbox talk: keep the guard on. The guard is the only thing between a shattered blade and your face, and removing it to “see the line better” is how grinder injuries happen. Mark the line clearly instead.
Wet Saw Technique for Long Straight Cuts
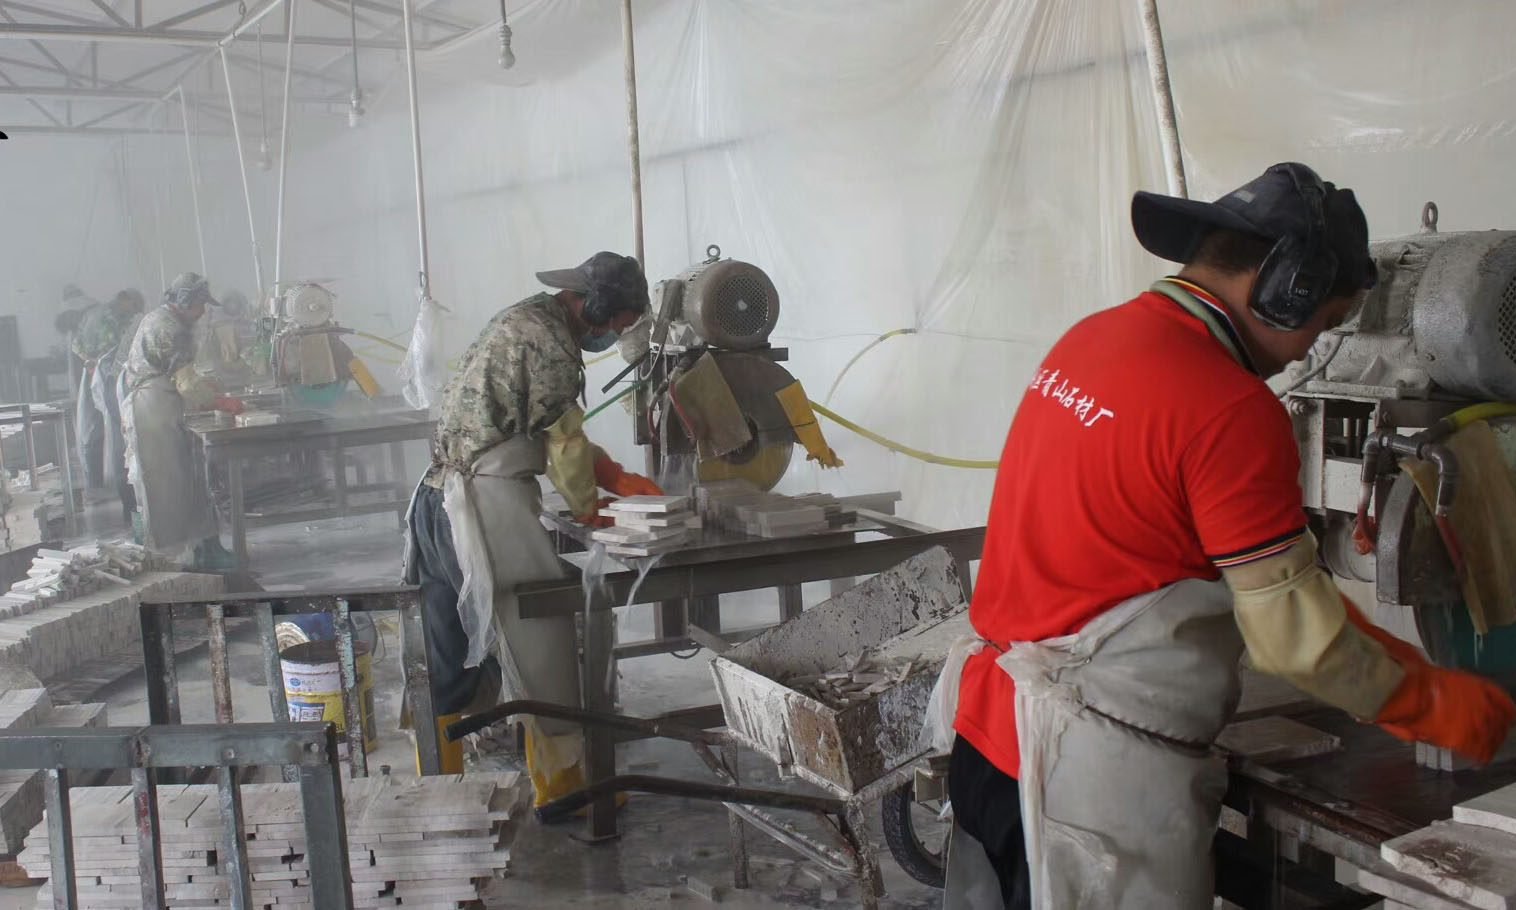
When a layout calls for repeated sizing — trimming a run of panels to fit a module, cutting full-height strips beside a window — the wet saw beats the grinder on quality and speed per cut. Water at the blade does three jobs at once: cools the diamonds so they last, suppresses silica dust at the source, and flushes cut slurry out of the kerf so the blade does not pack and wander.
Feed rate is the whole technique. Push fast enough that the blade hums steadily but never screams; a screaming blade is glazing, and a glazed blade stops cutting and starts burning the stone. Support the panel on both sides of the blade — the infeed table and a roller or hand support on the outfeed — so nothing tips and snaps the arris at the exit. For quartzite, expect to dress the blade occasionally with a dressing stone; hard stone polishes the matrix around the diamonds and a quick dress brings the cut back.
Cut Less: Order Panels Pre-Sized From the Quarry Source
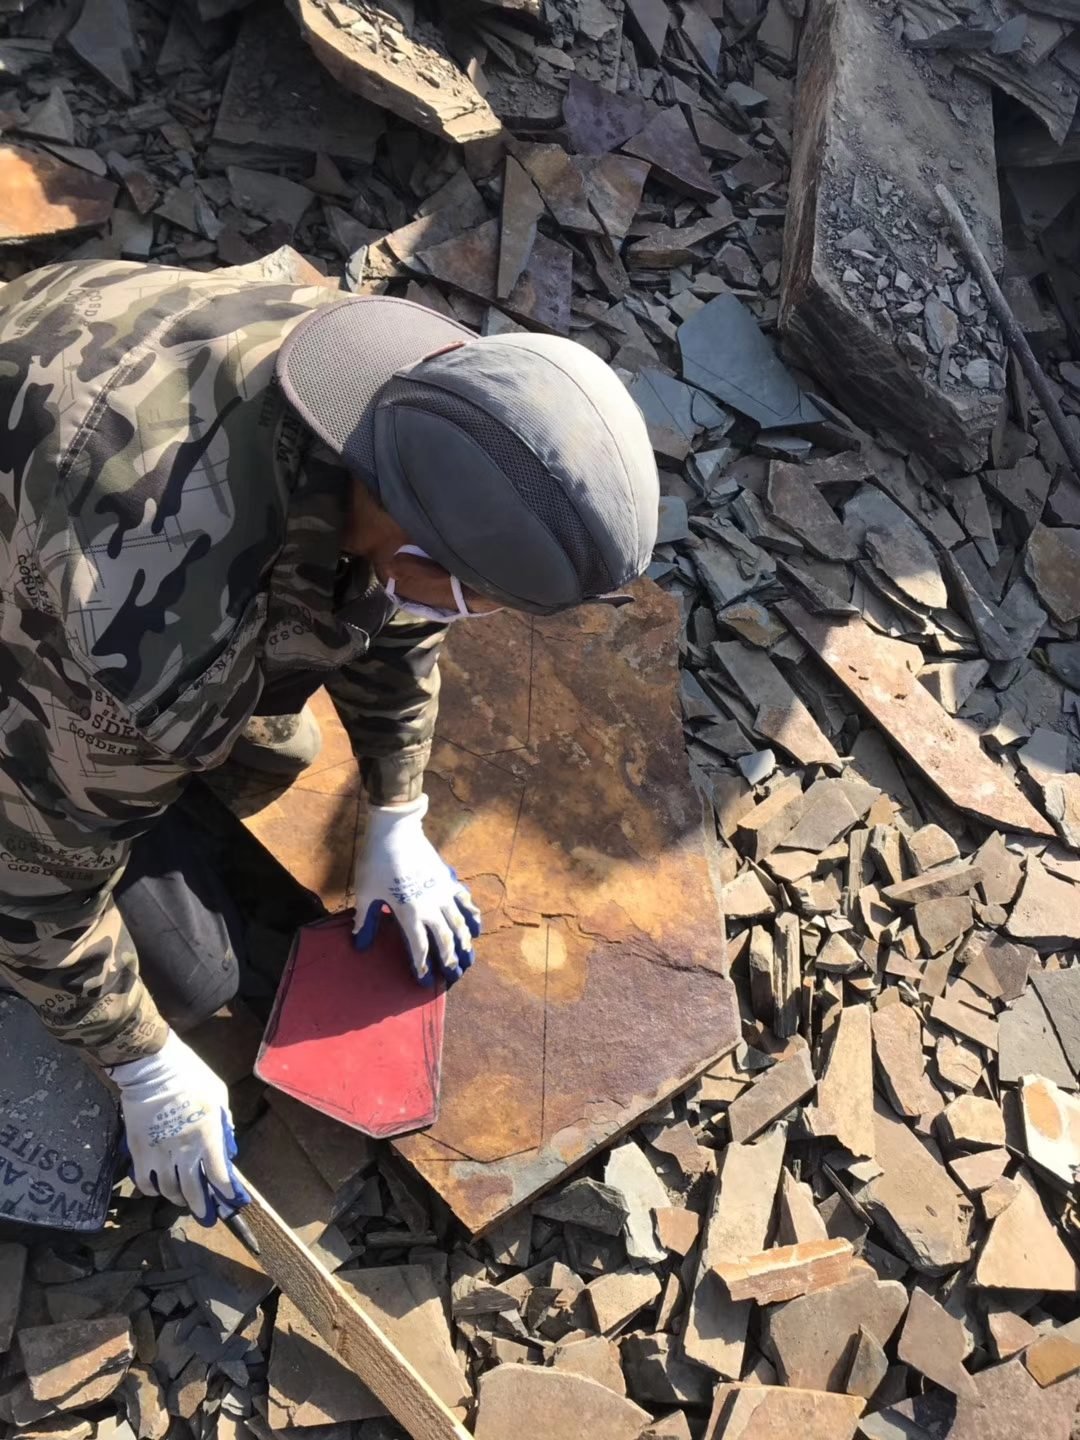
Every Top Stone Panels format ships factory-trimmed by infrared CNC diamond cutting — 15x60cm stacked stone, 36x10cm thin ledgestone, interlocking Z-panels, and pre-made L-corner kits that eliminate the hardest field cuts entirely. Precision sizing cuts onsite waste by roughly 20%.
CNC-precise dimensions | Pre-made L-corners | Samples in 1-3 days
Score and Snap for Thin Ledge Stone
At 0.7-1.2cm, thin ledgestone behaves more like thick tile than masonry, and the cleanest field cut needs no power at all. Score the face firmly along the line — a carbide scoring tool, or one light grinder pass barely breaking the surface — then snap the strip over a straight edge or your knee with both thumbs on the waste side. A confident single motion snaps clean; hesitant bending cracks the strip in the wrong place.
Two refinements separate the pros here. First, score deep enough to cross the full face but do not chase perfection — the snap follows the weakest line you created, and one even score beats three scratchy ones. Second, on mesh-backed ledgestone, snap the stone first and cut the mesh after, so the backing keeps the strip aligned while it breaks. Small end trims and rounded notches come out cleaner with wide-jaw nippers, biting a few millimeters at a time.
Cutting Mesh- and Cement-Backed Panels
Z-panels and mesh-backed formats flip the usual order: the backing is structural, so you cut the stone and spare the skin. The 20x55cm and 15.2x61cm Z-panel units carry their male-female interlock in the backing geometry — cut through an interlock edge carelessly and the panel chain stops linking.
- Trim by removing stones, not sawing the panel. Where a few centimeters have to come off an edge, nip or cut individual stone strips free and leave the backing intact behind the last full stone.
- Protect the interlock. Plan the layout so cuts land on the plain edge, never the male-female connection side. If a cut at the interlock is unavoidable, dry-fit the mating panel afterward to confirm the link still seats.
- Cut mesh from the back. Once stone strips are severed, flip the panel and cut the mesh with heavy snips — cutting mesh from the face drags fibers into the joint line.
- Reuse offcuts as starters. A trimmed Z-panel edge with its interlock intact becomes the starter piece for the next course — the offcut bin is inventory, not waste.
Corner turns on Z-panel walls should never be field-cut at all: the system ships one-piece L-corners that carry the interlock through the 90-degree turn. Cutting a Z-panel to build a corner destroys exactly the geometry the system sells.
Silica Dust and Blade Safety
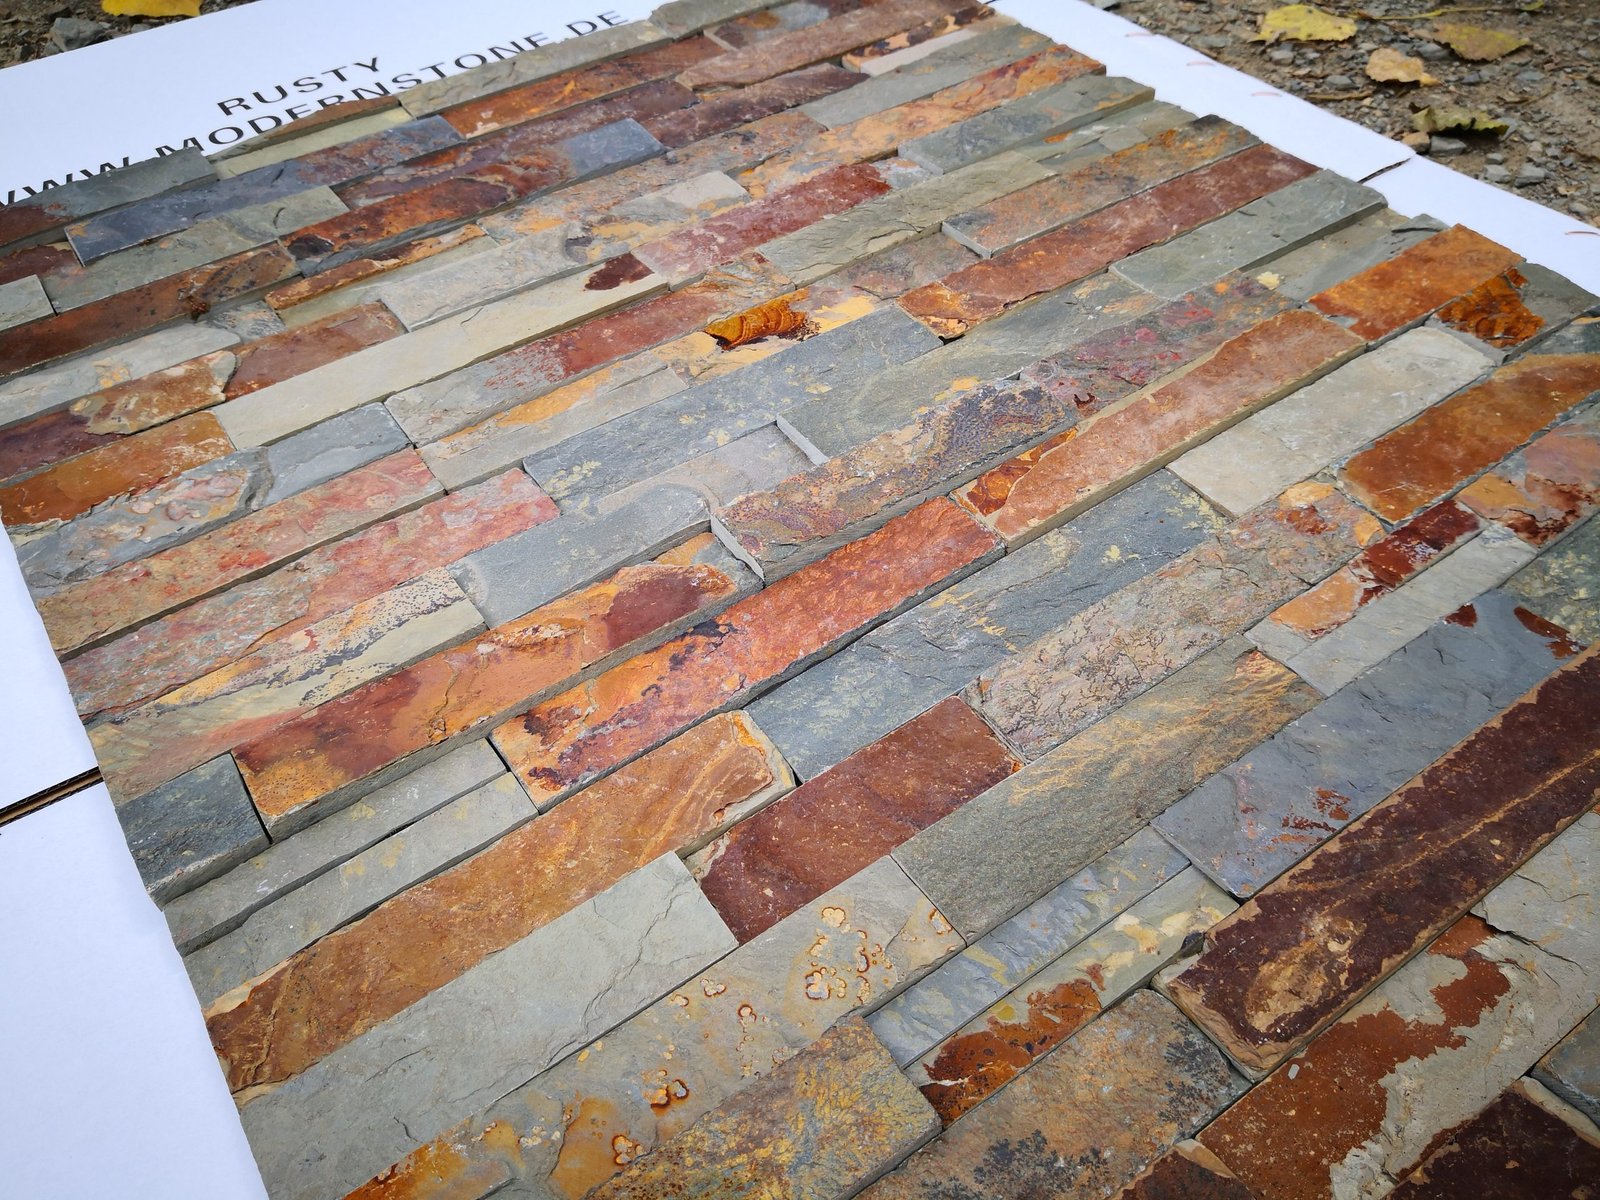
Cutting natural stone creates respirable crystalline silica dust — particles fine enough to reach deep lung tissue. The National Cancer Institute classifies crystalline silica as a human lung carcinogen, and chronic exposure causes silicosis, an irreversible scarring of the lungs. Quartzite and sandstone are silica-rich; treat every dry cut as a hazard, not a nuisance.
The control hierarchy is short and non-negotiable:
- Wet-cut wherever the tool allows it. Water at the blade captures dust before it becomes airborne — this is the single most effective control on the job.
- Wear rated respiratory protection on dry cuts. A properly fitted NIOSH-approved respirator rated for fine particulate, not a dust mask from the paint aisle.
- Cut downwind and off the ground. Position so dust carries away from other trades, and never cut at floor level where settled dust re-aerosolizes at every footstep.
- Eye and ear protection, GFCI power, guards on. Wet saws and grinders near water demand ground-fault protection; fragments and blade noise demand goggles and hearing protection.
Waste Less by Cutting Less
The best cutting technique is the cut you never make. Factory-side decisions do most of that work: infrared CNC diamond-blade trimming holds panel dimensions precise enough that onsite waste falls by roughly 20%, and planned layout patterns — linear, ashlar, or random — let installers use full units where a careless plan would demand cuts.
On site, three habits finish the job. Dry-fit and number panels course by course before mixing adhesive, so cuts get planned against real dimensions instead of tape-measure theory. Concentrate cuts at inside corners and returns where shadows hide them, never at outside corners — use pre-made L-corner pieces there instead. And keep the offcut pile sorted: half-strips fill course ends, and trimmed edges with intact interlocks start the next run. For the full setting workflow around your cuts, see the guides on applying mortar to veneer panels and substrate preparation.
FAQ
Can you cut stone veneer panels with a tile saw?
Yes, if the saw has the capacity. A wet tile saw or bridge saw handles long straight cuts in 15x60cm panels cleanly because the water cools the blade and suppresses dust. Check the cutting depth against your panel thickness — veneer runs 15-40mm — and support both sides of the panel so nothing tips at the exit.
What blade should I use to cut quartzite veneer?
A diamond blade rated for hard natural stone, on a grinder or saw whose RPM does not exceed the blade rating. Quartzite is among the hardest veneer materials, so a general-purpose masonry abrasive wheel burns out fast and chips the edge. Continuous-rim or fine turbo blades give the cleanest arris; keep the blade moving to avoid heat glazing.
Can thin stone veneer be scored and snapped?
Thin ledgestone in the 0.7-1.2cm range can often be scored and snapped like tile: score the face along the line with a scoring tool or grinder, then snap over a straight edge. It works best on straight cuts across shorter strips. Thicker stacked panels at 20-40mm will not snap cleanly — cut those with a blade.
How do you cut mesh-backed or cement-backed stone panels?
Cut the stone strips individually with a diamond blade or nippers and leave the backing intact wherever possible — the mesh or cement skin is what holds the panel together and carries the interlock on Z-panel systems. Where the backing must be cut, score the stone first, then cut through the backing with heavy snips or a knife so edges stay clean.
Do cut edges of natural stone veneer need sealing?
On interiors, hide cut edges inside joints or returns instead of sealing them; the sawn face is structurally fine but visually raw. Where a cut edge stays visible, a penetrating sealer evens out absorption and darkens the edge slightly toward the split face. In wet zones, seal the panel per the sealer schedule regardless of edge treatment.
Conclusion
Clean cuts in stone veneer come from matching the tool to the material and letting sharp diamond do the work at its own pace. The techniques above cover every cut a well-planned veneer job actually needs — and a well-planned job needs fewer cuts than you think, because the factory has already done the precise ones.
| Your Panel | Reach For | Remember |
|---|---|---|
| Stacked stone 20-40mm | Angle grinder; wet saw for long lines | Score first, deepen in passes, slow at exit |
| Thin ledgestone 0.7-1.2cm | Score and snap; nippers | One firm score, one confident snap |
| Z-panels on backing | Cut strips, spare the skin | Never cut the interlock; use one-piece corners |
| Any dry cutting | Wet first; respirator when dry | Silica dust is a carcinogen — control it at source |
The surest way to cut less is to order smarter — request CNC-trimmed panel samples from Top Stone Panels, arriving in 1-3 days, and plan your layout around factory-precise dimensions and pre-made corners.



