
A flagstone walkway that looks perfect in June and heaves into a broken-backed ridge by March was almost never a stone problem. It was a base problem. The flagstone did what dense slate does — it survived. The sand under it moved, the aggregate under the sand drained poorly, and the frost did the rest. Most failed sand-set paths fail from the bottom up, and the fix is decided before the first stone is laid.
This guide walks through installing flagstone on a sand base the dry-laid way: the correct excavation depth, a compacted crushed-aggregate base, a screeded 1-inch sand bed, rigid edge restraint, laying, cutting, and jointing. It is written for pedestrian walkways, garden paths, and stepping routes — not driveways, which need a different load class. One distinction matters before anything else: a sand base is a dry-laid method that suits loose flagstone from Top Stone Panels, whereas mesh-backed crazy paving sheets are engineered to be unrolled into a wet mortar bed. Match the format to the method and the walkway lasts decades. Base depths and sand-bed dimensions below follow Concrete Masonry & Hardscapes Association segmental paving practice; the stone performance numbers are first-party specifications.
Key Takeaways
- Sand is the leveling layer, never the structural one — it sits on a compacted crushed-aggregate base that carries load and drains.
- A sand base is dry-laid and suits loose flagstone and stepping stones; mesh-backed sheets need a wet mortar bed instead.
- Edge restraint on both sides is the step most often skipped — without it a dry-laid field spreads and the edges go loose.
- Use a consistent 1-inch coarse concrete sand bed; thicker beds let flags tilt, thinner beds leave voids under the stone.
- Frost heave is beaten by depth and drainage: excavate below local frost line, drain the base, and fall the surface away from structures.
What the Sand-Base Method Is and When to Use It
The sand-base method is a dry-laid build. No mortar holds the stone. Instead, flagstone rests on a bed of coarse sand, which rests on a compacted layer of crushed aggregate, which rests on excavated subgrade. The stones stay put through their own weight, tight joints, edge restraint, and sand or polymeric sand locked between them. Water drains down through the joints and out through the aggregate rather than pooling on a sealed surface.
Use it for pedestrian loads: garden walkways, stepping-stone paths, patio approaches, and courtyard routes. It is faster and more forgiving than a wet mortar bed, it drains better, and individual flags can be lifted and reset if one settles. Do not use it for driveways or any surface carrying vehicle point loads — those need a thickened, reinforced build on an engineered base, which is a different specification confirmed at quotation stage.
Loose flags versus mesh-backed sheets
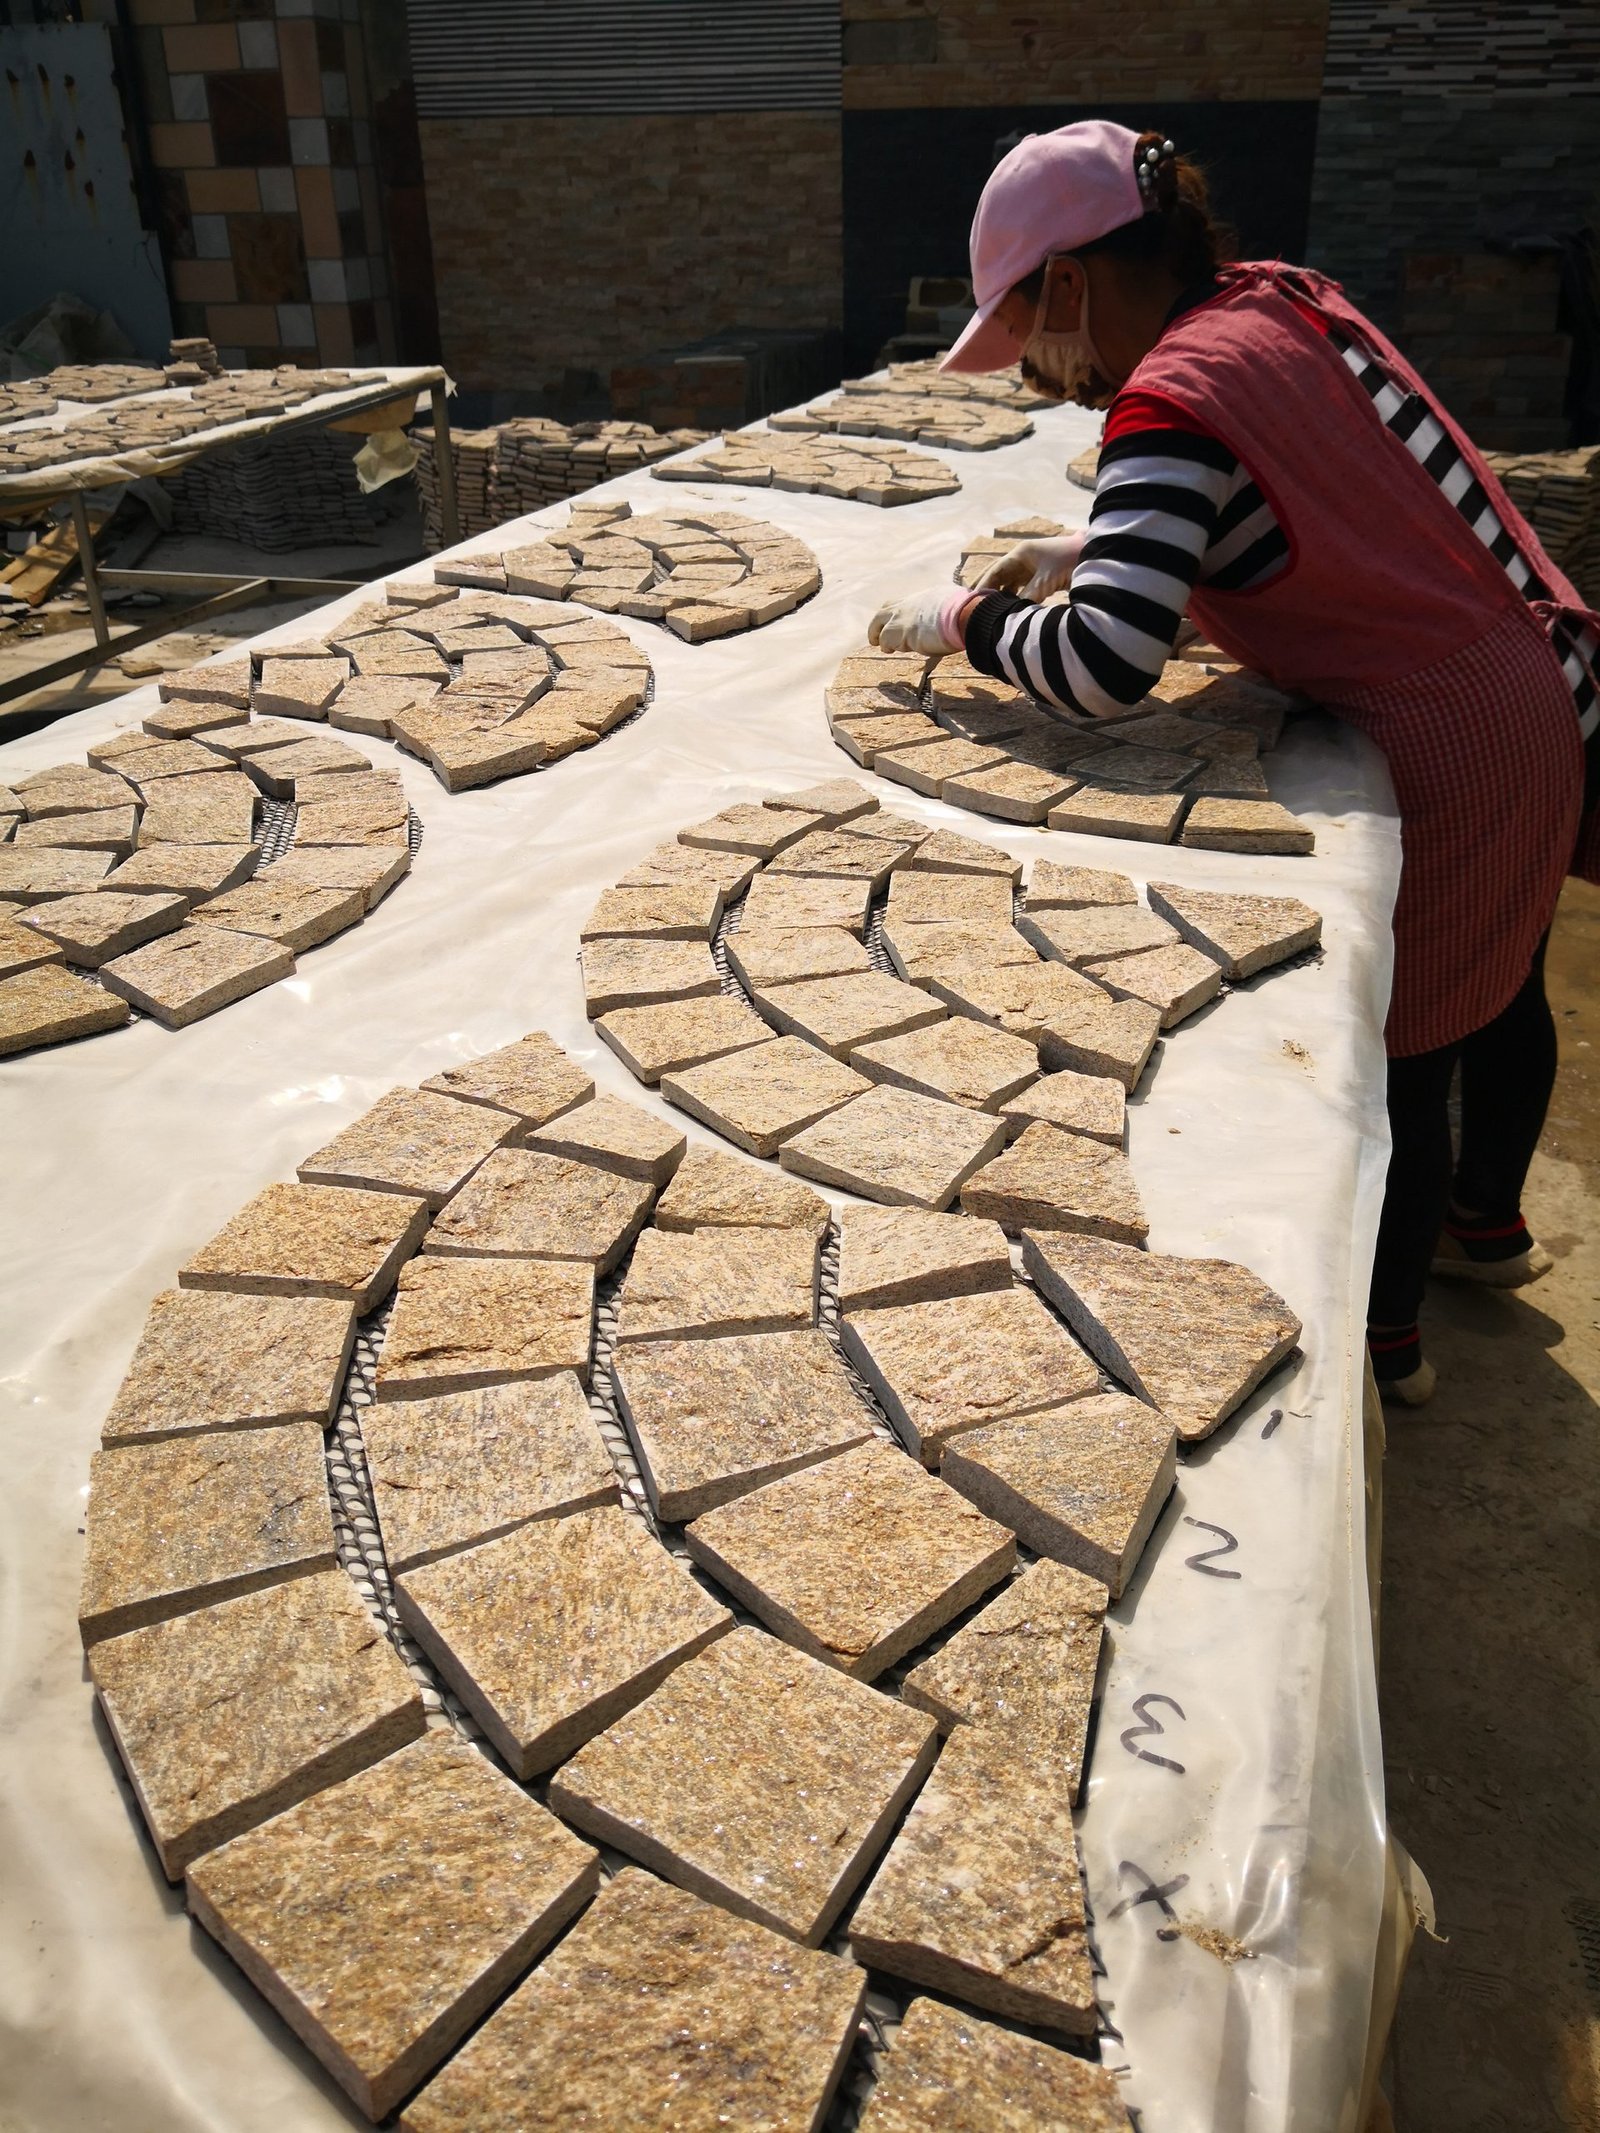
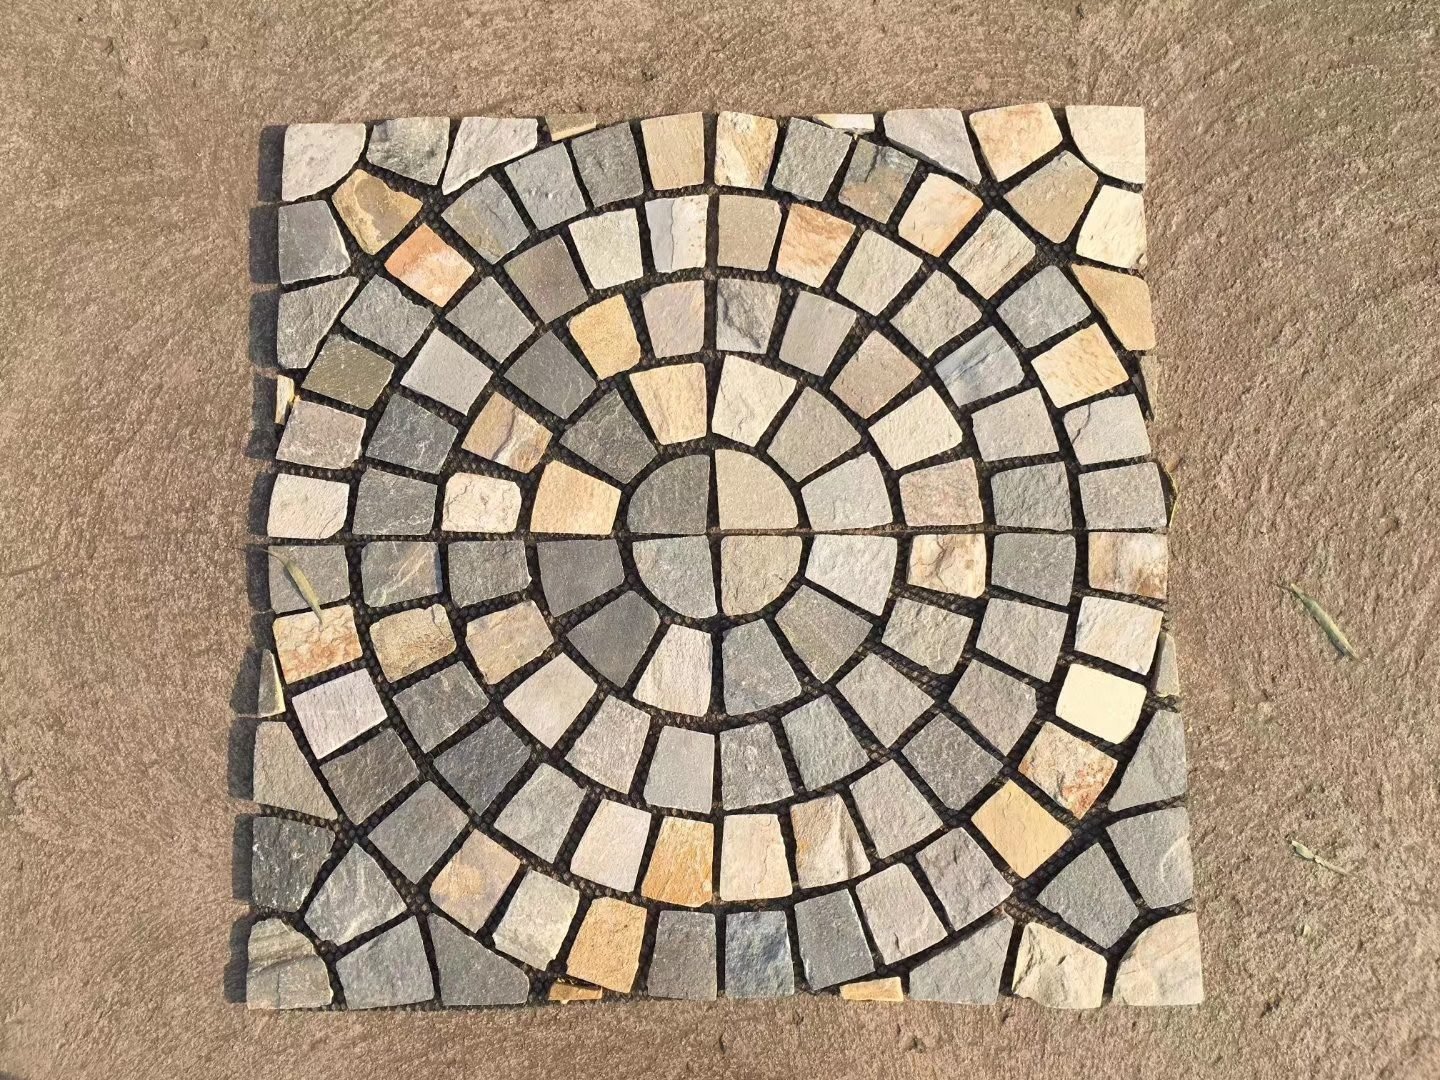
This is the format decision that trips up buyers. A sand base takes loose flagstone and stepping stones — individual pieces you set one at a time into the screeded sand. Mesh-backed crazy paving sheets are the opposite method: they arrive rolled, get unrolled flat into a fresh mortar bed, and are pointed with mortar or grout. Putting a mesh sheet on loose sand leaves the mesh unsupported and the stones free to shift. If your design calls for the tight, factory-arranged crazy paving look, that is a wet-laid mortar job; if it calls for a rustic dry-laid path with wide sand joints, loose flags on a sand base are correct. Our flagstone buyer’s guide explains both formats before you commit.
Tools and Materials List
Gather everything before excavation. A sand-set walkway is a sequence of layers, and stopping mid-build to source a tool leaves an open trench and an unscreeded bed that can wash out in one rain.
| Category | Item | Purpose |
|---|---|---|
| Excavation | Shovel, spade, mini-excavator (long runs) | Dig to base-plus-stone depth |
| Compaction | Plate compactor, hand tamper | Lock aggregate lifts and settle flags |
| Base material | Crushed angular aggregate (road base) | Load-bearing, free-draining layer |
| Bedding | Coarse concrete sand | 1-inch leveling bed for flags |
| Restraint | Rigid edge restraint, spikes | Stops the dry-laid field spreading |
| Layout | Stakes, string line, level, screed rails | Set alignment, fall, and bed flatness |
| Cutting | Wet saw or angle grinder, diamond blade | Trim border flags to close the field |
| Jointing | Polymeric or coarse jointing sand, broom | Lock joints, block weeds and wash-out |
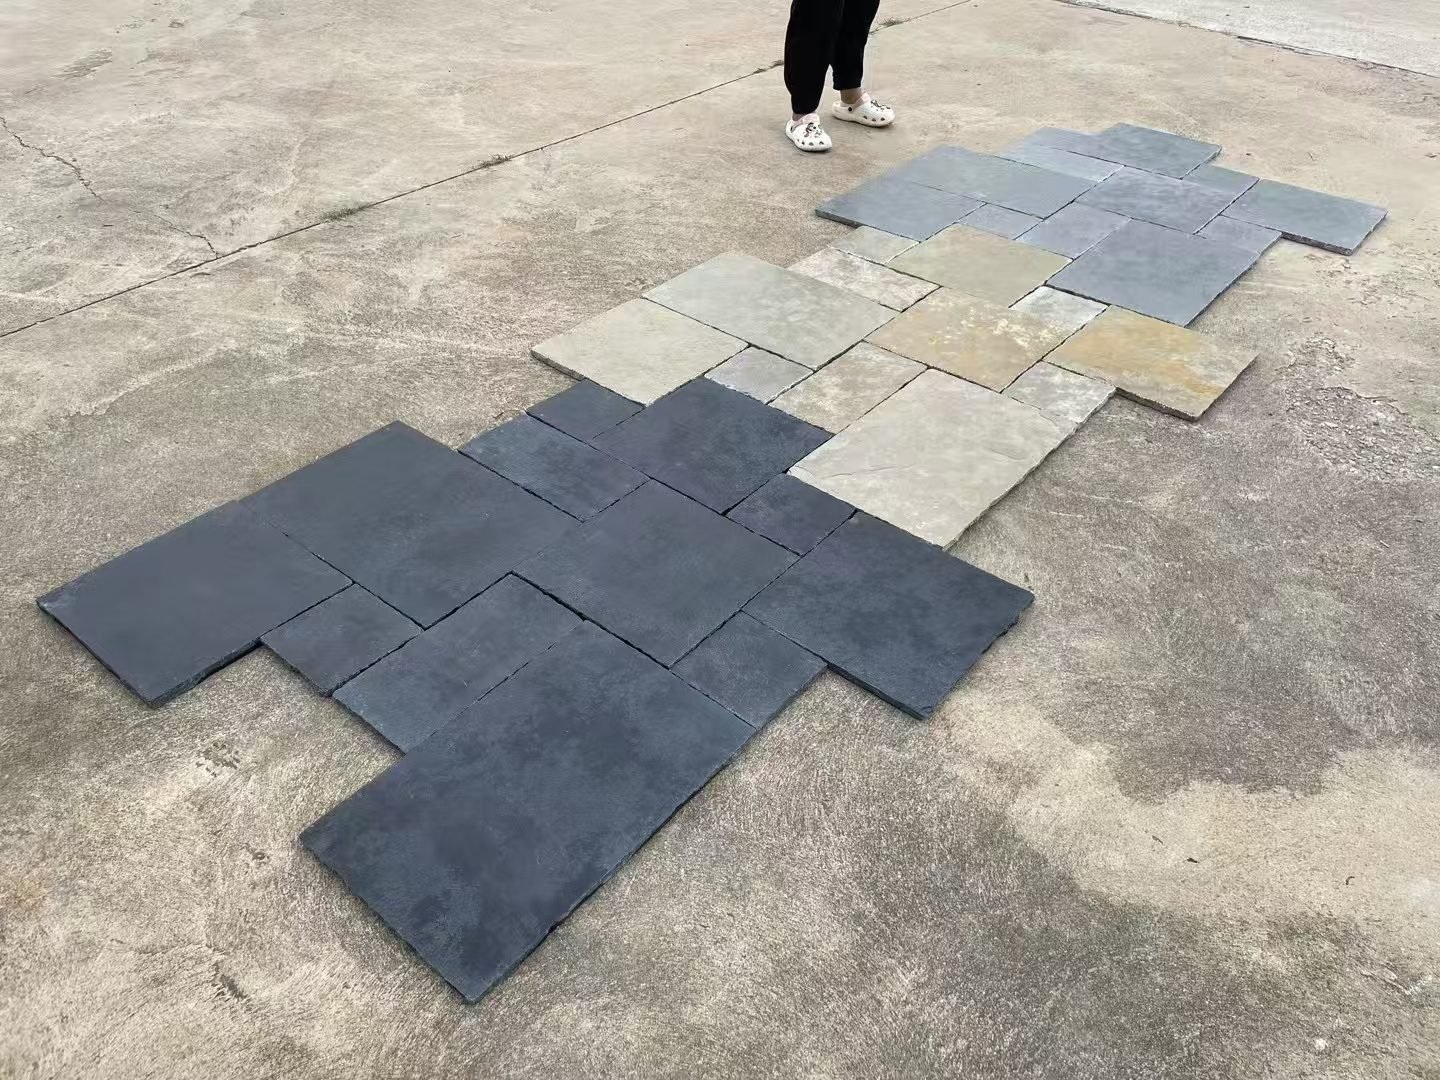
Order the stone early. Physical samples from Top Stone Panels ship in 1-3 working days so you can confirm thickness grade and color in hand, and ready-stock flagstone programs ship in about 20 working days from Tianjin Xingang. For the cutting stage, our guide to cutting stone with the right tool per material keeps edges clean and blades alive.
Step 1 — Layout and Excavation
Mark the walkway alignment with stakes and a string line, and set the string to the finished grade plus a slight fall — about 1/8 inch per foot running away from any structure. Excavation depth is the sum of every layer: the compacted aggregate base, the 1-inch sand bed, and the flagstone thickness, with the top of the finished stone sitting just above surrounding grade so water sheds off, not onto, the path.
Excavate to that full depth and remove all soft organic material — topsoil, roots, and loose fill compress over time and are the origin of most settled flags. Confirm the subgrade is firm and uniformly sloped. In freeze-thaw regions, excavate below the local frost depth or install a deeper drained base, because water trapped under the walkway is what lifts it in winter.
How deep the base needs to go
Depth is not a single number — it scales with load and frost. A pedestrian walkway on firm, well-draining subgrade needs a shallower total build than the same path on soft clay or in a deep-frost region, where a thicker, free-draining base is the only thing standing between the flags and a winter heave. CMHA segmental paving practice sets the base depth by soil bearing capacity and climate rather than by a fixed rule, which is why two identical-looking walkways can be built to different depths. Confirm your local frost line and subgrade type before you set the excavation grade.
Warning: Skipping the fall is the most common drainage error. A perfectly level flagstone walkway holds water in the joints, and in a freeze-thaw climate that water freezes, expands, and lifts the flags. Dense slate survives ASTM C666 cycling from -30°C to +50°C without spalling — but only if the base underneath drains instead of holding water against it.
Step 2 — Aggregate Base and Compaction
The aggregate base is the structural layer that actually carries the load. Spread crushed angular aggregate — not rounded gravel, which rolls and never locks — in 2-inch lifts, and compact each lift with a plate compactor before adding the next. Angular aggregate keys together into a stiff, free-draining slab that resists the settlement a walkway otherwise develops underfoot.
Base depth scales with load and frost. A pedestrian walkway on stable, well-draining subgrade uses a shallower base than one on soft clay or in a deep-frost region, where a thicker drained base is what stands between the path and a frost heave. Compact to a firm, even surface with no soft spots, and keep the fall you set at excavation running through the base layer.
Step 3 — Edge Restraint
Edge restraint is the difference between a walkway that holds its shape and one whose borders creep outward. Install a rigid restraint — a concrete haunch, a metal or plastic edge restraint spiked into the base, or a fixed soldier course — along both sides of the field. A dry-laid surface has no mortar to hold it together, so the edges are what keep the interior flags locked in compression.
Set the restraint to the finished height so it stays just below the flag tops and remains hidden. This is the step most often skipped on DIY paths, and it is the direct cause of the loose, spreading edges that appear after one season of foot traffic. Restraint is cheap relative to the cost of lifting and relaying a walkway that has crept apart.
Step 4 — Screeding the Sand Bed
Spread coarse concrete sand over the compacted base to a consistent 1-inch bed. Lay two screed rails at the correct height and fall, then pull a screed board across them to strike the sand flat and even. The bed must be uniform: too thick and heavy flags tilt and drift underfoot; too thin and voids form under the stone, which then rock and crack.
Use coarse concrete sand, not soft masonry or plaster sand. Fine sand holds water, washes out through the joints in heavy rain, and loses its support. Once screeded, do not walk on the bed — work from the laid stone forward or from a board resting on the rails so the flat surface stays intact until the flags go down.
Step 5 — Laying and Cutting the Flagstone
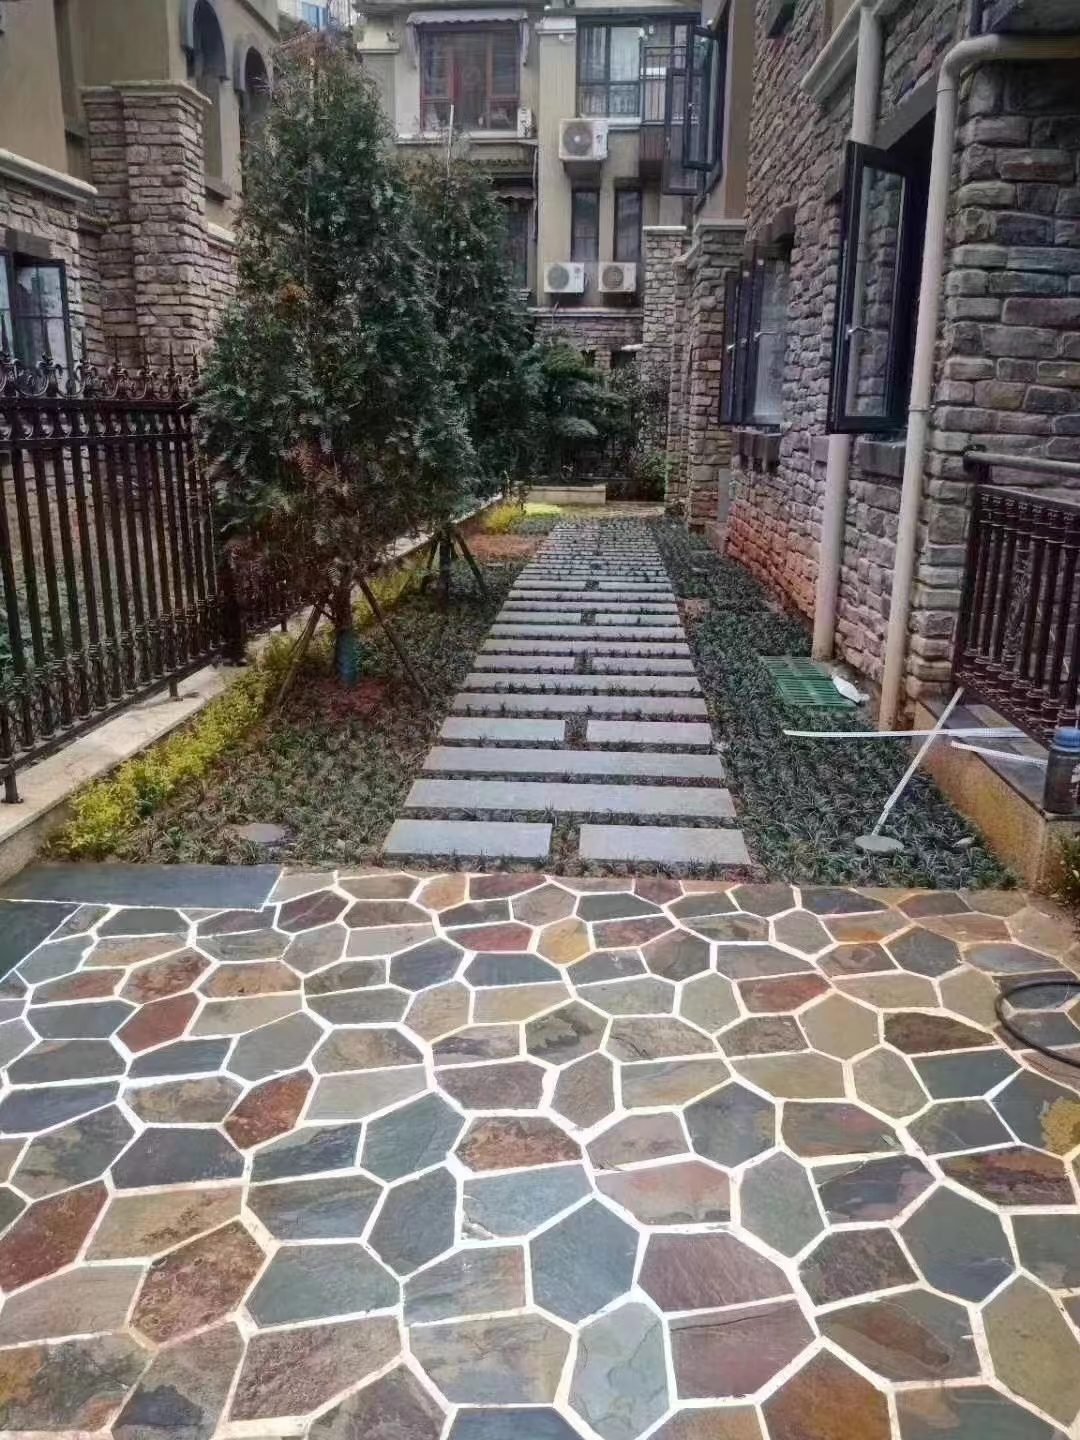
Start from a fixed corner or a straight edge and work outward. Set each flag onto the sand bed, tap it down to grade with a rubber mallet, and check level and fall as you go. Keep a consistent joint width across the field — wide joints read rustic and take more jointing sand, tighter joints read cleaner and lock up faster. Dry-fit the layout before tapping anything home, because moving a set flag means re-screeding the sand beneath it.
Cut border flags to close the field against the edge restraint. A diamond blade on a wet saw gives the cleanest edge on dense slate; an angle grinder works for shorter cuts. Measure each border piece against its actual gap rather than assuming uniformity, since irregular flagstone edges mean every border cut is slightly different. For the pattern and layout side of this stage, our flagstone layout patterns guide shows how joint width and rhythm set the final look.
Get Pedestrian-Grade Flagstone for Your Walkway
Top Stone Panels supplies loose flagstone and stepping stones in the pedestrian grade suited to dry-laid sand-base paths — dense slate and sandstone with an inherent R11 non-slip riven face, cut from own quarry veins in Yixian, Baoding. Samples ship in 1-3 days; MOQ is one 20GP container.
R11 non-slip | ASTM C666 freeze-thaw | Quarry-direct pricing
Step 6 — Jointing, Compaction, and Drainage
Sweep jointing sand into every joint until they are full. For a walkway that must lock up firmly and resist wash-out and weeds, use polymeric sand and mist it lightly to activate the binder — the polymer sets the joints into a flexible, semi-rigid matrix that still drains. For a softer, more permeable rustic path, coarse jointing sand swept and compacted works well. Leave no joint unfilled, because an open joint is where the field starts to loosen.
Run the plate compactor over the finished walkway with a protective mat so the flags settle fully onto the bed without chipping, then re-sweep the joints to top up any sand the compaction drew down. Finish by confirming the surface falls away from structures and that no low spot holds water. A properly built sand-set walkway drains through its joints and base, which is what lets dense natural stone reach its full freeze-thaw life rather than sitting in a bath of trapped water every winter.
Looking after it in the first year
A dry-laid walkway is not a pour-and-forget surface — it settles in, and the first year is when it tells you whether the base was built well. Expect to top up the jointing sand once or twice as it washes down and compacts, and keep the joints full so the field stays locked. Pull any weed that establishes in a joint before its roots widen the gap. If a single flag rocks or dips, lift it, add or strike sand under it, and reset — a dry-laid path lets you repair one stone without touching the rest, which is the maintenance advantage over a bonded mortar bed. Watch the edges first: a loosening border usually points back to edge restraint, and it is far cheaper to fix in month three than after the whole field has crept.
For the broader ground-build and jointing options — including the wet-laid mortar method for mesh-backed sheets — see our companion guide to flagstone base preparation and jointing methods. In cold climates, the frost performance of the stone itself is covered in why density matters for freeze-thaw resistance.
FAQ
Can you lay flagstone directly on sand?
Not on sand alone. A sand bed is only the leveling layer — it sits on top of a compacted crushed-aggregate base that carries the load and drains. Skip the aggregate and the walkway will settle, hold water, and heave in freeze-thaw climates. Sand by itself washes out and shifts.
How thick should the sand bed be under flagstone?
A consistent 1-inch bed of coarse concrete sand is the standard for pedestrian walkways. Thicker beds let heavy flags tilt and drift; thinner beds leave voids under the stone. Screed the bed flat on rails before setting any stone so every flag lands on even support.
Do mesh-backed flagstone sheets work on a sand base?
No. Mesh-backed crazy paving sheets are designed to be unrolled into a fresh mortar bed, which is a wet-laid method. A sand base is dry-laid and suits loose flagstone and stepping stones. Match the format to the method: loose flags on sand, mesh sheets on mortar.
What sand do you use between flagstone joints?
Use polymeric sand for a walkway that has to lock up and resist wash-out and weeds, or coarse jointing sand for a softer, more permeable rustic path. Sweep it into every joint, then mist to activate the polymer binder. Leave no joint unfilled or the field stays loose.
How do you stop a flagstone walkway from heaving in winter?
Drainage and depth. Excavate below the local frost line where required, use a compacted angular aggregate base that drains freely, and fall the finished surface away from structures. Dense slate and sandstone flags themselves survive ASTM C666 freeze-thaw cycling from -30°C to +50°C without spalling.
Conclusion
A sand-base flagstone walkway is a layered system, and every layer does one job: the excavated subgrade sheds water, the compacted aggregate carries load, the sand bed levels the stone, the edge restraint holds the field together, and the jointing sand locks it. Get the base and the drainage right and the flagstone on top — dense, freeze-thaw-rated natural slate — will outlast the structure it leads to.
Your action roadmap:
- Confirm the format first — loose flags and stepping stones for this dry-laid sand base; mesh-backed sheets only for a wet mortar bed.
- Build bottom-up — excavate with a fall, compact angular aggregate in 2-inch lifts, install rigid edge restraint, screed a 1-inch coarse sand bed.
- Lay, cut, joint — set flags from a fixed edge, cut borders to actual gaps, fill every joint with polymeric or coarse sand, then compact over a protective mat.
- Protect against frost — excavate below local frost depth, drain the base, and fall the finished surface away from structures.
Confirm the pedestrian thickness grade and color before you dig. Request flagstone samples from Top Stone Panels — physical samples arrive in 1-3 working days so the stone in your hand matches the stone in your base plan.



