
A flagstone patio that settles unevenly after one winter was never the stone’s fault. Nine times out of ten, the failure started below the surface: insufficient sub-base compaction, wrong bedding material, or joints that could not handle freeze-thaw cycling. We have shipped over 30,000 m² of natural flagstone pavers per year from our Hebei factory, and the installations that hold up for 20+ years share one trait — the installer spent more time on base prep than on laying the stone.
This guide walks through every stage of flagstone paver installation, from excavation to final jointing. It applies to patios, walkways, pool surrounds, and courtyard paving using natural slate, quartzite, or sandstone flagstone. Whether you are working with mesh-backed crazy paving panels or loose individual stones, the base preparation principles remain the same.
If you are still selecting materials, read our flagstone buyer’s guide first to understand material options, then our piece on flagstone paver types and sizes to pick the right format for your project.
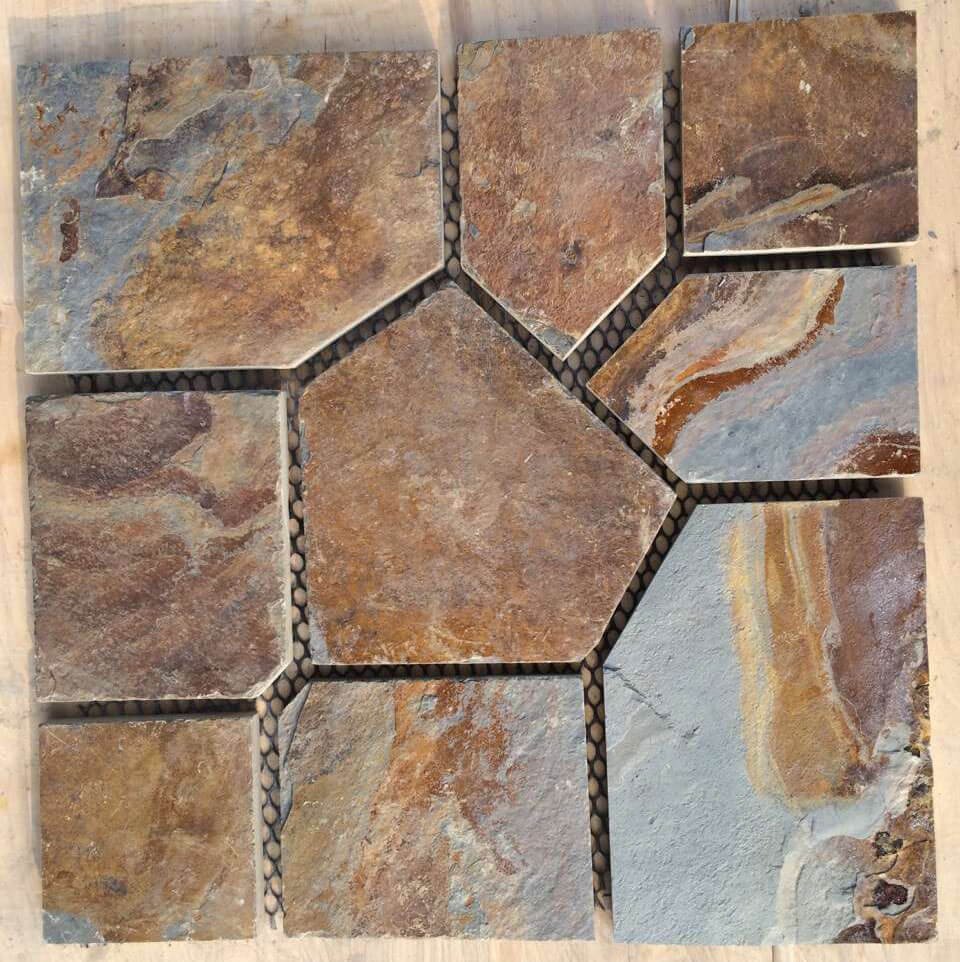
Tools and Materials Needed
Before breaking ground, assemble everything. Flagstone installation moves fast once the base is ready, and stopping mid-job to rent a plate compactor costs time and money. Here is what a professional installer needs for a typical 50 m² residential patio project.
Essential Tools
- Plate compactor (vibratory, minimum 3,000 lbs compaction force) — non-negotiable for sub-base and final compaction
- Shovel, spade, and mattock — excavation and soil removal
- String line and line level — grade control across the entire area
- Tape measure and speed square — spacing and alignment checks
- Rubber mallet (white or non-marking) — seating stones without chipping edges
- Screed board or 2m aluminum straightedge — leveling the sand bed
- Angle grinder with continuous-rim diamond blade — cutting stone to fit edges and around obstacles
- Stiff bristle broom and hand brush — sweeping jointing sand
- Garden hose with spray nozzle — activating polymeric sand and final cleaning
Materials Checklist
- Natural flagstone pavers — order 5-8% overage for cuts and breakage
- Crushed aggregate (20-40mm graded, angular) — approximately 0.15 tonnes per m² for 100mm depth
- Coarse washed concrete sand (0.5-2mm grain) — approximately 0.04 tonnes per m² for 30mm bedding
- Geotextile separation fabric (non-woven, 150 gsm minimum) — required over clay soils
- Jointing material — quantity depends on method (see comparison table below)
- Edge restraints — plastic, aluminum, or concrete curb
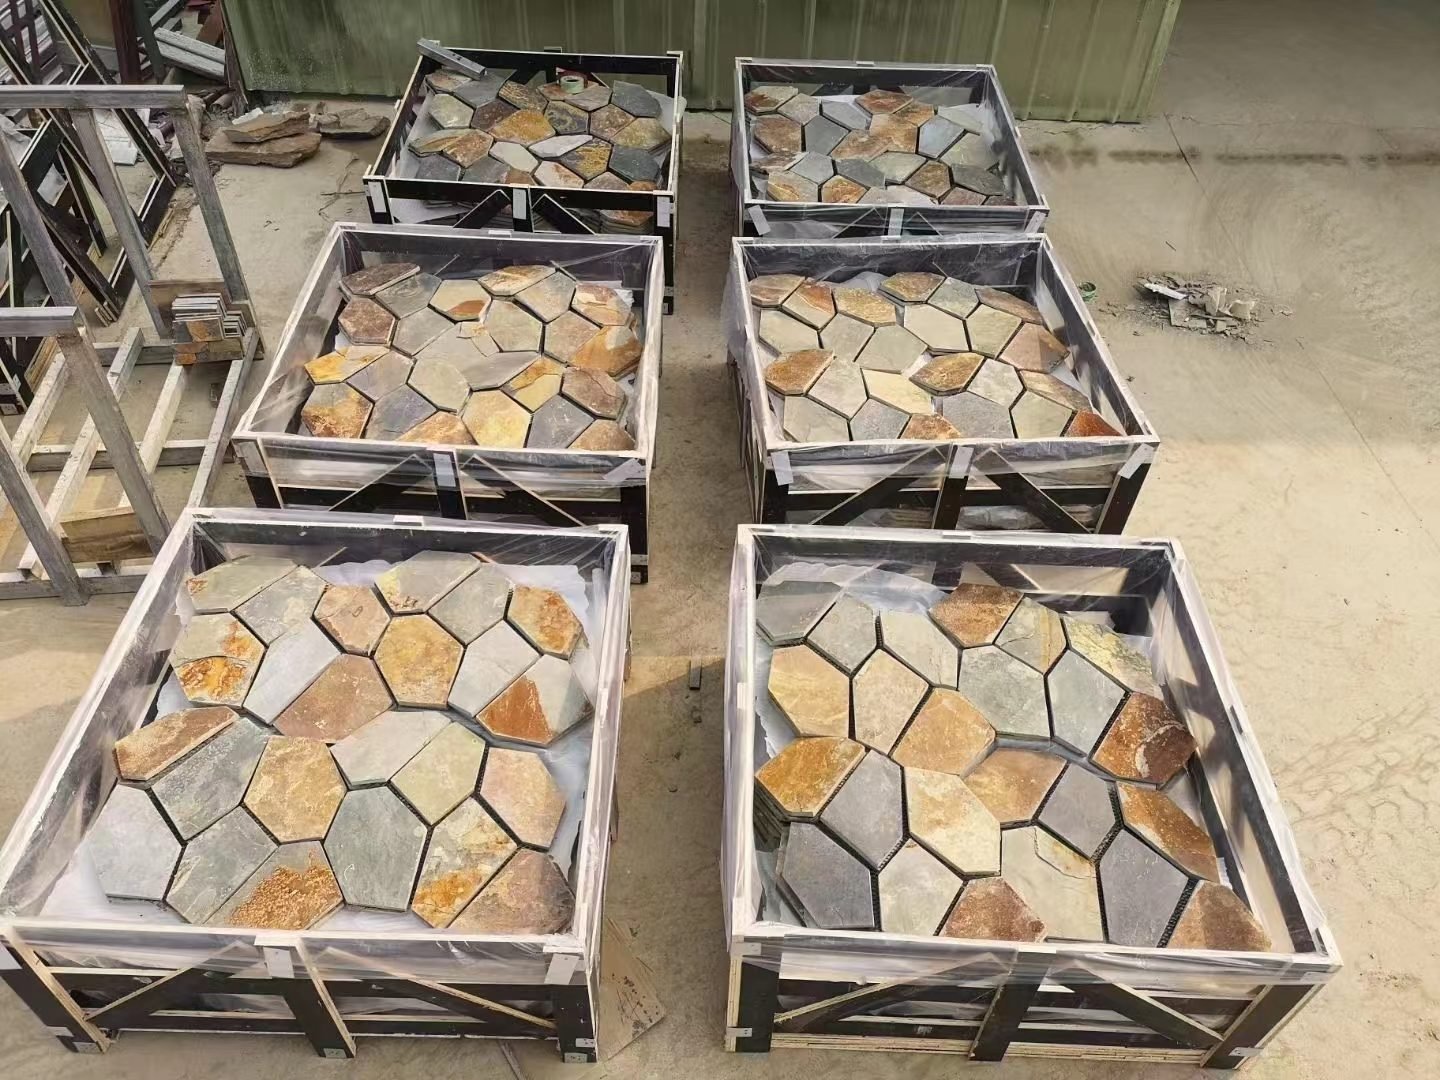
At Top Stone Panels, our flagstone ships in mesh-backed panels or individual pieces, cut to precise dimensions using infrared CNC diamond blades. This means fewer on-site adjustments and less cutting waste compared to rough-quarried stone. Our flagstone size range covers random geometric patterns for crazy paving as well as uniform rectangles for formal layouts.
Understanding Flagstone Types for Installation
The installation approach changes depending on what form your flagstone arrives in. Understanding the difference before you order prevents costly on-site surprises.
Mesh-Backed Crazy Paving Panels
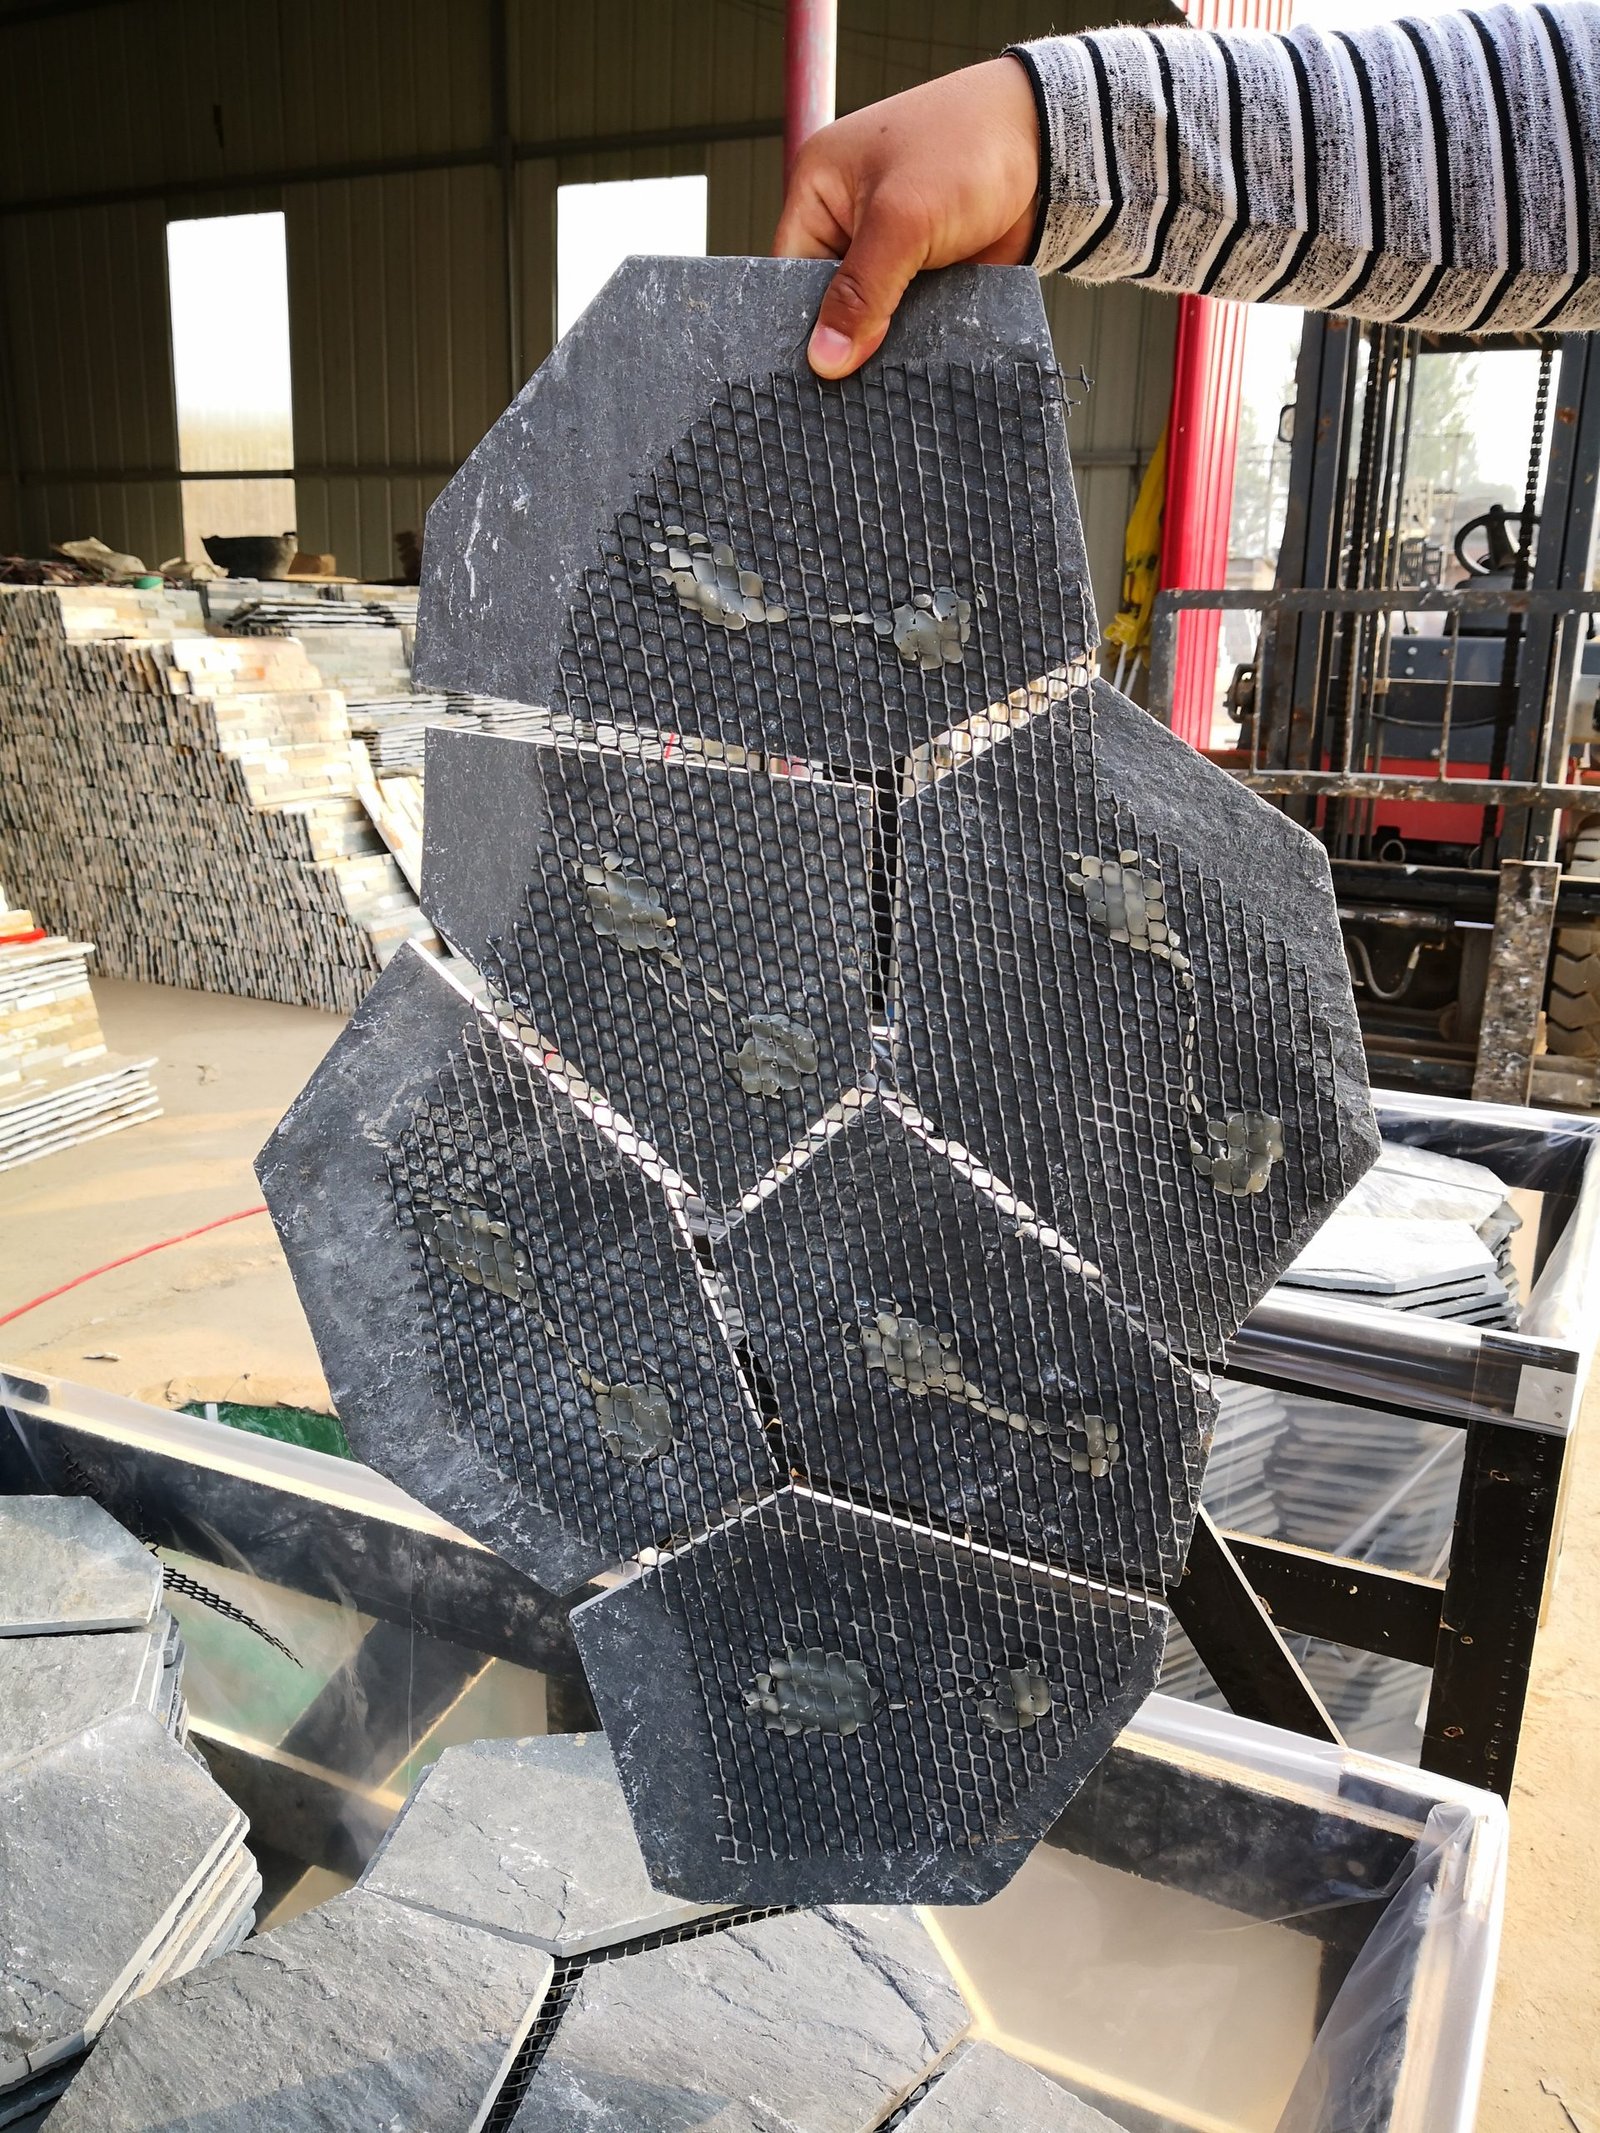
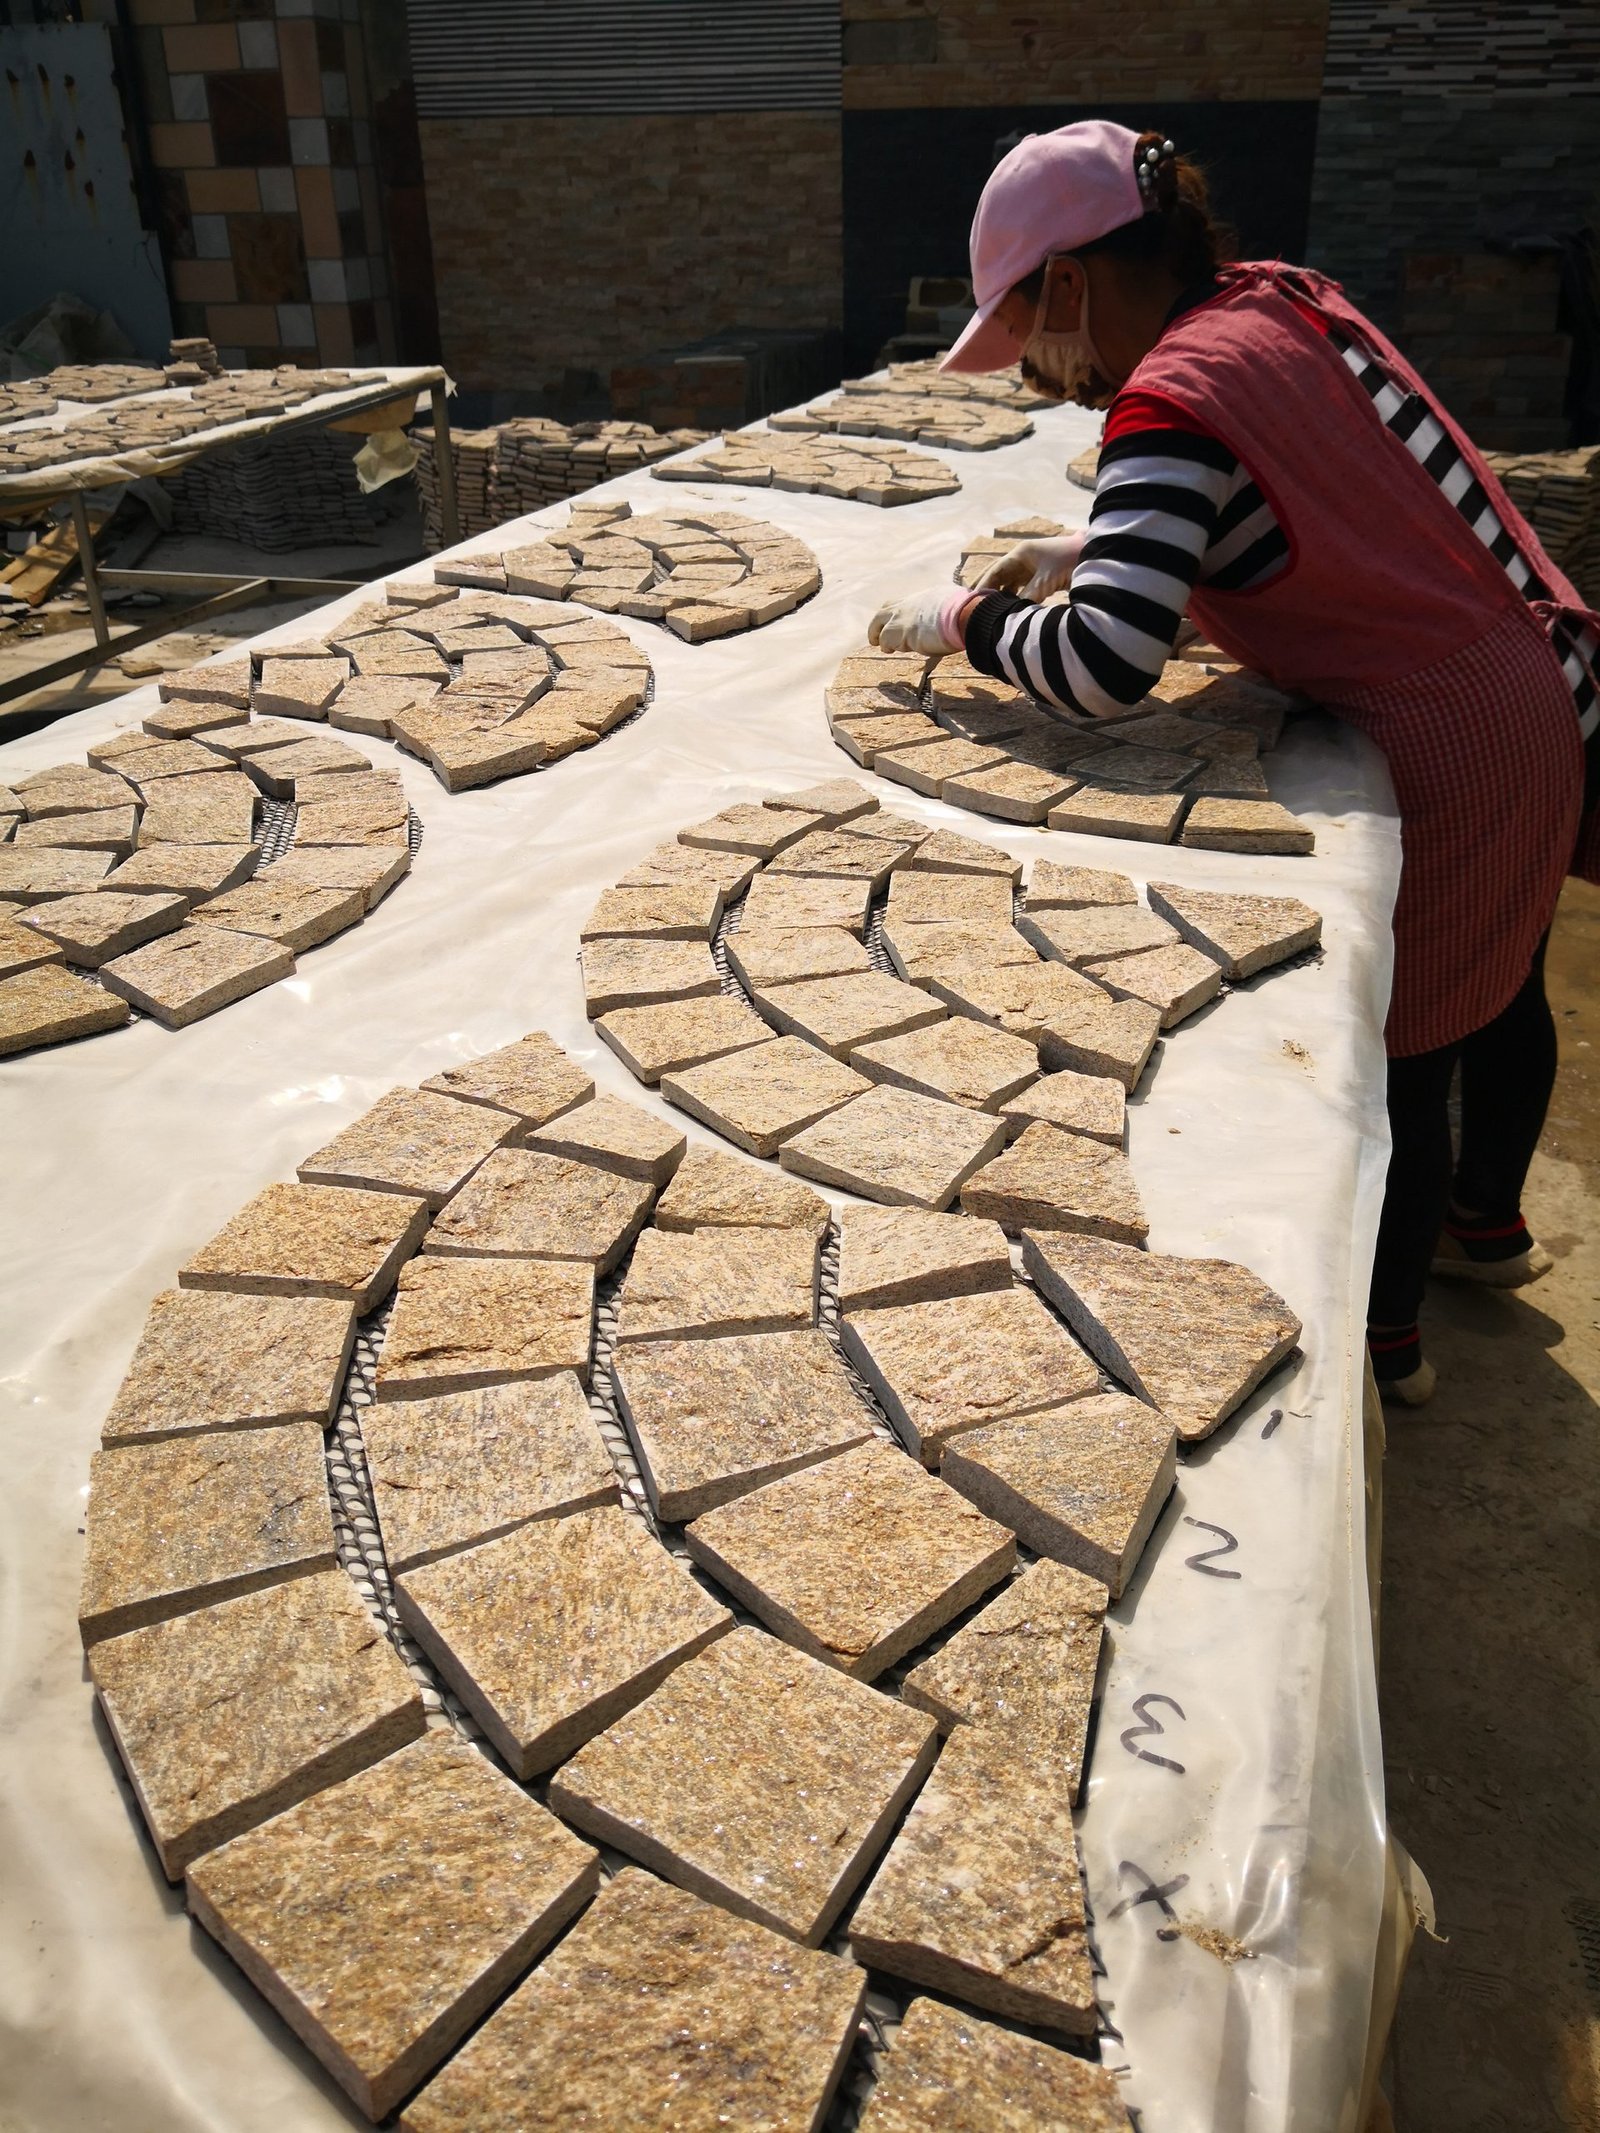
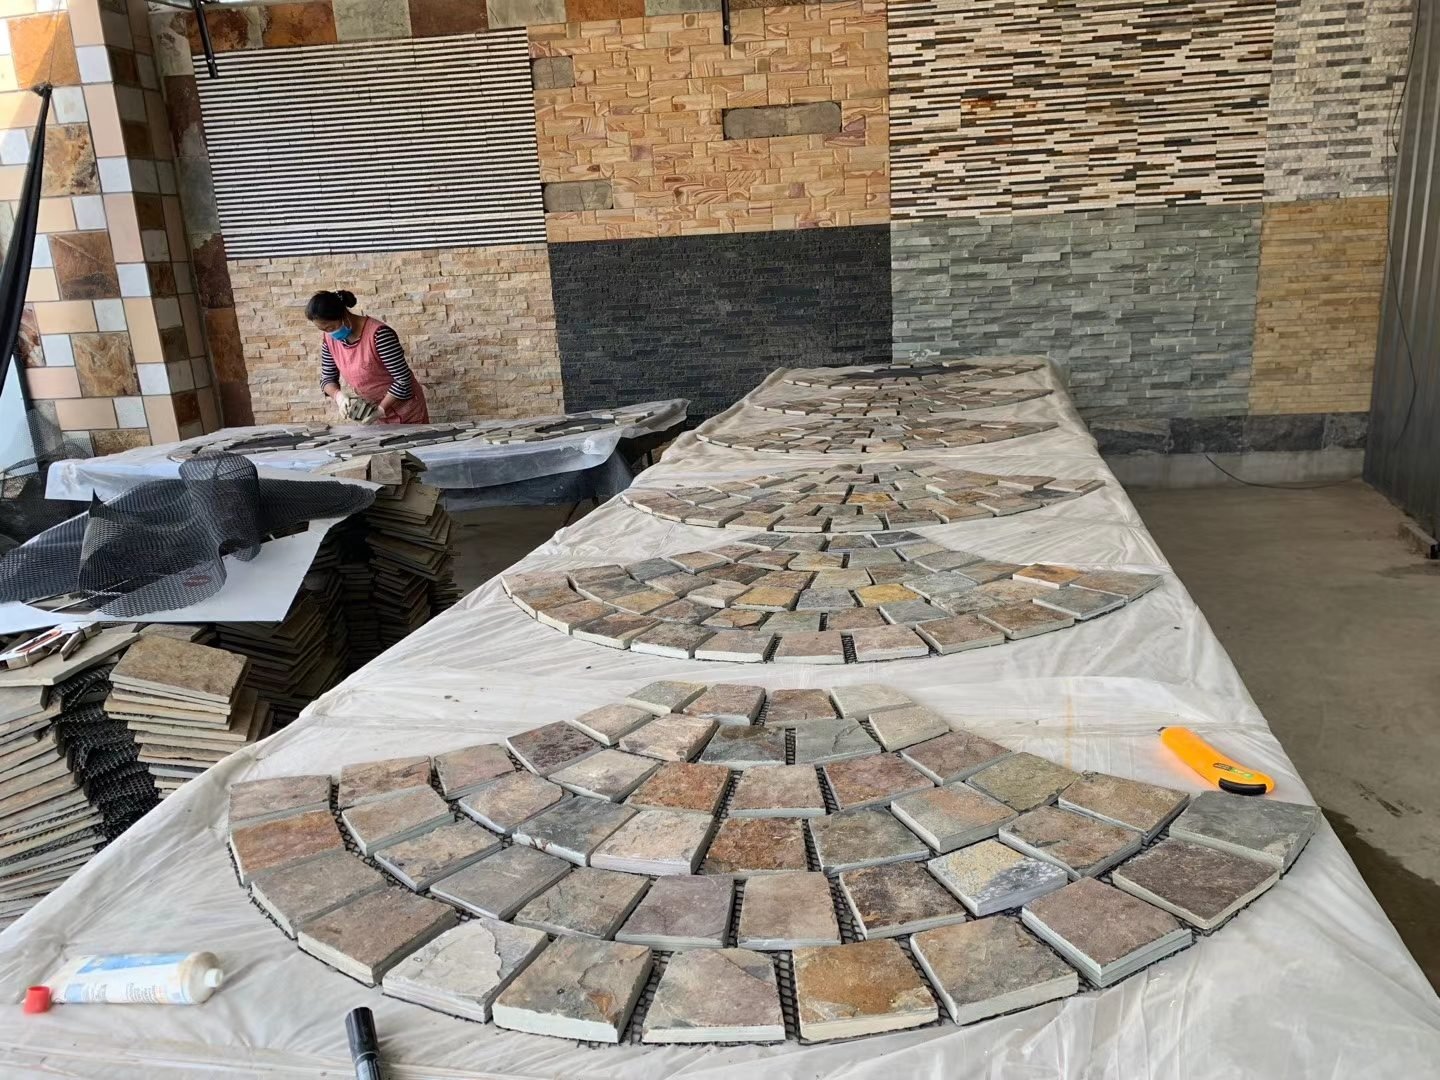
These are pre-assembled random geometric patterns bonded to a fiberglass mesh backing. At our factory, each panel typically measures 600x1200mm or 800x800mm, with individual stone pieces already arranged in an interlocking pattern. The mesh backing holds the arrangement together during transport and installation.
Mesh-backed panels install faster because the pattern is pre-set. You place the entire panel onto the sand bed rather than positioning individual stones one by one. The trade-off is less design flexibility — you get the pattern the factory assembled. For high-volume projects like hotel pool surrounds or commercial walkways, this format cuts installation time by 40-60%.
Loose Individual Flagstone Pieces
These are separate stones, either calibrated to uniform thickness or left in natural split-face variation. Loose pieces give the installer full control over pattern, spacing, and orientation. This format suits projects with irregular boundaries, curves, or custom design requirements.
Loose flagstone takes longer to install. Each stone needs individual positioning, leveling, and spacing adjustment. But the creative freedom is worth it for high-end residential patios and landscape architect-specified projects. For a comparison of design layouts achievable with loose stones, see our guide on flagstone patio design and layout patterns.
Material Performance Across Formats
Regardless of format, our natural flagstone — whether slate, quartzite, marble, or sandstone — performs to the same specifications: temperature range of -30°C to +50°C, A-grade fire rating, UV stability, and salt-spray resistance. These properties matter most for pool surrounds and coastal installations where chlorine exposure and salt air degrade lesser materials within a few seasons.
Base Preparation: Step by Step
The base is the foundation. Get this right and the surface will perform for decades. Get it wrong and no amount of expensive stone will save the project. Every failed flagstone installation we have investigated traces back to base preparation shortcuts.
Step 1: Excavation
Mark the perimeter with stakes and mason’s line. Add 150mm beyond the finished paving edge on all sides for edge restraints. Excavate to a total depth calculated as:
Total excavation depth = sub-base depth + bedding depth + paver thickness
For a typical residential patio with 30mm thick flagstone:
- Sub-base: 100-150mm (use 150mm for driveways or heavy-load areas)
- Bedding sand: 30mm
- Paver: 30mm
- Total excavation: 160-210mm below finished grade
Maintain a minimum slope of 1% (10mm fall per metre of run) away from any structure. For pool surrounds, slope toward drainage channels at 1.5-2% to handle splash water. Use a line level or laser level to verify grade across the entire area before proceeding.
On clay soils, lay a non-woven geotextile fabric over the excavated subgrade before adding aggregate. This prevents fine clay particles from migrating upward into the sub-base during wet conditions, which is the number one cause of base failure in clay-heavy regions.
Step 2: Sub-Base Installation
Spread crushed aggregate in layers (lifts) of no more than 50-75mm each. Compact each lift with the plate compactor before adding the next. The target is a firm, unyielding surface that shows no deflection when you walk on it.
Use angular crushed stone, not rounded pea gravel. Angular aggregate interlocks under compaction, creating a stable matrix. Rounded gravel shifts under load like ball bearings, which leads to uneven settlement beneath the flagstone.
After the final lift, check the sub-base surface with a 2m straightedge. Maximum deviation should be 10mm over 2m. High spots get scraped; low spots get additional aggregate and re-compaction.
Step 3: Bedding Sand Layer
Set screed rails (25mm diameter pipe or timber battens) on the compacted sub-base, spaced 1.5-2m apart. Fill between the rails with coarse washed concrete sand. Pull a straightedge across the rails to create a perfectly level bedding surface at 25-30mm thickness.
Key details that separate professional work from amateur work:
- Never use fine masonry sand. It compacts into an impermeable layer that traps water beneath the pavers, causing heaving in freeze-thaw climates.
- Do not walk on the screeded sand bed. Work from the far edge backward toward your access point.
- Screed only as much area as you can cover with flagstone the same day. Exposed sand bed absorbs moisture and loses its grade.
- The sand layer compensates for minor thickness variations between individual flagstone pieces. If your stones vary by more than 10mm in thickness, increase the sand bed to 40mm.
Laying Flagstone Pavers: Pattern and Spacing
With the base prepared, the actual stone placement proceeds quickly. The critical decisions at this stage are starting point, joint width, and pattern alignment.
Starting Point and Layout Strategy
Begin from the most visible fixed edge — typically the house wall, a step, or a pool coping. Snap a chalk line 3mm away from the fixed edge to create an expansion gap. Work outward from this line in rows or sections.
For crazy paving patterns, start with the largest stones at corners and fixed edges, then fill inward with progressively smaller pieces. This approach ensures the most visible edges have clean, full-size cuts rather than awkward slivers.
Joint Width Decisions
Joint width depends on the jointing method you plan to use (detailed in the next section). General guidelines:
- Dry sand joints: 5-10mm gaps — tight enough to hold sand, wide enough for thermal movement
- Polymeric sand joints: 3-25mm gaps — follow the specific product’s recommended range
- Mortar joints: 10-20mm gaps — wide enough to tool the joint cleanly
- Decorative gravel fill: 15-30mm gaps — accommodate the gravel aggregate size
Use plastic spacers or wooden wedges to maintain consistent gaps during laying. Remove them before jointing.
Leveling Each Stone
Place each flagstone onto the sand bed and tap it with a rubber mallet until the surface is flush with adjacent stones. Check level in both directions with a spirit level. If a stone sits too low, lift it, add sand underneath, and re-seat it. If it sits too high, remove excess sand. Never force a stone downward by hitting harder — this fractures the stone or creates an air void beneath it.
For mesh-backed panels, set the entire panel down flat and press evenly. Use a 600mm² timber pad on top of the panel and tap the pad with the mallet to distribute force across all stones simultaneously.
Jointing Methods Compared
The jointing material fills the gaps between pavers and locks them in position. It also controls drainage, weed growth, and the visual character of the finished surface. Choosing the wrong jointing method for your climate and usage pattern is the second most common cause of flagstone installation failure (after poor base prep).
Below is a comparison of the four main jointing options used with natural flagstone pavers.
| Method | Pros | Cons | Cost (per m²) | Best Use | Lifespan |
|---|---|---|---|---|---|
| Dry Sand | Lowest cost, easy DIY, allows drainage, accommodates movement | Needs annual topping up, weeds may grow, ants can displace sand | $0.50-1.50 | Garden paths, casual patios, permeable surfaces | Annual maintenance |
| Polymeric Sand | Weed resistant, insect resistant, flexible, clean appearance | Higher material cost, requires dry conditions for application, hazing risk if not cleaned properly | $3-8 | Pool surrounds, high-traffic patios, commercial areas | 3-5 years |
| Mortar / Grout | Permanent bond, strongest joint, no weed growth, formal appearance | Most expensive, requires skilled labor, cracks in freeze-thaw if not properly formulated, difficult to replace individual stones | $8-18 | Interior floors, covered areas, mild climates | 15-25 years |
| Decorative Gravel | Natural look, excellent drainage, no maintenance beyond occasional raking | Gravel migrates onto stone surface, not suitable for high traffic, may need edging to contain | $1-3 | Garden paths, dry creek beds, rustic landscapes | Annual raking |
Dry Sand Jointing
Use kiln-dried silica sand with a grain size of 0.1-0.5mm. Sweep it into the joints with a stiff broom, working in multiple directions to fill completely. Compact the surface with a plate compactor fitted with a protective rubber pad, then sweep a second pass of sand to fill any voids created by compaction. The sand should sit 2-3mm below the stone surface to prevent it from being tracked out by foot traffic.
Polymeric Sand Jointing
Polymeric sand contains binding agents that activate when misted with water. The application window matters: the stone surface must be completely dry, and no rain should be forecast for 24 hours. Sweep the sand into joints, compact with a plate compactor, sweep again, then remove all excess sand from the stone surface before activating with a fine mist. Residual polymeric sand left on the surface creates a white haze that is extremely difficult to remove once it cures.
Mortar Jointing
Use a Type N or Type S mortar mix (1 part Portland cement, 1 part hydrated lime, 6 parts sand). For freeze-thaw climates, add a latex or acrylic bonding agent to increase flexibility. Pack mortar into joints with a pointing trowel or grout bag, then tool the joint to a concave profile for water shedding. Mortar joints require expansion joints every 6-9m to prevent thermal cracking.
Finishing and Compaction
Once all stones are laid and jointed, the final compaction and cleaning stage locks everything into place. Do not skip this step — it settles the stones into the sand bed, closes any minor voids, and ensures the surface is uniformly level.
Final Compaction
Run a plate compactor over the entire surface with a protective pad (neoprene or thick rubber, minimum 6mm). Make two passes: first in one direction, then perpendicular. The compactor vibrates the jointing sand deeper into the gaps and seats each stone firmly into the bedding layer. You will notice the surface drop 1-2mm after compaction — this is normal and expected.
After compaction, inspect every joint. Any gaps where sand settled below the surface need a second application. Fill, compact again lightly, and re-check.
Edge Restraints
Install edge restraints around the entire perimeter. For straight edges, use plastic or aluminum paver edging secured with 250mm spikes at 300mm intervals. For curves, use flexible edging. Edge restraints prevent lateral movement of the outer stones, which is where most installations begin to fail after 2-3 years without restraint.
Surface Cleaning
Sweep the entire surface with a stiff broom to remove loose sand and debris. For polymeric sand installations, use a leaf blower to clear all residual sand from the stone surface before activating with water. Any sand left on the surface will bond permanently and create a hazy film. After the final water activation, allow 24-48 hours before allowing foot traffic and 72 hours before placing furniture.
Common Installation Mistakes to Avoid
After 18 years of supplying flagstone to installers across Europe, the Middle East, and North America, we have seen the same mistakes repeated on project after project. Avoiding these six errors will put your installation in the top tier of durability.
Mistake 1: Skipping the Sub-Base
Laying flagstone directly on native soil or on sand alone. The sub-base of compacted aggregate distributes load and provides drainage. Without it, the stones sink unevenly as the soil beneath them compresses at different rates. In freeze-thaw climates, trapped water under the pavers turns to ice and pushes stones upward, creating trip hazards within a single winter.
Mistake 2: Using Rounded Gravel Instead of Crushed Aggregate
Rounded pea gravel or river rock does not interlock. Under load, the stones shift as the gravel rolls beneath them. Always use angular crushed aggregate that locks together when compacted. The difference is visible: crushed stone has sharp, fractured faces; gravel has smooth, rounded surfaces.
Mistake 3: Incorrect Slope
Flat flagstone surfaces pool water. The minimum slope is 1% (10mm per metre). For pool surrounds, 1.5-2% ensures splash water drains away from the coping edge. Check slope with a level during excavation and again after the sub-base is compacted, before laying the bedding sand.
Mistake 4: Jointing in Wet Conditions
Polymeric sand requires bone-dry stone surfaces and 24 hours of dry weather after application. Applying it to damp stone or before rain activates the binding agents prematurely, creating a weak bond and surface hazing. Check the weather forecast and plan jointing for a dry window.
Mistake 5: No Edge Restraints
Without edge restraints, the outer course of flagstone gradually migrates outward under traffic and thermal cycling. Within 2-3 years, gaps open at the perimeter and individual stones become loose. The cost of edge restraint materials is under $2 per linear meter. The cost of rebuilding an edge is 10-20x that amount.
Mistake 6: Over-Thick Sand Bed
Some installers think more sand equals a better base. A sand bed thicker than 50mm behaves like a fluid under load — it shifts, flows, and creates uneven settlement. Keep the bedding layer at 25-40mm. If the sub-base is uneven, correct it with additional aggregate, not extra sand.
For installers working with our stone on vertical surfaces rather than horizontal paving, our guide on applying mortar to stone veneer panels covers the different requirements of wall-mounted installation.
Maintenance After Installation
Natural flagstone requires minimal maintenance once properly installed, but periodic attention extends its life and appearance significantly.
First 30 Days
Avoid heavy point loads (furniture legs, vehicle tires) for the first 72 hours after jointing. The jointing material needs time to fully cure. For polymeric sand, this means the binding agents complete their cross-linking process. For mortar, this means full hydration and strength gain.
Annual Maintenance
- Dry sand joints: Inspect in spring. Top up sand that has washed or blown out of joints. Apply a pre-emergent weed inhibitor if weed growth is a problem.
- Polymeric sand joints: Inspect for cracking or erosion. Minor cracks can be spot-repaired by removing the damaged sand, cleaning the joint, and reapplying. Full re-jointing is typically needed every 3-5 years depending on traffic and climate.
- Mortar joints: Inspect for hairline cracks, especially after the first freeze-thaw cycle. Seal minor cracks with a flexible stone-compatible caulk. Plan for joint repointing every 15-20 years in freeze-thaw climates.
Cleaning
For routine cleaning, sweep and rinse with water. For stubborn stains on natural slate or quartzite flagstone, use a pH-neutral stone cleaner. Avoid acidic cleaners (vinegar, muriatic acid) on calcareous stones like marble or limestone flagstone — the acid etches the surface. For efflorescence (white mineral deposits), brush with a dry stiff brush and allow natural weathering to remove the residue over time.
Winter Care
Our flagstone is rated for -30°C to +50°C, so the stone itself will not crack in winter. But de-icing salts can damage certain jointing materials and leave surface residue. Use calcium chloride-based ice melt rather than sodium chloride, and sweep residual salt off the surface in spring. Never use metal shovels or ice choppers on natural stone — they chip the edges. Use a plastic snow shovel instead.
Frequently Asked Questions
What goes under flagstone pavers?
Flagstone pavers require a compacted sub-base of crushed gravel or aggregate (typically 100-150mm thick), followed by a 25-40mm bedding layer of coarse sand or stone dust. The exact depth depends on soil conditions and expected load. For driveways, increase the sub-base to 200mm. On poorly draining clay soils, add a geotextile fabric separator between the native soil and sub-base to prevent migration.
How do you joint flagstone pavers?
Flagstone pavers can be jointed using four methods: dry sand swept into gaps (lowest cost, needs annual topping up), polymeric sand activated with water (moderate cost, lasts 3-5 years), wet mortar or grout (highest cost, permanent bond), or decorative gravel fill (natural drainage, low maintenance). For freeze-thaw climates, polymeric sand or dry sand joints perform best because they accommodate thermal expansion without cracking.
Can you lay flagstone pavers directly on soil?
Technically yes for temporary or low-traffic garden paths, but it is not recommended for any permanent installation. Unprepared soil shifts with moisture changes, freezes unevenly, and allows weed growth between stones. A minimum 100mm compacted aggregate base with 25mm sand bedding prevents settling, improves drainage, and extends the life of the installation to 25+ years.
What sand to use for a flagstone paver base?
Use coarse, washed concrete sand or crushed stone dust for the bedding layer. The grain size should be 0.5-2mm. Avoid fine masonry sand, which compacts too tightly and prevents proper drainage. Coarse sand allows minor leveling adjustments while maintaining water permeability.
How thick should the sand base be for flagstone pavers?
The sand bedding layer should be 25-40mm (1-1.5 inches) after compaction. This provides enough material to screed level and make minor height adjustments for stones of varying thickness. Do not exceed 50mm, as thick sand beds shift under load and cause uneven settlement.
This guide was written by the technical team at Top Stone Panels, a natural stone cladding and flagstone manufacturer with 18+ years of experience (since 2005) in Yixian, Baoding, Hebei Province, China. Our flagstone is produced using infrared CNC diamond blade cutting for precise dimensions, with a 3-step quality control process from raw material selection through final pre-shipment inspection. Contact us for samples (1-3 day turnaround) or production orders (20-25 working days, MOQ 1x20GP). We also supply stacked stone panels, thin stone veneer, stone columns, and Z-panels for complete exterior stone solutions.



