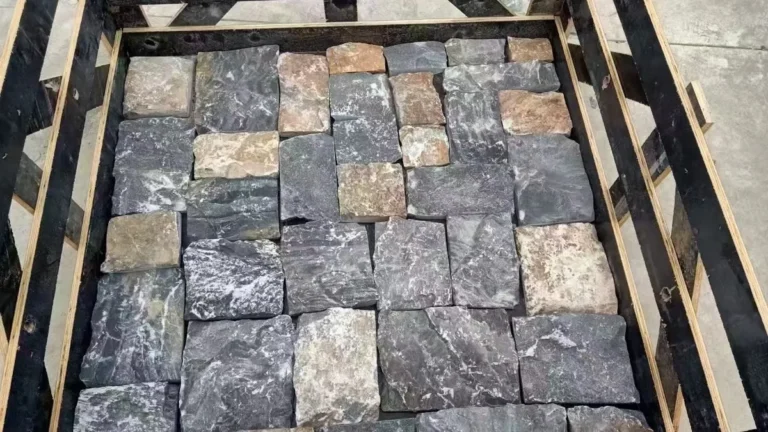
The homeowner wanted the fireplace face done before the holidays, and the wall measured 2.4 meters tall by 3 meters wide, with a firebox opening in the middle and a narrow corner return at one end. The installer’s first question was not about color. It was about which format the strip should be, because a ledger stone fireplace is a different job from a stacked stone fireplace, and the format decides how many pieces, how many cuts, and how clean the lines look around the firebox.
Ledger stone fireplaces are the closest thing to a standard job in natural veneer: the 36x10cm strips lay in horizontal courses, wrap returns without heavy cutting, and read as clean lines that frame a firebox well. This guide walks through the full sequence, from the materials list to the final sealing pass, with the clearance rules and the corner details that separate a professional install from a job that needs redoing.
- Ledger stone fireplaces use 36x10cm natural stone strips laid in horizontal courses from the bottom up with staggered joints.
- Plan 170-230 strips for a typical 6-8 m2 surround, plus a 5-10% cut allowance; coverage is 0.036 m2 per strip.
- Clearances around the firebox come from the fireplace label and local code, not from the stone; keep combustibles out of the required zone.
- Use a notched trowel and full-coverage adhesive, let the setting bed cure before grouting, and seal the finished face.
- Top Stone Panels supplies 36x10cm ledgestone in slate and quartzite, with samples in 1-3 days and an MOQ of one 20GP container.
- 1. Before You Start: Materials and Tools
- 2. Fireplace Clearance Rules First
- 3. Step 1: Prepare the Substrate
- 4. Step 2: Dry-Lay the Layout
- 5. Step 3: Apply the Adhesive
- 6. Step 4: Set the Ledger Panels Bottom-Up
- 7. Step 5: Corners, Returns, and Cut Pieces
- 8. Step 6: Grout and Clean Up
- 9. Step 7: Seal and Finish
- 10. Mistakes That Fail Ledger Fireplace Installs
- FAQ
- Conclusion
1. Before You Start: Materials and Tools
Gather everything before the first strip goes up. The job moves fast once the adhesive tub is open, and the difference between a smooth install and a rushed one is having the right pieces within reach.
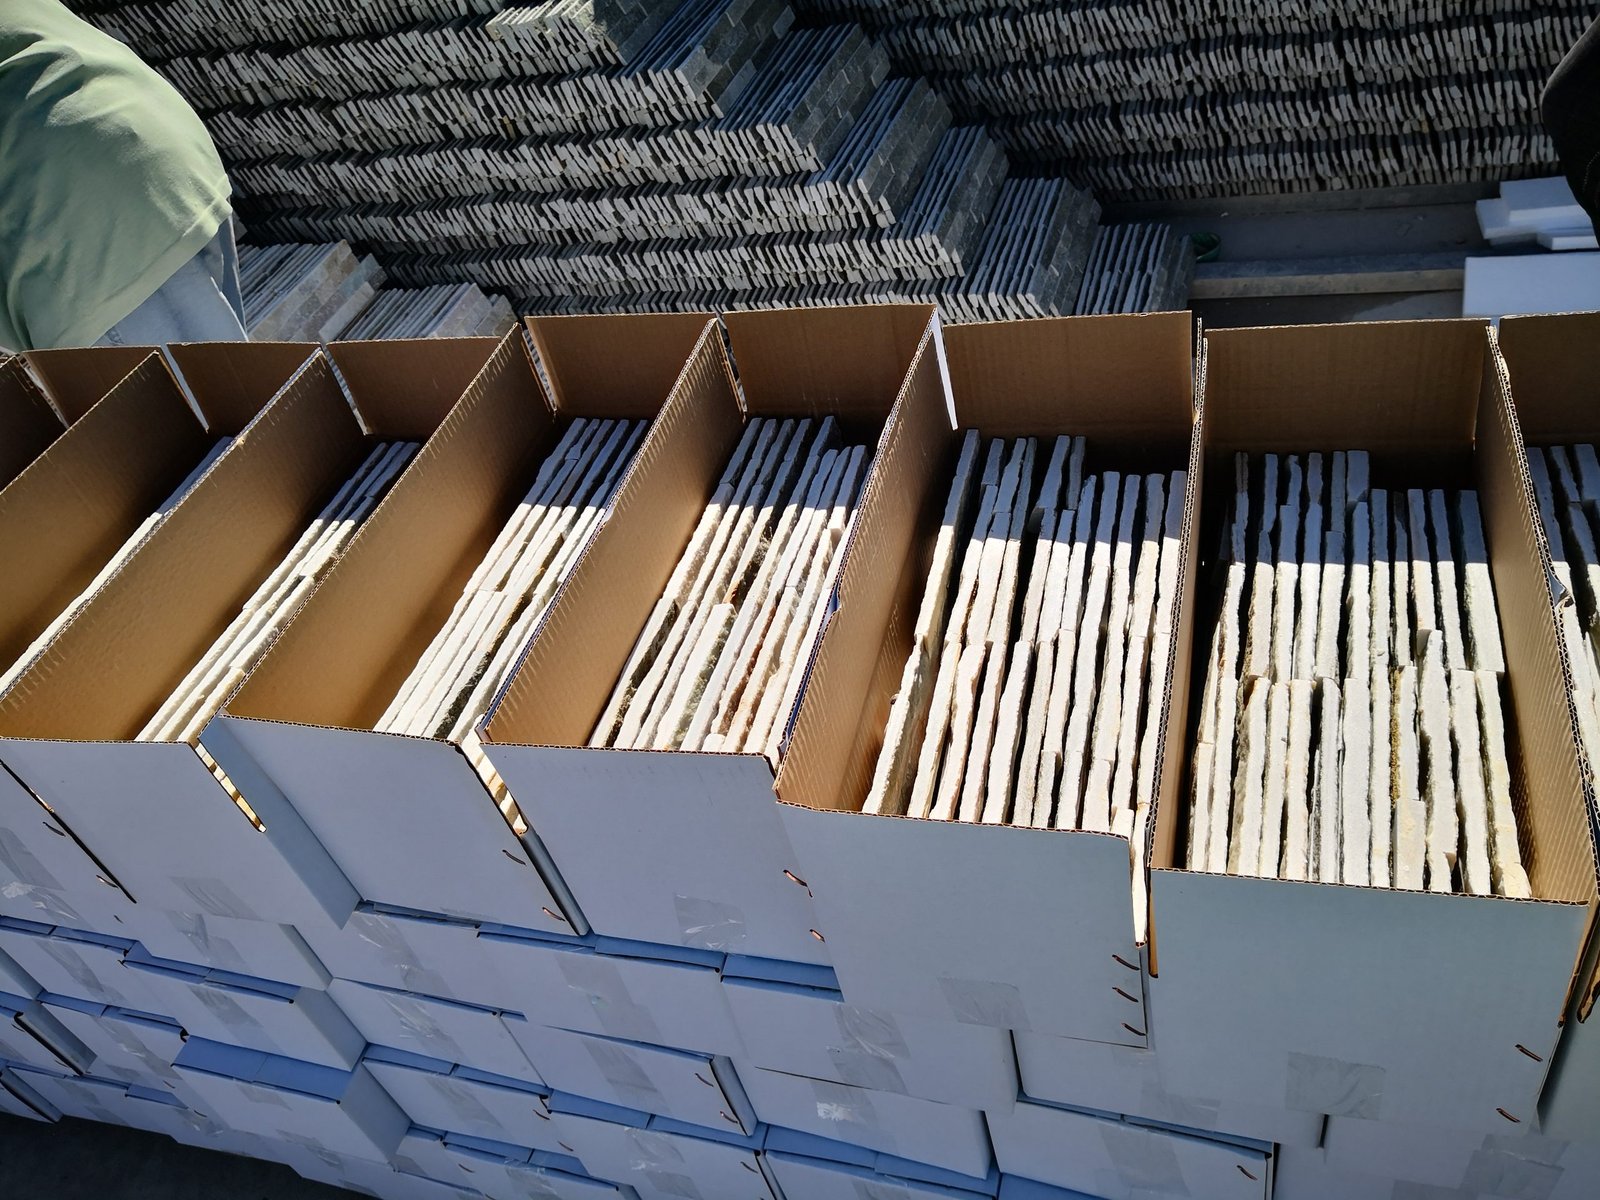
The stone itself is the thin ledgestone format: 36x10cm strips in natural slate or quartzite with split faces, from the same quarry vein so the batch keeps one tonal band. A 36x10cm panel covers 0.036 m2, so a typical surround of 6 to 8 m2 runs about 170 to 230 strips before the cut allowance. The factory packs them in sturdy cartons and supplies slim return pieces and corner options for the edges of the breast, and the thin ledgestone panel page carries the full format spec.
| Category | Item | Why it matters |
|---|---|---|
| Stone | 36x10cm ledger strips, ordered with 5-10% waste | Covers 0.036 m2 each; waste covers returns, cuts, and the hearth band. |
| Substrate | DensGlass or 1/2 in cement board on the breast face | Gives a stable, moisture-tolerant base for the setting bed. |
| Adhesive | Modified thin-set or stone adhesive; notched trowel | Full-coverage bond with the correct notch height per strip size. |
| Corner aids | Return strips or pre-made corner pieces | Keeps 90-degree returns clean without bulky miter joints. |
| Tools | Laser level, wet saw with diamond blade, grout bag, sponge | Straight courses, clean cuts, and consistent joints. |
| Sealer | Penetrating stone sealer | Reduces soot and dust absorption on the finished face. |
2. Fireplace Clearance Rules First
Stone does not burn, but the firebox has clearance rules written by the fireplace manufacturer, and those rules outrank any stone choice. Built-in and factory-built fireplaces carry a label with the required clearances from the firebox opening to combustible framing and trim. The ledger stone itself is set on the surrounding breast, outside the firebox zone, but the job has to respect three rules: keep combustible materials at the labeled distance, never block the fireplace’s air openings or heat vents, and check whether the surround face needs to be non-combustible in your jurisdiction.
The International Code Council publishes the model building and residential codes that most jurisdictions adopt, and local amendments usually add their own fireplace rules. The practical habit: read the fireplace label before ordering material, then verify the code for the specific fireplace type in the local jurisdiction. When in doubt, a licensed installer or inspector settles the question for a specific job, and the neighbor’s fireplace is not the reference.
3. Step 1: Prepare the Substrate
Ledger stone strips are thin and light, but they install exactly where the framing behind them is stable. On a standard fireplace breast, prepare the face with cement board or DensGlass over the studs, taped and mudded at the seams, with flatness checked across the whole breast. A bowed wall shows immediately in a horizontal strip course, because the eye follows the strip line around the firebox.
Clean the substrate of dust and loose material, then let any ceiling or chase work finish bleeding heat before the adhesive goes on. On exterior chimney walls or masonry chimneys, the same ledger program attaches with the appropriate masonry adhesive and metal lath if the manufacturer’s system calls for it. The stone veneer chimney installation guide covers the masonry side, while this sequence focuses on the interior breast.
4. Step 2: Dry-Lay the Layout
Dry-lay before setting: stack a few courses on the floor or hold strips against the wall to establish the joint width and the course rhythm. Ledger fireplaces look best when the horizontal joint stays consistent from one course to the next, and when vertical joints stagger by at least half a strip length so the wall does not develop columns of aligned joints.
Start from a straight reference. Shoot a laser level line for the first course, usually just above the hearth, and mark the center of the firebox so the layout is symmetrical from the middle outward. Decide the pattern around the firebox before adhesive touches the wall: does the course stop and return at the firebox edge, or does a narrow jamb strip frame the opening? Both work, but the jamb treatment should be decided and drawn before the first strip is set.
5. Step 3: Apply the Adhesive
Use a modified thin-set or a trowel-applied stone adhesive rated for the substrate and the stone. With strips this small, the killer is not the adhesive brand; it is coverage. Spread adhesive on the substrate with a notched trowel sized to the strip, and back-butter the strip when the substrate is uneven so the back of the stone has full contact. A strip that ends up with air behind it is the strip that pops later.
Work in small batches that stay workable: spread only as much substrate as you can cover while the adhesive remains open, and never wet-set over dried adhesive. The package open time on the bag is the clock, and a hot room shortens it. For the surround around the firebox, keep a slightly thicker bed near the edges so the strips butt flush against the metal frame or jamb without leaving a reveal that collects soot.
6. Step 4: Set the Ledger Panels Bottom-Up
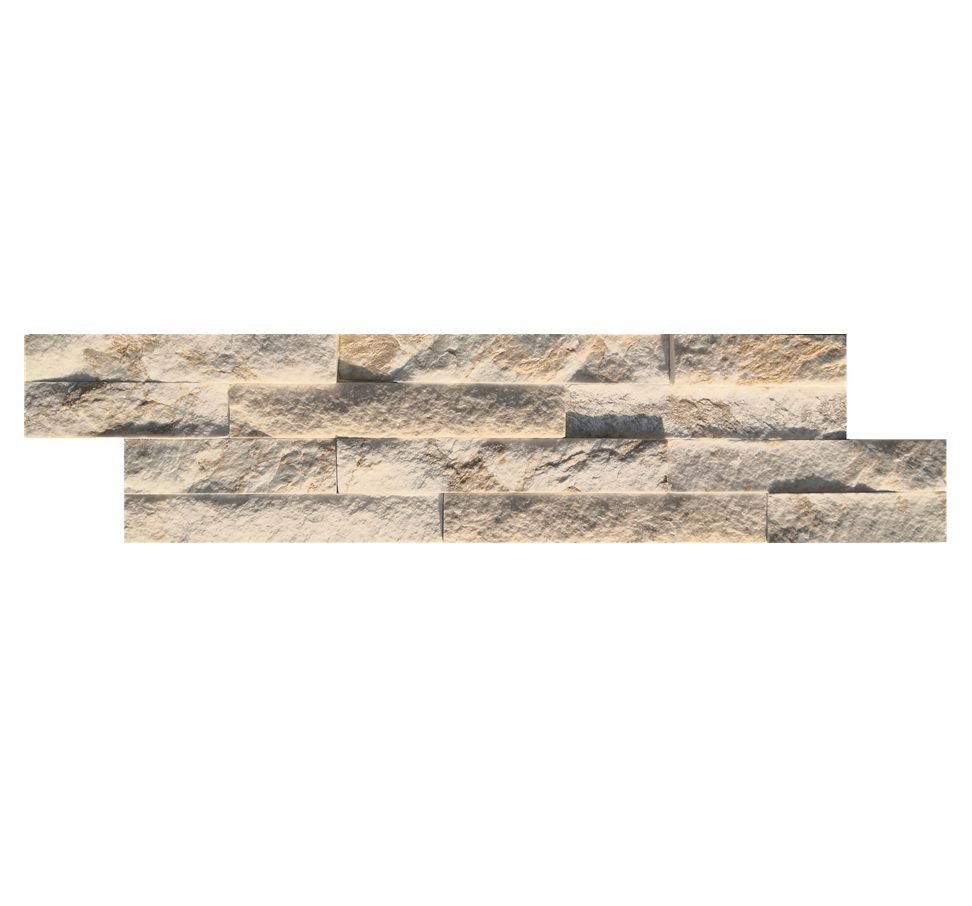
Set the first course on the laser line, starting at the middle of the breast and working outward so the pattern stays symmetrical around the firebox. Press each strip into the adhesive with a slight twist to seat it, then use a level across each course to keep the top edge true. The strips are light enough to handle one-handed, which is the format’s advantage around a firebox where the space is tight.
Stagger the vertical joints between courses. The 36x10cm format makes half-strip staggering easy: every other course starts with a full strip or a half strip, so no two joints line up vertically. Keep spacers in the horizontal joints so the line stays uniform, and resist the urge to push the next strip into the previous one just because the stone faces vary in thickness.
7. Step 5: Corners, Returns, and Cut Pieces
Corners decide whether a ledger fireplace looks built or looks covered. At the outer edge of the breast, the clean method is a return strip: turn the 10cm-high strip onto the side wall so the split face continues around the corner, with a narrow filler cut against the jamb where needed. At inside returns around the firebox, cut a thin band of ledger to frame the opening at the same course height as the field wall.
Cut with a wet saw fitted with a diamond blade, and cut from the back face so the split face stays clean on the visible side. When the wall has a pilaster or a 90-degree projection, the strip course wraps the corner with a 45-degree miter or an L-shaped corner piece, depending on the supplier’s corner program; the slim round-corner sets used with the linear stacks are detailed in the ledgestone fireplace design library. Every cut piece should be set immediately or checked against the dry layout, so cut waste stays under the allowance.
8. Step 6: Grout and Clean Up
Let the setting bed cure according to the adhesive’s printed schedule before any joint work, then choose the joint treatment: flush joints with grout for a continuous stone face, or recessed joints for a rustic split-face look. Fireplace surrounds are usually grouted flush at the firebox edge so the joint does not hold ash or soot.
Joint width is a choice, not an accident. For a modern linear surround, keep the horizontal joints tight and even so the wall reads as one continuous surface; for a rustic split-face look, open the joints slightly and let the grout sit recessed. Whatever the width, set it once in the first course and carry it with spacers to the top, because joints that tighten as the courses climb are the first sign of a rushed install.
Use a grout bag for the narrow 1/4-inch-class joints that ledger courses produce, pressing grout into each seam rather than smearing it across the stone faces. Wipe the surface with a damp sponge before the grout sets, and clean tool residue immediately: dried grout film on split slate is miserable to remove, and the sealing and maintenance guide covers the clean-up chemistry if a film does set.
9. Step 7: Seal and Finish
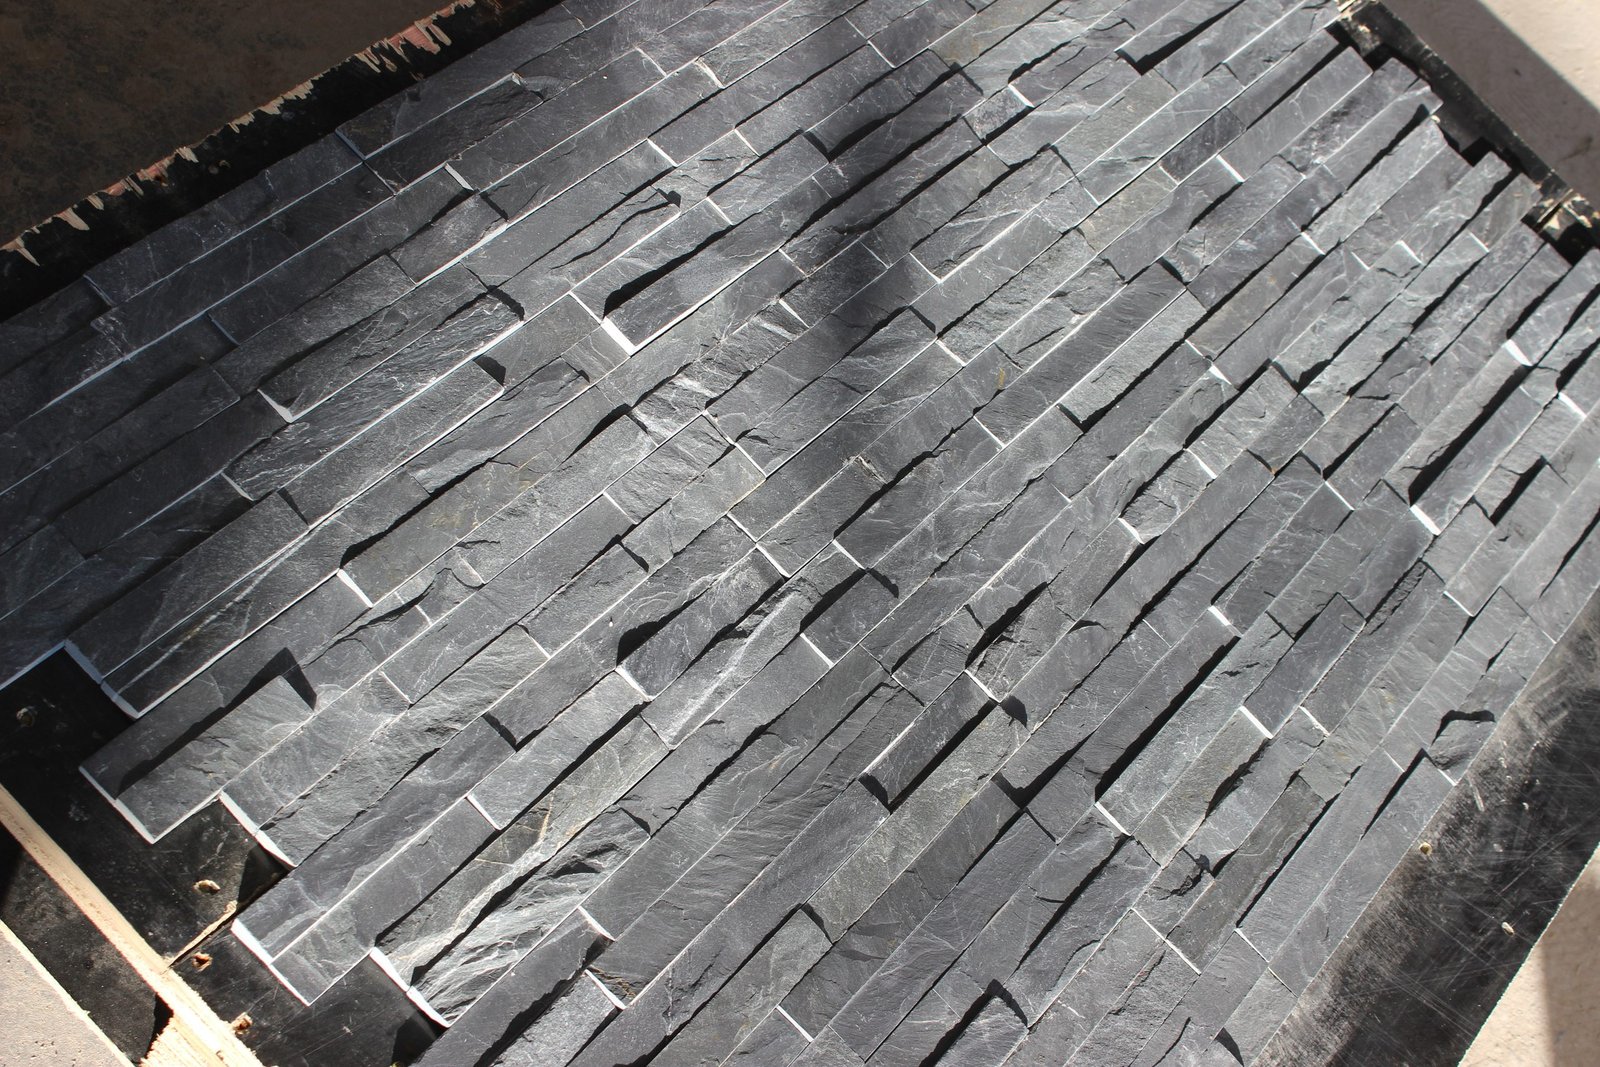
Once the grout is fully cured, apply a penetrating stone sealer to the ledger face. A fireplace surround lives near heat, smoke, and hands, and a sealer that penetrates rather than films keeps dust and soot out of the split face without changing the stone’s matte look. Two light coats beat one heavy coat, and masking the firebox frame before sealing keeps the metal clean.
The finish step is the inspection. Walk the wall at eye level and check the course lines, the corner returns, and the joints against the dry layout. A small stone that sits proud of the course can be tapped in while its adhesive is still soft; after cure, a proud stone needs careful grinding rather than a hammer, so the inspection is worth doing the same day.
For fireplace suppliers and distributors, the ledger fireplace is also a repeatable program, not just a single job. The same 36x10cm format covers a standard surround with predictable math, so a stock order of a few thousand strips covers a season of jobs without custom quoting per fireplace. Order samples of the color family first and hold one back on site, then order by container to keep the batch matching the sample; repeat orders draw on the same quarry vein, which is how a program stays consistent across months. The stone sample ordering guide explains how to lock that color consistency before the first container ships.
10. Mistakes That Fail Ledger Fireplace Installs
Ledger fireplace installs fail in predictable places, and each one is avoidable with a little discipline.
- Skipping the clearance check. The stone goes up fine, then the fireplace inspection fails because the surround infringes the labeled clearance. Read the label first, always.
- Dry adhesive beneath the strip. Working past the open time means the strip sits on crust; it pops in the first season.
- Unstaggered joints. Vertical joints that line up course after course look like a grid, not stone, and they telegraph any movement in the wall.
- Setting the firebox edge unevenly. A wavy jamb band collects soot and draws every eye in the room; decide the jamb treatment in the dry layout.
- Grouting too wet or too late. Either the grout washes out of the joint or it films the split face; follow the mix water and the work time.
- Sealing before full cure. A sealer over unset grout or damp adhesive traps moisture and can cloud the face.
FAQ
How many ledger stone panels do I need for a fireplace surround?
Measure the surround in square meters and divide by 0.036: a 6 m2 surround needs about 167 strips, and 8 m2 needs about 223, then add a 5-10% cut allowance.
What adhesive should I use for ledger stone on a fireplace?
Use a modified thin-set or stone-rated adhesive applied with a notched trowel, with full coverage on the back of each strip; follow the firebox clearance rules from the fireplace label.
Do I need a corner piece for the fireplace surround?
At inside returns and outer wall edges you either turn a strip on its side or miter-cut the joint; slim return pieces are standard practice with the 36x10cm ledger format.
Is natural stone safe around a fireplace?
Natural slate and quartzite are not combustible, but the safe distance to the firebox still comes from the fireplace manufacturer’s clearance rating and the local code.
How long does a ledger stone fireplace job take?
A competent installer completes a typical surround in one to two days including layout, adhesive cure, grouting, and sealing; the adhesive setting schedule drives the total time.
Conclusion
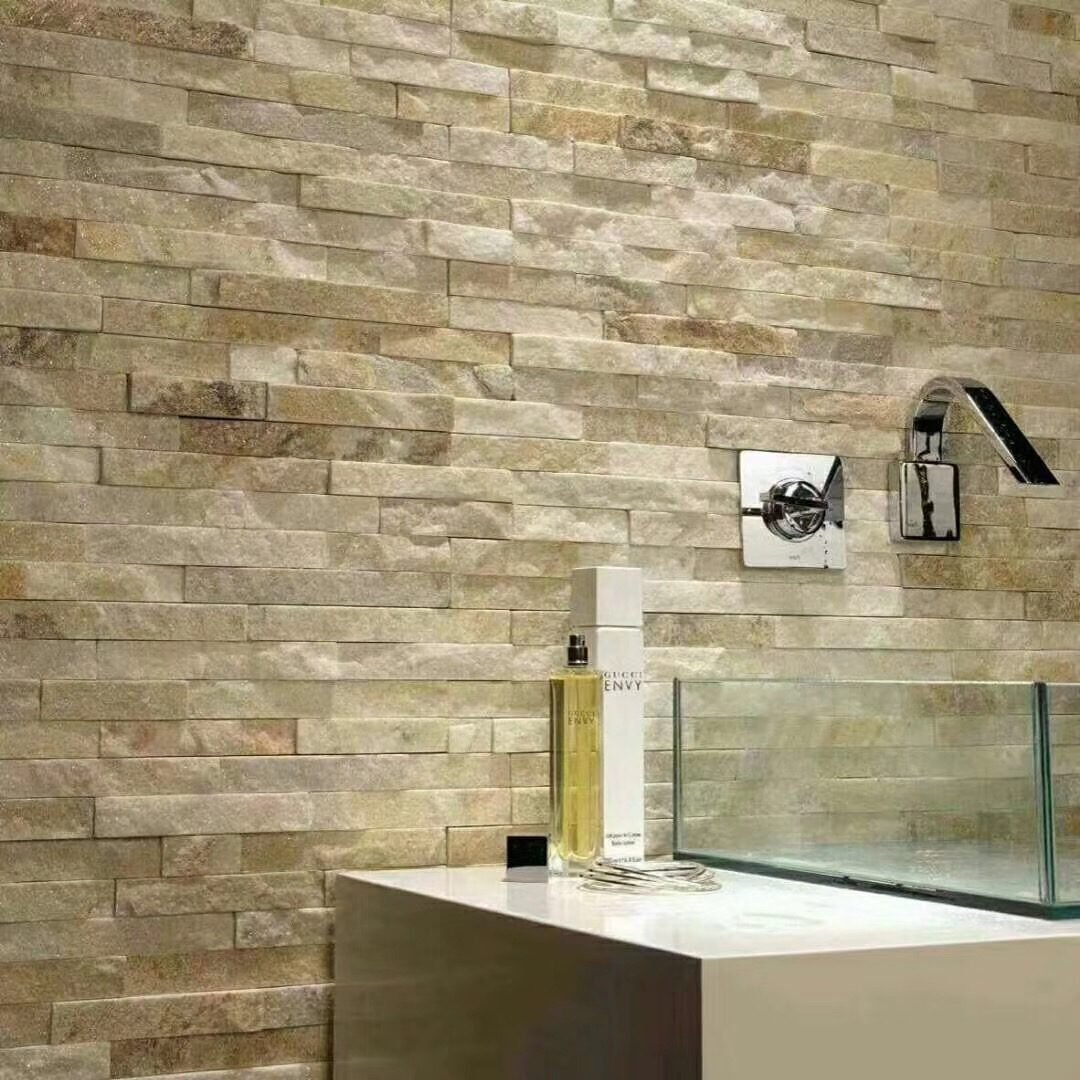
A ledger stone fireplace comes down to sequence: check the clearance label, prepare the substrate, dry-lay the pattern, set the courses bottom-up with staggered joints, handle the corners with return strips, grout after cure, and seal last. The 36x10cm format exists because it makes this exact wall type fast and clean, and a disciplined installer can carry the job from carton to sealed wall in a couple of days.
Key Takeaways
- Plan the material with coverage math: 0.036 m2 per 36x10cm strip, plus 5-10% for cuts.
- Read the fireplace label and local code for clearances before ordering stone.
- Set strips bottom-up on a laser line with staggered vertical joints and full-coverage adhesive.
- Wrap corners with return pieces, grout after the bed cures, and seal with a penetrating sealer.
Building a fireplace-supply program or quoting a surround job? Top Stone Panels supplies 36x10cm thin ledgestone in slate and quartzite, packed for container shipment with samples in 1-3 days. The hearth design guide covers the surrounding details when the job includes the hearth band and mantel.