
The bond between a stone veneer panel and its substrate lives or dies based on one decision: the mortar. Pick the wrong type, mix it wrong, or apply it with the wrong technique, and panels delaminate within months. Pick right and they hold for decades.
This guide covers the exact mortar specifications, mixing procedures, and application techniques used by professional installers working with natural stone veneer panels—slate, quartzite, marble, and sandstone. Every recommendation here maps to specific panel constructions (cement-backed, mesh-backed, epoxy-bonded) and real jobsite conditions.
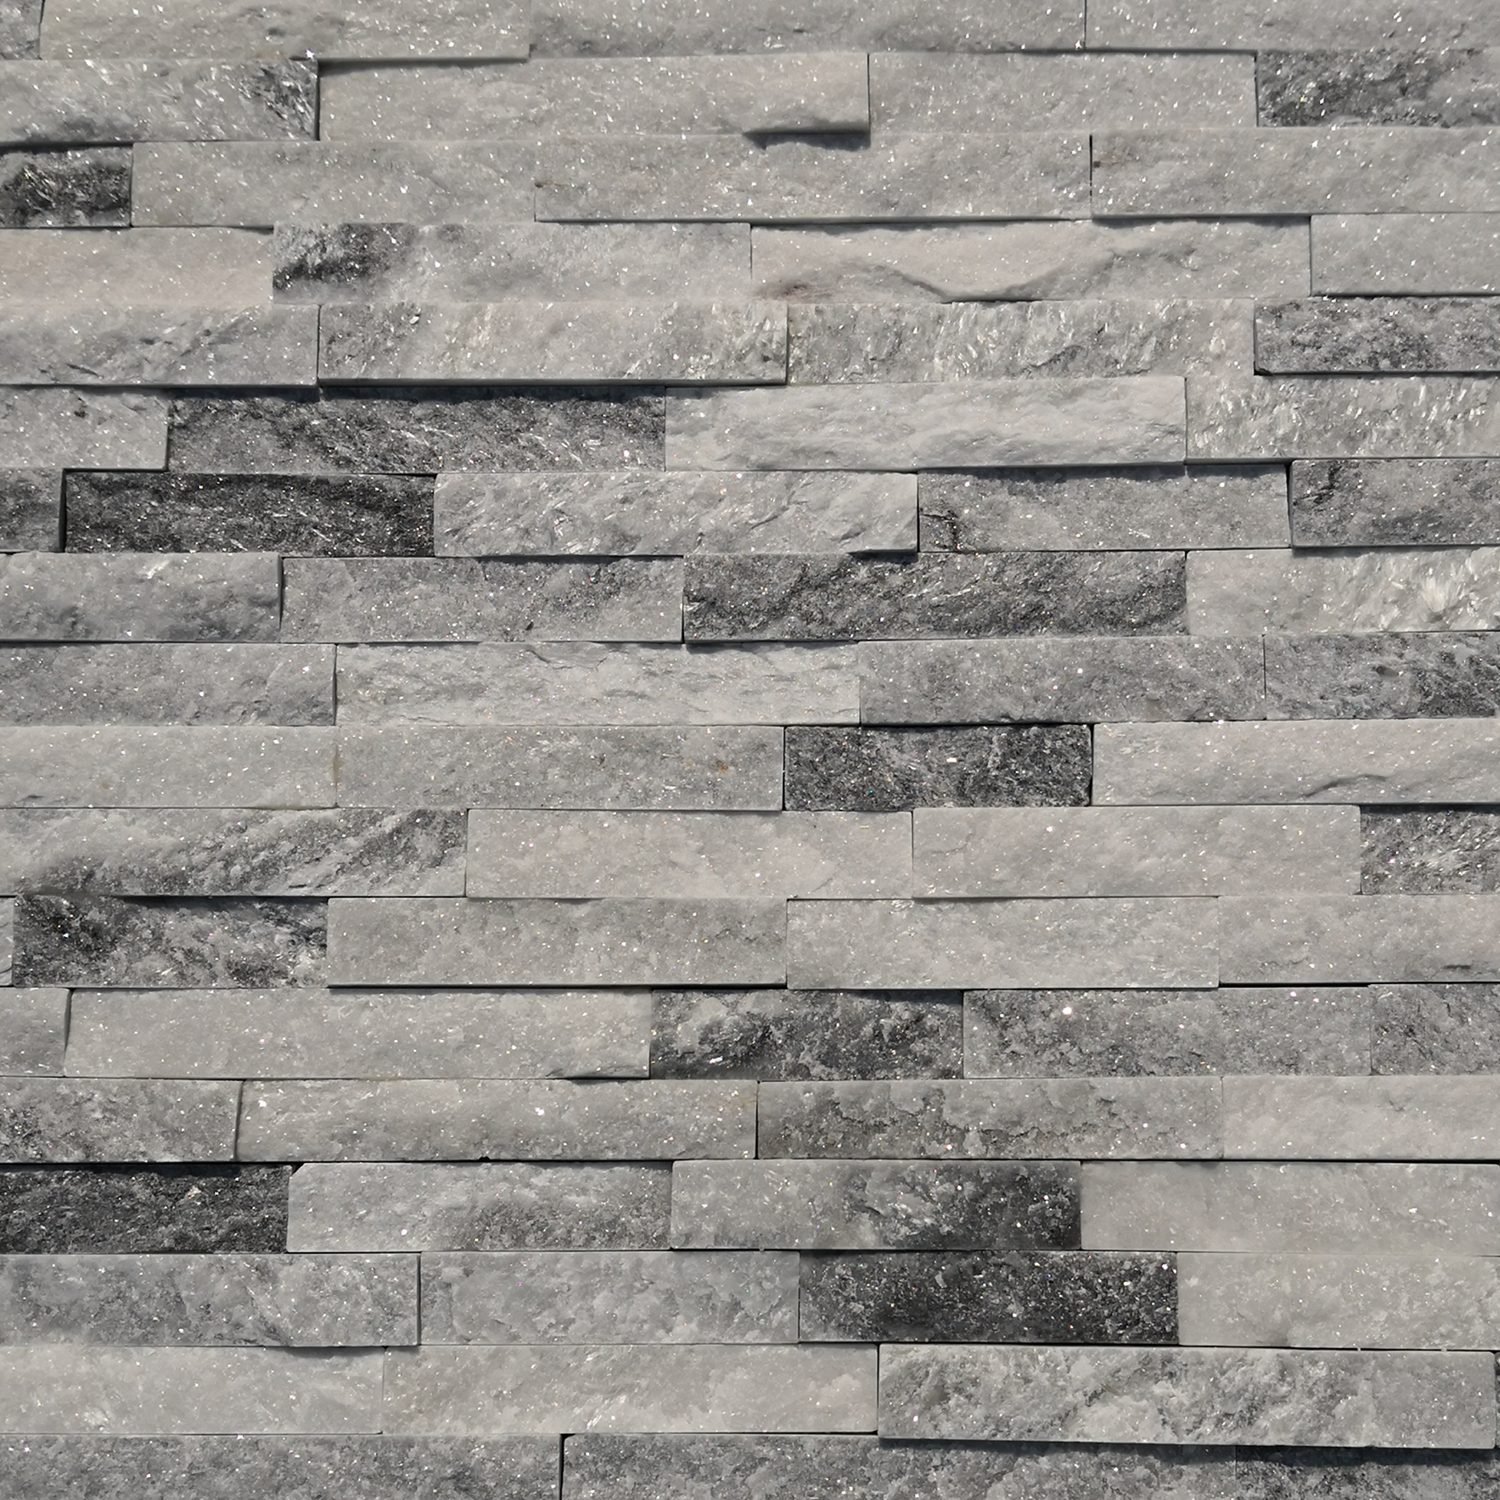
Types of Mortar for Stone Veneer Installation
Not every mortar works with every stone panel. The three categories that matter for thin stone veneer installation:
Type S Mortar
A blend of Portland cement, hydrated lime, and graded sand. Compressive strength sits around 1,800 psi. The lime content gives it workability and a degree of flexibility that pure cement mixes lack. Type S is the standard choice for mesh-backed natural stone panels because it bonds aggressively to irregular stone surfaces and accommodates the slight dimensional variation that comes with natural materials.
Polymer-Modified Thinset Mortar
Portland cement base with added polymer additives (typically latex or acrylic). These polymers improve adhesion, reduce water absorption, and increase flexural strength. Polymer-modified thinset is the go-to for cement-backed stone veneer panels, where the bond surface is uniform and the mortar needs to grip two relatively smooth surfaces together. It is also the right choice for interior applications where thin bond lines are preferred.
Standard Thinset (Unmodified)
Basic Portland cement and sand mixture. Works for cement-backed panels in low-stress, interior applications where temperature swings are minimal and moisture exposure is controlled. For exterior walls or any area subject to freeze-thaw cycles, upgrade to polymer-modified thinset or Type S.
Type N mortar (approximately 750 psi compressive strength) is too weak for stone veneer panel installation. It is designed for above-grade non-load-bearing walls and repointing, not for supporting the dead load of stone panels on vertical surfaces.
Match Mortar to Panel Backing Type
This is the decision point most installers get wrong. The panel backing determines the mortar chemistry.
| Panel Backing | Recommended Mortar | Why |
|---|---|---|
| Cement backing | Polymer-modified thinset | Uniform bond surface; thinset grips cement-to-cement |
| Mesh backing | Type S mortar or polymer-modified mortar | Mortar penetrates mesh, locks onto stone directly |
| Marine-grade epoxy bond | Polymer-modified thinset | Epoxy layer is non-porous; needs high-adhesion thinset |
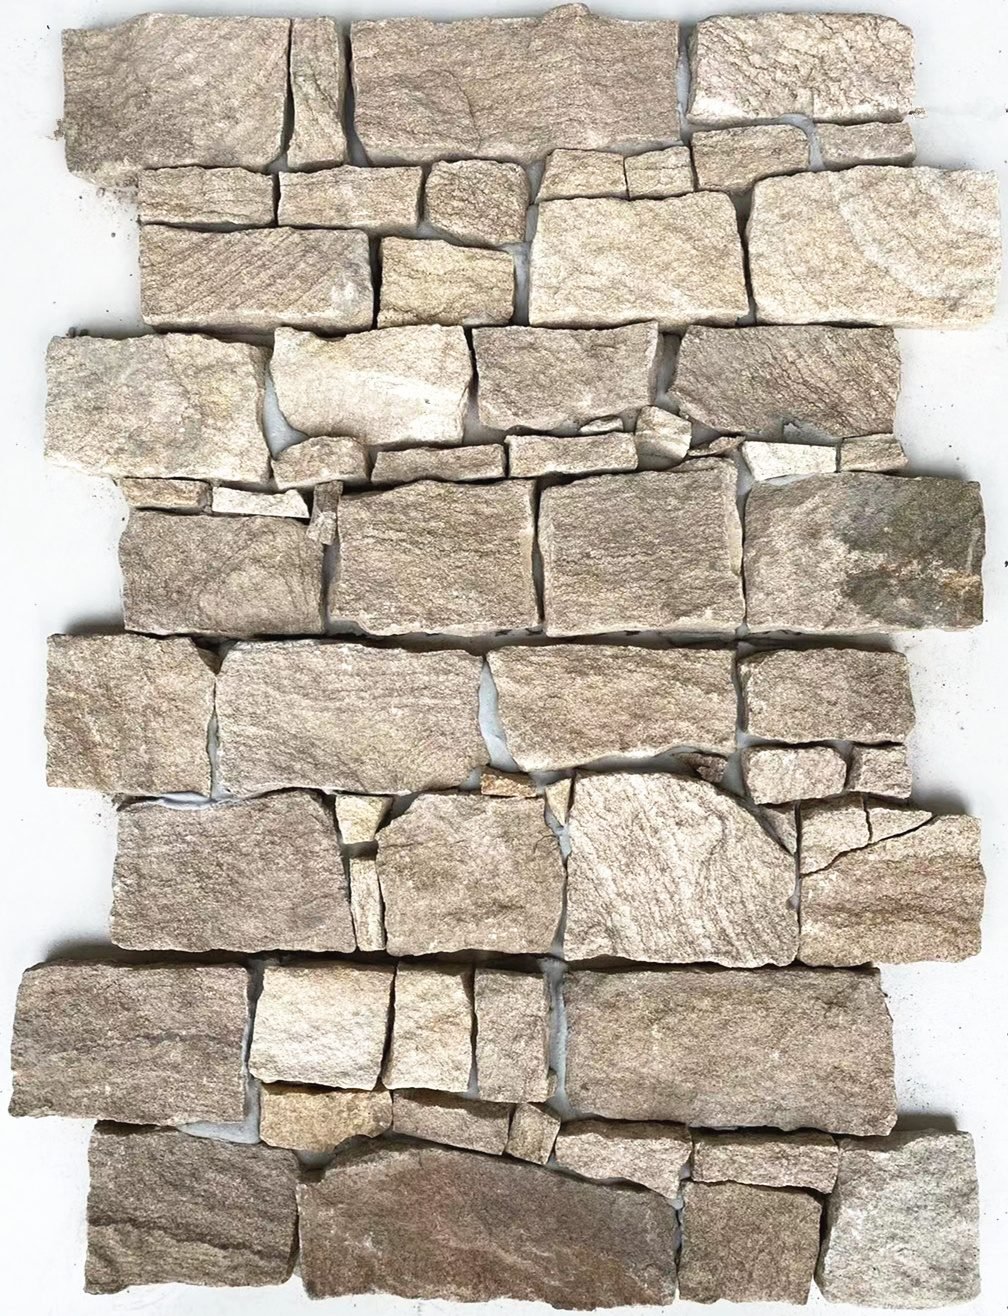
Stacked stone panels from Top Stone Panels come in standard sizes of 15x60cm or 15x55cm with mesh or epoxy backing. Z-panels (interlocking cement-backed panels) come in 20x55cm and 15.2x61cm formats and accept standard thinset mortar directly. Always verify the backing type on the spec sheet before ordering mortar.
Mixing Ratios and Consistency
Mortar consistency determines how well it spreads, how much it slumps on vertical surfaces, and whether it skins over before you can set the panel.
Type S Mortar Mix
- Ratio: 1 part Portland cement + 0.5 parts hydrated lime + 4.5 parts masonry sand (by volume)
- Water: Add gradually until the mix holds a ridge when troweled but does not slump off a tilted trowel blade
- Pot life: Approximately 90 minutes at 21°C
- Target consistency: Peanut butter—holds shape, spreads without tearing
Polymer-Modified Thinset
- Mix: Follow the manufacturer’s water-to-powder ratio printed on the bag (typically 5.5–6.5 liters per 25 kg bag)
- Slake time: Mix, rest 10 minutes, remix for 2 minutes. This activates the polymer additives fully
- Pot life: 60–90 minutes depending on ambient temperature
- Do not add extra water after slaking—this breaks the polymer chain and weakens the bond
Use a low-speed drill (300–400 RPM) with a paddle attachment for mixing. High speeds introduce air bubbles that weaken the set mortar. Mix only what you can use within the pot life window; re-tempering (adding water to stiffened mortar) destroys bond strength.
Substrate Preparation and Scratch Coat
No mortar bonds to a dirty or unstable surface. Substrate prep accounts for roughly 30% of total installation labor, and skipping it is the single most common cause of panel failure.
Concrete and CMU Walls
- Remove all dust, efflorescence, form oil, and paint using a wire brush or pressure washer (minimum 2,500 psi for exterior walls)
- Let the surface dry to a damp-but-not-wet state
- Apply a scratch coat: a 3–5mm layer of the same mortar you will use for panel adhesion
- Score horizontal grooves into the scratch coat with a notched trowel or rake—this creates a mechanical key for the adhesive mortar layer
- Cure the scratch coat for 24–48 hours, misting twice daily to prevent rapid drying
Framed Walls (Wood or Metal Studs)
These require a weather-resistive barrier (house wrap or building paper) followed by metal lath attached with corrosion-resistant fasteners. Apply a 10–12mm scratch coat over the lath, score, and cure as above. The lath provides the mechanical anchor that mortar alone cannot achieve on a flexible substrate.
For detailed substrate preparation on concrete block walls, see our guide on installing stone cladding on concrete block walls.
Application Technique: The Butter Method
The butter method is the industry-standard approach for setting stone veneer panels. It uses two mortar applications—one on the wall, one on the panel back—to guarantee full coverage and eliminate air voids.
Step 1: Trowel Mortar onto the Wall
Using a 10mm or 12mm notched trowel, spread mortar onto the substrate in a uniform layer. Hold the trowel at a consistent 45-degree angle to produce even ridges. Work in sections no larger than what you can cover in 15–20 minutes before the mortar begins to skin.
Combing direction matters: run trowel ridges horizontally on vertical walls. Horizontal ridges allow trapped air to escape sideways as you press the panel in, rather than trapping it in vertical channels.
Step 2: Back-Butter Each Panel
Using a flat trowel or margin trowel, apply a 2–3mm layer of mortar directly to the back of the stone panel. Press it into the backing material—whether mesh, cement, or epoxy—to fill every recess. This is non-negotiable. Back-buttering increases bond strength by an estimated 40–60% compared to wall-only application.
Step 3: Set the Panel
Press the panel firmly into the mortar bed on the wall. Apply pressure across the entire face, working from center to edges. The panel should squeeze out a small amount of mortar at the edges—this confirms full contact. If no mortar squeezes out, the coverage is insufficient; remove the panel, add more mortar, and reset.
For a complete walkthrough of the setting process with stacked stone panels, see our stacked stone veneer installation guide.
Joint Treatment Options
Stone veneer panels offer three joint styles, and the mortar approach changes for each:
Dry-Stack (No Visible Mortar)
Panels sit tight against each other with no intentional gap. This is the most common treatment for thin ledgestone and stacked stone products. The key is applying enough mortar to bond the panel to the wall while keeping it from squeezing into the visible joint face. Use a slightly stiffer mortar mix (less water) to control squeeze-out. Any mortar that does reach the face should be brushed off with a dry brush before it sets.
Flush Joints
Mortar fills the joint completely, level with the stone face. Apply mortar to the panel edges before setting, then tool the joint with a jointing tool once the mortar reaches thumbprint hardness (typically 20–40 minutes after setting). Flush joints create a cleaner, more uniform appearance suited to modern architectural styles.
Recessed (Raked) Joints
Mortar is set back 3–5mm from the stone face, creating shadow lines that emphasize individual stones. Use a joint raker or bent rebar to rake the joint after initial set. This technique works well with larger-format panels and flagstone products where the individual stone character should be visible.
Working with Corners and Cuts
Corners and cut pieces require extra attention to mortar coverage because they carry more stress and experience more movement than field panels.
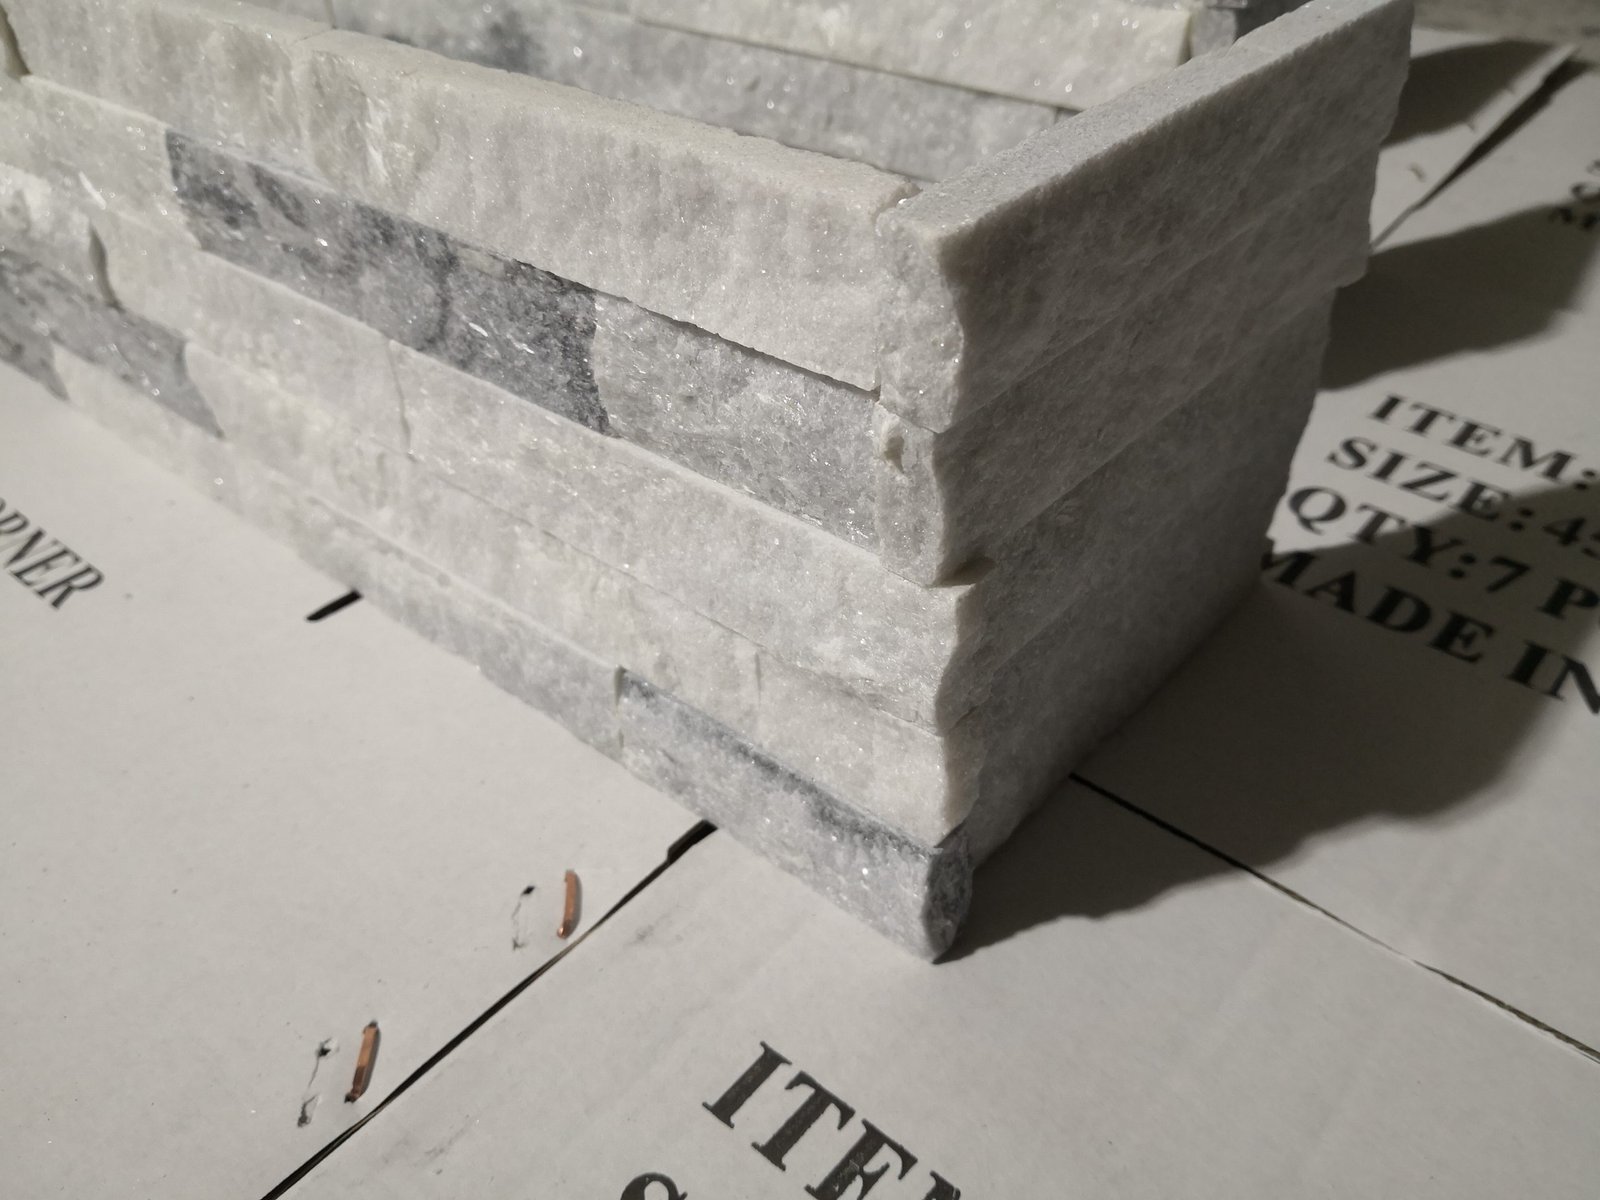
Pre-Made L-Corners
Top Stone Panels manufactures pre-made L-corners that wrap around 90-degree corners without field cutting. These save approximately 50% of corner labor compared to mitering panels on-site. Apply mortar to both the wall and the inside face of the L-corner, then press into position. The L-corner’s factory-cut edges are produced with infrared CNC diamond blades, which hold tolerances tight enough that mortar gaps stay consistent.
Cutting Panels On-Site
For field cuts around outlets, windows, or irregular angles, use a wet saw or angle grinder with a continuous-rim diamond blade. Top Stone Panels products are precision-cut at the factory (infrared CNC diamond blade cutting reduces on-site waste by approximately 20%), so most cuts are limited to end-of-run trimming. For cut pieces, back-butter the entire cut face—the exposed aggregate from a fresh cut is more porous and absorbs mortar moisture faster, which can weaken the bond if coverage is thin.
For corner fitting techniques specific to stacked stone, see our guide on cutting and fitting stacked stone corner pieces.
Temperature and Weather Considerations
Mortar chemistry is temperature-sensitive. The following parameters apply to all mortar types used for stone veneer installation:
| Condition | Temperature Range | Action |
|---|---|---|
| Ideal working range | 10–25°C | Proceed normally |
| Cold weather | 5–10°C | Use warm water (not hot) for mixing; extend curing time by 50% |
| Too cold—do not install | Below 5°C | Stop. Mortar will not cure properly; freeze-thaw risk before set |
| Hot weather | 25–35°C | Use cool water; work in smaller sections; mist substrate before applying mortar |
| Too hot—do not install | Above 35°C | Stop. Mortar skins over before panels can be set |
Rain: Do not install stone veneer panels in rain or if rain is expected within 24 hours of installation (for exterior, unprotected work). Water washes lime and cement fines out of fresh mortar, weakening the bond and leaving white streaks on the stone face.
Wind: Wind above 25 km/h accelerates surface drying. Erect temporary windbreaks or reduce your working section size so you can set panels before the mortar skins.
Once fully cured, Top Stone Panels natural stone products are rated for service temperatures from -30°C to +50°C, covering virtually any climate zone globally.
Common Mistakes That Cause Panel Failure
These are the errors that lead to callbacks, delamination, and cracked panels. Every one of them is avoidable.
- Skipping the scratch coat. Mortar applied directly to smooth concrete or bare CMU has insufficient mechanical grip. The scratch coat provides the key.
- Not back-buttering. Wall-only mortar application leaves voids behind the panel. Voids collect moisture, which freezes and expands in cold climates, pushing panels off the wall.
- Re-tempering mortar. Adding water to mortar that has begun to stiffen breaks the chemical set. Discard mortar that has exceeded its pot life.
- Working too large a section. If the mortar skins over before you set the panel, the bond is compromised. Skin acts as a bond-breaker. Work in 1–2 m² sections maximum.
- Using Type N mortar. Its low compressive strength (750 psi) cannot support the dead load of natural stone panels over time.
- Ignoring expansion joints. On walls longer than 6 meters, install soft joints (backer rod + sealant) at intervals to accommodate thermal movement. Rigid mortar across the full wall length will crack.
- Grouting over uncleaned stone. Any mortar smears left on the stone face during setting will stain the surface once they cure. Clean as you go.
If you are evaluating whether to handle installation yourself or hire a professional, our DIY vs. professional installation comparison covers cost, time, and risk trade-offs.
Cleanup and Curing
Proper cleanup and curing protect both the installation and the stone appearance.
Immediate Cleanup
Keep a bucket of clean water and a stiff nylon brush at the installation point. As you work, wipe mortar off the stone face immediately with a damp sponge. Once mortar cures on the stone surface (typically 2–4 hours depending on temperature), removal requires acid-based cleaners that can etch certain stones—particularly marble and calcareous sandstone. Prevention is far easier than correction.
For dry-stack joints, use a dry bristle brush to sweep mortar crumbs out of joint lines before they harden.
Curing Time
- Initial set: 24 hours at 21°C and 50% relative humidity. Do not disturb panels during this period.
- Full cure: 28 days for Type S mortar; 7–14 days for polymer-modified thinset (check manufacturer spec)
- Grouting (if applicable): Wait a minimum of 48 hours after panel setting before applying any grout to joints
- Sealing: Wait 28 days after installation before applying a penetrating stone sealer
During the first 48 hours, protect the installation from direct rain, freezing temperatures, and physical impact. Cover exterior work with breathable polyethylene sheeting if weather is uncertain.
Mortar Coverage and Consumption Estimates
Budgeting mortar correctly prevents mid-project shortages. The following estimates assume a 6–8mm average bond thickness (wall + back-buttering combined):
| Panel Type | Panel Size | Mortar per m² | 25 kg Bag Covers |
|---|---|---|---|
| Cement-backed Z-panels | 20x55cm / 15.2x61cm | 6–8 kg | 3.1–4.2 m² |
| Mesh-backed stacked stone | 15x60cm / 15x55cm | 8–10 kg | 2.5–3.1 m² |
| Scratch coat (all types) | All substrates | 4–5 kg | 5.0–6.3 m² |
Mesh-backed panels consume more mortar than cement-backed panels because the mortar must penetrate the mesh and fill the irregular surface of the natural stone back. Cement-backed panels have a flat, uniform surface that requires less material to achieve full coverage.
Add 10% waste factor for cuts, spillage, and re-sets. Order all mortar for a project from the same batch/lot number to ensure color and set-time consistency.
Frequently Asked Questions
What type of mortar is best for stone veneer installation?
The correct mortar depends on the panel backing. Cement-backed stone veneer panels work with standard polymer-modified thinset mortar. Mesh-backed natural stone panels require Type S mortar or a polymer-modified mortar rated for natural stone. Type N mortar is too weak for veneer applications and should not be used.
Can I use regular thinset for natural stone veneer panels?
Standard (unmodified) thinset is acceptable only for cement-backed panels in interior, climate-controlled environments. Natural stone panels with mesh backing or epoxy-bonded stone require Type S mortar or polymer-modified thinset to ensure proper adhesion and prevent issues like alkali staining from the mortar reacting with natural stone minerals.
How thick should the mortar layer be for stone veneer?
The adhesive mortar applied with a notched trowel should be 6–10mm thick before the panel is pressed into place. After pressing, the final bond coat compresses to a minimum of 3mm. Scratch coats on concrete substrates should be 3–5mm, scored horizontally and cured before applying the adhesive layer.
Do I need to back-butter stone veneer panels?
Yes. Back-buttering is mandatory for all stone veneer panel installations. Applying a 2–3mm mortar layer directly to the panel back eliminates air voids, ensures full substrate contact, and significantly increases bond strength on vertical surfaces. Skipping this step is one of the most common causes of panel delamination.
What temperature range is safe for applying mortar on stone veneer?
Most mortars perform reliably between 5°C and 35°C during application. Below 5°C, curing slows dramatically and freeze-thaw damage can occur before the mortar sets. Above 35°C, mortar skins over too fast, reducing bond strength. After full curing, Top Stone Panels products are rated for service temperatures from -30°C to +50°C.
Need stone veneer panels for your next project? Top Stone Panels manufactures 100% natural slate, quartzite, marble, and sandstone veneer panels with cement, mesh, and epoxy backing options. Factory capacity of 80,000 m²/month with zero-breakage packaging protocol. Request a quote →
Related Installation Guides
- How to Install Stacked Stone Veneer Panels
- How to Install Thin Stone Veneer on Exterior Walls
- Installing Stone Cladding on Concrete Block Walls
- How to Cut and Fit Stacked Stone Corner Pieces
- Install Stone Veneer on Interior Walls: DIY vs. Professional
- How to Install Interlocking Z-Panels on Exterior Walls



