
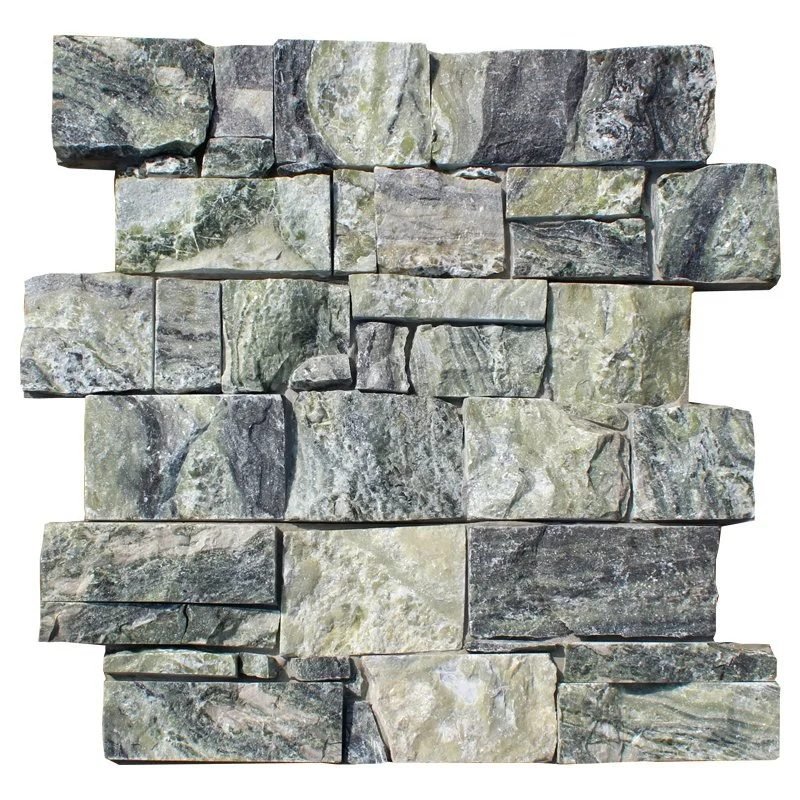
Interlocking Z-panels have become the preferred stone cladding system for exterior commercial facades, institutional buildings, and high-end residential projects across North America and Europe. The reason is straightforward: the Z-profile edge creates a mechanical lock between panels that flat-edge stacked stone simply cannot match. When installed correctly, this system transfers vertical loads across the wall, reduces visible joints, and resists wind-driven rain infiltration at the panel seams.
This guide walks through the complete interlocking z panels installation process for exterior walls, from substrate preparation through final grouting. It is written for professional installers and project managers who need reliable, field-tested procedures rather than generic overviews. Whether you are cladding a 500 m² commercial facade or a 40 m² residential feature wall, the steps below apply.
What Are Interlocking Z-Panels?
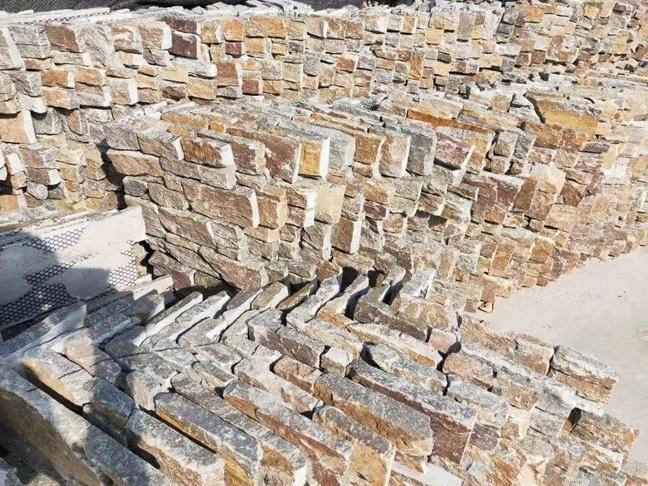
Z-panels are precision-cut natural stone cladding units with a Z-shaped (male-female) interlocking edge profile. Unlike standard stacked stone panels that butt flat against each other, Z-panels feature a protruding male ridge on one edge and a corresponding female channel on the opposite edge. When two panels meet, the Z-profile slides together, creating a mechanical connection that supplements the mortar bond.
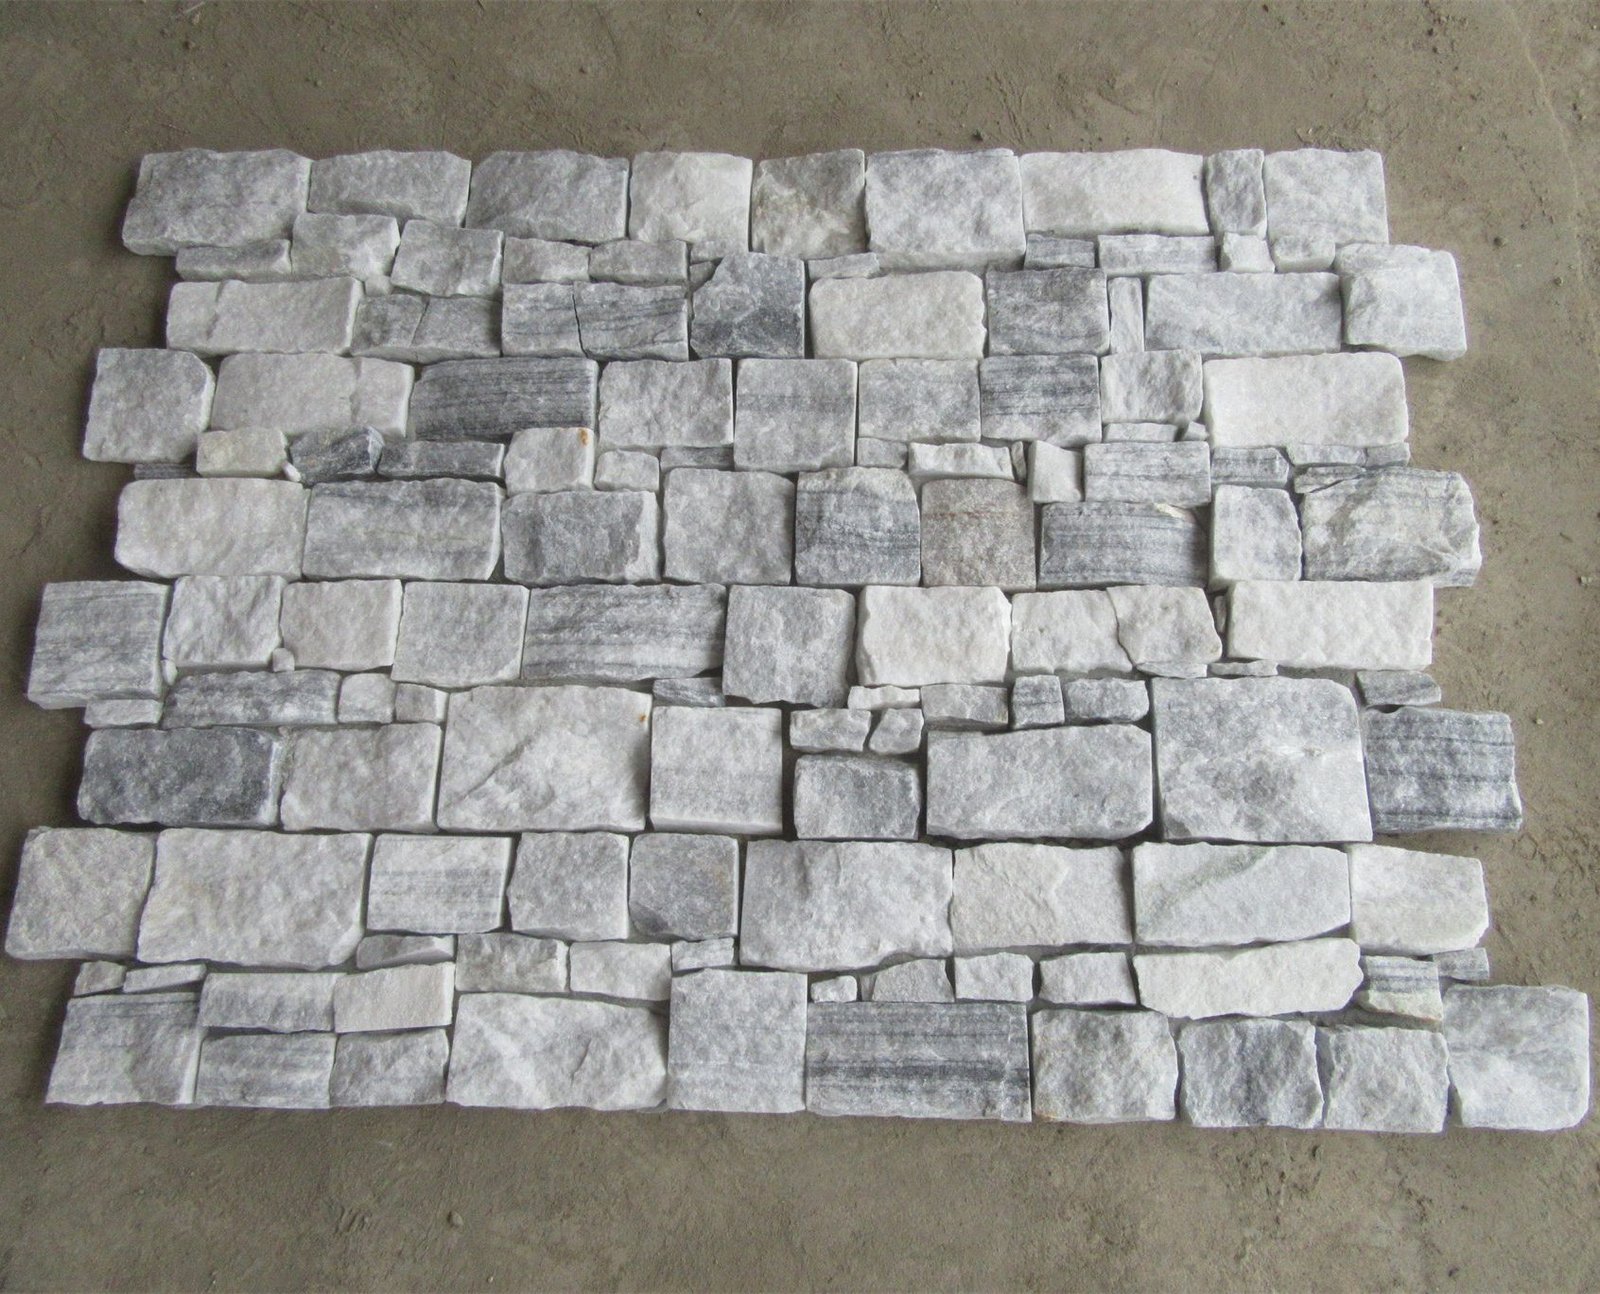
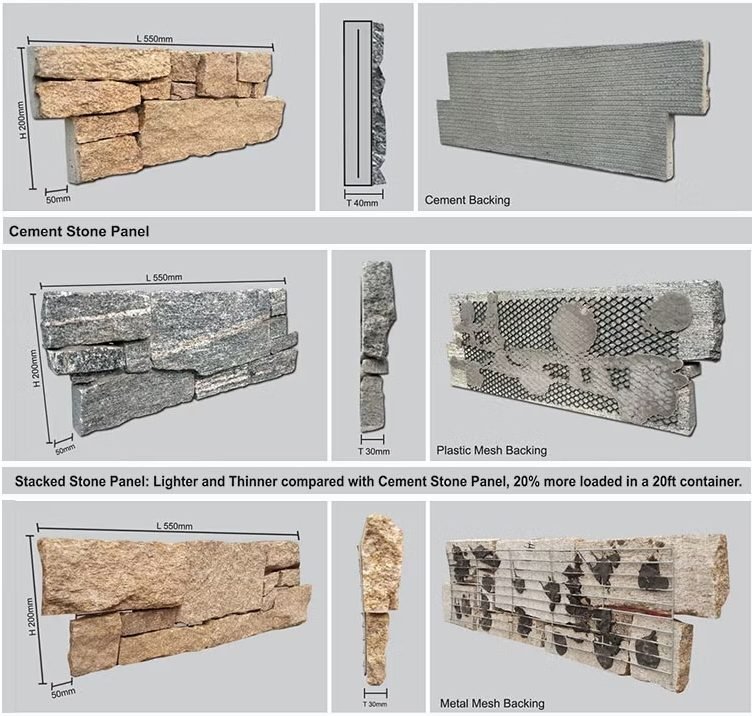
At Top Stone Panels, Z-panels are manufactured from 100% natural slate and quartzite, cut with infrared CNC diamond blades to within ±1 mm tolerance. Available sizes are 20×55 cm and 15.2×61 cm, with either cement backing or fiberglass mesh backing. The stone is bonded to the backing with marine-grade epoxy, which maintains adhesion from -30°C to +50°C without delamination.
| Specification | Details |
|---|---|
| Panel Sizes | 20×55 cm, 15.2×61 cm |
| Stone Materials | 100% natural slate, quartzite |
| Backing Options | Cement backing, fiberglass mesh backing |
| Edge Profile | Male-female Z-profile interlocking |
| Bonding | Marine-grade epoxy |
| Temperature Rating | -30°C to +50°C |
| Fire Rating | A-grade |
| UV Stability | Yes — no color fade under prolonged exposure |
For a broader comparison of stone panel types, see our overview of what stacked stone panels are and how they differ from Z-panels, thin ledgestone, and thin stone veneer.
Tools and Materials You’ll Need
Before starting, assemble everything on-site. Stopping mid-installation to source a missing tool risks mortar skin-over and panel adhesion failure.
Tools
- Wet saw with continuous-rim diamond blade (for straight and angled cuts)
- Angle grinder with diamond cup wheel or diamond blade (for notching)
- Notched trowel — 6 mm notch for panels up to 20 mm thick; 10 mm notch for thicker panels
- 4-foot spirit level and torpedo level
- Chalk line reel (blue chalk, not red — red stains stone)
- Tape measure (metric)
- Rubber mallet (white or non-marketing head)
- Grout bag or pointing trowel
- Mixing paddle and drill
- Buckets (minimum two: one for mortar, one for clean water)
- Safety glasses, hearing protection, dust mask, gloves
Materials
- Interlocking Z-panels (order 10–15% over net wall area for waste)
- Polymer-modified thin-set mortar (ANSI A118.4 or A118.15 rated for exterior stone)
- One-piece L-shape corner pieces or two-piece interlocking corners
- Non-shrink, sanded grout (color-matched to stone, if joints are specified)
- Waterproofing membrane (liquid-applied or sheet, depending on substrate and climate zone)
- Penetrating stone sealer (silane/siloxane-based, vapor-permeable)
Step 1: Substrate Preparation
The substrate is the single most important variable in any stone cladding installation. A Z-panel system applied to a poorly prepared wall will fail regardless of mortar quality or installer skill.
Acceptable Substrates
- Poured concrete or CMU (concrete masonry units) — ideal for direct-adhered installations
- Cement board over metal or wood stud framing (rated for exterior use, minimum 12.7 mm thick)
- Existing sound brick or block (clean, unpainted, free of efflorescence)
Preparation Steps
- Inspect structural integrity. Repair all cracks wider than 1.5 mm with an elastomeric patching compound. Replace any spalled or crumbling CMU units.
- Clean the surface. Remove dust, grease, form release agents, paint, and efflorescence. A pressure washer at 1,500–2,000 PSI works well for masonry; allow 24 hours drying time before mortaring.
- Check flatness. The substrate must be flat within 3 mm over a 3-meter straightedge. Grind high spots and fill low spots with a patching compound. Z-panels are rigid — they will not conform to an uneven substrate.
- Verify plumb. Use a 4-foot level or plumb bob on all corners and at 2-meter intervals across the wall. Note any out-of-plumb conditions and plan your layout to compensate.
- Apply waterproofing membrane if the project specification or local building code requires it. Liquid-applied membranes (e.g., RedGard, Hydro Ban) are common for residential work; sheet membranes (e.g., Schluter Kerdi) are used on larger commercial projects.
For a deeper discussion of substrate-specific procedures, see our guide on installing stone cladding on concrete block walls.
Step 2: Layout and Dry-Fit Planning
Professional installers never start mortaring without a layout plan. A 30-minute dry-fit session prevents costly cutting errors and ensures balanced panel placement across the entire wall.
- Establish a baseline. Snap a level chalk line at the bottom of the first row. If the wall has a grade slope or stepped foundation, step the baseline to follow the substrate — do not try to install a level first row on a sloped footing.
- Mark row heights. Snap additional chalk lines at every row interval (panel height plus joint width, typically 1–2 mm). This gives you a visual guide as you work upward.
- Dry-fit panels across the first row. Lay out panels without mortar to see how they fit end-to-end. Identify where cuts will fall — aim for cut pieces no smaller than half a panel width at edges and openings.
- Plan staggered joints. Vertical joints between panels should be offset by at least 50% of the panel width in adjacent rows. Mark the starting point of each row to ensure this offset is maintained.
- Identify all penetrations. Mark window openings, door frames, electrical outlets, hose bibs, and HVAC penetrations on the wall. Plan panel cuts around these elements.
- Locate expansion joints. For walls exceeding 6 meters in length or 3 meters in height, include soft joints (sealed with flexible sealant rather than rigid grout) at intervals specified by the project engineer or the Tile Council of North America (TCNA) guidelines.
Step 3: Mixing and Applying Mortar/Adhesive
The mortar is the structural bond between the Z-panel backing and the substrate. For exterior installations, use a polymer-modified thin-set mortar rated for natural stone (ANSI A118.4 minimum; A118.15 for improved performance in freeze-thaw climates).
Mixing
- Add clean, cool water to the mixing bucket first, then add dry mortar powder. Follow the manufacturer’s water-to-powder ratio exactly.
- Mix with a drill and paddle at low speed (300–400 RPM) for 3–5 minutes until the consistency is smooth and lump-free — similar to peanut butter.
- Let the mortar slake (rest) for 5–10 minutes, then remix briefly without adding water.
- Use mixed mortar within the pot life specified on the bag (typically 60–90 minutes at 21°C). Discard any mortar that has begun to stiffen — do not retemper with water.
Application
- Using the flat side of the trowel, press a thin coat of mortar directly onto the substrate (the “key coat”). This ensures bond to the wall.
- Immediately comb additional mortar over the key coat using the notched side of the trowel. Hold the trowel at a consistent 45-degree angle to produce uniform ridges.
- Work in sections no larger than you can cover in 15–20 minutes. Mortar skins over quickly in hot, dry, or windy conditions — once skinned, it loses bond strength.
- Back-butter each panel. Apply a thin, flat layer of mortar to the back of every Z-panel before setting. This ensures 95%+ mortar coverage on exterior walls (the industry standard for wet-area and exterior installations).
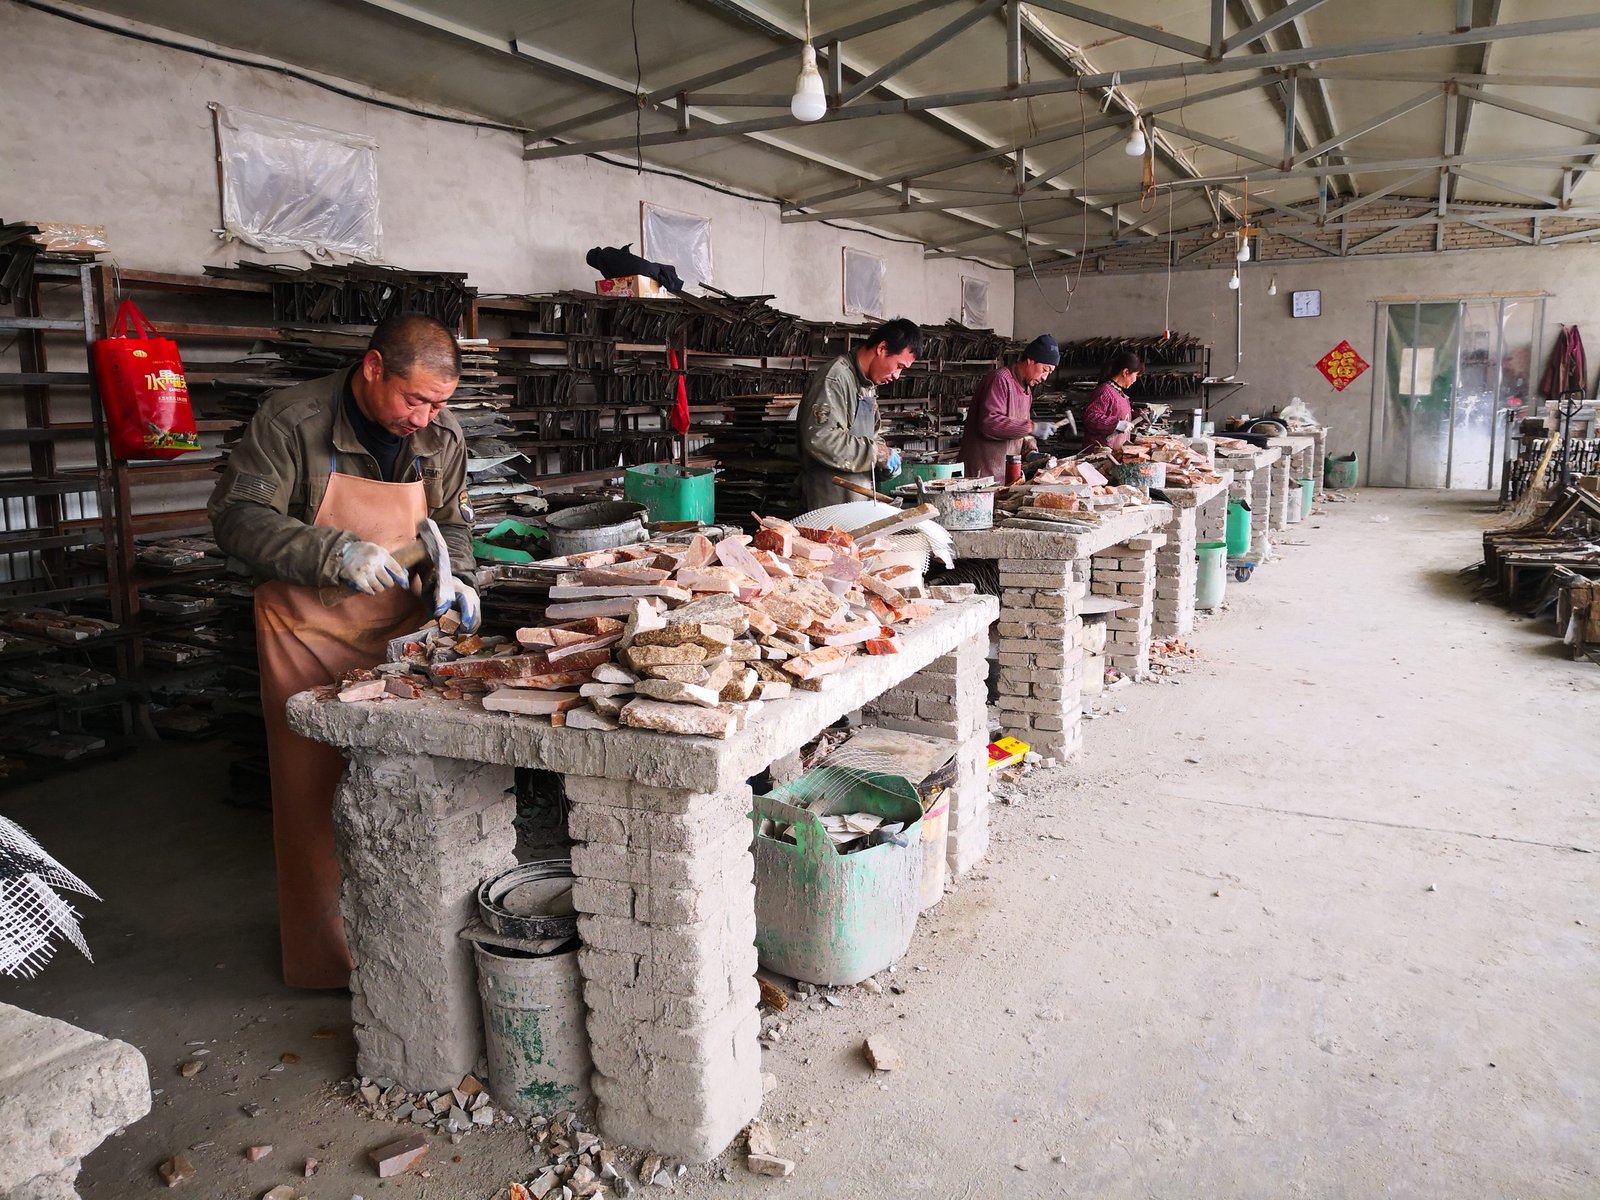
The cement backing on Top Stone Panels Z-panels provides an excellent mechanical bond surface for thin-set mortar. The porous cement surface absorbs a small amount of moisture from the mortar, creating a stronger chemical and mechanical grip than mesh-backed panels alone. Learn more about how Z-panels are manufactured and the quality control processes behind every panel.
Step 4: Installing the First Row
The first row sets the alignment for the entire wall. Take your time here — errors compound upward.
- Start at the most visible corner. For exterior facades, this is typically the front corner closest to the main entrance or the corner visible from the street.
- Set the first panel. Place the panel on the baseline with the male interlocking edge facing outward (toward the next panel). Press firmly into the mortar bed and tap with a rubber mallet to seat it fully.
- Check level and plumb. Place a torpedo level on the top edge (level) and the face (plumb). Adjust immediately — once the mortar begins to grab, adjustments will break the bond.
- Continue across the row. Slide the female edge of each subsequent panel over the male edge of the previous panel. The Z-profile should engage with a firm, sliding click. If it catches or resists, check for dried mortar or debris in the channel and clean it out before proceeding.
- Maintain consistent joint spacing. The Z-profile is designed for tight joints (1–2 mm). Do not force panels apart to create wider joints — this defeats the interlocking function and reduces load transfer.
- Verify level every 3–4 panels. Use the 4-foot level across multiple panels to catch any drift before it becomes visible.
Step 5: Interlocking Subsequent Rows
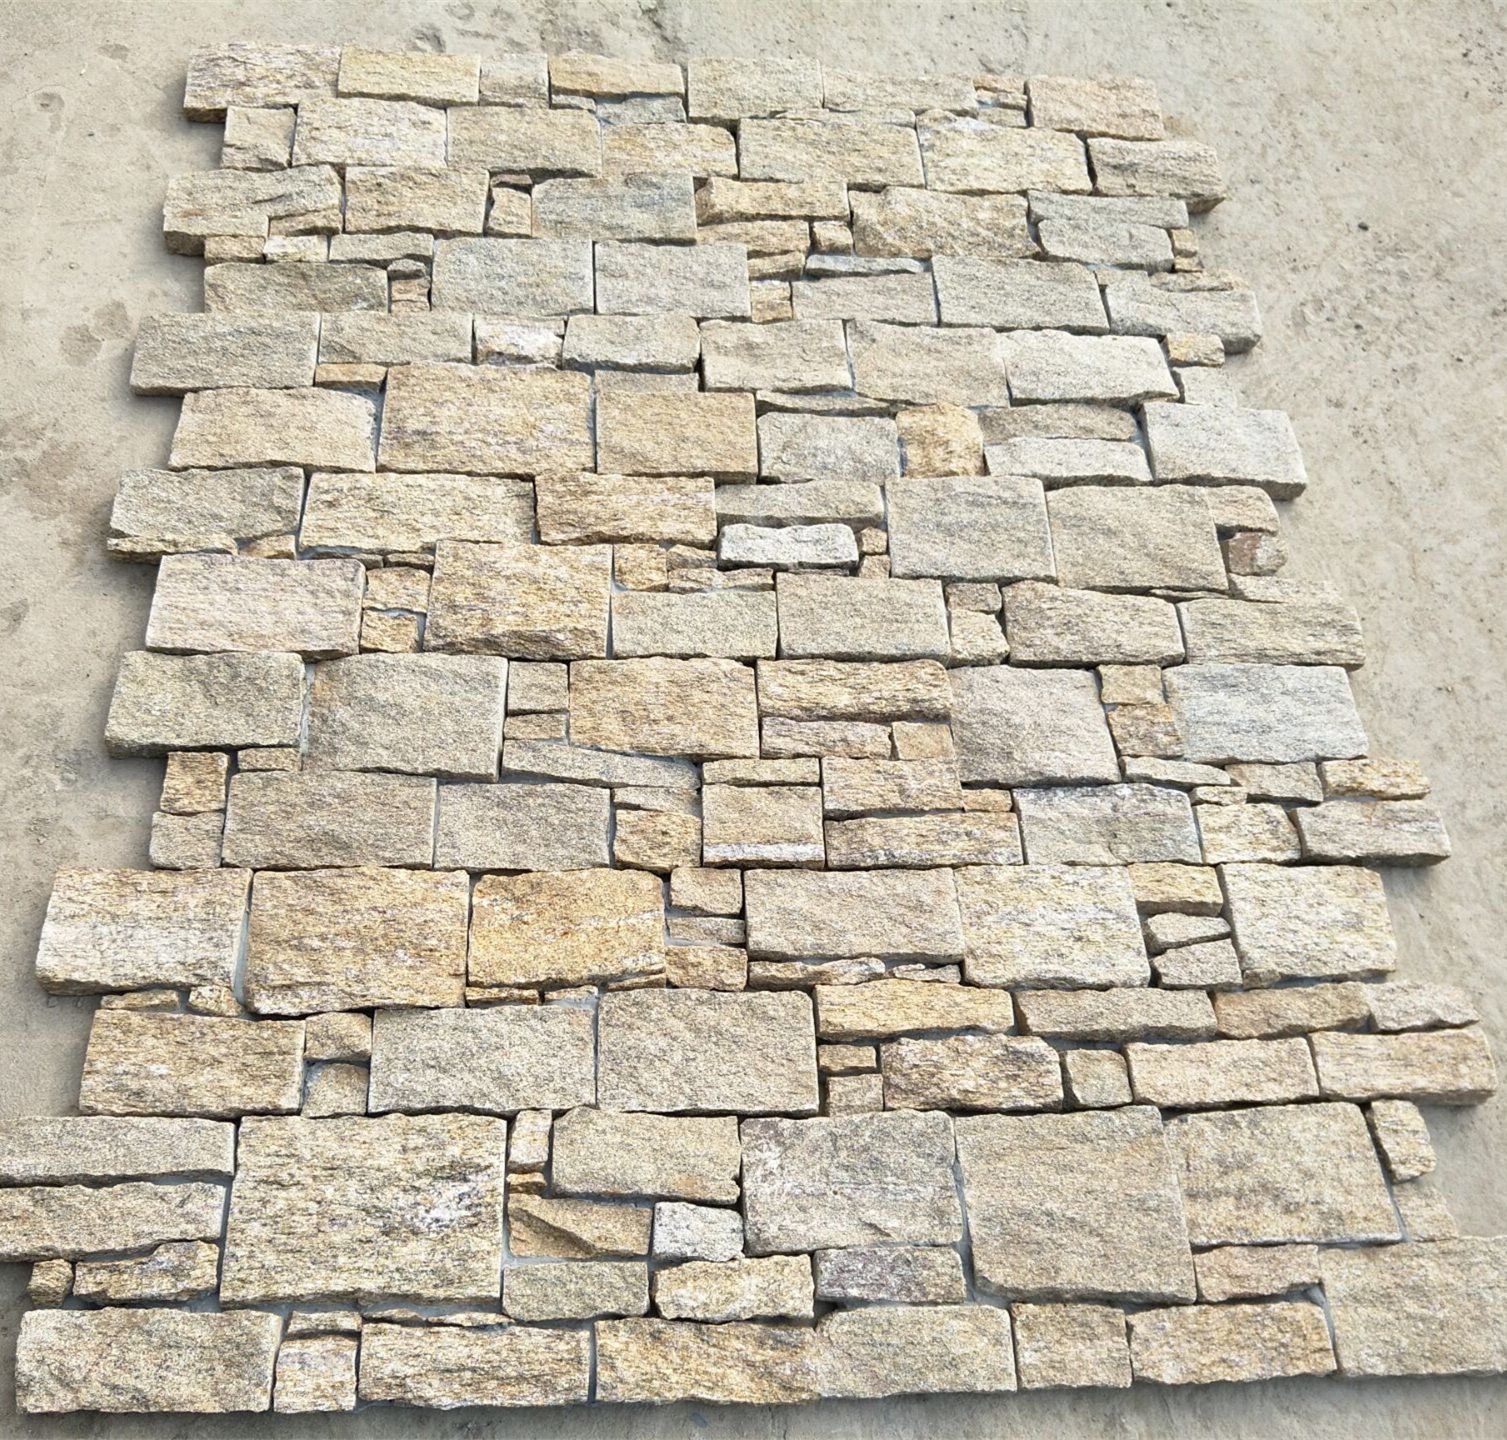
Once the first row is set and the mortar has reached initial cure (typically 2–4 hours, depending on temperature and humidity), begin the second row.
- Stagger vertical joints. Start the second row with a panel cut to at least 50% of the panel width. This ensures no vertical joint lines up with the joint below it, which would create a structural weak point and a visible seam pattern.
- Engage the Z-profile. Tilt the new panel slightly and slide the female channel down over the male ridge of the row below. You should feel it seat firmly. A slight tapping with the rubber mallet ensures full engagement.
- Apply mortar to the back and edges. Back-butter the panel back, and also apply a thin bead of mortar along the male edge of the panel below before sliding the new panel into place. This fills any micro-gaps in the Z-joint.
- Check alignment continuously. Every 3 panels, verify horizontal level. Every 2 rows, check plumb with the 4-foot level placed vertically on the face.
- Clean as you go. Wipe excess mortar from the stone face immediately with a damp (not wet) sponge. Dried mortar on natural slate or quartzite is extremely difficult to remove without acid washing, which can stain some stone types.
Step 6: Cutting Panels for Openings and Edges
Cutting is where most installation time is lost. Accurate measuring and the right saw make the difference between a clean facade and a patchwork look.
Straight Cuts
Use a wet saw with a continuous-rim diamond blade. Cut panels face-up to minimize chipping on the visible stone surface. Feed the panel steadily — do not force it. Let the blade do the work at its designed RPM.
L-Cuts and Notches
For window and door openings, you will need L-cuts (two intersecting cuts that remove a rectangular section from the panel). Mark the cut lines with a pencil, make the first cut on the wet saw, then finish the second cut. Alternatively, use an angle grinder with a diamond blade for the second cut if the geometry does not fit the wet saw table.
Pipe and Outlet Penetrations
For small circular penetrations (pipes, electrical conduits), drill with a diamond-tipped hole saw at the appropriate diameter. For rectangular outlets, mark the opening, drill relief holes at each corner, and connect with the angle grinder.
For additional cutting and fitting techniques, especially for corner treatments, see our detailed guide on cutting and fitting stone corner pieces.
Step 7: Installing Corner Pieces
Corners are the most visible part of any stone cladding installation. A sloppy corner pulls down the appearance of the entire wall. Z-panel systems offer two corner solutions:
One-Piece L-Shape Corners
These are single units factory-formed at a 90-degree angle. They wrap around external and internal corners with no visible seam at the turn.
- Apply mortar to both return faces of the L-shape corner piece and to both substrate surfaces at the corner.
- Press the corner piece firmly into position, tapping with a rubber mallet to achieve full contact on both faces.
- Check plumb on both faces with a torpedo level.
- Interlock the adjacent row panels into the Z-edges of the corner piece as you would with standard panels.
Two-Piece Interlocking Corners
These consist of two separate panels that meet at the corner with overlapping Z-profile edges. They offer more flexibility for non-standard angles but require more skill to align.
- Install the first corner panel on one face, extending past the corner line by the panel thickness.
- Install the second corner panel on the adjacent face, overlapping the first panel’s exposed edge.
- The overlapping creates a clean return that hides the cut edge of the first panel.
- Maintain consistent reveals on both faces.
Top Stone Panels supplies both one-piece L-shape corners and two-piece interlocking corners color-matched to the field panels. Order corner pieces at the same time as your main Z-panel order to ensure batch consistency.
Step 8: Grouting and Finishing
Z-panels are designed for tight joints, and many installations are left ungrouted for a clean, dry-stack appearance. However, in certain climates and applications, grouting the joints provides additional weather resistance and a more finished look.
When to Grout
- Coastal or high-rainfall regions where wind-driven rain is a concern
- Freeze-thaw climates where water infiltration behind panels can cause damage
- Projects where the specification calls for a grouted joint profile
Grouting Procedure
- Wait a minimum of 24 hours after the last panel is set to allow mortar to cure.
- Mix non-shrink, sanded grout to a stiff consistency (stiffer than mortar — it should hold its shape when squeezed in a fist).
- Load the grout into a grout bag and pipe it into all visible joints, pressing firmly to fill completely.
- Tool the joints with a concave jointing tool or rounded pointing trowel to create a consistent, slightly recessed profile.
- Clean the stone face immediately with a slightly damp sponge. Do not let grout haze dry on the stone surface.
- After 72 hours, remove any remaining haze with a stone-safe cleaner (pH-neutral, non-acidic).
Sealing
Apply a penetrating silane/siloxane-based sealer if the project specification requires it. Penetrating sealers protect against water absorption and staining without altering the stone’s natural appearance or trapping moisture behind the surface. Avoid topical sealers on exterior stone — they trap vapor and can cause spalling in freeze-thaw conditions.
Common Installation Mistakes to Avoid
After reviewing hundreds of Z-panel projects, these are the most frequent installation errors — and how to prevent them:
| Mistake | Consequence | Prevention |
|---|---|---|
| Skipping back-buttering | Incomplete bond coverage; panels detach under freeze-thaw cycling | Back-butter every panel without exception on exterior walls |
| Installing too many rows per day | Lower rows compress and shift under upper-row weight | Limit daily height to 1.2–1.5 meters; allow cure time between lifts |
| Ignoring substrate flatness | Panels rock or crack on uneven surfaces; visible gaps at joints | Grind and patch substrate to within 3 mm over 3 meters before starting |
| Aligning vertical joints | Visible seam lines; reduced structural continuity | Stagger joints by 50%+ panel width in every row |
| Forcing the Z-profile | Chipped edges, broken interlocking teeth | Clean debris from channels; if panels resist, check alignment before forcing |
| Using unmodified mortar | Bond failure in temperature fluctuations | Always use polymer-modified thin-set rated ANSI A118.4 or higher |
| Applying topical sealer on exteriors | Trapped vapor causes spalling in freeze-thaw zones | Use penetrating silane/siloxane sealer only |
If you are comparing the installation effort of Z-panels versus standard stacked stone, our guide on installing stacked stone veneer panels covers the differences in joint treatment and layout planning.
Frequently Asked Questions
What is the difference between Z-panels and regular stacked stone panels?
Z-panels feature a male-female interlocking Z-profile edge that creates a seamless connection between panels, eliminating visible horizontal joints. Regular stacked stone panels have flat edges that butt together, which can leave slight gaps. The Z-profile also provides better load transfer between rows, making Z-panels more suitable for large exterior facades and high-wind zones. The mechanical interlock supplements the mortar bond, adding a secondary retention mechanism that flat-edge panels lack.
Can interlocking Z-panels be installed over existing brick or concrete walls?
Yes. Z-panels can be installed over sound brick, concrete block, or poured concrete walls provided the surface is clean, structurally stable, and free of efflorescence or loose material. A polymer-modified thin-set mortar bonds directly to masonry substrates. For painted or sealed surfaces, mechanical abrasion or a bonding agent may be required to ensure adequate adhesion. Our guide on installing stone cladding on concrete block walls provides substrate-specific preparation details.
What temperature range can Z-panels withstand after installation?
Top Stone Panels Z-panels are rated for continuous service from -30°C to +50°C (-22°F to +122°F). The natural slate and quartzite stone, combined with the cement or mesh backing and marine-grade epoxy bond, maintains structural integrity across this range without delamination. The panels also carry an A-grade fire rating and are UV stable, meaning color will not fade under prolonged sun exposure. For projects in extreme climates, consult the project engineer regarding expansion joint spacing per National Tile Contractors Association (NTCA) guidelines.
How much stone cladding do I need to order for my project?
Calculate the total wall area in square meters (or square feet), then subtract the area of all openings such as windows and doors. Add 10–15% for cutting waste and breakage. For walls with many penetrations or complex geometry, increase waste allowance to 18–20%. For commercial projects, order all material from the same production batch to ensure color consistency. Top Stone Panels has a minimum order quantity of one 20GP container, which typically covers 200–280 m² depending on panel size and thickness. Contact our team for a project-specific quantity estimate and cost breakdown.
Conclusion
Interlocking Z-panel installation is a systematic process: prepare the substrate to within 3 mm flatness, plan your layout with a dry-fit, mix polymer-modified mortar to spec, start level at the most visible corner, engage the Z-profile on every panel, stagger your joints, cut accurately, treat corners with purpose-built pieces, and finish with grout and sealer as required. Follow these steps and the wall will perform for decades without maintenance.
The Z-profile’s mechanical interlock is what separates this system from standard stacked stone — use it. Do not treat Z-panels as flat-edge panels with a decorative edge. The interlocking connection is a structural feature, and proper engagement on every panel is what delivers the long-term performance that building owners and facility managers expect.
Planning an Exterior Stone Cladding Project?
Top Stone Panels manufactures interlocking Z-panels in natural slate and quartzite, with production capacity of 50,000 m²/month and shipping from our Hebei, China factory. MOQ is one 20GP container. Every order goes through our 3-step quality control process before shipment.
Request a quote for Z-panels or contact our team for project-specific technical support, sample requests, and container-load planning.
For more installation guidance across our full product range, see our thin stone veneer exterior installation guide, our comparison of DIY vs. professional stone veneer installation, or explore our flagstone and column cladding product lines.



