
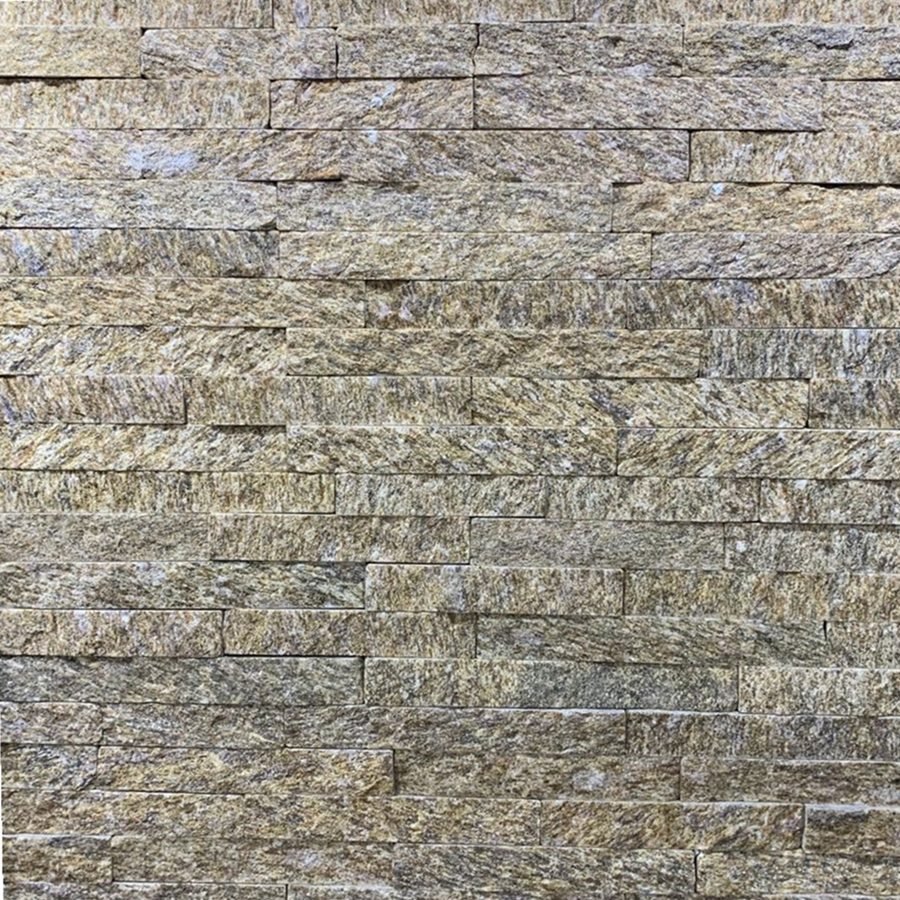
Ask any experienced stone mason what the hardest part of a cladding job is, and they’ll point you straight at the openings. The flat wall runs are straightforward — set a baseline, stack your panels, keep your courses level. But windows and doors are where stone veneer around windows either looks like a masterwork or a weekend project gone sideways.
You’re dealing with tight tolerances, structural loads, water management, and cuts that either seat perfectly or leave gaps you can’t hide. We’ve shipped natural stone cladding to job sites across North America and Europe for over 18 years at Top Stone Panels, and we’ve seen every opening-related mistake in the book.
This guide covers everything from substrate prep to the final sealant bead. Whether you’re a distributor evaluating products or a professional installer refining your methods, here’s what works in the field.
Why Openings Are the Hardest Part of Stone Veneer Installation
There’s a reason opening details get their own section in every cladding specification guide. Three forces converge at a window or door opening that don’t exist on a flat wall run:
Structural Considerations
The stone above an opening — the header or lintel zone — is essentially a bridge. It needs to span the gap without sagging, cracking, or pulling away from the substrate as mortar cures. Natural stone has real weight to it. A single 15x60cm stacked stone panel can weigh 20-30 kg depending on thickness and material. Multiply that across a wide opening, and you’ve got serious load to manage.
There’s also the matter of differential movement. The window frame expands and contracts at a different rate than the stone cladding and the wall substrate. If you mortar stone tight against a vinyl or aluminum window frame, you’ll get cracking within the first season. Every time.
Common Failure Points Around Openings
Here’s what goes wrong when stone veneer around windows isn’t done right:
- Water intrusion at the header — rain gets behind the stone above the window, tracks down, and enters the wall cavity at the flashing gap
- Corner cracking — panels that butt directly into the opening corner without expansion room will stress-crack at the weakest point
- Sill deterioration — a flat or back-sloped sill traps water, leading to freeze-thaw damage even on stone rated for -30°C
- Joint separation at jambs — vertical joints alongside the frame open up when thermal movement isn’t accommodated
- Panel drop-off at headers — insufficient mortar bond or lack of temporary support causes panels to sag or fall before the mortar reaches full strength
Understanding these failure modes is half the battle. The rest is execution.
Tools and Materials You’ll Need
Before you touch a single panel, get everything staged. Nothing kills momentum on an opening install like running back to the truck for a tool you forgot.
Tools
| Tool | Purpose | Recommendation |
|---|---|---|
| Wet saw with continuous-rim diamond blade | Cutting stone panels and L-corners | Bridge saw for large panels; 250mm+ blade diameter |
| Angle grinder with masonry disc | Notching and trimming in tight spots | Variable speed, 125mm disc |
| Notched trowel (6mm x 6mm) | Applying mortar to substrate | Stainless steel for easy cleanup |
| Chalk line | Layout reference lines | Blue chalk — red stains natural stone |
| Level (1200mm) | Checking horizontal and vertical alignment | Box-beam aluminum, vial accuracy ±0.5mm/m |
| Hammer drill | Fastening lath and brackets | SDS-plus for concrete substrates |
| Tin snips | Cutting metal lath and flashing | Offset snips for knuckle clearance |
| Caulking gun | Sealant application at expansion gaps | Skeleton-style for smooth trigger |
| Temporary support braces | Holding header panels during cure | Adjustable acrow props or timber T-braces |
Materials
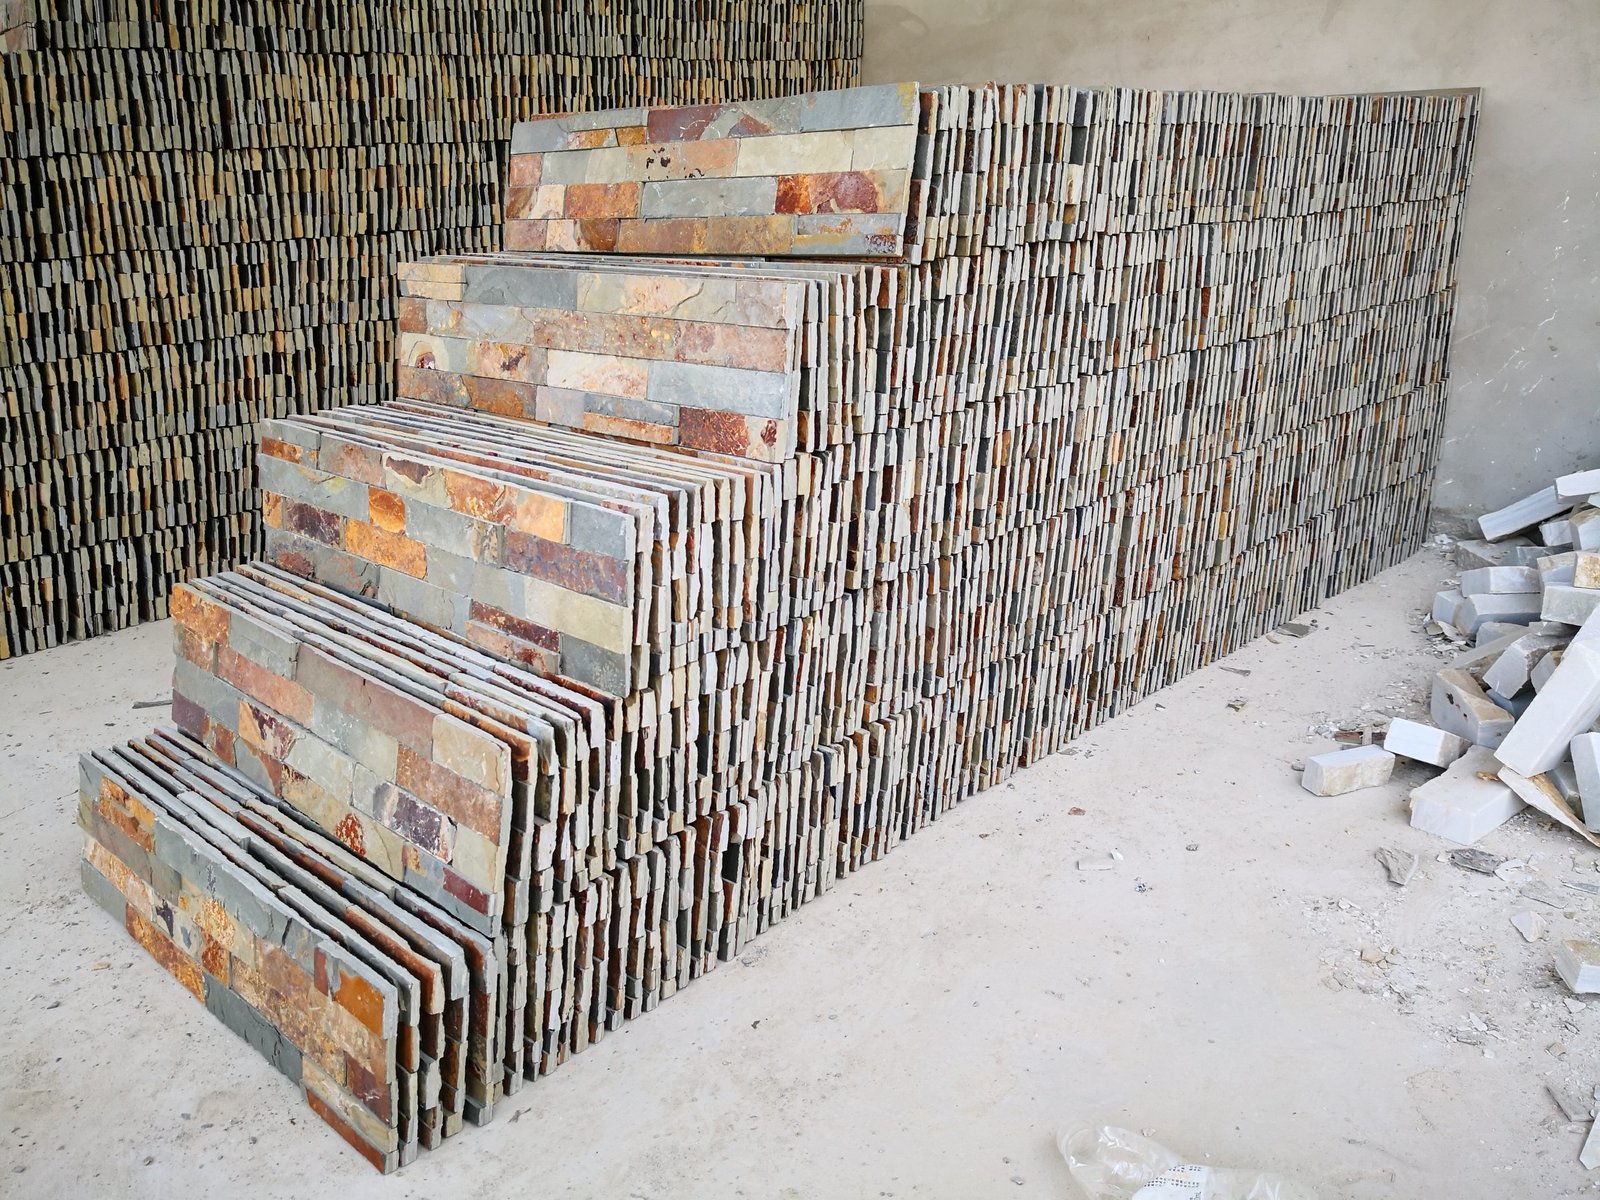
- Natural stone veneer panels — stacked stone, Z-panels, or thin ledgestone depending on project specification
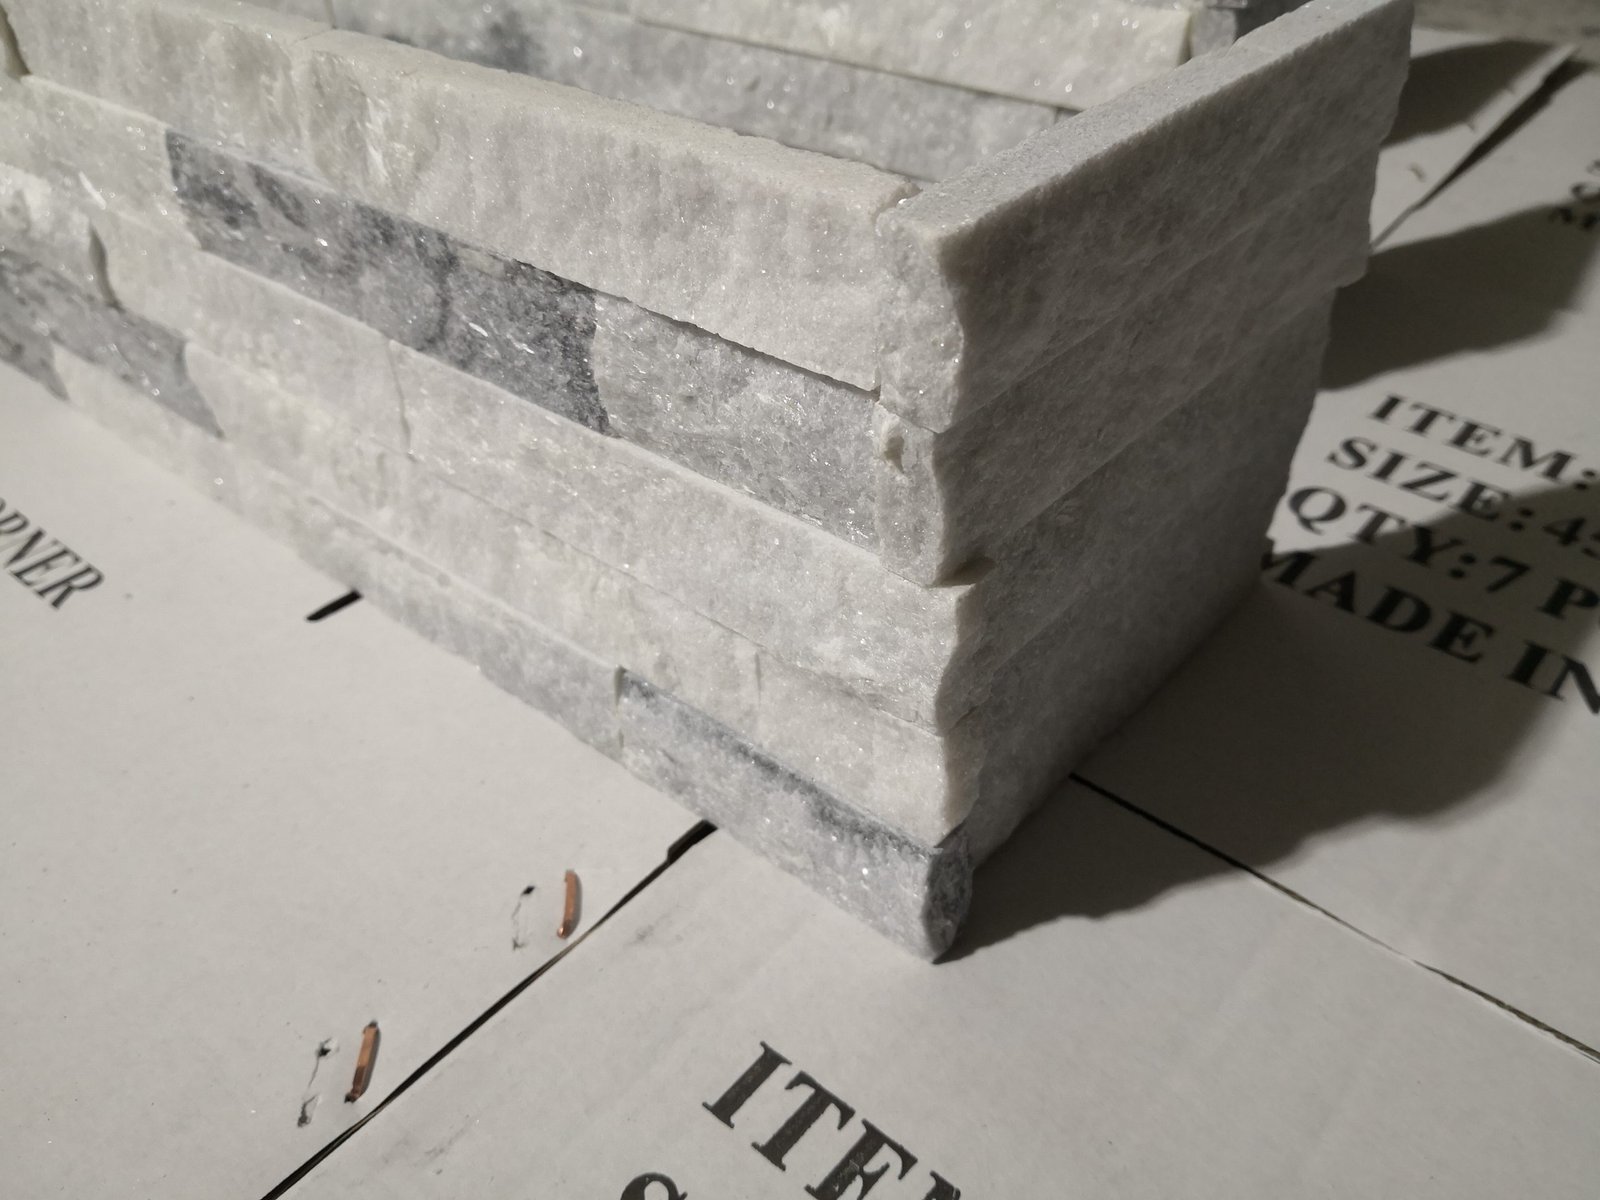
- Pre-made L-corner pieces (45x15cm) — for clean 90° returns at opening edges
- Type S mortar or polymer-modified thinset — check the specification guide for mortar selection by climate zone
- Moisture barrier — house wrap or Grade D building paper
- Self-furring metal lath — 25-gauge galvanized
- Flashing tape or sheet metal — for head and sill flashing
- Galvanized fasteners — nails or screws per substrate type
- Backer rod (closed-cell) and exterior-grade polyurethane sealant
Step 1 — Prepare the Opening Substrate
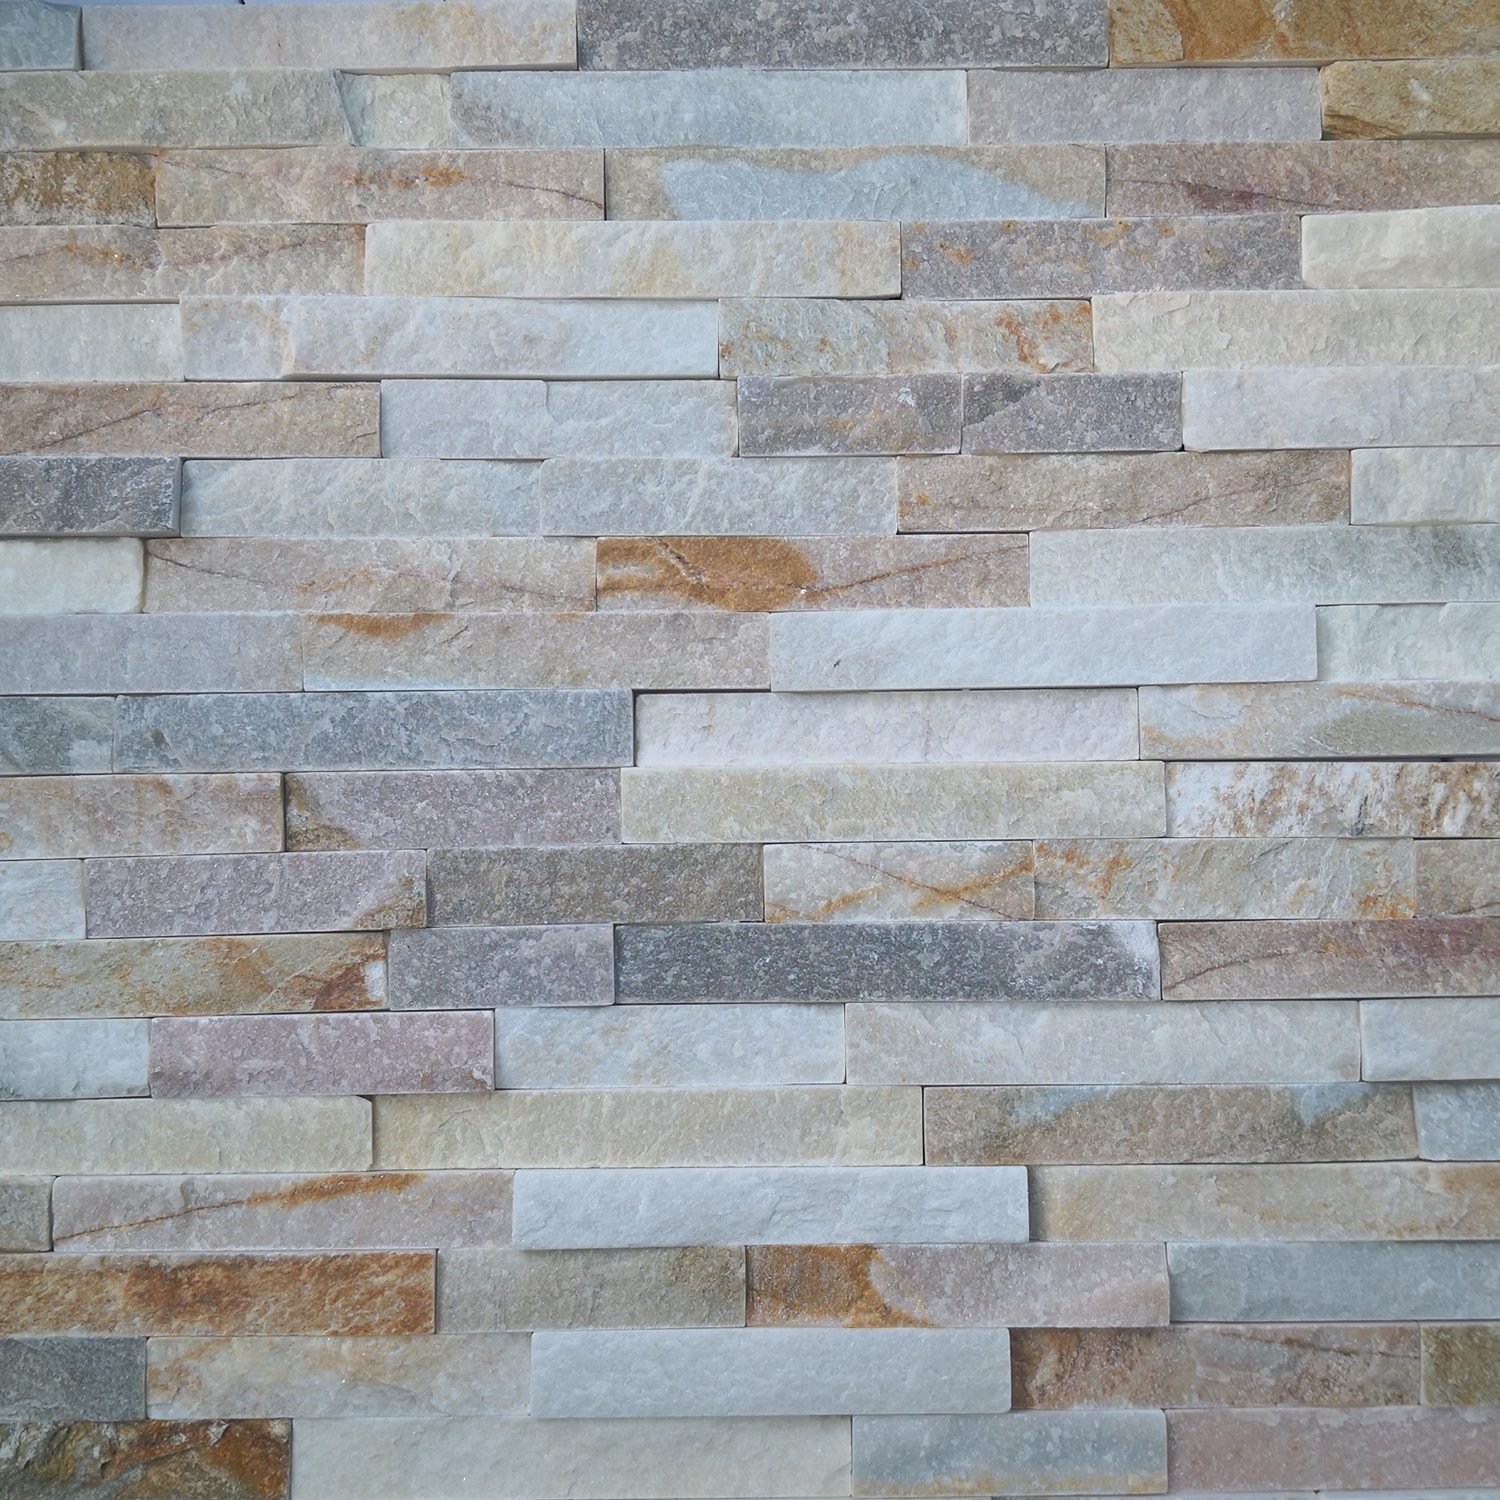
The substrate around an opening takes more punishment than a flat wall. Water concentrates here. Wind pressure peaks at building edges and openings. And the interface between the window frame and the wall is a natural weak point in the building envelope.
Moisture Barrier Installation
Extend your moisture barrier around the opening with a minimum 150mm overlap onto the existing wrap. At the head of the opening, lap the barrier over the vertical side pieces — think “shingles on a roof,” where each layer sheds water over the one below it.
If you’re working with a new-build and need a full waterproofing strategy behind your stone veneer, the approach is covered in detail in our guide on how to waterproof behind stone veneer on exterior walls.
Metal Lath Application
Cut self-furring metal lath to wrap around the opening. The lath should extend at least 100mm past each edge of the opening on all sides. Fasten with galvanized nails or screws at 150mm on center. At inside corners where the jamb meets the wall face, fold the lath rather than cutting it — a continuous piece provides better mechanical key for the scratch coat.
For concrete block substrates, follow the fastening pattern in our concrete block wall installation guide.
Scratch Coat
Apply a 10-12mm scratch coat of Type S mortar over the lath around the entire opening. Score it horizontally with a rake or coarse comb while it’s still workable. This gives the bonding mortar a mechanical grip. Let it cure for a minimum of 24 hours before proceeding.
Flashing Integration
This is where a lot of installs go wrong. You need two critical flashing elements:
- Head flashing — installed above the opening, lapped under the moisture barrier on the wall above and extending over the moisture barrier on the wall below. This directs any water that penetrates the stone cladding back to the exterior.
- Sill flashing — installed below the window, sloped outward at minimum 5 degrees, and extending past the jambs on each side by at least 50mm.
Use adhesive-backed flashing tape for simplicity, or bent sheet metal for high-exposure commercial applications.
Step 2 — Plan Your Panel Layout Around the Opening
Don’t just start mortaring panels and hope the layout works when you reach the opening. That’s how you end up with a 30mm sliver of stone next to a window frame that looks terrible and bonds poorly.
Dry-Fitting Strategy
Lay out panels on the ground or a flat surface near the opening. Arrange them to see how courses will align with the top and bottom of the window. The goal is to avoid very thin cuts (anything under 50mm wide) at visible edges.
Mark horizontal reference lines on the wall with a chalk line — one at the window sill height, one at the header height, and course lines in between. Use blue chalk only; red chalk can stain natural stone permanently.
Handling Header, Jamb, and Sill Areas
Think about the opening as five zones:
- Left jamb — vertical run of stone from sill to header on the left side
- Right jamb — same on the right
- Header — horizontal run spanning the top of the opening
- Sill — the horizontal cap below the window
- Returns — where the stone wraps from the face of the wall into the depth of the opening toward the frame
Each zone affects the others. If your jamb panels are full-height, they’ll dictate where the header panels start and end. Plan the layout as a system, not as separate pieces.
Pattern Continuity Across Openings
When you have multiple windows or doors on the same wall, the stone coursing should align across all openings. Run a single chalk-line reference for the entire wall elevation. Adjust individual openings to maintain the horizontal rhythm. Our guide on installing stacked stone veneer panels covers the baseline approach in detail.
Step 3 — Cut Stone Veneer Panels for Precise Fits
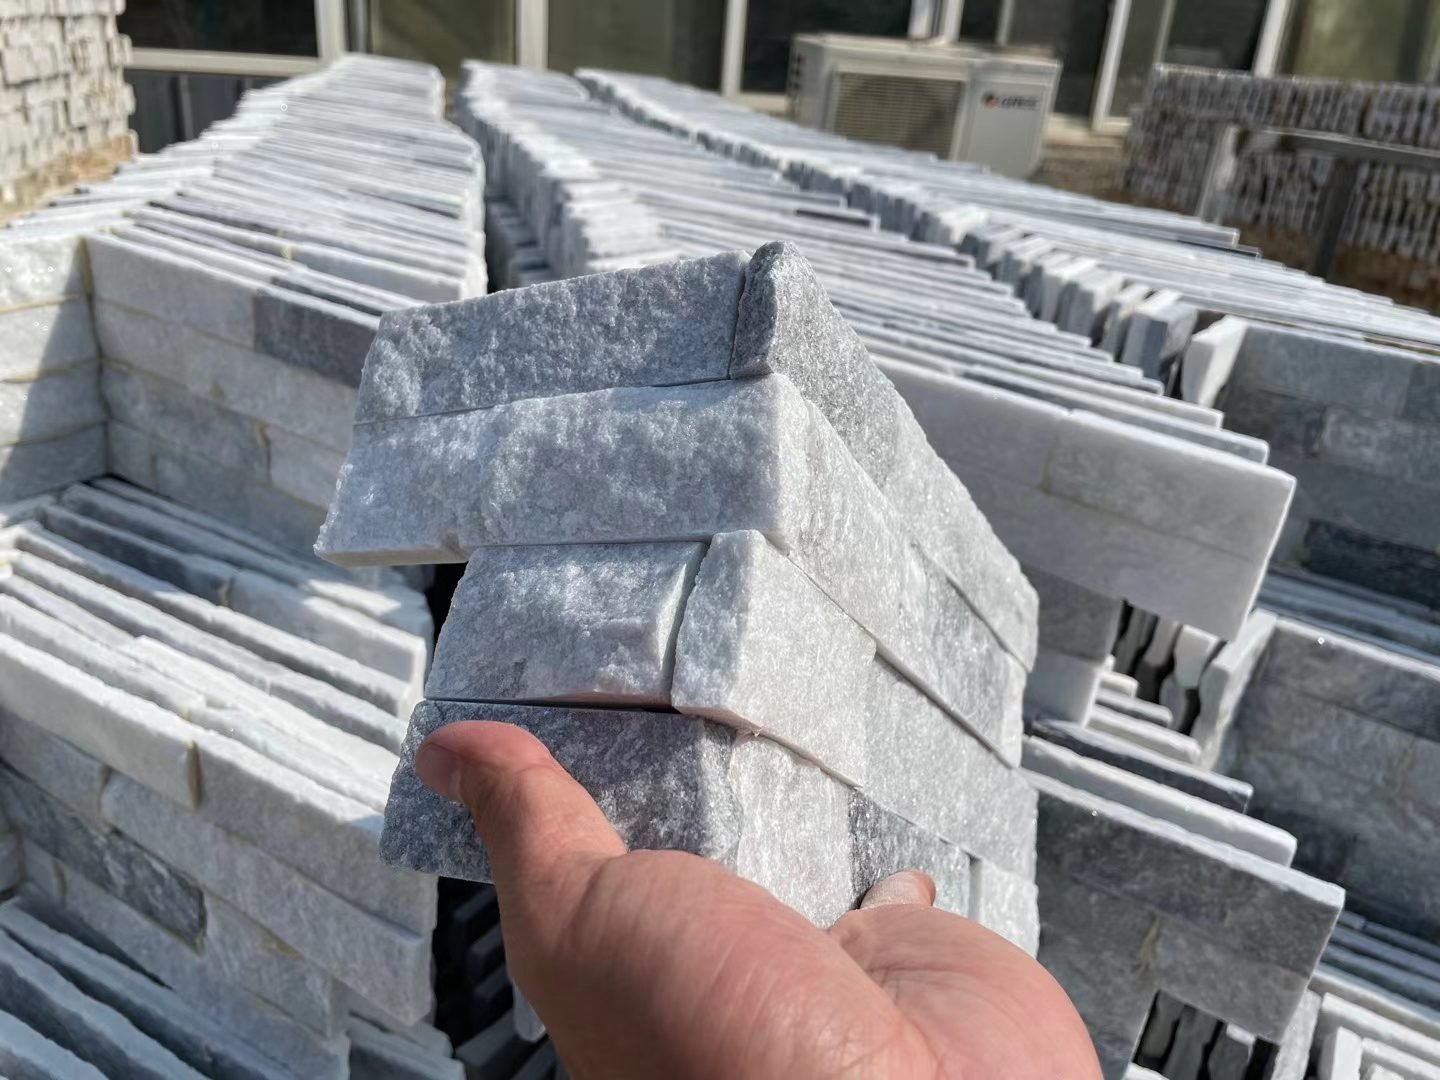
Natural stone cuts differently than manufactured veneer. There’s no uniform aggregate to rely on — you’re working with real geological material that varies in density, grain direction, and hardness. Slate splits along its bedding planes. Quartzite is dense and tough. Sandstone is relatively soft but can crumble at thin edges. Marble sits somewhere in between.
Cutting Techniques for Standard Panels
For straight cuts on stacked stone panels or Z-panels, a wet saw with a continuous-rim diamond blade gives the cleanest edge. Top Stone Panels’ products are CNC infrared precision-cut to ±1mm tolerance at the factory, so your field cuts only need to handle the adjustments around openings.
Key practices:
- Cut from the face side whenever possible — the back side tends to chip more
- Feed the panel slowly and steadily; forcing it causes blade wander and edge spalling
- For panels with cement backing or mesh backing, cut through the stone first, then score through the backing material with a utility knife
- Keep the water feed running — dry cutting natural stone generates heat that can fracture the panel
Cutting L-Corners for Returns
The pre-made L-corner pieces are 45x15cm with a factory-formed 90° angle. For most standard openings, you’ll install them as-is. But when you need a custom return depth — say, for a deep-set window in a thick wall — you’ll need to trim the return leg.
Measure the depth from the wall face to the window frame, subtract 10mm for the sealant gap, and mark the cut on the L-corner. Cut from the inside face of the return leg to keep the visible face clean.
Handling Irregular Window Shapes
Arched windows and angled bays require templates. Cut stiff cardboard to match the opening profile, transfer the shape to the back of the panel, then cut with an angle grinder and diamond blade. For curves, make a series of straight relief cuts on the waste side, then nibble away the excess and smooth with the grinder.
Step 4 — Install Stone Panels Around the Window Frame
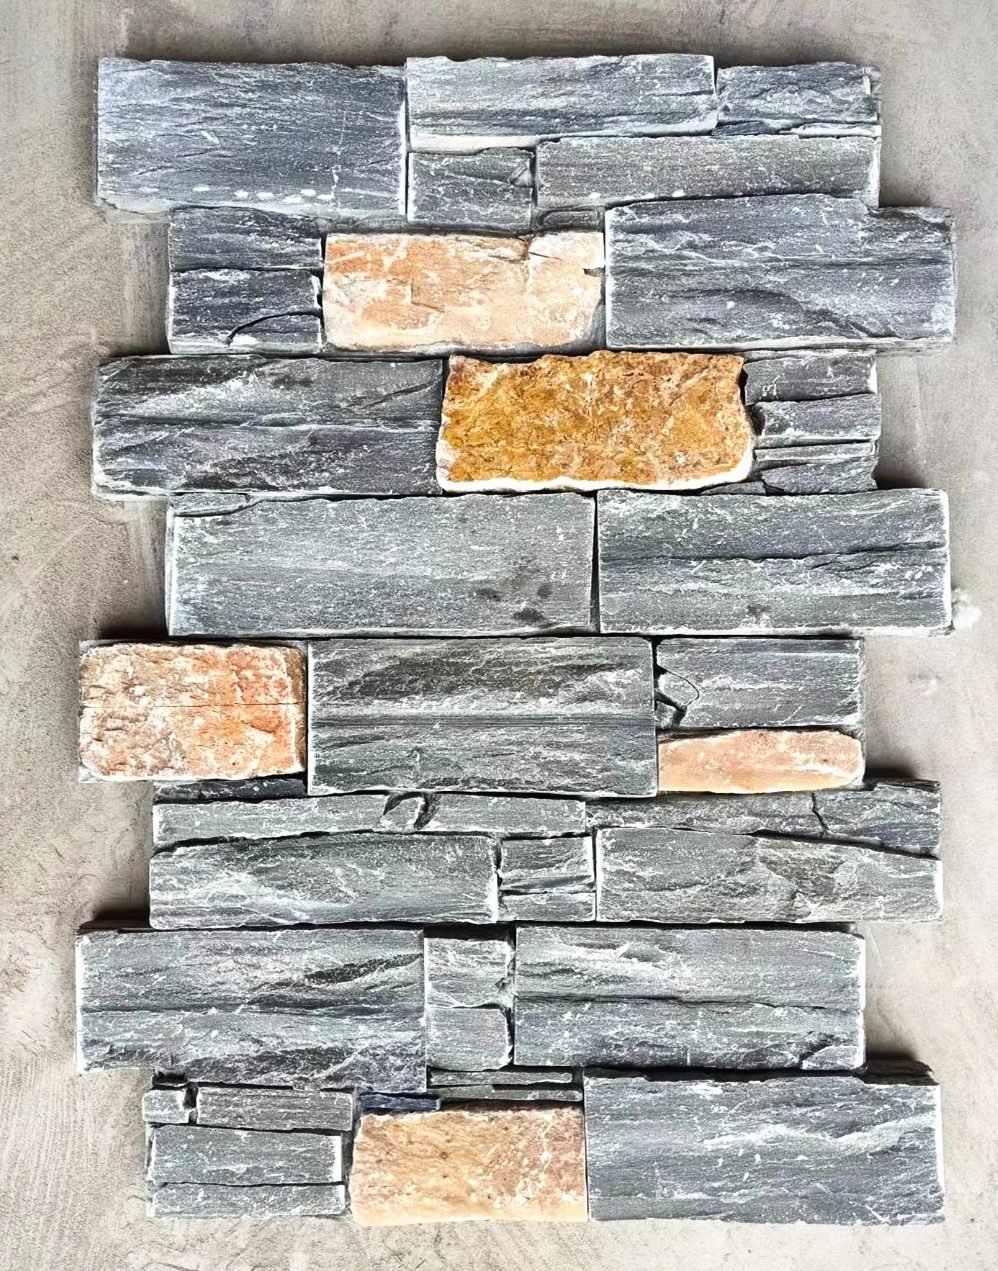
With substrate prepped, layout planned, and panels cut, it’s time to set stone. The sequence matters. Here’s the order that works best in practice.
Mortar Application
Use a 6mm x 6mm notched trowel to apply mortar to the substrate. Then butter the back of each stone panel with a thin, consistent layer using the flat side of the trowel. This double-application — sometimes called “back-buttering” — ensures full contact and eliminates voids behind the panel where water could collect and freeze.
Our mortar application guide covers the specifics of mortar selection for different climate zones and substrate types.
Installation Sequence
- Start with the L-corners at the outer edges of the opening. These are your reference points. Set them plumb and level, and everything else follows from them.
- Work the jambs from the corners inward toward the window frame. This ensures the most visible edges are the cleanest factory-cut or pre-formed edges.
- Keep a 6-10mm gap between the stone and the window frame itself. This is your expansion joint — fill it later with backer rod and sealant.
- Check level and plumb after every course. It’s easy for panels to drift when you’re working around an opening because you lose the continuous reference line you had on the flat wall.
Using Pre-Made L-Corner Pieces for Clean Returns
This is where pre-made L-corners earn their keep. Instead of mitering two flat panels at a 90° angle on-site — which takes time, skill, and produces inconsistent results — you seat a factory-formed corner piece that gives you a crisp, true 90° return every time.
The L-corners save roughly 50% of the labor compared to field-mitering. For a project with 20 windows and 4 doors, that’s substantial. Set the L-corner, check it’s plumb, and move on.
Step 5 — Install the Header (Lintel Area)
The header is the most critical zone of any opening. The stone here spans an unsupported gap, and gravity is working against you until the mortar cures.
Supporting the Header During Mortar Cure
Before you set the first header panel, install temporary support. This can be:
- Adjustable acrow props with a timber needle beam spanning the opening width
- A timber T-brace built to the exact height needed, wedged tight under a straight board
- For smaller openings (under 900mm), a simple plywood shelf propped from below
The support should carry the full weight of the header panels plus a safety margin. Leave it in place for a minimum of 24 hours in warm, dry conditions. In cold weather (below 10°C) or high humidity, extend to 48 hours.
Bed the header panels in a full mortar bed — not just combed thinset. You want maximum contact area here because this bond is doing real structural work during the cure period.
Weep Holes and Drainage
This detail gets skipped on a lot of jobs, and it shouldn’t. Leave weep holes at approximately 400mm intervals along the bottom edge of the header. These are small gaps (6-8mm) in the mortar joint that allow any water trapped behind the stone to drain out rather than soaking into the substrate.
You can form weep holes by inserting a short piece of backer rod or a plastic weep vent during installation, then removing it after the mortar sets. Alternatively, leave small open head joints and fill them with a permeable mesh to keep insects out.
For a broader view on how the header integrates with the overall exterior wall system, see our exterior wall specification guide.
Step 6 — Finish the Sill and Jamb Returns
The last visible stone in the opening is often the most exposed to weather. Get the sill and returns right, and the installation will hold up for decades. Get them wrong, and this is where the first callback happens.
Sill Cap Installation
The sill cap should be a single piece if possible — or at minimum, no more than two pieces for wide openings. A continuous sill sheds water better than multiple panels with horizontal joints.
Key requirements for the sill:
- Slope — minimum 5-degree pitch away from the window, sloping outward to shed water
- Overhang — extend the sill cap 15-20mm past the wall face with a drip edge (a shallow groove cut into the underside) to prevent water from tracking back to the wall
- Side extension — the sill should extend at least 50mm past each jamb to direct water away from the vertical joints
For thin ledgestone installations, the 36x10cm panels work well as sill caps on standard-width openings. Cut to length and install with a full mortar bed.
Jamb Returns — Clean Transition to Window Frame
The jamb return is where the stone wraps from the face of the wall into the depth of the opening, terminating at the expansion gap next to the window frame.
Two approaches work well for jamb returns: pre-made L-corner pieces with the return leg trimmed to opening depth (consistent, factory-quality look), or flat panels cut to the opening depth (for non-standard depths). Finish the gap between the stone return and the window frame with closed-cell backer rod and a bead of exterior sealant.
Common Mistakes to Avoid Around Openings
After seeing hundreds of installations over nearly two decades in the stone cladding export business, here are the errors we encounter most often — and what happens when you make them.
1. Mortaring Directly Against the Window Frame
The stone and frame expand at different rates. The rigid mortar bond cracks, opens a water path, and damages the window’s weather seal. You’ll have water infiltration and a voided window warranty within a year or two.
2. Skipping the Head Flashing
Relying on the moisture barrier alone above the opening means water that penetrates the stone has no drainage path. It runs behind the cladding, pools at the window head, and finds its way inside. This is the number one cause of water damage on stone-clad buildings.
3. No Temporary Support at the Header
Panels sag under their own weight before the mortar reaches full bond strength. You get a visible dip in the header line — or panels that detach and fall. This is a safety issue, not just an aesthetic one.
4. Cutting Panels Too Thin at the Frame Edge
Thin strips (20-30mm) have almost no bond strength. They pop off with temperature changes and look like patchwork. If your layout produces thin cuts, adjust the starting point or panel size to avoid them.
5. Ignoring Weep Holes at the Header
Filling every joint solid with mortar traps water behind the stone. In cold climates, trapped moisture freezes and spalls the stone face. In warmer climates, it promotes mold growth behind the cladding.
6. Not Planning the Layout Before Mortaring
Running panels until you hit the opening and then making whatever space is left “work” leads to awkward cuts, misaligned courses between openings, and visible mismatches. The fix costs more than the dry-fit planning would have taken.
For more on general installation best practices, including how interior installations differ from exterior work, see our comparison of interior stone veneer installation: DIY vs. professional.
How Top Stone Panels’ Pre-Made L-Corners Save Time
We designed our pre-made L-corner system specifically to address the pain points of opening installations. Here’s what makes them different from field-built corners:
| Feature | Pre-Made L-Corners | Field-Mitered Corners |
|---|---|---|
| Labor time per corner | 5-8 minutes (set and align) | 15-25 minutes (measure, cut, test-fit, adjust) |
| Angle consistency | Factory-precise 90° | Varies with installer skill |
| Visible joint line | Tight factory bond | Often visible mortar line at miter |
| Waste factor | Near zero — cut only for custom depths | 10-15% breakage on miter cuts |
| Skill required | Basic installation skills | Advanced stone cutting experience |
Our L-corner pieces are 45x15cm, formed at a true 90° angle, and available in the same natural stone materials as our panel lines — slate, quartzite, marble, and sandstone. They match field panels exactly because they’re produced from the same stone stock.
For a standard project with 15 windows and 3 exterior doors, that’s roughly 72 corner pieces (4 per opening). The labor savings alone typically amount to a full day on the schedule.
L-corners are included with every order of stacked stone panels and can be specified for Z-panel and thin ledgestone projects as well. MOQ is 1 x 20GP container, and our interlocking Z-panel installation guide covers how Z-panels integrate with L-corners at openings.
Need help calculating quantities for your project, including L-corners and panel counts? Contact Top Stone Panels with your opening schedule and wall elevations — we’ll put together a material takeoff for you.
Frequently Asked Questions
Can you install stone veneer directly around an existing window frame?
No. You need a properly prepared substrate around the frame first — moisture barrier, metal lath, and scratch coat. The stone veneer should never touch the window frame directly. Leave a 6-10mm expansion gap and fill it with backer rod and flexible exterior sealant. This gap accommodates differential movement between the stone cladding and the window, preventing cracks and water damage.
What is the best stone veneer panel size for window surrounds?
Standard stacked stone panels in 15x60cm or 15x55cm work well for most window surrounds. For tighter spaces like narrow jambs, thin ledgestone at 36x10cm provides easier handling and a proportional look. Pre-made L-corner pieces at 45x15cm handle the 90° returns at the outer edges of the opening.
Do I need to support stone veneer above a window or door?
Yes. Stone panels installed across a header need temporary support while the mortar cures — typically 24 to 48 hours depending on temperature and humidity. Use adjustable props or timber T-braces. For openings wider than 1200mm, the building should have a structural lintel or reinforced beam carrying the permanent load. The stone veneer acts as non-structural cladding.
How do you handle water drainage around stone-clad window openings?
Three elements work together: head flashing above the opening that directs water outward, weep holes every 400mm along the header’s bottom edge, and a sill sloped at least 5 degrees away from the window. All flashing should integrate with the moisture barrier behind the stone veneer to create a continuous drainage plane.
What is the minimum gap between stone veneer and a window frame?
Maintain a minimum 6mm gap between the stone edge and the window or door frame. This allows for thermal expansion and contraction. Fill the gap with closed-cell backer rod and exterior-grade polyurethane or silicone sealant. Never mortar directly against the frame.
Wrapping Up
Stone veneer around windows and doors is where craftsmanship separates a professional installation from an amateur one. Take the time to prepare the substrate properly. Plan your layout before mixing mortar. Start from the corners and work inward. Support the header while it cures. And finish the sill and returns with attention to water drainage.
If you’re sourcing natural stone veneer for distribution or a large-scale project, Top Stone Panels produces 100% natural stone cladding — slate, quartzite, marble, and sandstone — with CNC infrared precision cutting at ±1mm tolerance, A1 fire rating, and freeze-thaw resistance from -30°C to +50°C. Every panel ships under our zero-breakage packaging protocol.
Request a quote or reach out with your project specifications. We work directly with distributors, builders, and professional installers across North America and Europe.



