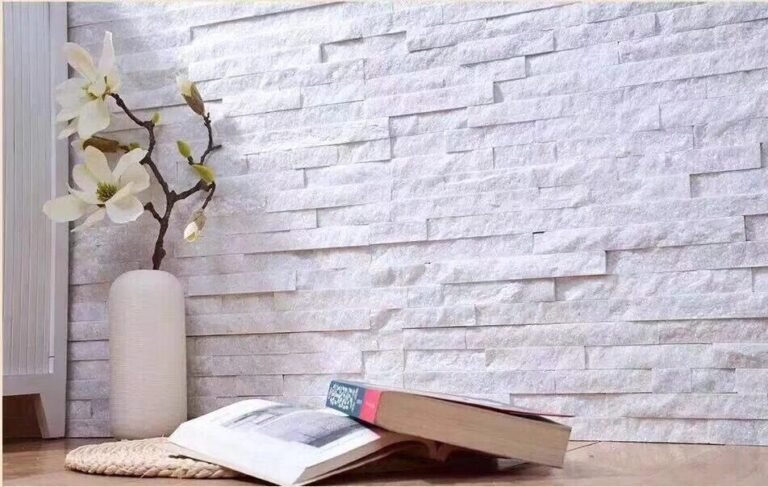
A stone veneer wainscot is a clean way to bring natural stone into a room without cladding the whole wall. Half the wall stays painted or plastered; the lower portion wears the stone, and a cap or sill finishes the top edge. The look is popular on stair risers, entry hallways, bathrooms, kitchens, and exterior porch returns where a full stone facade would be overkill.
The install is genuinely simpler than a full wall because the surface is smaller, the height is controlled, and the corners are few. What most failures share is not skill — it is skipped substrate prep and a missing top cap. This guide runs the full sequence in order, with the measurements and materials a contractor or prepared owner should have before the first panel goes up.
- Height rule of thumb: about 32 in on 8-foot walls, 36 in on 9-foot walls, 40 in in bathrooms, and to the bottom of upper cabinets (~54 in) in kitchens.
- Substrate decides the outcome: cement board for wet or heavy installs, drywall with mesh for light interiors, weather barrier behind exterior wainscots.
- Dry-fit before adhesive: layout, corner pieces, and top-edge cuts all get resolved on the dry run, not mid-mortar.
- Always cap the wainscot — a cap, sill, or coping protects the top edge and finishes the line; L-corners do the outside corners.
- Factory panels with CNC-straight edges and pre-made corners cut hours off a half-wall project.
- Grout, clean, and seal at the end; never seal before the mortar or adhesive has cured.

- What Is a Stone Veneer Wainscot? Heights and Room Rules
- Materials and Tools Checklist
- Step 1: Measure and Mark the Height Line
- Step 2: Prepare the Substrate
- Step 3: Dry-Fit the Layout
- Step 4: Apply Adhesive or Mortar and Set Panels
- Step 5: Finish the Top Edge and Cap the Wainscot
- Step 6: Grout, Clean, and Seal
- Common Installation Mistakes
- FAQ
- Conclusion
What Is a Stone Veneer Wainscot? Heights and Room Rules
A wainscot is the finished lower section of a wall, cut off at a clean horizontal line. The term began with wooden wall paneling in northern Europe, but the rule it left behind is now the standard for stone: the wainscot runs about one-third of the wall height, capped at the top line. Design sources converge on the same proportion — the wainscoting height rule of thumb is one-third of the wall, cap included. Held against common room heights, that works out to the numbers in the table below.
| Location | Recommended wainscot height | Why |
|---|---|---|
| 8-foot walls (standard) | ~32 inches | One-third rule keeps the wall balanced |
| 9-foot walls | ~36 inches | Same one-third proportion, roomier feel |
| Bathroom | ~40 inches, or 8 inches above the tub lip | Splash and moisture coverage above wet fixtures |
| Kitchen | To the bottom of upper cabinets (~54 in) | Continuous line with the cabinet run, patio backsplash substitute |
| Exterior porch or skirt | 12–24 inches (splash band) | Protects lower wall from splashback and rain bounce |
Whichever line you choose, hold it through the room and around corners. A wainscot that steps up and down at every interrupt looks wrong, so the height survey in Step 1 is where the design succeeds or dies.
Materials and Tools Checklist
For a half-wall project, the panel format matters more than on a big facade because the visible surface is close and the top cut is always exposed before the cap goes on. The three formats that fit half walls best are thin ledgestone (36x10cm ultra-thin strips, clean linear joints), stacked stone panels (15x60cm, heavier ledger rhythm), and thin stone veneer scatter for a rougher natural face. Pre-cut L-corners are the hidden time-saver: they turn outside corners without on-site miter work and keep the wainscot at one height.
Gather before the first panel: stone panels plus corner pieces, cap or sill pieces, modified thinset or stone veneer adhesive mortar, a notched trowel (1/4 x 3/8 x 1/4 in is the common interior starting point), a wet saw with a diamond blade for straight top cuts, a straightedge and laser level, taping and grout bags if joints are recessed, and a stone-safe sealer for the finish. If the top will carry a wooden sill instead of stone caps, buy that strip at the same time — the height line depends on it.
The substrate question is a material, too. Interior light installs can go over drywall per the substrate preparation rules; shower or high-moisture locations get cement board; exterior wainscots get a weather barrier and flashing.
Step 1: Measure and Mark the Height Line
Establish the top line first, because every panel and cap decision references it. Measure actual wall height at each corner and at the middle, then set the wainscot line with a laser level at the number you chose from the height table. On uneven old walls, the laser reads the true horizontal; the floor may be the thing that is out, and you will adjust the bottom cut later, not the cap line.
Mark the line on every stud location with a pencil so it survives a dust-covered laser reference. Then account for the cap: if the cap is 1 inch thick, the panel row below it must finish 1 inch under the line so the cap lands on top. Dry-fit thinking starts here.
Step 2: Prepare the Substrate
The substrate is where half-wall installs go wrong quietly. A clean, flat, sound surface with the right reinforcement reads through the entire assembly; a painted, flexing, or patchy wall reads as popped panels within a year.
Interior light installs: drywall is acceptable when the wall is sound and the panels are light (ultra-thin ledgestone qualifies). Scuff glossy paint, wash off dust, and confirm the adhesive manufacturer’s coverage for the substrate. For anything heavy, or where you want zero doubt, add mesh reinforcement before the setting coat — the interior veneer install guide compares the DIY versus professional detail for exactly this decision.
Wet areas: bathrooms and kitchens get cement backer board, and tub/shower surrounds need the waterproofing layer to extend above the eventual splash line — the waterproofing behind stone veneer rules apply on the interior side too.
Exterior half walls and porches: the weather barrier, flashing, and weep screed come before any panel. Water has to leave the assembly at the bottom, never pool behind the cap. A porch skirt wainscot is a miniature facade and deserves the same mortar or adhesive discipline as a full wall.
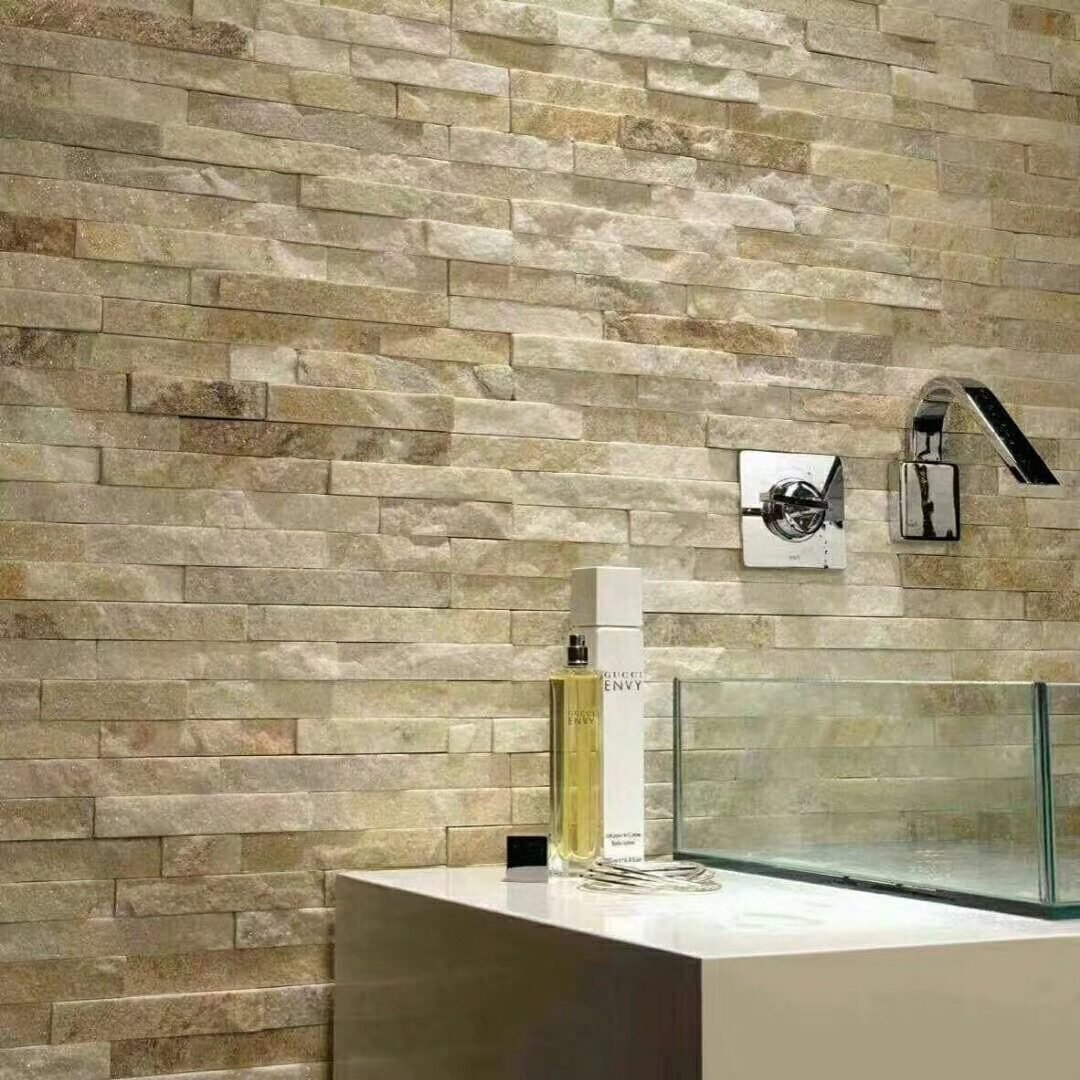
Check flatness with a straightedge. Fix humps and hollows before they turn into lippage; half-wall light makes every deviation obvious against the painted wall above the line.
Step 3: Dry-Fit the Layout
Lay the bottom course across the floor and the top course along the height line before mixing anything. The dry run answers four questions:
- Where does the joint rhythm fall at the ends — can the end pieces be cut to a width that looks intentional?
- Which outside corners need L-corner pieces, and are they ordered? The L-corner guide explains how corners are measured for a clean wrap.
- Where does the top row need cutting? Ultra-thin 36x10cm ledgestone usually falls neatly into a 32–36 in band; stacked stone panels often need one clean rip along the top.
- Do cut pieces land at the least visible end of the run — usually the wall end opposite the entry sight line?
The sequence also holds for the dry-fit layout on any wall; half walls just finish it fast enough that crews are tempted to skip it. Do not skip it.
Step 4: Apply Adhesive or Mortar and Set Panels
Use a notched trowel to comb a uniform mortar or adhesive bed, then back-butter individual stones that are thicker or thinner than the batch. The maximum recommended thickness of the adhesive layer matters more than the panel — too thick a bed slides, too thin skips coverage. Movement joints at the wall base and at corners are part of the install, not an afterthought, especially on exterior work.
Start at the bottom and work up: the first row sets the level, so spend the extra minutes on it. For stacked stone and ledger formats, keep joints tight and consistent; for split-face scatter, control the pattern as you go. Press panels into the bed with a twist, verify each with the laser at the batch level, and wipe squeeze-out before it skins. Pre-made L-corners click into the pattern at corners without field mitering — that is where pattern and schedule are both won.
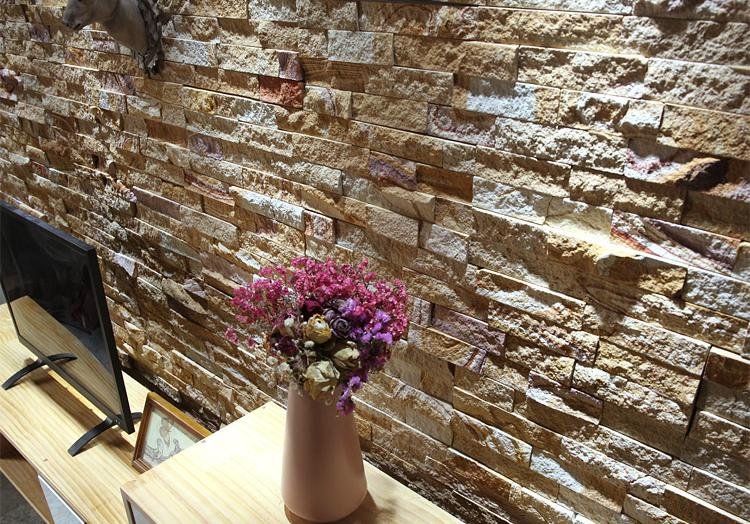
Let the assembly cure before heavy handling — typically 24 hours before grouting or capping pressure. Curing speed varies with mortar, temperature, and humidity; the setting time on the bag is the floor, not the target.
Step 5: Finish the Top Edge and Cap the Wainscot
The top edge is the difference between a wainscot and an unfinished skirt of stone. Two options:
- Stone caps or coping: matched cap pieces run the full length, covering the cut line and shedding water outward on exterior walls. The caps and coping guide walks through the profiles and how they install.
- Wooden or stone sill: interiors often take a chair-rail-style sill at the top line, with the panels butting up underneath.
Set caps with full mortar or adhesive coverage and slope exterior caps slightly outward. Fach the ends cleanly at inside corners and cut returns at outside corners — the cap joint should not sit directly over a panel joint underneath. On exterior work, the top cap double-duties as weather protection: it stops water from entering the open top edge of the panel assembly, where none of the wall’s waterproofing protects it.
Step 6: Grout, Clean, and Seal
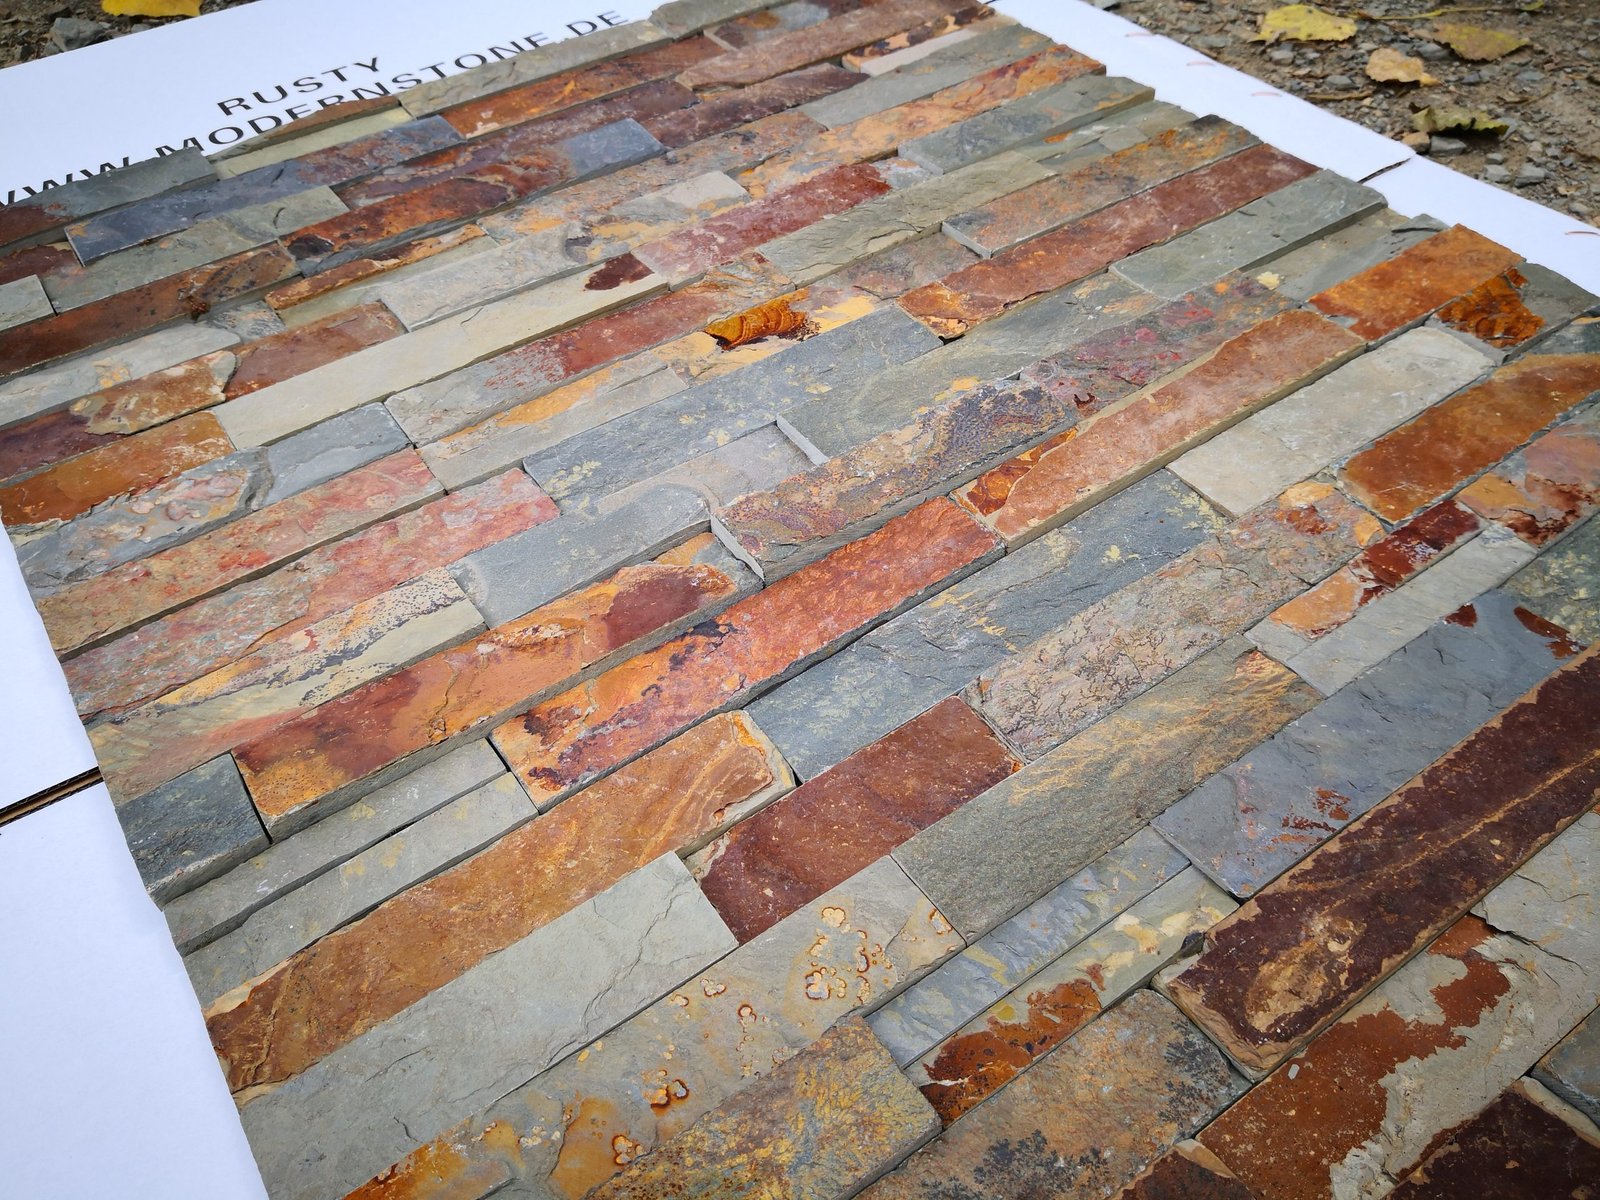
After cure, finish the joints: grout flush or recessed to the pattern you dry-fitted. Use a grout bag for recessed joints to keep the split faces clean, tool the lines at a consistent depth, and brush off mortar haze before it hardens — dried haze is the most common cosmetic rework on a half wall.
Sealing comes last. Interior dry walls often need no sealer; bathrooms, kitchens, and everything exterior should get a penetrating stone sealer once the mortar is fully cured (never before — it locks moisture in). The sealing guide covers which sealer for which exposure. On exterior caps, reapply per the sealer manufacturer’s schedule; the cap takes the weather and sheds the water.
Common Installation Mistakes
| Mistake | What happens | Prevention |
|---|---|---|
| Skipping the height survey | Wainscot visibly slopes against the painted wall | Laser-level the line; adjust bottom cuts instead of the top line |
| Adhesive on unstable substrate | Panels pop or crack at joints within a year | Cement board or mesh reinforcement on suspect walls |
| No cap | Chipped exposed top edges, moisture entry on exteriors | Always cap or sill the top line |
| Field-mitering corners | Hours of cutting, weak corner joints, uneven wraps | Order pre-made L-corners with the panels |
| Sealing before full cure | Trapped moisture, efflorescence, failed bond at joints | Wait for full mortar cure before any sealer |
FAQ
What is a stone veneer wainscot?
It is the lower section of a wall finished in thin natural stone panels, capped at a clean horizontal line. The classic rule is about one-third of the wall height, typically 32–36 inches in residential rooms.
Can I install stone veneer wainscoting over drywall?
Yes for light panel systems on sound drywall with the right adhesive. For heavier panels, wet areas, or any doubt, cement board or mesh reinforcement is the safer interior spec; exterior wainscots need a weather barrier.
Do you need a cap on a stone veneer wainscot?
Yes. The cap, sill, or coping finishes the top line, protects the panels’ cut edges from chips, and on exteriors keeps water out of the top of the assembly. Pre-made L-corners cover outside corner returns.
What height should a bathroom stone wainscot be?
About 40 inches, or 8 inches above the tub lip where a tub is present. Kitchens typically run to the bottom of the upper cabinets, around 54 inches.
How long does a stone veneer wainscot take to install?
A typical interior half wall is one day for a two-person crew, plus grout and seal time. Factory panels with straight CNC edges and pre-made corners cut hours from the schedule.
Conclusion
A stone veneer wainscot works because it keeps the material honest and the scope small: one-third of the wall, perfectly level, properly capped. The sequence that delivers that — survey the height, prepare the substrate, dry-fit, bond, cap, finish — is short, but every step carries the next.
- Set the top line by the one-third rule and hold it through the room with a laser.
- Specify the substrate for the room: cement board for wet, mesh-reinforced drywall for light interior, weather barrier plus flashing for exterior.
- Dry-fit first, order L-corners with the panels, and never skip the cap.
- For supply, choose a factory panel line with straight CNC edges and matched corner pieces — it turns a two-day job into a one-day job.
Top Stone Panels ships ultra-thin ledgestone, stacked stone, and veneer panel programs with corners and caps from quarry-direct stock — samples in 1-3 days, MOQ from one 20GP container. Request a sample kit before your next half-wall bid.