
This guide walks through the complete installation process for stone column wraps and pillar kits from substrate inspection to capstone fitting. It assumes the installer has experience with stone veneer on flat walls and focuses on the differences that a vertical, four-sided column introduces. If you have never installed stone veneer before, start with our general guide to installing stacked stone veneer panels and return here when you are comfortable with the flat-wall technique.
Key Takeaways
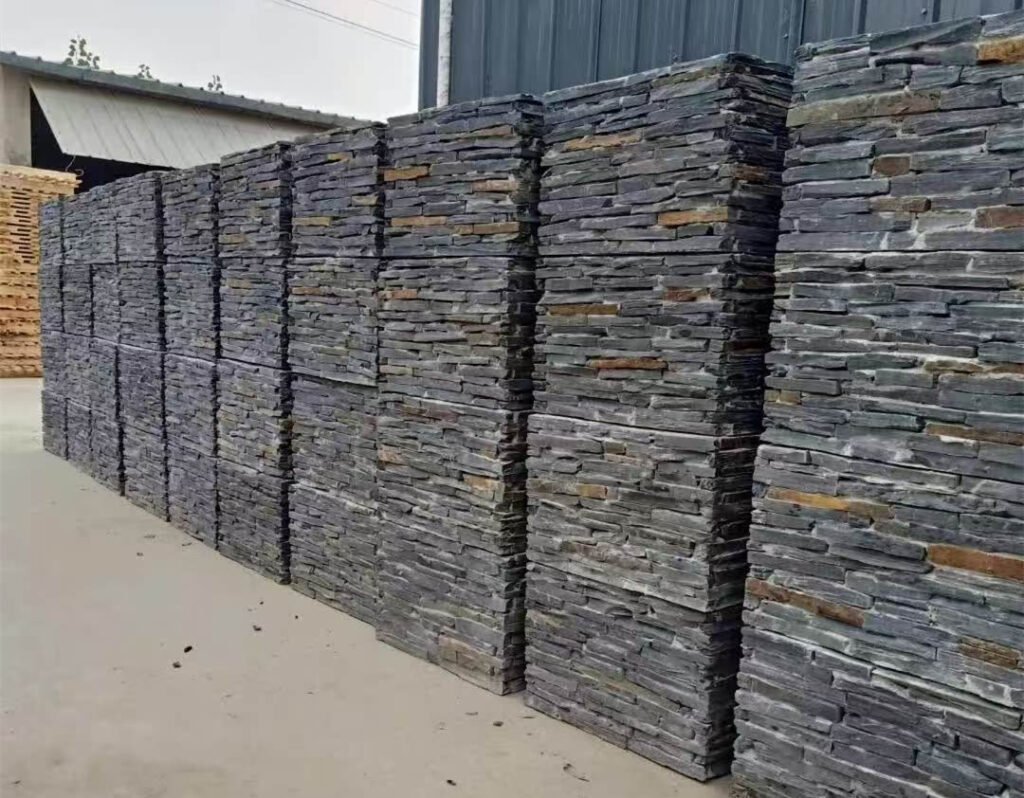
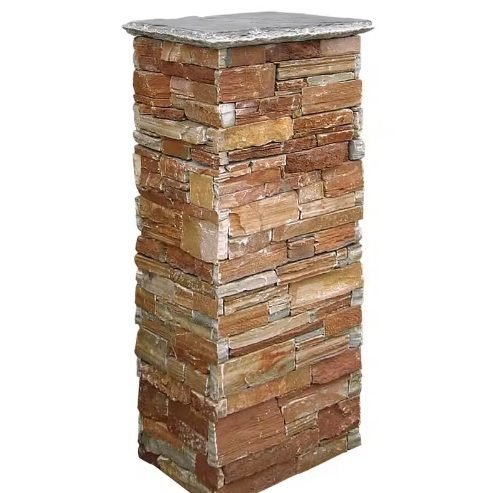
- A stone column wrap covers a structural column (concrete, steel, or wood frame) with pre-assembled natural stone panels, finished with a capstone.
- Substrate preparation is the most common failure point: the column must be plumb, flat, and (for exterior) protected by a weather-resistive barrier.
- Dry-fit panels around the base before applying any adhesive — this confirms the coursing pattern wraps evenly and that cut joints fall on the least visible face.
- Use polymer-modified thin-set mortar for the panel faces and polyurethane construction adhesive (in addition to mortar) for the capstone.
- Stagger vertical joints between courses, check plumb every two courses, and allow 48 hours cure before sealing or loading the cap.
- Standard installation time is 3–4 hours per 2.4 m column for an experienced installer; budget 5–6 hours for a first-time installation.
Tools and Materials
Before starting, gather the following. Having every tool on site before the first panel goes up prevents the mid-project trip to the supply house that costs more in lost time than any of the items on the list.
| Category | Item | Specification |
|---|---|---|
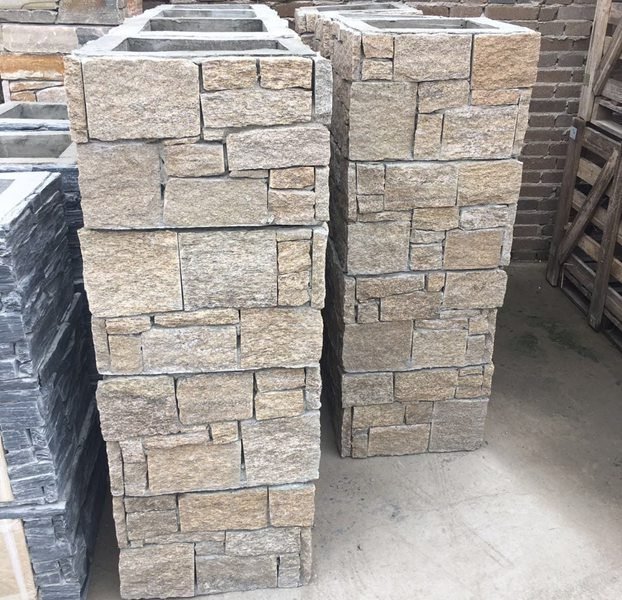
| Stone | Column wrap panels | Pre-assembled, sized to column face width |
| Stone | L-shaped corner pieces | One per external corner per course |
| Stone | Stone pillar cap | Sized to column with 2–3 cm overhang per face |
| Adhesive | Polymer-modified thin-set mortar | ANSI A118.4 or equivalent |
| Adhesive | Polyurethane construction adhesive | Exterior grade, for capstone |
| Tools | Notched trowel | 6 mm or 10 mm notch |
| Tools | Wet saw with diamond blade | For cutting panels to fit |
| Tools | Rubber mallet | For seating panels without chipping |
| Tools | Spirit level (600 mm) | Check plumb and level |
| Tools | Tape measure | 5 m minimum |
| Tools | Stiff brush | For cleaning excess mortar |
| Substrate | Cement board (exterior) | Durock, HardieBacker, or equivalent |
| Substrate | Weather-resistive barrier | Tyvek or equivalent (exterior columns) |
Step 1: Prepare the Column Substrate
The substrate is the surface the stone panels will bond to. Its condition determines whether the column lasts twenty years or two. A well-prepared substrate is plumb, flat, clean, and structurally sound. A poorly prepared one transfers every defect to the finished stone.
Concrete columns can receive panels directly, provided the surface is clean, free of form-release oil, and within 3 mm of plumb per meter. Wire-brush any laitance (the weak cement layer on the surface of newly poured concrete) and wash with clean water. Allow to dry before applying mortar.
Steel columns need a substrate wrap. Fasten cement board or metal lath to the steel using self-drilling Tek screws at 300 mm centers. Overlap cement board joints by 50 mm and tape them with alkali-resistant mesh tape. The steel column behind the board carries the structural load; the board carries the stone.
Wood-frame columns require exterior-grade cement board over the framing, fastened with corrosion-resistant screws at 150 mm centers along the edges and 200 mm in the field. Behind the cement board, a weather-resistive barrier (building wrap or fluid-applied membrane) protects the wood framing from any moisture that penetrates the stone and mortar. This is a code requirement in most jurisdictions for exterior cladding, not an optional extra.
Check plumb on every face of the prepared column before proceeding. A column that is out of plumb by more than 5 mm over its height will show that error in the stone coursing — the horizontal lines will tilt visibly. If the column is out of plumb, correct it at the substrate stage (shimming behind the cement board) rather than trying to compensate with mortar thickness during panel installation. The substrate preparation principles are the same as for flat walls, covered in our guide to preparing substrates for stone veneer.
Step 2: Dry-Fit the Panel Layout
Before any adhesive touches the column, dry-fit the panels around the base. This is the step that separates a clean installation from one with visible cut joints on the wrong face.
Start at the base and wrap panels around all four faces of the column. The goal is to confirm that:
- The coursing pattern is even on all faces — each course lands at the same height on every side.
- Cut panels (where the last panel on a face does not fill the width) fall on the least visible face of the column, typically the face that points toward the building wall or the side least seen from the approach.
- L-shaped corner pieces fit cleanly at each external angle, with no gap between the corner piece and the adjacent panel.
- The total number of courses from base to top leaves enough room for the capstone with its required overhang.
Mark the column substrate with a pencil line at the top of each course, using a level to ensure the lines are horizontal on every face. These lines are your guide during installation — they keep the coursing level when the mortar is wet and the panels are being adjusted.
If the column height does not divide evenly into whole courses, the cut goes at the bottom, not the top. A cut panel at the base can be hidden behind a landscape bed, a plinth, or a decorative trim. A cut panel at the top interrupts the line just below the capstone, where every eye will find it. The dry-fit planning process follows the same logic as flat-wall layout, described in our guide to planning stone veneer layout.
Step 3: Set the First Course
The first course is the foundation of the column. If it is level and square, every course above it follows naturally. If it is off, the error compounds upward and becomes impossible to correct without tearing the work down.
Mix the polymer-modified thin-set mortar to the consistency specified on the bag — typically a thick paste that holds its shape on the trowel. Comb the mortar onto the substrate with the notched side of the trowel, working one face of the column at a time. Do not apply mortar to all four faces at once; the mortar skins over in 15–20 minutes and loses its bond strength if the panel is not set while the mortar is still wet.
Press the first panel firmly into the mortar, aligning its bottom edge with the pencil line you marked during the dry-fit. Tap it gently with the rubber mallet to seat it fully — the mortar should squeeze slightly at the edges, indicating full contact behind the panel. Check level across the face and along the top edge.
Set the adjacent panel on the same face, maintaining the factory joint spacing (typically zero-gap for dry-stack panels). At the corner, set the L-shaped corner piece, pressing it into mortar on both faces simultaneously. Continue around the column until the first course is complete on all four sides.
Check level on every face. If a panel is high, tap it down. If it is low, lift it, add mortar, and reset it. Do not try to shim a low panel with a wedge of mortar at the edge — the shim will be visible and will create a weak point.
Step 4: Course Upward with Staggered Joints
With the first course set and level, the remaining courses follow the same routine: comb mortar, set panel, check level, check plumb. The critical discipline is the stagger.
Vertical joints between panels on one course should not align with vertical joints on the course below. A continuous vertical joint reads as a line of weakness on the finished column, even though the structural bond is the same. Stagger each course so that the joint on one face falls at the center of the panel on the course below. This is the same principle as brick coursing, and it is what gives the column its structural rhythm.
Check plumb every two courses. Hold the spirit level vertically on each face and confirm that the column is not leaning outward or inward. A lean of 3 mm over a meter is barely visible; a lean of 10 mm is obvious and means the substrate was not plumb or the mortar bed is uneven. Catching the lean at course three is a fix; catching it at course ten is a tear-down.
When a panel needs to be cut to fill the end of a course, use the wet saw with a diamond blade. Cut the panel face-down (stone side against the saw table) to minimize chipping on the visible face. Test-fit the cut panel dry before applying mortar — a cut that is 2 mm short is better than a cut that is 1 mm long and forces the adjacent panel out of position.
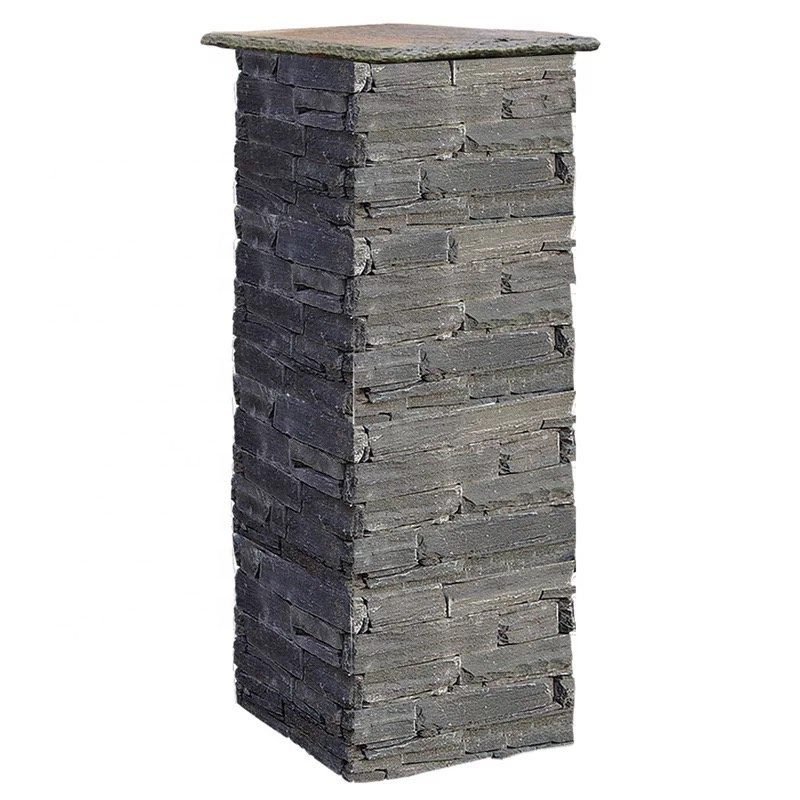
Continue coursing until the column reaches the height specified for the capstone. The last course of panels should end 15–20 mm below the finished cap height, leaving room for the mortar bed and the capstone thickness. If the last full course brings the column too close to the cap height, cut the final course to the required depth rather than trying to squeeze a thin strip of stone between the last full course and the cap.
Step 5: Install the Capstone
The capstone is the crown of the column. It protects the top course from water penetration, sheds rain away from the column faces, and provides the finished architectural detail. A capstone that is installed incorrectly is the first thing to fail on a stone column — water pools on top, penetrates the bond, and freezes the mortar loose in the first winter.
The capstone should overhang each face of the column by 2–3 cm. This overhang creates a drip edge: water runs off the capstone and drops clear of the stone face below, rather than running down the column and staining the stone. A capstone that is flush with the column face is a design error, not a style choice.
Apply a continuous bead of polyurethane construction adhesive to the top of the last course of panels, in addition to a thin mortar bed. The adhesive provides a secondary bond that resists uplift from wind and thermal expansion — the capstone is exposed to weather from above and below, and it needs both the mortar bond and the adhesive bond to stay put over a twenty-year service life.
Set the capstone, press firmly, and check level in both directions (front-to-back and side-to-side). A capstone that is not level sheds water unevenly, which creates a visible stain pattern on the column faces below over time. Wipe away any adhesive squeeze-out immediately with a damp cloth — polyurethane adhesive is nearly impossible to remove from a stone face once it cures.
The capstone installation for stone columns follows the same principles as pillar caps on stone walls, which are discussed in our guide to stone column sizing and styles.
Step 6: Clean and Seal
Once the capstone is set, clean the column. Use a stiff dry brush to remove any dried mortar squeeze-out from the joints and panel faces. For stubborn mortar spots, dampen the brush with clean water and scrub — do not use acid-based cleaners on natural stone, as they etch the surface of slate and sandstone.
Allow the mortar to cure for a minimum of 48 hours before applying any sealant or subjecting the capstone to load. Polymer-modified thin-set reaches its full bond strength over 7–28 days, but 48 hours is sufficient for the column to be handled carefully and for the sealer to be applied.
Sealing is project-specific. Some specifications call for a penetrating silane/siloxane sealer that protects the stone from staining without changing its appearance. Others specify no sealer, relying on the stone’s natural density and the mortar joint to manage moisture. The decision depends on the stone type (sandstone benefits more from sealing than quartzite), the exposure (coastal salt spray vs. inland temperate), and the maintenance commitment the building owner will make. The sealing decision process is covered in our guide to waterproofing behind stone veneer.
Common Mistakes to Avoid
Stone column installations fail in predictable ways. The five mistakes below account for the majority of callbacks and rework:
- Skipping the dry-fit. Installing panels without a dry layout results in cut joints on visible faces and coursing that does not align around the column. The dry-fit takes twenty minutes and saves hours of rework.
- Not checking plumb frequently enough. A lean that develops over five courses is invisible until the capstone does not sit square. Check plumb every two courses, not just at the end.
- Using the wrong adhesive on the capstone. Mortar alone is not sufficient for the cap — wind uplift and thermal cycling will break the bond over time. Add polyurethane construction adhesive as a secondary bond.
- Installing the capstone flush with the column face. No overhang means no drip edge, which means water runs down the column face and stains the stone. A 2–3 cm overhang on each face is the minimum.
- Applying sealer before the mortar has cured. Sealer traps moisture in the mortar bed, which delays the cure and weakens the bond. Wait 48 hours minimum, or follow the sealer manufacturer’s specific cure-time requirement.
Frequently Asked Questions
What is a stone column wrap?
A stone column wrap is a set of pre-assembled stone panels designed to cover a structural column — typically a steel post, concrete pillar, or wood frame — with a natural stone appearance. The panels bond to the column substrate with thin-set mortar or adhesive and are finished with a stone cap that overhangs the top to shed water.
Do I need a special substrate to install stone column wraps?
The substrate depends on the column structure. Concrete columns can receive panels directly. Steel columns need a cement board or metal lath wrap fastened with self-drilling screws. Wood-frame columns need exterior-grade cement board (Durock or HardieBacker) over the framing. In all exterior cases, a weather-resistive barrier behind the substrate is required by code.
How do I handle the corners when wrapping a square column?
Square columns use L-shaped corner pieces at each external angle. These factory-made corners wrap around the edge without a visible cut, maintaining the continuous stone pattern. If corner pieces are not available, panels are cut at 45° with a wet diamond saw and the mitre joint is filled with color-matched mortar.
What adhesive should I use for stone column wraps?
For the vertical panel faces, use a polymer-modified thin-set mortar (ANSI A118.4 or equivalent) combed with a 6mm or 10mm notched trowel. For the capstone, use an exterior-grade polyurethane construction adhesive in addition to mortar, because the cap bears weather exposure from above and needs a stronger bond to resist uplift.
How long does it take to install a stone column wrap?
A single 2.4-meter (8-foot) column with four faces takes an experienced installer approximately 3-4 hours from substrate check to capstone set, excluding cure time. First-time installers should budget 5-6 hours per column. The 48-hour mortar cure must complete before any load or sealant is applied to the cap.
Can stone column wraps be installed on round columns?
Standard stacked stone panels are flat and designed for square or rectangular columns. Round columns require flexible stone veneer sheets, individually cut stone pieces laid by a mason, or a custom-fabricated curved panel system. For round columns, discuss the geometry with the factory before ordering to confirm whether the product line can accommodate the radius.



