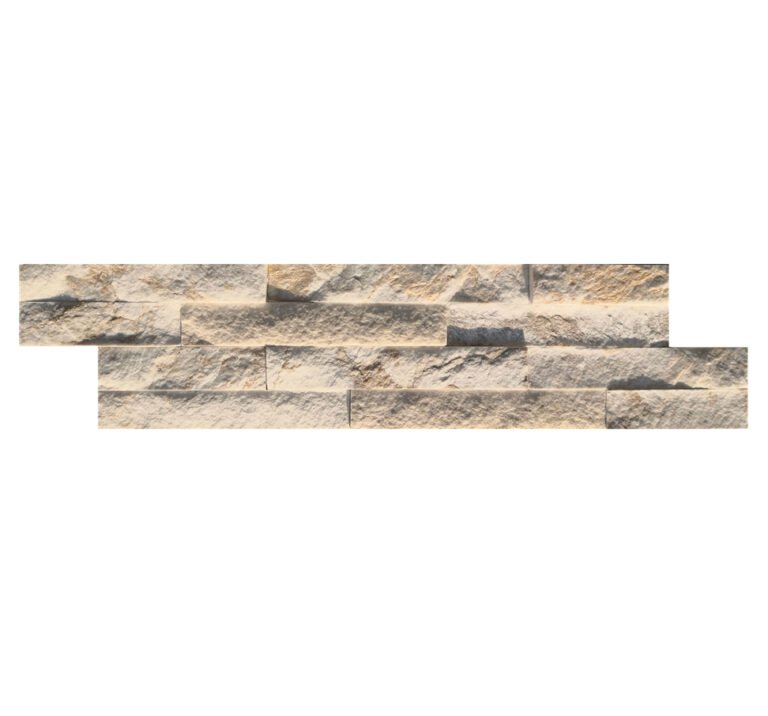
Natural stone is the most durable part of a veneer wall and the least likely to fail. The line where two panels meet is the opposite: a discontinuity in an otherwise continuous assembly, and discontinuities are where cracks start. Most defects blamed on the stone were actually created at the joint, weeks earlier, by a reinforcement or bonding decision nobody wrote down.
This guide covers that decision set: which seams exist on an elevation and what each will carry, how fiberglass mesh and scrim arrest a crack across a panel-to-panel joint or corner, how a mechanical key into the scratch coat is what actually holds a heavy face, and how the backing a panel ships with changes every one of those details. It stays on the joint line. The layers beneath the veneer, the layout grid and the tooled finish are separate trades, linked where they overlap.
- A veneer crack is usually a joint event: movement concentrates between two panel backs, and an unreinforced cementitious layer carries no tension across it.
- Reinforcement works only when embedded, alkali-resistant, continuous around corners and lapped off the seam. Scrim dusted over a set surface adds nothing.
- A mechanical key is a physical interlock with a torn scratch-coat profile, destroyed by skimming, flash-drying, dust or working past the open window.
- Outside corners are the highest-risk seam. Factory L-corner units remove the 45-degree field miter and cut roughly 20 percent material waste and over 50 percent corner labor.
- Backing decides joint method: adhesive backs need a bondable profile, mesh backs bring reinforcement to the seam, cement-backed interlocking geometry hides the vertical line.
- Movement-joint spacing is a design figure held by the engineer of record, never something a stone supplier should invent.
- Why Joints Fail Before the Stone Does
- Map Every Seam Before You Set
- Fiberglass Mesh at Panel and Corner Seams
- Getting a Mortar Key into the Scratch Coat
- Corner Joints: The Highest Risk Detail
- Panel Backing Decides the Joint Method
- Make Movement Joints Deliberate
- Checkpoints Before the Joint Closes
- Frequently Asked Questions
- Conclusion
Why Joints Fail Before the Stone Does
A facade accumulates movement continuously: the assembly expands and contracts with sun and season, a cementitious base coat shrinks as it dries, the structure deflects under load and wind cycles the envelope. That movement does not stop politely at a panel edge. It concentrates there, because a seam changes material, thickness and stiffness at once, and because mortar at a panel edge is the thinnest on the wall.
Two failure modes follow, both joint events rather than stone events. The first is crack propagation: a shrinkage crack starts in the base coat, travels to the seam, then runs out through the joint and stone edge because nothing spanned that line in tension. The second is telegraphing, where movement behind the stone shows through the finished face as a hairline tracing the grid of panel joints. Repairing either means opening the wall, not patching the face.
There are only two levers. Reinforce across the seam so the cementitious layer carries tension as well as compression, and key the mortar so it locks physically into the surface behind it instead of resting against it. How the finished line is tooled, flush or recessed, is a different trade and belongs in grouting stacked stone panels.
Map Every Seam Before You Set
Before mortar is mixed, list every line on the elevation where two things meet. The list is longer than most crews expect: course joints between panels, inside and outside corners, returns and reveals where the wall steps in or out, transitions at window heads and sills, doors, caps, abutments against dissimilar materials, and any line where veneer crosses a structural expansion joint. Each wants one of three answers, and the answer belongs on the drawing rather than in a conversation on the scaffold.
- Reinforced and continuous. Mesh or scrim bridges the line and the wall behaves as one plane across the seam.
- Articulated. A deliberate, formed joint allowed to open and close, treated as a joint for its whole life rather than as a crack waiting to happen.
- Hidden by geometry. A factory-formed or interlocking product whose shape buries the seam so completely that reinforcement can be concentrated elsewhere.
Deciding which line gets which answer is the whole joint-preparation exercise: once on paper, then repeated mechanically on the wall. A facade with a hundred reinforced seams can read as monolithic; one with twenty unplanned joints reads as patched. Getting courses to line up is its own discipline, covered in aligning stone veneer joints. What matters here is what happens at the line once the layout is settled.
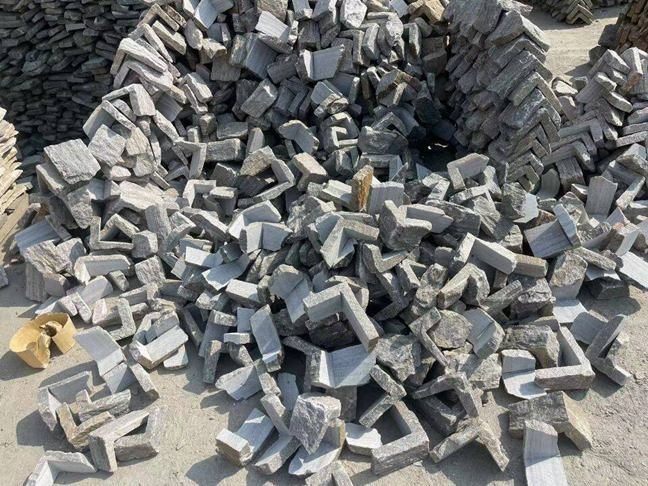
Fiberglass Mesh at Panel and Corner Seams
Reinforcement does not prevent a crack; it changes what the crack does. A cementitious base coat is strong in compression and nearly worthless in tension, so an unreinforced layer opens one clean crack and keeps opening it. Embed a glass-fiber mesh and the tensile load is picked up across a wide band: movement still happens, but disperses into many micro-cracks the matrix holds shut instead of one the eye reads as a defect. That is crack arrest, and why reinforcement goes on the seam line rather than scattered across the field.
Alkali resistance decides whether the reinforcement still works in five years. Portland cement paste is strongly alkaline and unprotected glass fiber loses strength in it, which is why mesh buried in a cementitious base coat is specified as alkali-resistant or coated. Fabric chosen for a thin-coat render elsewhere is not automatically suitable behind stone. The installation standards maintained by the Tile Council of North America treat reinforcement and a keyed base coat as the accepted means of controlling crack propagation and mechanical bond; the product requirements sit in that documentation, not in a supplier datasheet.
Placement is where the detail is lost. Mesh must be bedded into the base coat so mortar sits under it and over it, pressed in rather than draped and dusted. It runs continuous around corners instead of butting at the apex, because a butt on the corner is where the crack reforms, and laps between sheet ends are offset away from the seam they protect. Scrim retrofitted over a set layer creates no composite action, only a visible patch.
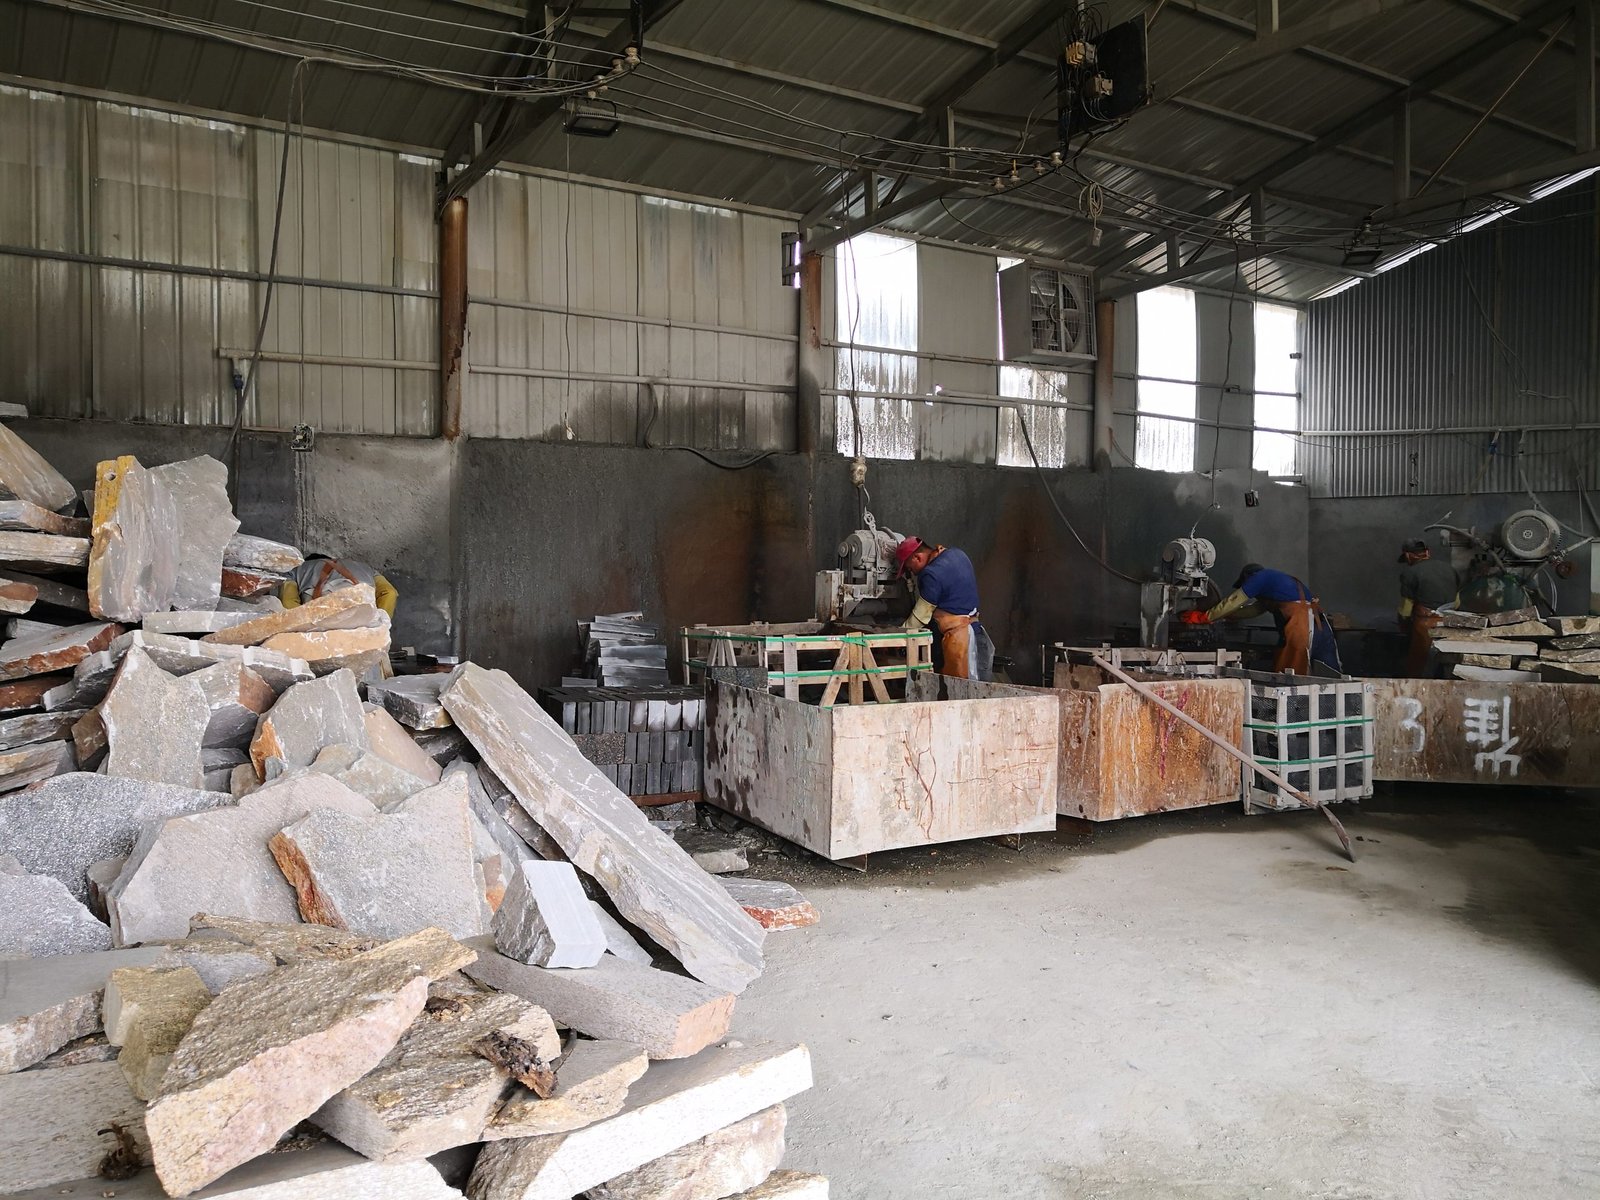
Getting a Mortar Key into the Scratch Coat
A key is a physical interlock, not a glue line. The scratch coat is the first cementitious layer on the lath, and while plastic it is torn, combed or notched to leave an open, rough profile. When the next layer goes on, mortar is squeezed into those voids and hardens there, locking new material mechanically to old. That is what lets a heavy stone face be carried by a wall it is not chemically bonded to; remove the profile and contact alone holds it.
Four things destroy a key, and all four are common. Over-troweling or skimming closes the surface into a skin with nothing to lock into. A face that flash-dries in wind or sun before the next layer arrives pulls water out of fresh mortar. Dust, debris or form-release residue sits in the profile as a separator. And a coat left past its mortar system’s working window behaves as a separate element rather than part of a continuous build-up.
The same logic applies inside the joint, where the layer stack is thinnest. Panel edges carry the least mortar on the wall, so a missing key shows first as a hollow sound or an open line at a seam. Edges are back-buttered so stone and mortar meet inside the joint rather than two surfaces bonding somewhere else. Closing a joint without forcing mortar to depth produces a line that delaminates along its own underside.
What sits beneath the scratch coat, and how layers are built to receive a key at all, is set out in substrate preparation for stone veneer. From a joint standpoint one question matters there: whether the surface is still grabbable, and whether it will be when the seam is filled.
Corner Joints: The Highest Risk Detail
Corners concentrate every problem the wall has. Two seam directions meet at one point, the outside corner is the arris everything hits, and the joint sees sun, wind and thermal swing on three faces. Inside corners carry the inverse: a change of plane both walls pull against, with mortar in an apex where both directions of movement arrive.
Reinforcement at corners is the detail most often skipped and the most visible later. Fabric wraps the arris and both legs of an inside corner, so the reinforced band turns the corner instead of stopping at it. A butt at the apex leaves a discontinuity where stress is highest, which is why corner cracks run short and straight off the turn and stop.
The factory answer removes the cut rather than perfecting it. Pre-made L-corner units eliminate on-site 45-degree miter cutting, saving roughly 20 percent material waste and more than 50 percent of corner labor. The joint logic behind those figures matters as much as the cost: the miter was the seam, so taking the cut out of the corner takes the highest-risk line out of the build. Asymmetric sets alternating long and short legs, in the 6×12 plus 6×6 inch and 6×16 plus 6×8 inch combinations, stagger the vertical joint off the corner; the symmetric 6×12 plus 6×12 inch set holds it square. Choosing between them is worked through in the stone veneer L-corner pieces guide, and how those corners behave when water reaches them is handled in weatherproofing stone veneer joints.
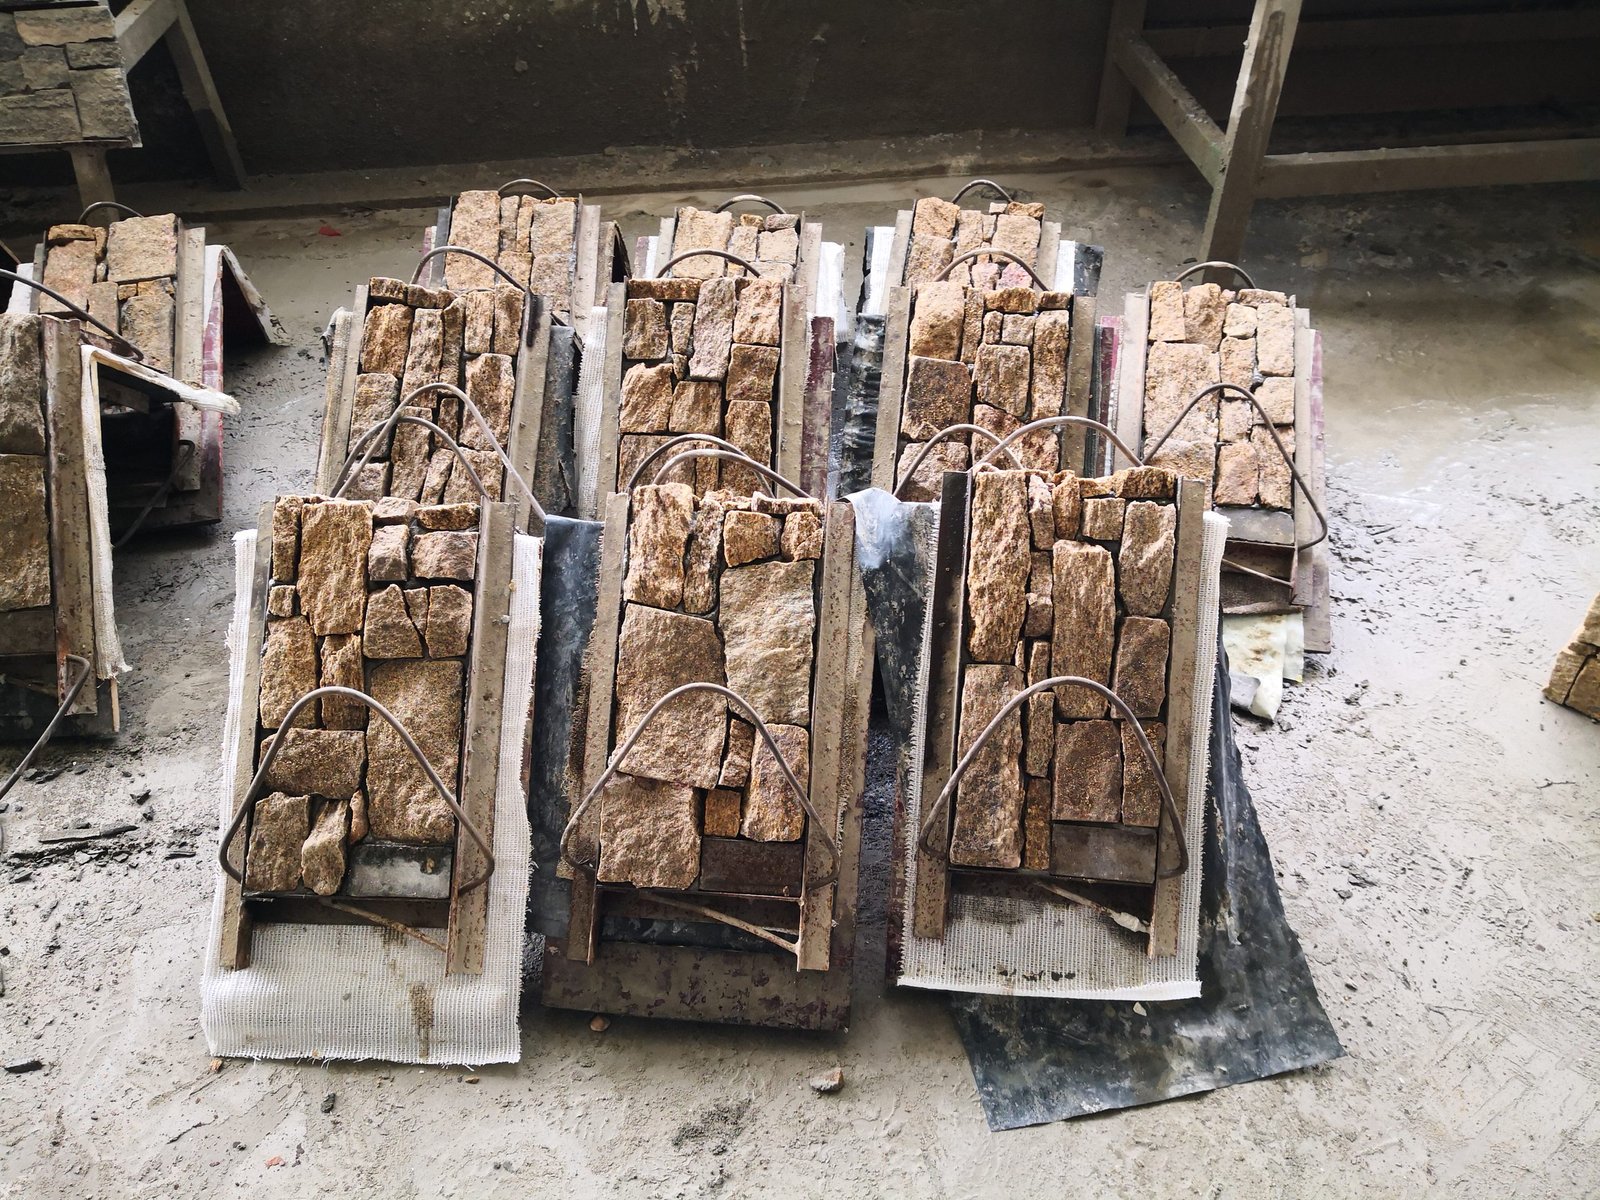
Panel Backing Decides the Joint Method
Backing is the variable most often specified late and felt first at the seam. A panel arrives with a glue or adhesive backing, a mesh backing or a cement backing, and each presents a different surface to the joint. Using one trowel technique across all three guarantees at least one is built on a surface it was never meant to bond to.
Bonded ledger panels in the 15×60 cm and 15×55 cm formats ship either adhesive-backed or mesh-backed. An adhesive back leaves a smooth, hard film across the reverse, giving mortar less to key into exactly at the panel edge where the joint is thinnest, so the bond profile must be addressed before the panel is lifted, not compensated for afterwards. A mesh back carries reinforcement into the wall as part of the product, moving the field task to keeping it embedded and continuous where panels abut and preventing it from riding proud at a corner. The heavier cement-backed interlocking cladding in 20×55 cm and 15.2×61 cm presents a cementitious face to cementitious mortar, so the key forms natively and its male-female geometry buries the vertical seam, letting reinforcement concentrate on course lines, corners and plane changes. Those systems come through the interlocking Z-panel cladding line.
| Backing | What arrives at the seam | What joint preparation must do |
|---|---|---|
| Adhesive or glue back | Smooth, hard film across the reverse and panel edge | Establish a bondable profile before lifting; force mortar to joint depth |
| Mesh back | Carrier fabric already present at the abutting edge | Keep it embedded and continuous across the seam and around corners |
| Cement back, interlocking | Cementitious face plus male-female edge that hides the vertical line | Key natively; shift reinforcement focus to course lines, corners and returns |
The reverse of a panel is not a packaging preference. The marine-grade epoxy bond on Top Stone Panels bonded product is rated through -30 C to +50 C thermal cycling and 26.5-tonne ocean freight with 100 percent zero pop-off, so a seam that opens on a cured wall is a site detailing failure, not an adhesive failure. The two bonding philosophies are compared in epoxy bond versus cement backing.
Make Movement Joints Deliberate
Three families of movement act on a veneer wall at once. Thermal cycling moves the facade as sun hits it and leaves it. Drying shrinkage pulls the cementitious layers tighter as they cure and continues after the wall closes. Structural deflection and wind shift the building the wall is fixed to. A crack is best read as a movement joint that was not planned: the wall found the line where it was allowed to move, because it had to find one.
Reinforcement changes the symptom, not the cause. It holds the two sides of a developing crack together and spreads the movement, precisely its job, but is not a substitute for space where the design already expects large movement. Movement gets articulated rather than resisted at plane changes, at opening heads and sills, where veneer meets a dissimilar material, and in line with any structural expansion joint. A veneer joint is placed at that structural joint and never carried across it.
How far apart those joints sit and how wide they are made is a design figure. It depends on the assembly, climate range, substrate and expected movement at that particular building, which is why the Natural Stone Institute publishes movement-joint and bonding guidance. A supplier quoting a spacing without drawings and an engineer behind it is guessing. Ask for the figure from the design authority, then build to it.
Checkpoints Before the Joint Closes
Almost all joint preparation is verifiable before the face covers it. These are the checks that separate a wall still tight in its second winter from one that starts tracing its own grid.
| Checkpoint | Pass condition | How a failure appears later |
|---|---|---|
| Seam inventory on the elevation | Every line assigned reinforced, articulated or geometry-hidden | Cracks on an irregular line the drawing never anticipated |
| Mesh at panel-to-panel seams | Alkali-resistant fabric surrounded by mortar, laps offset from the seam | A straight crack tracing the course grid, open rather than hairline |
| Mesh at corners | Continuous around the arris and both legs of an inside corner | Short hairlines running off the corner and stopping abruptly |
| Scratch-coat profile when the next layer lands | Open, torn or combed, clean, inside the working window | Hollow areas, or a plane that debonds with the bed intact on one side |
| Mortar at panel edges and joints | Edges back-buttered; joint mortar forced to depth and squeezed | Open, crumbly joint lines and edge spalls on deep relief |
Frequently Asked Questions
Does fiberglass mesh stop stone veneer joints from cracking?
It changes what a crack does rather than preventing movement. Reinforcement embedded in the base coat carries the tensile load across the seam, so movement disperses into fine micro-cracks the matrix holds shut instead of one open crack following the panel line.
What is a mortar key in stone veneer?
A physical interlock. The scratch coat is torn or combed while plastic to leave an open profile, and the next layer is squeezed into those voids and hardens there. Without that profile the assembly is held by surface contact only.
Do mesh-backed panels still need reinforcement at the seams?
Yes, but the work changes. The carrier mesh is already present at the abutting edge, so the field task is keeping it embedded and continuous across the joint and wrapped around corners rather than allowed to ride proud or butt at an apex.
Why do cracks appear right at a corner?
A corner concentrates two seam directions, maximum exposure and physical impact in one line, and a field-cut miter there gives the joint the least bond area on the wall. Reinforcement butted rather than wrapped around the corner turns that into a visible hairline within the first year.
Should a veneer joint line up with a building expansion joint?
It must be placed at that joint and never carried across it. The veneer is a brittle skin on a structure that moves, so wherever the structure is designed to move, the cladding has to be detailed to move with it at the same line.
Conclusion
Joint preparation is the part of a stone veneer wall nobody sees and everybody eventually measures. Map every seam before setting, decide on paper whether a line will be reinforced, articulated or hidden by product geometry, then build it: reinforcement surrounded by mortar and continuous around corners, a scratch-coat profile still open when the next layer lands, joint mortar forced to depth rather than smeared across the face, and factory corners wherever the alternative is a field miter on the highest-risk line on the building. Backing is the first joint-detailing decision, not a shipping preference.
- List every seam and assign it reinforced, articulated or geometry-hidden before mortar is mixed.
- Embed alkali-resistant mesh in the base coat, wrap it around corners, offset laps off the seam.
- Protect the scratch-coat profile: no skimming, no flash-drying, no dust, no working past the window.
- Back-butter edges and squeeze mortar to joint depth so the seam has bond on both faces.
- Use pre-made L-corners to take the 45-degree miter out of the outside corner.
- Take movement-joint spacing from the design authority, never from a supplier.
Planning a facade in a climate range that will test the seams rather than the stone? Send the drawings to the Top Stone Panels team and we will match backing format, corner sets and the dieline guide to your joint strategy before production starts.