
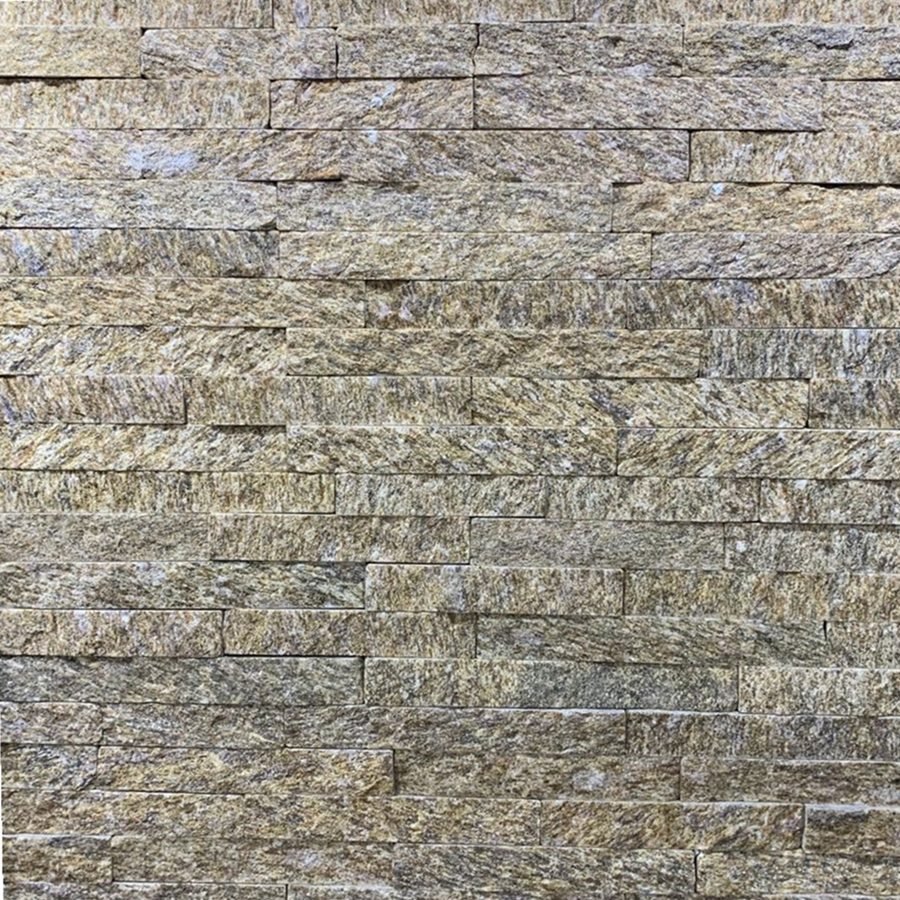
Stone veneer transforms plain interior walls into statement surfaces that command attention in lobbies, feature walls, fireplace surrounds, and commercial interiors. The question most builders, distributors, and property owners face is not whether to use stone veneer, but how to install it: handle the job in-house with a DIY approach, or hire a professional contractor? The answer depends on project scale, budget constraints, skill availability, and the quality standard the finished wall must meet. This guide breaks down both paths with real numbers, practical timelines, and installation specifics drawn from 18 years of manufacturing natural stone cladding panels at Top Stone Panels in Hebei, China.
Stone Veneer for Interior Walls: Why It’s a Smart Choice
Natural stone veneer delivers a combination of aesthetics, durability, and practical performance that few interior cladding materials can match. Unlike full-thickness stone, veneer panels are cut to a reduced thickness that lowers weight substantially, making them manageable for interior wall applications without requiring structural reinforcement. Panels from Top Stone Panels are manufactured from 100 percent natural slate and quartzite, giving each installation unique color variation and texture that synthetic alternatives simply cannot replicate.
From a performance standpoint, natural stone veneer carries a Class A fire rating, making it compliant for commercial interiors, hospitality spaces, and residential builds where fire safety is non-negotiable. The material is impervious to moisture when properly sealed, resists scratching and impact, and requires virtually no maintenance beyond occasional dusting. For distributors and builders evaluating material options, stone veneer also offers a strong return on investment: industry data consistently shows that natural stone finishes increase perceived property value by 5 to 15 percent compared to painted drywall or tile.
Interior applications are broad. Stone accent walls in living rooms and bedrooms, fireplace surrounds that serve as design anchors, lobby feature walls in hotels and office buildings, and restaurant interiors where ambiance directly affects customer experience. The versatility of natural stone veneer means a single product line can serve residential renovation contractors, commercial fit-out specialists, and wholesale distributors simultaneously.
Understanding Stone Veneer Panel Types for Interior Use
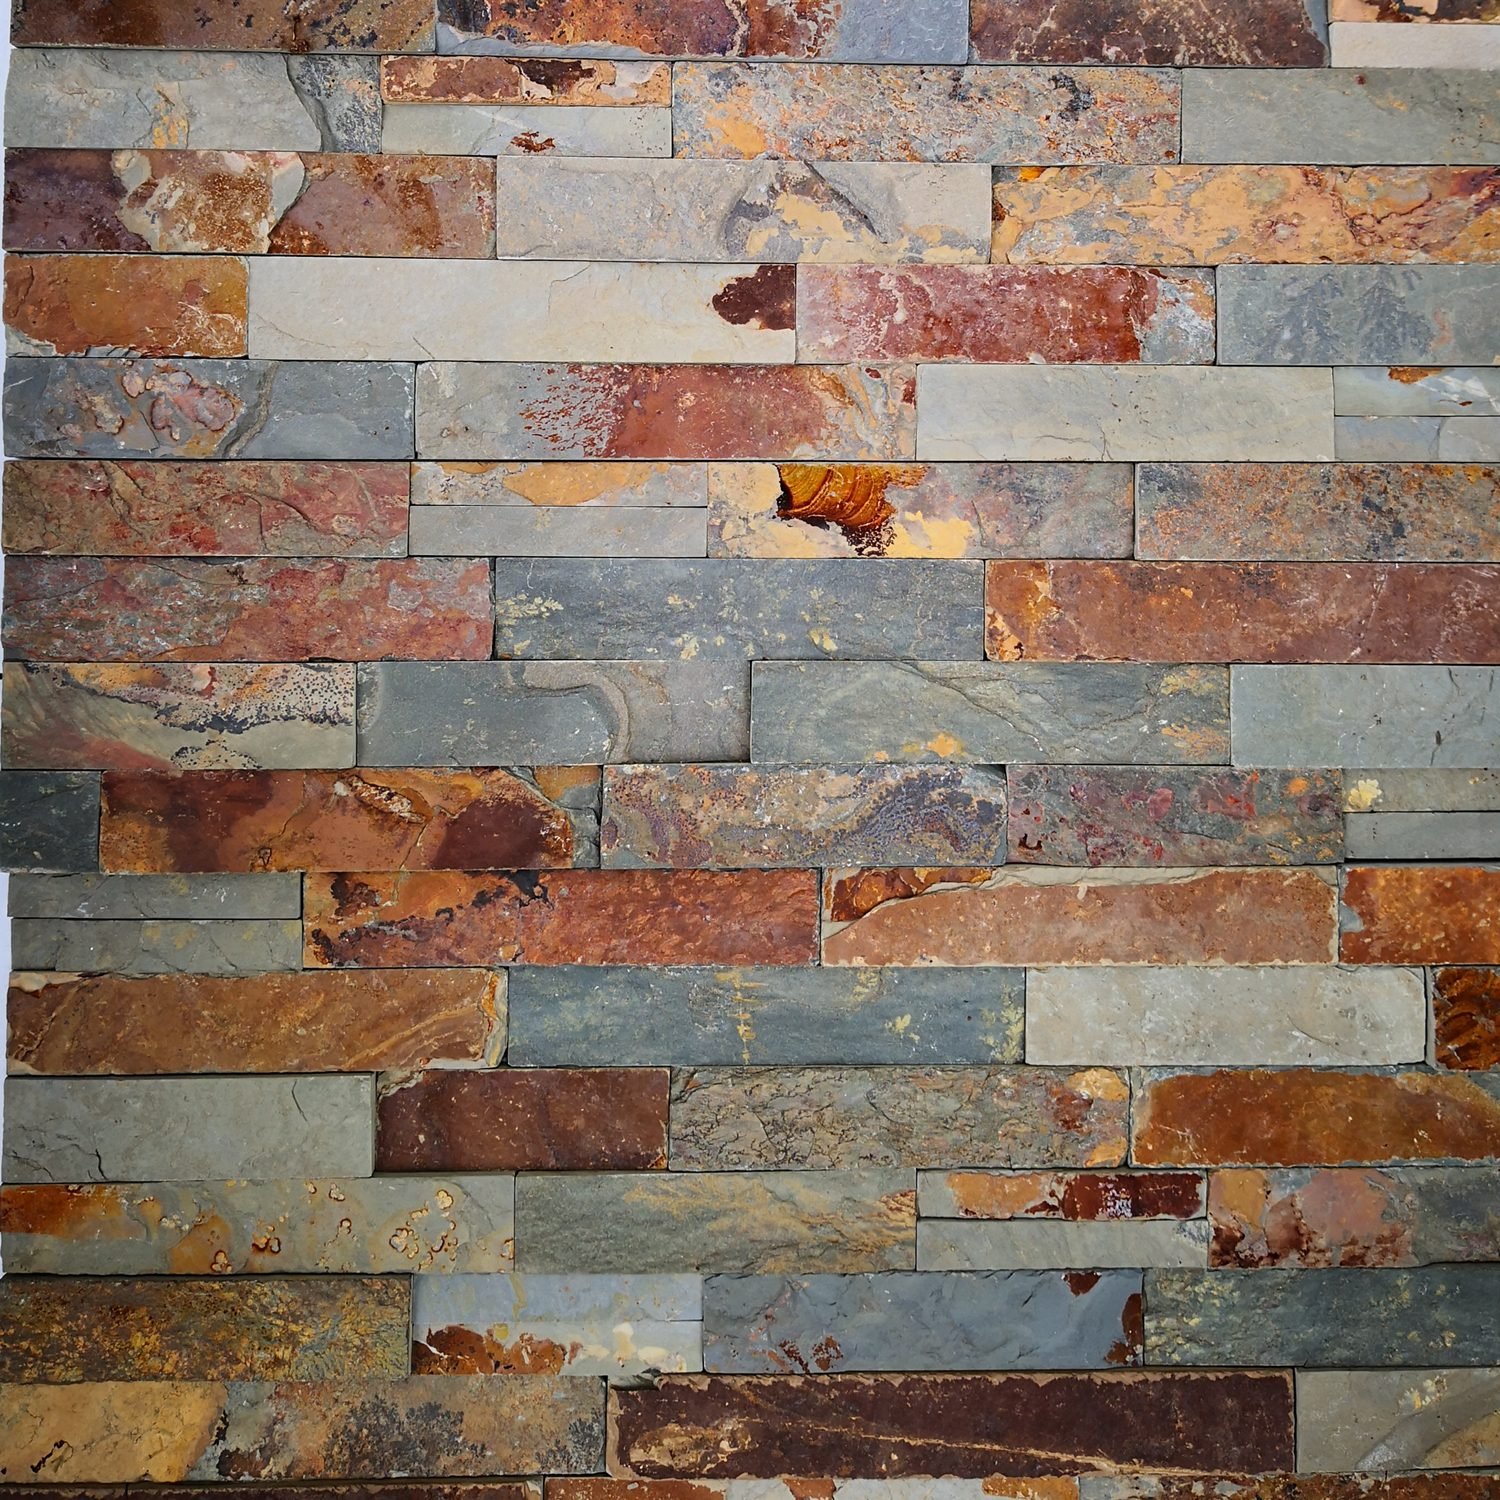
Choosing the right panel format is the first decision that affects installation difficulty, labor time, and final appearance. Top Stone Panels manufactures several product lines suited to interior walls, each with distinct installation characteristics.
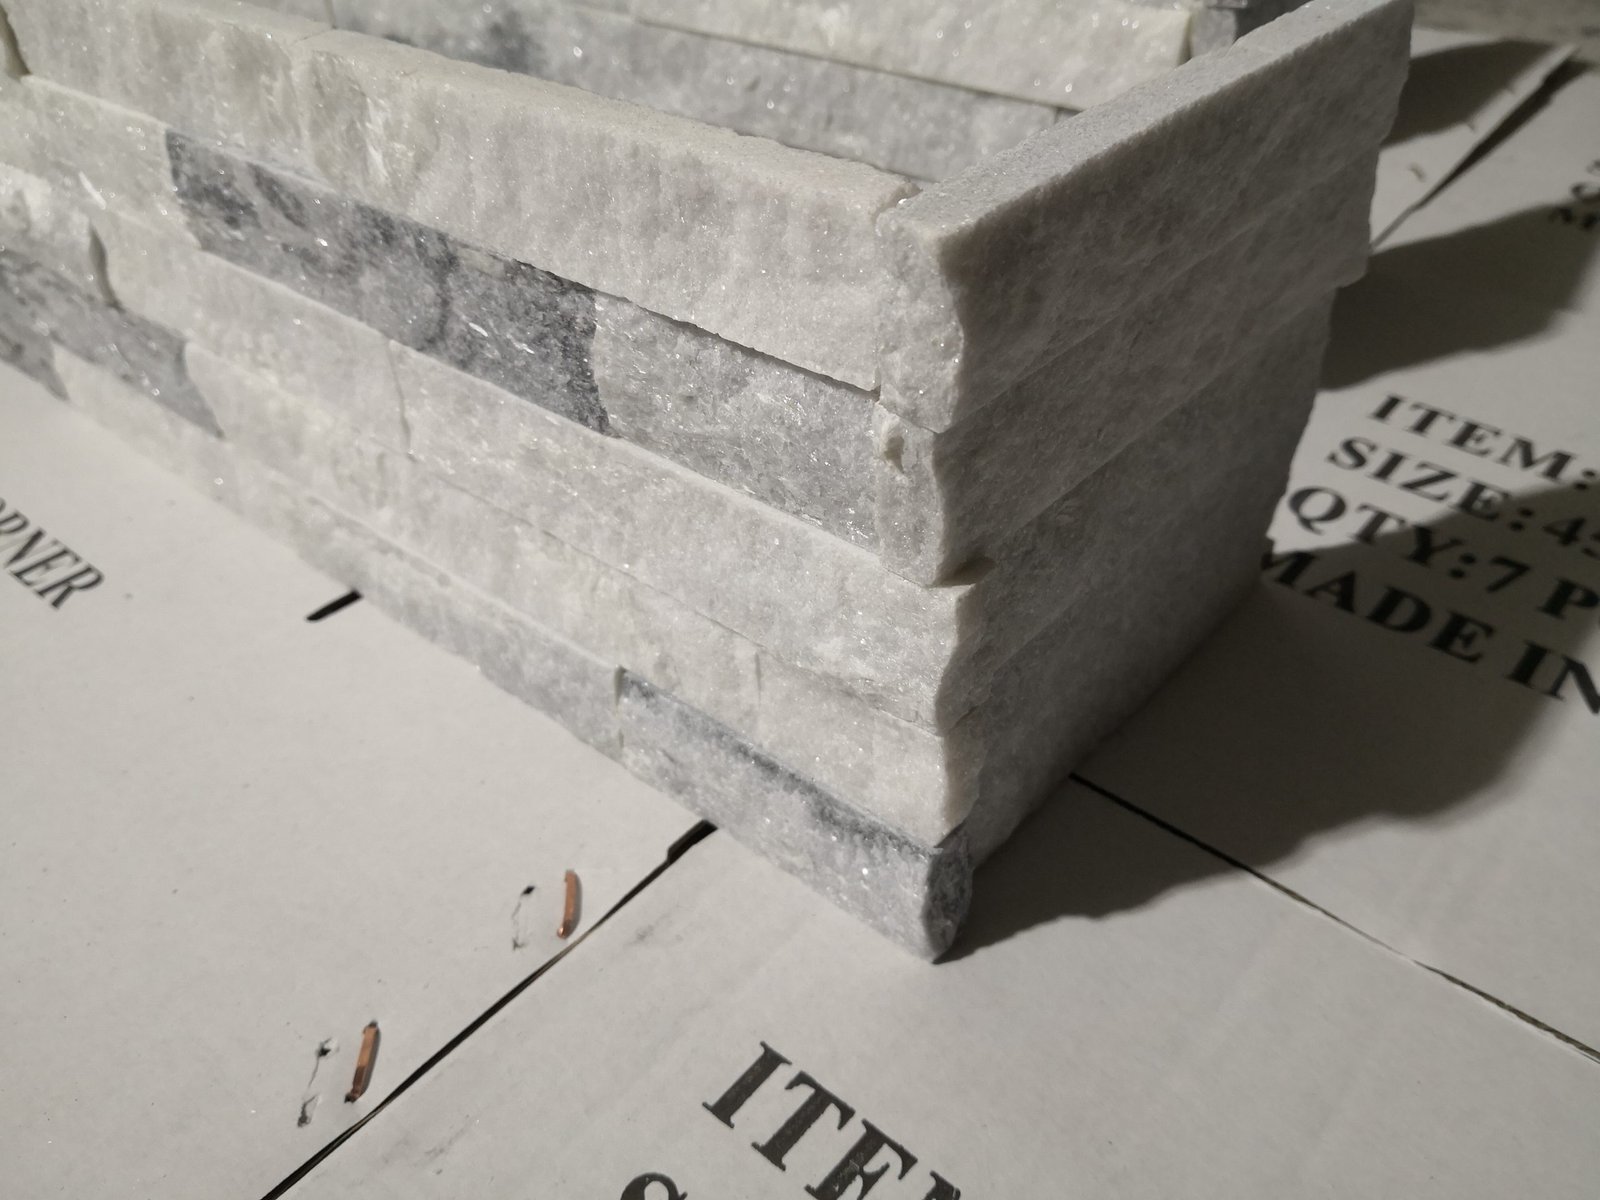
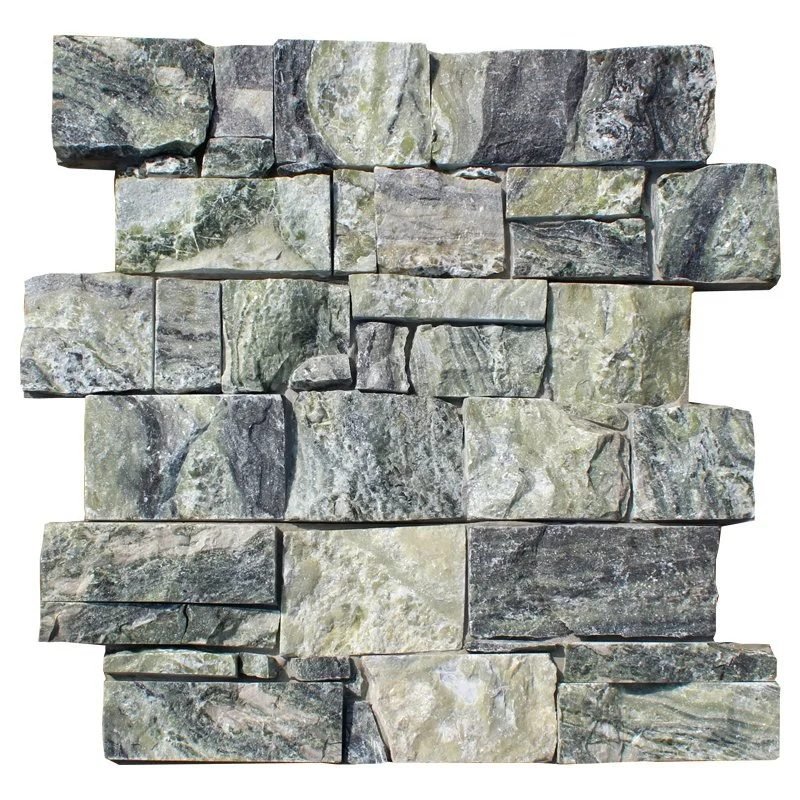
Stacked Stone panels come in 15×60 cm and 15×55 cm formats with pre-made L-corners that eliminate the need for on-site 45-degree miter cutting at corners. This single feature saves approximately 50 percent of labor time on corner installation, a factor that directly affects both DIY feasibility and professional labor costs. The panels interlock along their edges, creating a continuous stacked ledger pattern.
Thin Ledgestone panels measure 36×10 cm in an ultra-thin profile that reduces weight further and increases the number of panels that fit in a shipping container, lowering per-unit freight costs for distributors. Their slim format makes them ideal for tight spaces and curved surfaces where standard panels would be difficult to fit.
Z-Panels are available in 20×55 cm and 15.2×61 cm formats with cement or mesh backing and male-female interlocking connections. The backing provides a flat, stable bonding surface that simplifies adhesive application and reduces the risk of uneven installation, making Z-Panels one of the most installer-friendly options on the market.
Thin Stone Veneer consists of random-length strips that create an organic, dry-stack appearance. This format requires more layout planning but offers the most design flexibility for custom patterns.
DIY Stone Veneer Installation: What’s Involved
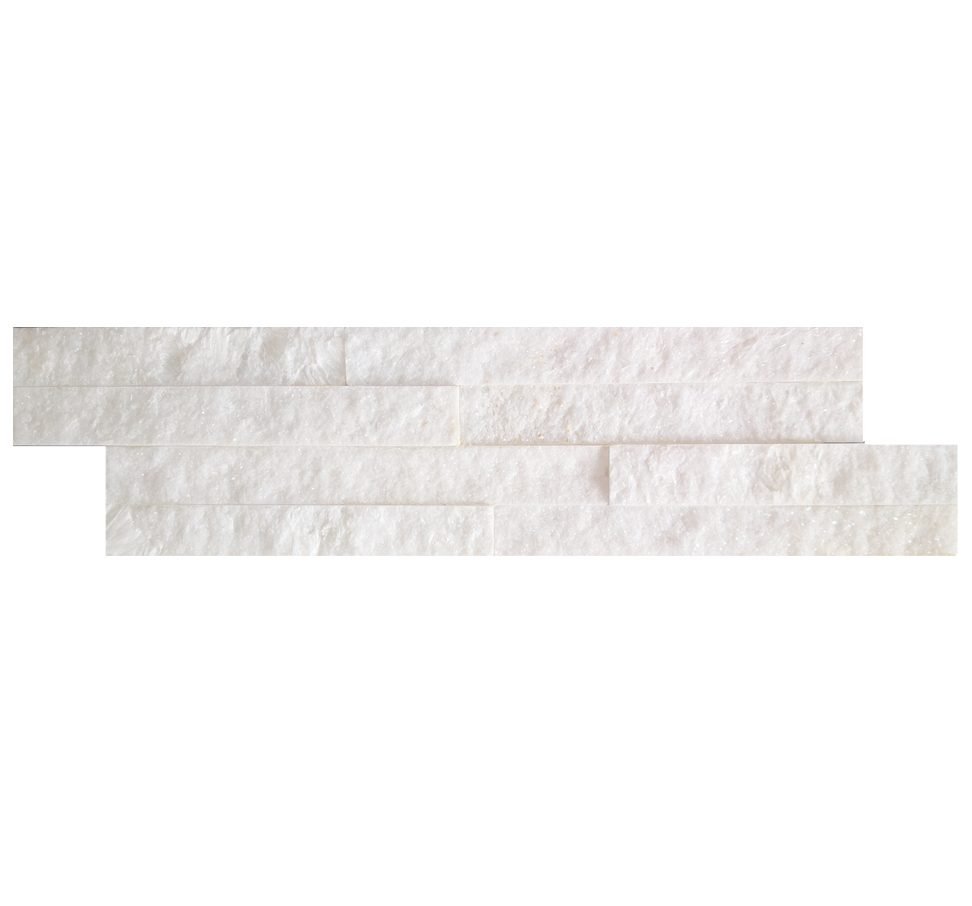
DIY stone veneer installation is within reach for experienced homeowners and small contractors who have worked with tile, masonry, or similar cladding materials. The process follows a logical sequence that, when executed carefully, produces results comparable to professional work.
Substrate preparation is the foundation of any successful installation. The wall must be structurally sound, clean, dry, and flat within 3 mm over a 2-meter span. If the existing surface is drywall or plywood, a cement backer board must be screwed into the studs to provide a suitable bonding surface. Skipping this step is the most common cause of installation failure in DIY projects.
Layout and dry-fitting should happen before any adhesive is mixed. Lay panels on the floor against the wall to visualize the pattern, plan joint staggering, and mark cut lines around electrical outlets, light switches, windows, and ceiling intersections. Factory-precision cuts from Top Stone Panels, produced on infrared CNC diamond blades, reduce on-site waste by 20 percent compared to rough-cut stone, meaning fewer cuts are needed overall.
Adhesive application requires a polymer-modified thinset or Type S mortar applied with a notched trowel. Work in sections no larger than what can be covered within the adhesive’s open time, typically 15 to 20 minutes. Press each panel firmly into the mortar bed, using a rubber mallet to seat it fully and a level to check alignment every three to four courses.
Cutting and fitting around obstacles requires a wet saw equipped with a diamond blade. Wear appropriate safety gear including goggles, gloves, and hearing protection. Pre-made L-corners from Top Stone Panels eliminate the most technically demanding cuts at 90-degree corners, a significant advantage for DIY installers who lack experience with miter cutting natural stone.
Cleanup and sealing must happen while mortar is still workable. Wipe excess from panel faces with a damp sponge before it cures. After 24 to 48 hours of cure time, a penetrating stone sealer can be applied to protect against stains, particularly in kitchens or bathrooms.
Professional Installation: What You Get for the Price
Hiring a professional stone veneer contractor brings expertise, equipment, and accountability that DIY cannot replicate. Understanding what professional installation includes helps justify the labor cost and clarifies where the investment pays off.
Site assessment and substrate verification is the first step a reputable contractor takes. They evaluate wall flatness, structural load capacity, moisture conditions, and substrate type before recommending a bonding method. This assessment catches problems that DIY installers often discover mid-project, when corrections are expensive and time-consuming.
Precision layout and pattern planning by experienced installers accounts for visual balance, joint staggering, color distribution across panels, and the placement of cut pieces in less visible areas. Professional crews understand how to distribute natural color variation across a wall so the finished surface looks intentional rather than random.
Speed and efficiency are where professional crews demonstrate clear value. A two-person team can typically install 40 to 60 square feet per day, including cutting and fitting. For a 100-square-foot accent wall, that means completion in one to two working days. The same project done by a first-time DIY installer might take five to ten days, with quality declining as fatigue sets in.
Warranty and accountability provide financial protection that DIY work carries no equivalent for. Most professional contractors offer a one to five-year workmanship warranty covering adhesion failure, uneven installation, and panel detachment. If a panel loosens or a section fails, the contractor is responsible for remediation at no additional cost.
Code compliance matters for commercial projects and permitted residential work. Professional installers understand local building code requirements for fire-rated assemblies, moisture barriers, and structural loading. They pull required permits and schedule inspections, removing liability from the property owner.
Cost Comparison: DIY vs Hiring a Contractor
Cost is usually the deciding factor, and a transparent comparison requires separating material costs from labor costs, then adding the hidden expenses that each approach carries.
| Factor | DIY Installation | Professional Installation |
|---|---|---|
| Material Cost | $8 – $20 per sq ft (stone veneer panels) | $8 – $20 per sq ft (same materials) |
| Labor Cost | $0 (own time) | $15 – $35 per sq ft |
| Tools and Equipment | $200 – $600 (wet saw rental or purchase, trowels, levels, safety gear) | Included in contractor’s rate |
| Substrate Preparation | $2 – $5 per sq ft (backer board, screws, moisture barrier) | $2 – $5 per sq ft (included or itemized) |
| Waste Factor | 10 – 15% (inexperienced cutting) | 5 – 8% (precision cuts, pre-made corners) |
| Total for 100 sq ft Wall | $1,200 – $2,900 | $2,700 – $6,000 |
| Time to Complete | 5 – 10 days | 1 – 2 days |
| Skill Level Required | Intermediate (tile or masonry experience recommended) | Handled by contractor |
| Quality Consistency | Variable; depends on experience and patience | High; consistent level lines, tight joints |
| Warranty | None on labor; material warranty only | 1 – 5 year workmanship warranty typical |
The numbers reveal a clear tradeoff: DIY saves $1,500 to $3,500 on a 100-square-foot wall but costs five to eight additional days of labor and carries no workmanship warranty. For contractors managing multiple projects, the time savings of professional installation often outweigh the cost difference, since project delays cascade into scheduling conflicts and client dissatisfaction.
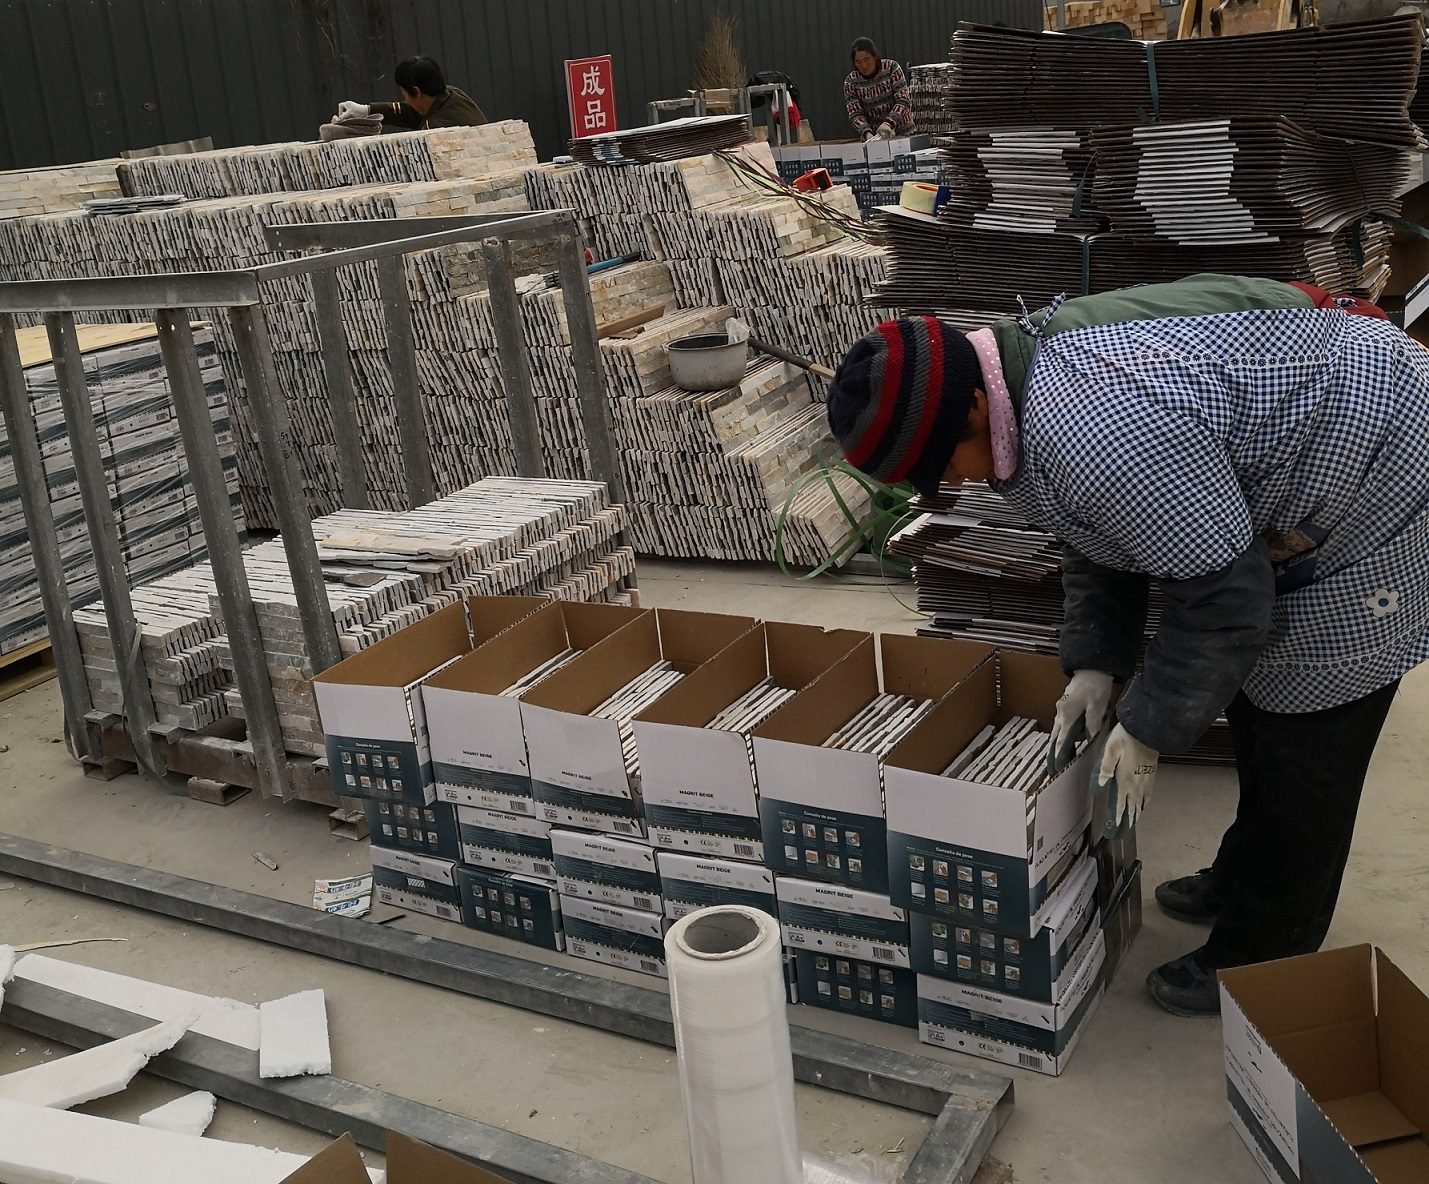
For distributors sourcing from Top Stone Panels, the factory-direct material cost remains the same regardless of who installs. The six stone veneer panel types available are priced at FOB Xingang, with MOQ at one 20GP container and lead times of 20 to 25 days for production. Packaging follows a Zero-Breakage Protocol to ensure panels arrive intact, protecting the material investment whether the end user installs DIY or hires a contractor.
Timeline and Skill Requirements
Time and skill are the two resources that determine whether a DIY approach is realistic. Understanding the demands of each phase helps set accurate expectations.
A professional crew follows a compressed timeline: substrate prep on day one, panel installation and cutting on days two and three, and final cleanup with inspection on the last half-day. For a 100-square-foot accent wall with two outside corners and three electrical cutouts, a skilled two-person team completes the work in approximately 16 to 20 man-hours.
DIY timelines expand significantly because of the learning curve. First-time installers typically work at one-third to one-half the speed of professionals. Layout planning alone can consume a full day as the installer studies panel dimensions, plans joint staggering, and makes test cuts on waste pieces. Substrate preparation is straightforward for anyone with basic carpentry skills, but the adhesive application and panel-setting phases require a tactile feel for mortar consistency and pressure that develops only with practice.
The skill threshold for DIY stone veneer installation is comparable to intermediate tile work. If you have successfully tiled a bathroom floor or shower wall, you likely have the foundational skills needed. If your experience is limited to painting and basic repairs, the risk of uneven courses, poor adhesion, and visible cutting mistakes increases substantially. In those cases, reviewing detailed installation guides and practicing on a small test area before committing to the full wall is strongly recommended.
When DIY Makes Sense (and When It Doesn’t)
Not every project fits the same approach. The decision between DIY and professional installation depends on a combination of factors that, taken together, point clearly in one direction or the other.
DIY makes sense when: the project is a single accent wall under 60 square feet with no more than one outside corner; you have prior experience with tile, masonry, or similar cladding work; the wall is in a low-traffic area where minor imperfections will not draw scrutiny; your timeline is flexible and allows for a learning curve; and the project budget is tight enough that labor savings justify the time investment.
Professional installation is the right choice when: the project exceeds 100 square feet or involves multiple walls and corners; the installation is in a commercial space where finish quality directly affects business reputation; the substrate is complex, such as curved walls, irregular surfaces, or existing tile that requires demolition; building codes require permitted work with inspections; or the project has a fixed completion deadline that cannot accommodate learning-curve delays.
For fireplace surround installations, professional work is generally advisable. The combination of heat exposure, tight tolerances around the firebox opening, and the visual prominence of the finished surface means that installation errors are both highly visible and potentially safety-relevant. The same logic applies to column cladding, where the curved or multi-sided geometry demands cutting precision that most DIY setups cannot achieve.
Best Practices Either Way
Regardless of who performs the installation, certain practices are non-negotiable for a durable, visually consistent result.
Never skip substrate preparation. The bond between stone veneer and wall is only as strong as the surface it adheres to. Cement backer board over framed walls, a scratch coat over masonry, and thorough cleaning of dust and debris are mandatory. Z-Panels from Top Stone Panels, with their cement or mesh backing, provide a flat bonding surface that simplifies this step and improves adhesion reliability.
Plan the layout before mixing any adhesive. Dry-lay panels, mark reference lines on the wall, and pre-cut pieces for outlets and corners. This planning phase typically takes two to four hours but prevents costly mid-installation corrections. Use pre-made L-corner pieces at all 90-degree turns rather than attempting field cuts, which are the most common source of visible errors.
Work from the bottom up and maintain a level baseline. Start the first course on a verified level line and check alignment every three to four rows. Stagger vertical joints by at least one-third of the panel width to avoid a grid-like appearance that looks artificial.
Use the correct adhesive. Polymer-modified thinset is the standard for most interior applications. For areas exposed to moisture, such as bathroom feature walls, use a waterproof membrane between the substrate and adhesive. Follow the adhesive manufacturer’s specifications for open time, cure time, and temperature range.
Protect the investment. After installation and proper cure time, apply a penetrating sealer appropriate for the stone type. Slate benefits from color-enhancing sealers that deepen natural tones, while quartzite typically performs well with clear impregnating sealers that maintain the stone’s original appearance.
Frequently Asked Questions
Can I install stone veneer on interior walls myself?
Yes, DIY installation is realistic for people with intermediate tile or masonry experience. Pre-paneled products like stacked stone veneer with interlocking edges and pre-made L-corners reduce complexity significantly. Projects under 50 square feet with minimal corners are the best candidates. For larger or more complex walls, professional installation delivers more consistent results in less time.
How much does professional stone veneer installation cost?
Professional labor typically runs $15 to $35 per square foot in North America, depending on wall complexity and regional labor rates. Combined with material costs of $8 to $20 per square foot, a 100-square-foot accent wall totals between $2,700 and $6,000 installed. Material costs from factory-direct suppliers like Top Stone Panels remain the same whether installation is DIY or professional.
How long does it take to install stone veneer on an interior wall?
A professional two-person crew installs 40 to 60 square feet per day, completing a standard accent wall in one to two days. A DIY installer working alone typically covers 10 to 20 square feet per day, extending the same project to five to ten days. Factor in additional time for substrate preparation, layout planning, and adhesive cure time.
What tools do I need to install stone veneer panels?
Essential tools include a wet saw with a diamond blade, a notched trowel, a 4-foot level, a rubber mallet, spacers, and polymer-modified thinset mortar. Safety equipment should include goggles, gloves, and hearing protection. Factory-precision panels cut on infrared CNC diamond blades, such as those produced by Top Stone Panels, reduce the volume of on-site cutting needed by up to 20 percent.
Do I need a scratch coat before installing stone veneer?
A scratch coat is recommended on cement board and masonry substrates to improve bond strength. For drywall or plywood, install cement backer board first. Panels with pre-applied cement or mesh backing, such as Z-Panels, simplify this step by providing a ready-made bonding surface.
Is natural stone veneer better than manufactured stone for interior walls?
Natural stone veneer offers authentic color variation, a Class A fire rating, and long-term durability that manufactured stone cannot fully replicate. Top Stone Panels uses a three-step quality control process to ensure consistent panel thickness across every shipment, and all products are made from 100 percent natural slate and quartzite. For builders and distributors who need to stand behind their work, the authenticity and traceability of natural stone is a significant advantage. Review the exterior installation guide for additional context on how these panels perform across different environments.



