
You are standing in front of a brick wall that has seen better decades — maybe the face is spalling, maybe it was painted a color nobody defends in meetings anymore, maybe the building just looks tired. Demolition is expensive and slow. Installing stone veneer over brick keeps the existing masonry working as structure while giving the facade a completely new skin, and it is one of the most common retrofits our panels ship into.
The catch is preparation. Brick is not one substrate — it is a family of conditions: bare and sound, painted, sealed, powdery, damp. Each condition takes a different prep path, and skipping the assessment is how veneer ends up on the ground two winters later. This guide walks the full retrofit: how to judge the wall, how to prep each condition, and how to set Top Stone Panels products on brick so the bond outlasts the mortgage.
Key Takeaways
- Sound, unpainted brick takes veneer directly after cleaning and a scratch coat keyed into the joints.
- Painted brick needs the paint removed mechanically or bridged with metal lath plus scratch coat — mortar does not bond to paint film.
- Efflorescence means moisture is moving through the wall; fix the water source before cladding over it.
- Thin formats keep retrofit loads light: ledgestone 0.7-1.2 cm thick, stacked panels 10-25 mm.
- Pre-made L-corners cut corner labor roughly in half; CNC-cut panels reduce on-site waste by ~20%.
- Seal the finished wall with a breathable penetrating sealer after full cure.
Can You Install Veneer Directly Over Brick?
Yes — with one condition that decides everything: the brick must be sound. Solid, unpainted brick with intact mortar joints is actually a good substrate for adhered veneer. It is rigid, mineral, and porous enough for a scratch coat to grip. The problems start when the wall carries coatings or moisture. Here is the condition-to-prep map we use on retrofits:
| Brick Condition | Preparation Path |
|---|---|
| Bare, sound, clean brick | Clean, dampen, scratch coat keyed into joints, then set |
| Painted brick | Strip paint mechanically, or fix metal lath then scratch coat |
| Sealed or glazed brick | Abrade or remove the seal; lath assembly if bond is doubtful |
| Efflorescence / damp brick | Find and fix the water source first; no cladding until dry |
| Spalling or crumbling brick | Repair or replace affected masonry; veneer is not structural reinforcement |
One sentence to remember: veneer is a skin, not a bandage. It upgrades appearance and adds a durable weather face, but it never rescues failing masonry.
Why Cover Brick With Stone Veneer
Retrofit cladding solves three problems at once. First, appearance: dated or damaged brick face becomes a modern split-face stone surface, and the change in curb value is immediate. Second, protection: a stone skin takes the weather so the original brick no longer has to, which slows the freeze-thaw spalling that eats old brick faces in cold climates. Dense slate and quartzite panels tolerate -30°C to +50°C swings and carry Class A fire performance, so the new face is tougher than the one it covers.
Third, logistics. Tearing down and rebuilding a brick elevation means structural work, debris removal, and weeks of schedule. Over-cladding keeps the structure, skips demolition, and runs in days per elevation. For building owners weighing options, the difference between stone wall cladding and veneer clarifies which thin systems fit a retrofit budget.
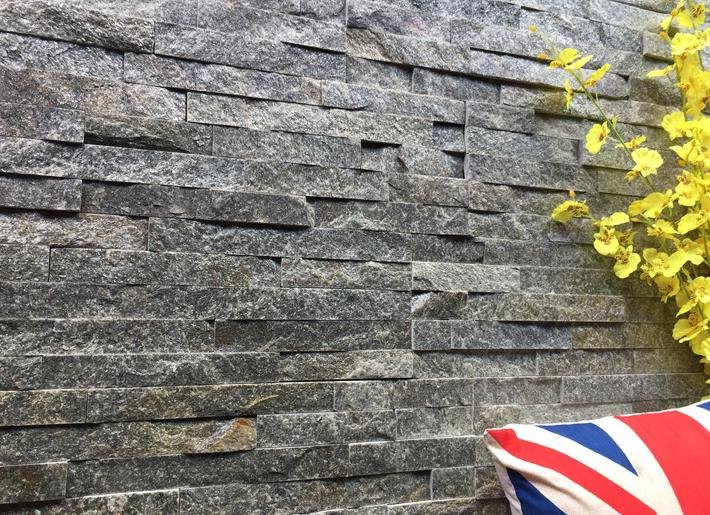
Assessing the Existing Brick Wall
The Soundness Test
Walk the wall and work systematically. Tap brick faces with a hammer handle — a hollow sound behind the face skin says the surface is delaminating and that unit cannot carry veneer weight. Probe mortar joints with a screwdriver; if mortar powders out deeper than surface weathering, the joints need repointing before any cladding. Mark every suspect unit with chalk. A wall that is 95% sound is a go, with repairs confined to the marked areas. Where the wall’s history is unknown or the building is older than the era of modern mortar, condition assessment against published masonry guidance — such as the standards maintained by The Masonry Society — keeps the judgment defensible.
Coatings and Moisture Checks
Look for paint and sealer: paint shows itself obviously, while sealers reveal themselves by water behavior — splash a cup of water on the brick; if it beads rather than darkens the surface, a coating is present and bond prep changes. Then check for white salt deposits (efflorescence). Salts mean water is migrating through the masonry, and the water source — failed flashing, open joints, rising damp — must be repaired before you cover the wall. Cladding over active moisture traps salts behind the stone and attacks the bond from the inside.
Tools and Materials Checklist
Everything needed for a brick retrofit, grouped by phase:
- Preparation: stiff masonry brushes, pressure washer or hose, chisel and hammer for loose mortar, wire wheel or grinder for paint removal, metal lath and fasteners if the wall is painted.
- Bonding: scratch-coat mortar, cement-based bond mortar rated for exterior adhered veneer, mixing drill and paddles, buckets.
- Setting: notched trowel, level and string lines, spacers if grouted joints are specified, wet saw with diamond blade for trims.
- Finishing: pointing bag or grout bag for grouted systems, breathable penetrating sealer, L-corner pieces for returns and jambs.
- Stone: order panels plus 5-10% for cuts and pattern blending, from one batch so vein selection keeps the color consistent across the wall.
Step-by-Step Installation
Step 1: Clean and Open the Surface
Remove dirt, biological growth, and all loose mortar with brushes and water, then let the wall dry enough to read its true condition. Rake out any joints that powdered during your probe test and repoint them with fresh mortar, curing before you continue. The scratch coat needs solid brick and solid joints underneath — every gram of debris left behind is a bond failure already scheduled.
Step 2: Solve Paint, Sealer, and Moisture
Paint comes off mechanically — grinder, needle scaler, or stripping discs — wherever practical. Where paint cannot be fully removed, switch strategy: fix corrosion-resistant metal lath through the paint into the brick with mechanical fasteners, then carry the scratch coat on the lath. Either path gives the mortar something real to hold. For damp walls, the clock belongs to the plumber and roofer, not the mason: fix flashing and joints, then wait for the wall to dry.
Step 3: Scratch Coat
On sound bare brick, dampen the wall so it does not suck water out of the mortar, then apply a scratch coat pressed firmly into the recessed joints — the keyed-in mortar locks the coat mechanically to the wall’s relief. Score the surface horizontally while it is green and let it cure. On lath assemblies, the scratch coat embeds the lath fully. This coat is the foundation of the entire bond; rush it and nothing above it matters.
Step 4: Dry-Fit the Layout
Before any mortar touches panels, lay out the wall. Snap level base lines, position corner pieces first, and distribute cuts so no sliver narrower than a third of a panel lands in a visible spot. Blend panels from several boxes as you go to distribute natural shade variation. Our stacked stone installation guide covers the layout logic in full; the brick retrofit changes the prep, not the setting discipline.
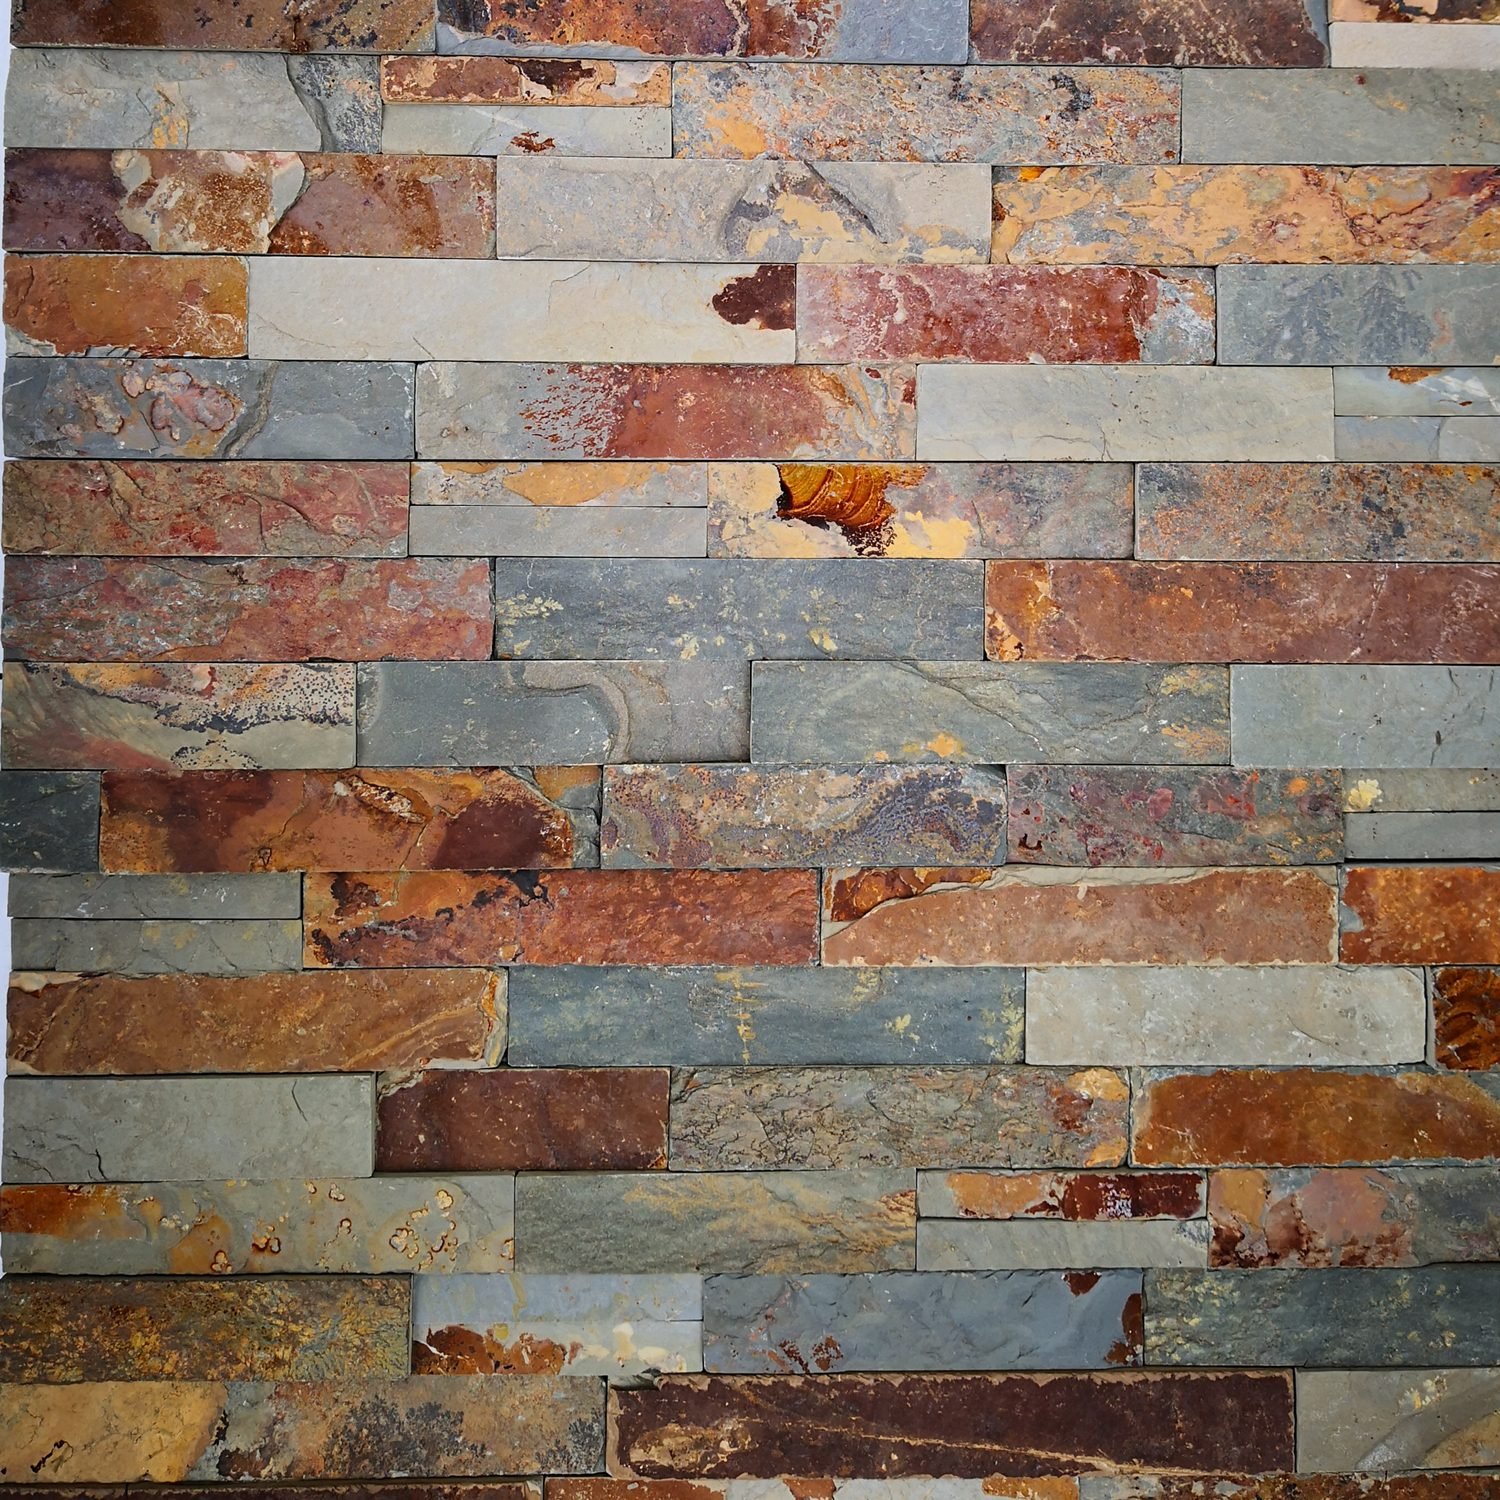
Step 5: Butter and Set
Work bottom-up in sections you can finish in the mortar’s open time. Butter the back of each panel with bond mortar, press it onto the scratch coat with a slight sliding motion to collapse air pockets, and check level every few courses. Full coverage matters on exterior walls: voids behind a panel collect water, and water freezes. Keep a damp sponge handy to wipe mortar smears off stone faces before they skin over.
Step 6: Corners, Jambs, and Returns
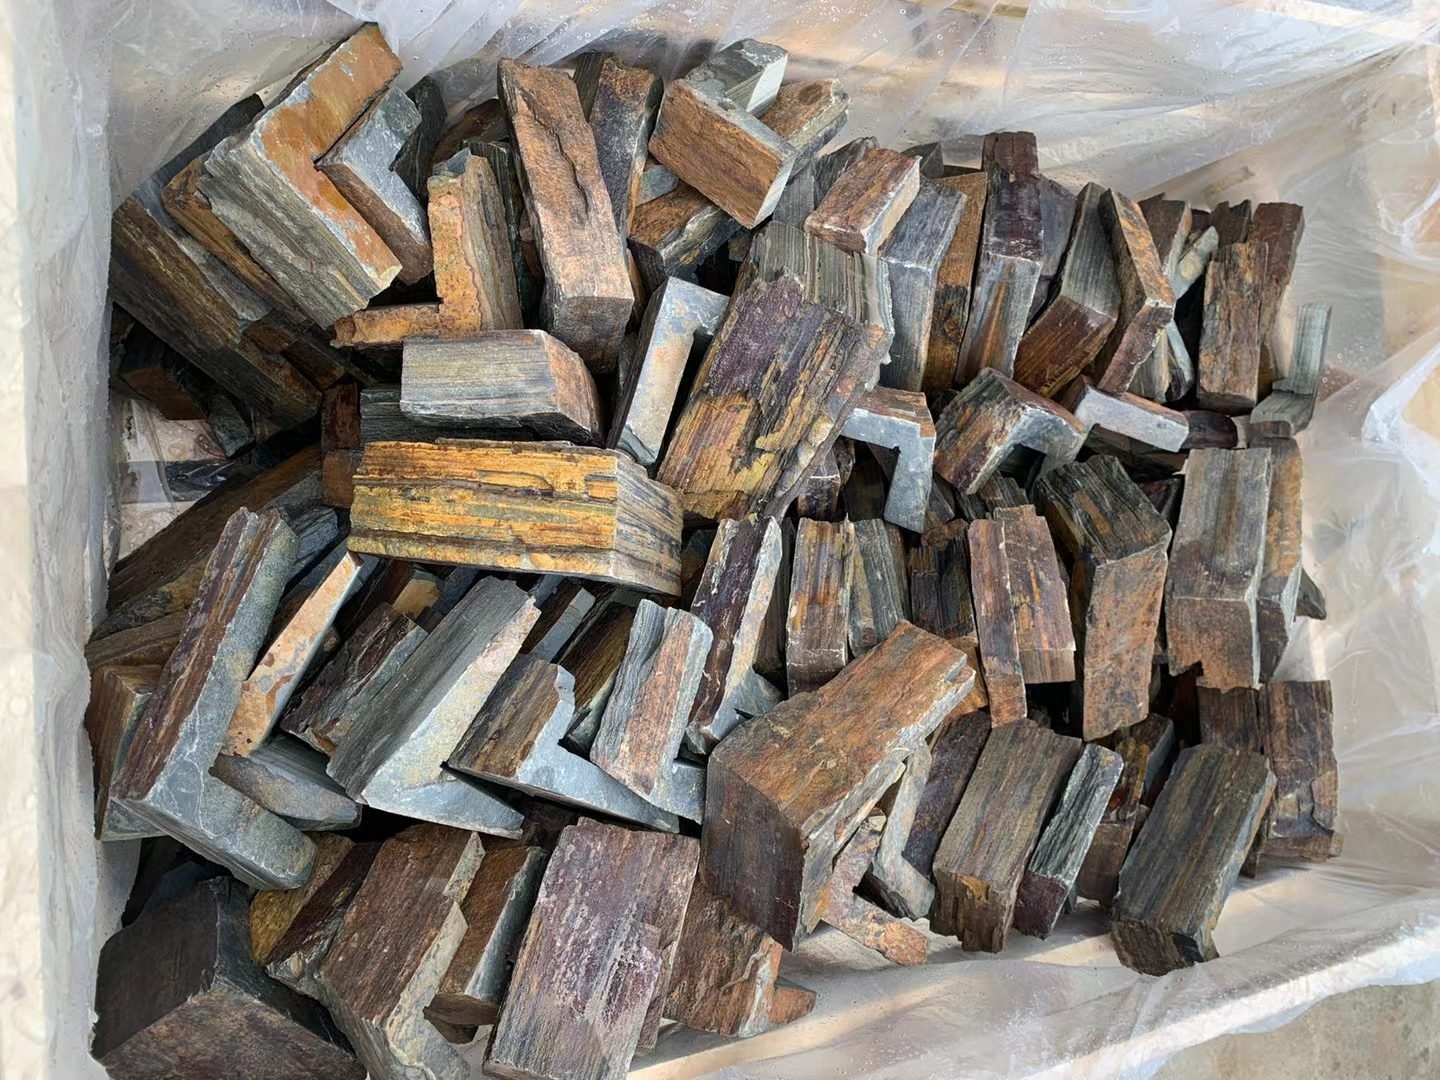
Use factory pre-made L-corners at every 90-degree return, window jamb, and column edge. Field-mitered corners are where retrofit jobs show their quality, usually badly — pre-fab corners arrive finished and square, save roughly 50% of corner labor versus cutting 45-degree miters on site, and make the wall read as solid stone rather than tile. Alternate corner piece orientation course by course for a natural stacking pattern.
Step 7: Point, Cure, and Seal
Grouted systems get their joints filled and tooled once the set has firmed up; dry-stack systems skip jointing and rely on tight butt fits. Let the wall cure, then apply a breathable penetrating sealer to the face. Sealing is strongly recommended on exterior brick retrofits because the assembly now has more layers for driving rain to explore. When, why, and how to seal natural stone veneer covers product choice and timing.
Retrofit-Ready Panels, Cut to Size Before They Ship
Stacked panels, thin ledgestone, and interlocking Z-panels all bond over a properly prepared brick wall. Infrared CNC cutting means trims are minimal and corners arrive factory-finished.
Samples in 1-3 days | MOQ one 20GP | Zero-breakage sea packing
Choosing Mortar and Working Time
Use a cement-based bond mortar rated for exterior adhered stone veneer — polymer-modified mixes hold better on the layered scratch-coat assembly and tolerate the small movements old buildings make. Mix to a peanut-butter stiffness that holds on an upside-down trowel; soupy mortar slides panels out of position, and stiff mortar never wets the back fully.
Weather controls the clock. In hot, dry, or windy conditions the scratch coat and mortar lose water before hydration finishes — mist the wall, work smaller sections, and shade fresh work from direct sun. Below freezing, stop: mortar that freezes before curing never reaches strength, and a retrofit wall lost to frost costs more than waiting a week. The mortar application guide walks coverage and technique in detail.
Choosing the Right Format for Brick
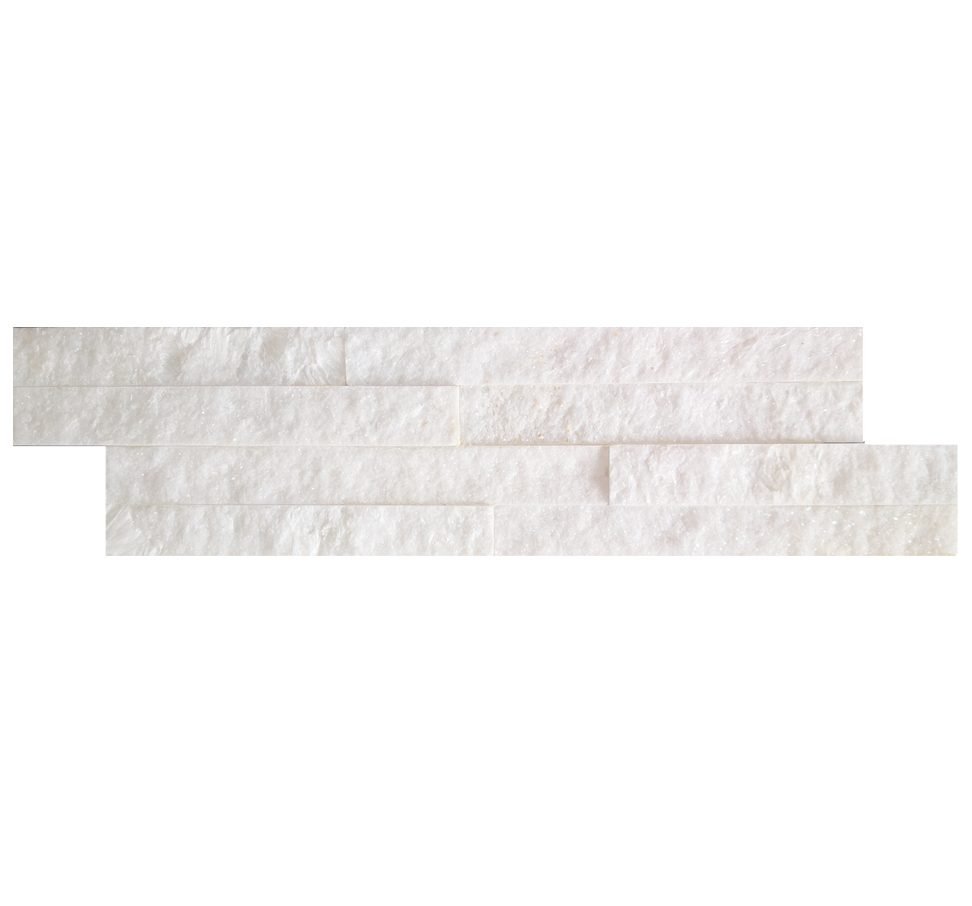
Brick retrofits favor lighter, thinner systems because every kilogram hangs on the old wall’s face. All three formats below install over the same scratch-coat preparation:
| Format | Size and Thickness | Best For on Brick |
|---|---|---|
| Thin ledgestone | 36×10 cm, 0.7-1.2 cm thick | Tight zones, window surrounds, lightest assembly |
| Stacked stone panels | 15×60 / 15×55 cm, 10-25 mm, 0.09 m² per panel | Fast coverage on large flat brick elevations |
| Interlocking Z-panels | 20×55 / 15.2×61 cm, cement or mesh backing | Broad elevations where seams must disappear |
| Loose thin veneer strips | Random lengths, vein-sorted | Organic patterns over irregular old brick |
If the brick joints are deeply recessed and irregular, loose strips and ledgestone forgive the surface variation better than large rigid panels. For new-CMU-style flat substrates instead of old brick, see installing stone cladding on concrete block walls, and for the substrate decision generally, the substrate preparation comparison.
Mistakes That Cause Veneer to Fall Off
The failure modes repeat on every retrofit investigation, in roughly this order:
- Mortaring over paint film. The bond is only as strong as the paint’s grip on the brick, which is weak by design. Strip or bridge with lath — there is no third option.
- Covering active moisture. Efflorescence buried behind stone keeps crystallizing at the bond line until something lets go.
- Skipping the scratch coat. Setting directly onto glazed or dense brick faces gives the mortar nothing to key into.
- Working in frost or heat without adjusting. Frozen mortar never cures; flash-dried mortar never bonds. Both look fine for a season.
- Leaving voids behind panels. On exterior walls, every air pocket is a water reservoir waiting for winter. Waterproofing behind exterior veneer covers the full moisture strategy.
FAQ
Can you install stone veneer directly over brick?
Yes, if the brick is sound. Unpainted, solid brick with intact joints accepts a scratch coat and cement-based bond mortar directly after cleaning. Painted brick, crumbling mortar, or efflorescence each need extra preparation before any stone goes on. The assessment decides the prep, not the other way around.
Do you have to remove paint from brick before installing veneer?
Bond mortar sticks to brick, not to paint film, so paint must either be removed mechanically or bridged with a mechanical attachment system — metal lath fixed to the wall, then a scratch coat. Installing over intact paint without one of those steps is the most common cause of veneer delamination on retrofits.
How much does stone veneer add to an old brick wall?
Thin formats keep the load modest: ledgestone panels are only 0.7-1.2 cm thick, and stacked panels run 10-25 mm. A sound brick wall carries that added weight without structural work; if the brick itself is failing, fix the masonry first — veneer is a skin, not a reinforcement.
What stone format is best for a brick retrofit?
For speed on large flat brick walls, 15×60 cm stacked panels cover 0.09 m2 per piece. For tight zones, window surrounds, and lighter assemblies, 36×10 cm thin ledgestone works well. Interlocking Z-panels give a seamless finish on broad elevations. All three install over a proper scratch coat.
Should stone veneer over brick be sealed?
Sealing is recommended, especially on exterior walls facing driving rain. Use a breathable penetrating sealer after full cure so moisture inside the wall can still escape — trapping vapor behind a film-forming coating causes its own failure modes.
Can veneer hide efflorescence on old brick?
It can hide the stain, but efflorescence means water is moving through the masonry, and covering it without fixing the source risks salt buildup and bond failure behind the stone. Identify where the water enters — failed flashing, open joints, rising damp — and repair that first.
Conclusion
Brick is a fine substrate for stone veneer when it is sound, and a terrible one when it is painted, damp, or crumbling — the assessment you do on day one decides which wall you actually have. From there the procedure is disciplined rather than difficult: clean, resolve coatings and moisture, key a scratch coat into the joints, dry-fit, butter and set, finish corners with factory L-pieces, and seal after cure.
- The bond is only as good as what the mortar touches: brick, not paint, dust, or salt.
- Thin formats — ledgestone at 0.7-1.2 cm, stacked panels at 10-25 mm — keep retrofit loads friendly to old walls.
- Weather owns the schedule: no setting below freezing, smaller sections in heat, full cure before sealing.
- CNC-cut panels and pre-made L-corners remove most of the skilled-cutting risk from the job.
Before you order, put a sample panel against your actual brick and check the prep path for your wall’s condition — request samples from Top Stone Panels and we will help you match format to substrate.



