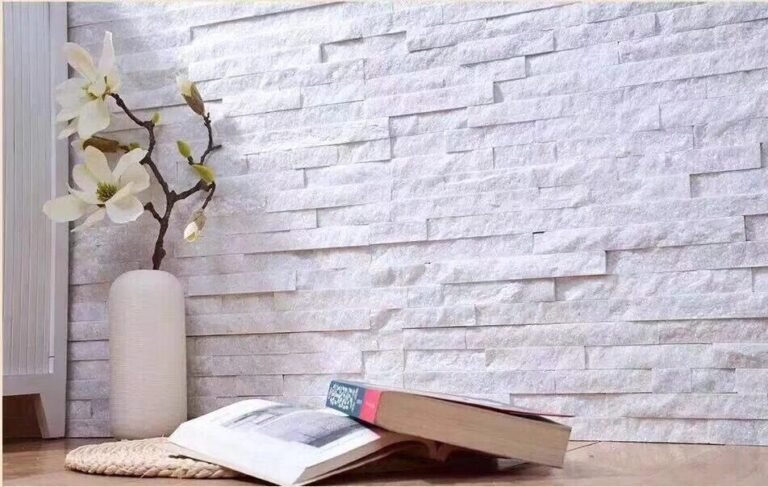
The wall behind your water feature is doing two jobs at once, and most cladding failures start there. The visible job is looks: stone that belongs next to falling water. The hidden job is drainage: a wet cavity that keeps the wall dry enough to hold the stone for years. Skip the second job and the most beautiful slate in the yard starts efflorescing, popping, or bowing within two winters.
This guide walks the installation for a stone veneer water feature wall in sequence: planning, substrate, waterproofing, mortar, panel fixing, and maintenance. It is written for contractors and builders who quote this work, and every material recommendation comes from the factory spec of Top Stone Panels rather than generic advice.
- Treat the zone behind the water flow as a wet-area assembly, not a dry cladding job.
- Waterproof the substrate and give splash and overflow a drainage path out at the bottom.
- Use dense cleft-face slate or quartzite veneer; the face stays non-slip when wet and tolerates salt spray and freeze-thaw cycles from -30°C to +50°C.
- Prefabricated L-corners cut corner installation labor roughly in half and reduce on-site waste about 20%.
- Confirm membrane compatibility with the adhesive before you buy; never guess the bonding to a liner.
- Why a Water Feature Wall Is Not a Standard Cladding Job
- Planning the Stone Area and Water Line
- Substrate: What the Stone Must Attach To
- Waterproofing and Drainage Behind the Stone
- Mortar and Adhesive for Wet Zones
- Step by Step: Fixing Panels Behind the Flow
- Which Stone Panel Line Fits a Water Feature
- Sealing, Cleaning, and Long-Term Care
- FAQ
- Conclusion
Why a Water Feature Wall Is Not a Standard Cladding Job
A normal exterior wall sheds water off its face. A water feature wall throws water at itself all day, and the splash carries minerals, chlorine, or pond biology straight into the joint and behind the stone. Wet veneer fails the same way dry walls fail, only faster: efflorescence blooming on the face, mortar washing out of the joints, panels loosening as the bed erodes, and in cold climates, freeze-thaw prying the face off the substrate.
The fix is a change of assembly, not a change of product. Behind the water flow you add a waterproofing layer, you keep the stone off the standing water line, and you give the cavity a way to drain. The stone you hang there is the same high-density slate or quartzite you would specify for any exterior wall, but the wall behind it is built like a wet room.
For the wet-area treatment of veneer generally, the stone veneer wet areas waterproofing guide covers the membrane and flashing principles that apply wall-wide. This article focuses on the water feature zone specifically.
Planning the Stone Area and Water Line
Plan the water line before you order stone. Decide where the water exits, where it lands, and how much splash zone sits behind it. That boundary sets the veneer height, the joint treatment, and the liner or membrane area.
| Decision | What to fix on site | Impact on the order |
|---|---|---|
| Water exit point | Spillway or pipe position marked on the wall | Sets the panel cut zone and the return detail |
| Splash width | Test the throw before cladding | Widens the waterproofed band |
| Wall dimensions | Height, width, corners, returns | Sets panel count and L-corner pieces |
| Pump position | Access panel for maintenance | Adds a removable stone section |
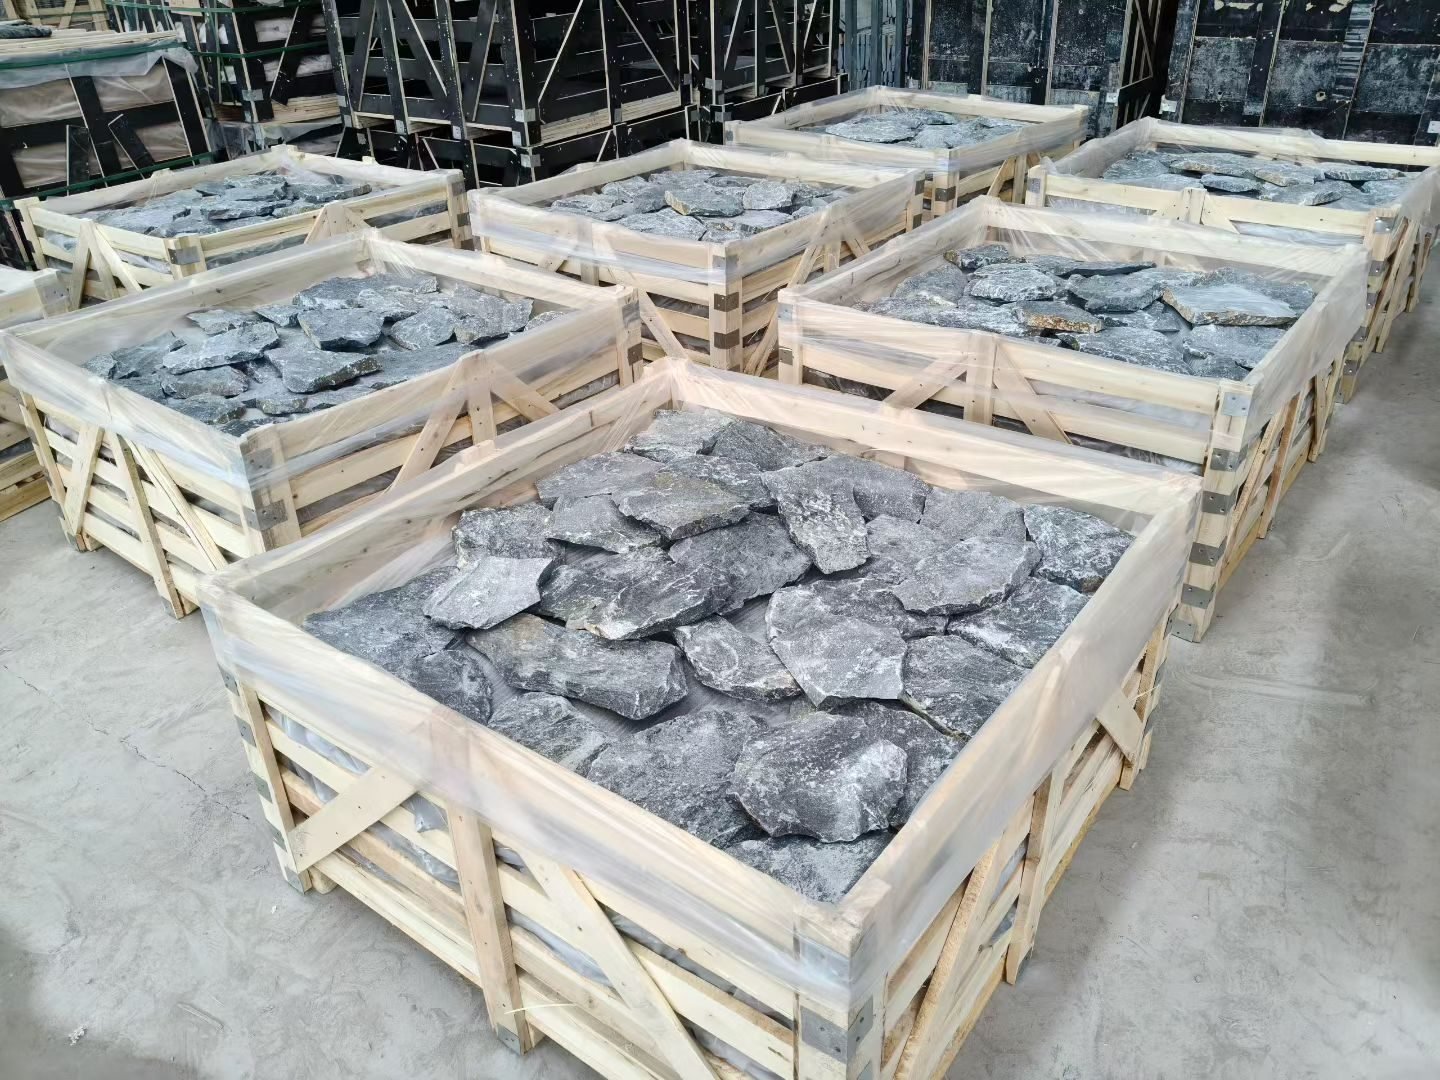
Measure the wall in square meters and add 8-10% for cutting around the water exit and any returns. Factory pre-cut panel lines such as the stacked stone 15x60cm family keep that waste closer to the lower end because the cuts follow a repeating module, and the prefabricated stacked stone panels with L-corners remove the corner cutting labor from the budget entirely.
Plan the wall face with three fixed lines before you order: the water exit line, the top of the splash band, and the pump-access zone. Contractors who skip the third line end up cutting a removeable stone section on site with a grinder. Mark the access panel now, frame or block it into the substrate, and dress it with the same stone family so the access door disappears into the wall pattern.
Substrate: What the Stone Must Attach To
The substrate behind a water feature wall must be flat, rigid, and able to take a membrane. Concrete, block, or cement board over framing all qualify, provided they are sound and plumb. What fails is anything that moves under load, because a flexing substrate cracks the membrane, and a cracked membrane is the start of every wet-wall failure.
If you are cladding over interior framing, cement board is the dependable choice: it is dimensionally stable in wet zones and gives the membrane a flat surface to bond. Fix it with corrosion-resistant screws, tape the joints, and skim flat before waterproofing. Do not use gypsum board behind a fountain wall, even in dry climates; the cavity stays humid for the life of the feature.
Check the plane with a 2-meter straightedge before the membrane goes on. A bow over 3mm under the straightedge will show as lippage at the panel joints once the stone is up, and no amount of adhesive thickens a flat spot after the wall is dressed. Correct the substrate, not the mortar bed. On block or precast walls, grind the high points and skim the low ones before waterproofing.
The general substrate rules for stone veneer apply wall-wide, so use the substrate preparation guide as the reference for plywood, cement board, and metal lath variations. Behind a water feature, cement board over framing is the default answer.
Waterproofing and Drainage Behind the Stone
Two different problems sit behind a water feature stone: bulk water from the feature, and vapor from the wet soil or basin behind the wall. Bulk water needs a membrane. Vapor needs a drainage path or a vapor-open assembly. Confusing the two is how walls stay wet.
When the wall also contains pond water, the water containment is the pond’s liner and the stone is a facade over it. Pond builds rely on liner membranes such as EPDM to hold water reliably (pond liner systems), and the veneer is set over the liner or over a screed that covers it. On a fountain or spillway wall, a cement-board waterproofing membrane does the same containment job in the splash zone, applied as two coats with the manufacturer’s laps at corners and seams.
| Zone | Water type | Treatment |
|---|---|---|
| Pond basin | Standing water | Liner membrane, stone set as facade over it |
| Splash zone | Water spray and runoff | Two-coat waterproofing membrane on cement board |
| Wall cavity | Vapor and seepage | Drainage gap or weep detail at the bottom of the wall |
Never box the cavity in completely. Leave a weep path at the base of the assembly so any water that does get behind the stone can escape, and keep the membrane turned up at the base and behind any trim. The same flashing logic that protects exterior veneer protects this wall, and the waterproofing behind stone veneer guide covers the flashing sequence in detail.
Mortar and Adhesive for Wet Zones
Wet-zone veneer bonds twice: mechanically to the substrate and chemically to the membrane. If the membrane is cementitious and the stone is a heavy panel, a polymer-modified mortar compatible with both is the standard route. If the backing is a liner with no tooth, you need an adhesive rated for bonding stone to that specific liner system; see the manufacturer’s compatibility table before bidding the job.
The mortar bed does three jobs behind a water feature: it holds the weight, it keeps the panel plane flat, and it fills the space so water cannot pool behind the face. Back-butter every panel thoroughly. A panel with a partial bed is a hidden puddle waiting to effloresce.
For the mortar application method on panels, the factory installation guide for applying mortar to stone veneer panels covers trowel size and coverage checks that transfer directly to wet-zone work.
Step by Step: Fixing Panels Behind the Flow
Work from the water line upward, or from the top down, but keep one rule: never set a panel in standing water. If the basin fills before the mortar sets, the mortar eats water and loses bond. Sequence the job so the wall is dressed before water is introduced.
Step 1. Mark the water exit and the top edge of the waterproofed band. Install the membrane or liner with laps at corners, then let it cure per the manufacturer’s schedule.
Step 2. Screed a flat plane over any membrane humps. Veneer panels telegraph every bump in the wall, and a bowed plane shows in the joint lines.
Step 3. Dry-fit the first course around the water exit. Mark cuts on the face side, cut with a diamond blade, and dry for chips before buttering.
Step 4. Apply mortar to the substrate and back-butter the panel, then set and tap level. Keep joints tight and consistent; the spillway eye follows the joint lines.
Step 5. Install prefabricated L-corners at outside corners instead of cutting miters on site. The factory-corner approach cuts corner labor roughly in half and removes cracked-corner waste.
Step 6. Let the assembly cure fully before running water. Then introduce flow gradually and inspect the joint lines for two days; a leak shows early, and an early leak is a cheap repair.

The water exit itself deserves one extra detail. Set the return stones with a slightly higher lip toward the wall and slope the spill lip outward, so water sheds off the face instead of running back behind the stone. This single slope change stops more efflorescence than any sealer.
Which Stone Panel Line Fits a Water Feature
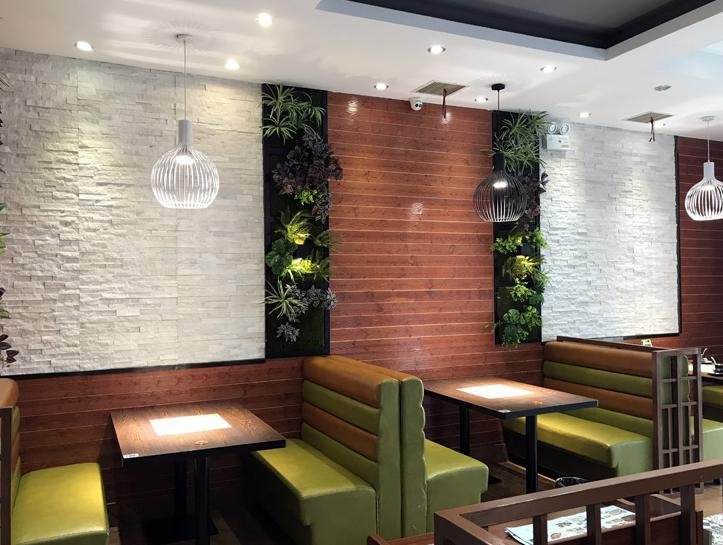
Any dense cleft-face veneer from the factory family works behind water, but the format changes the labor and the look. Compare the four lines on the jobs they do best.
| Panel line | Format | Best fit behind water |
|---|---|---|
| Stacked stone | 15x60cm / 15x55cm, L-corners | Main fountain walls and full-height features |
| Thin ledgestone | 36x10cm ultra-thin | Linear accent bands and coping details |
| Loose thin veneer | Random split-face pieces | Organic grotto-style walls and irregular features |
| Z-panels | 20x55cm / 15.2x61cm, cement or mesh | Large flat splash walls with precise joint control |
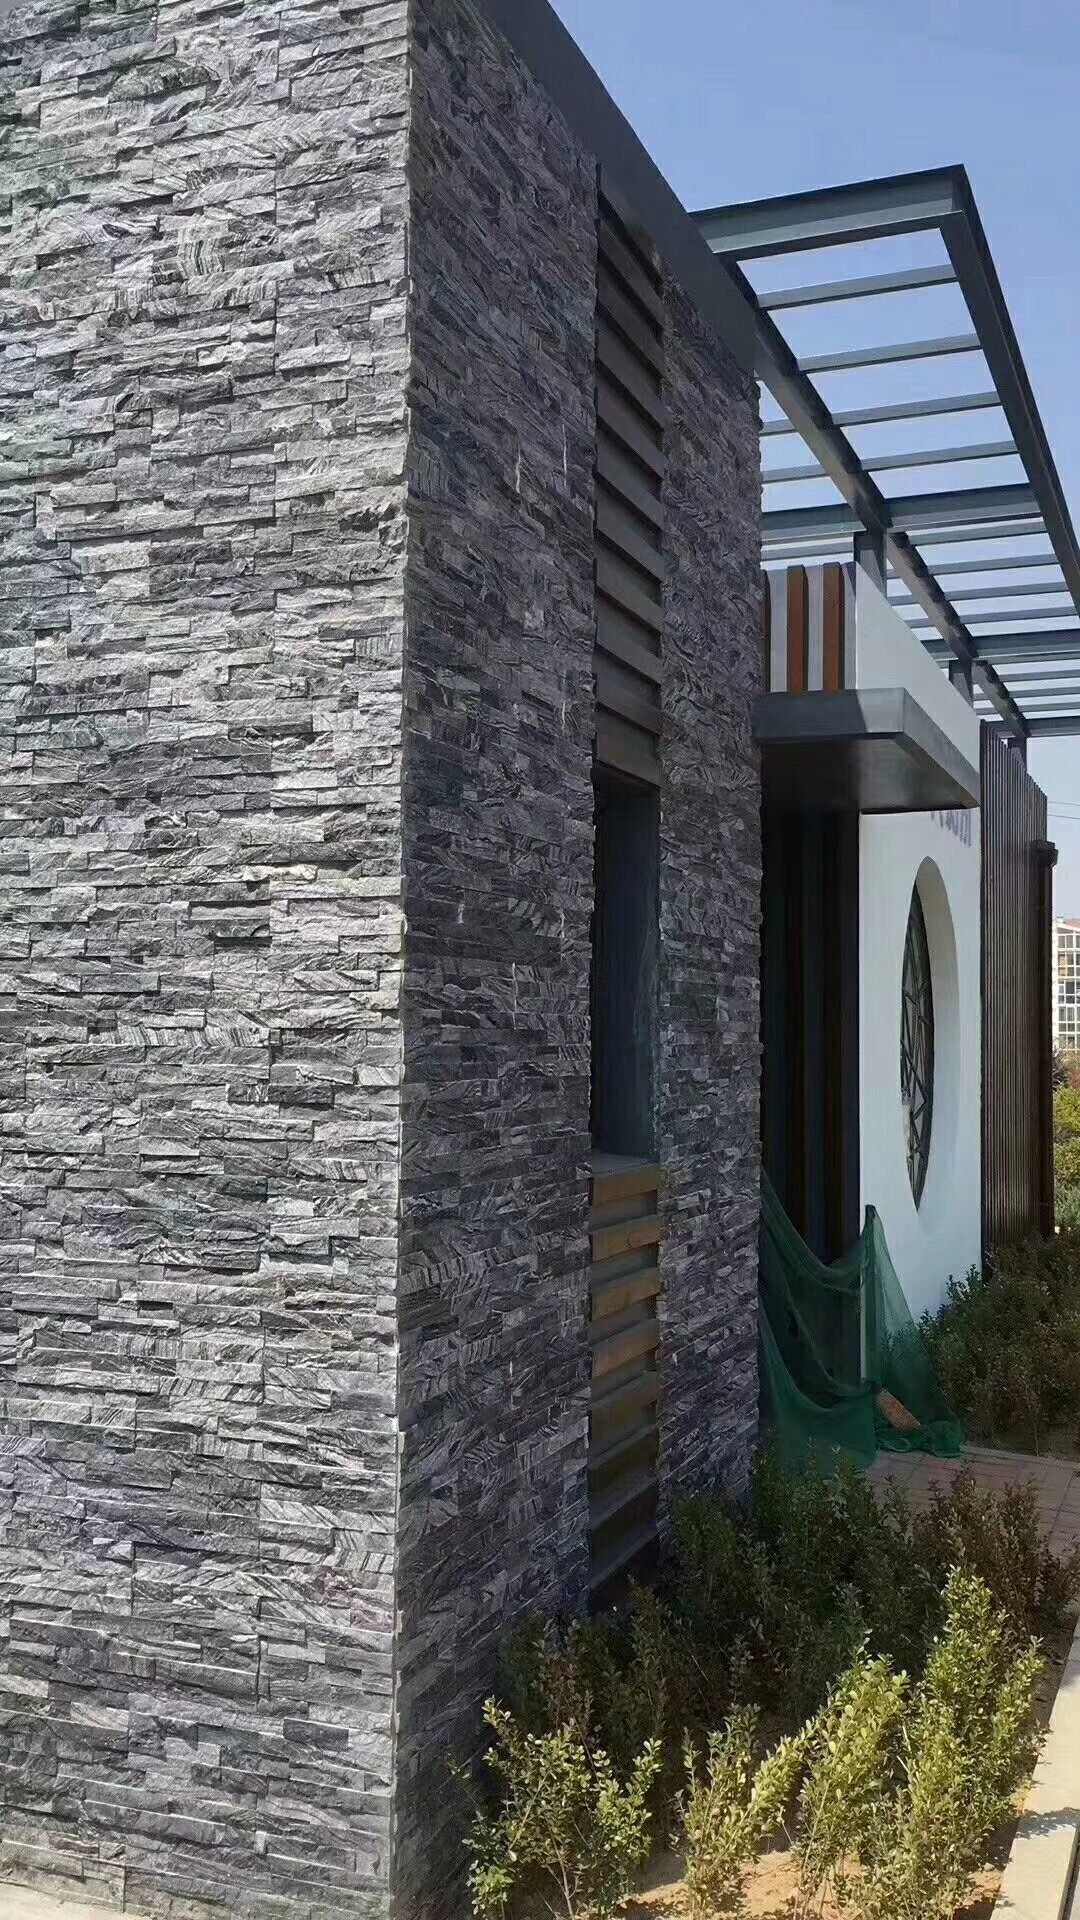
The thin stone veneer line is the go-to for curved or asymmetrical grotto walls because the loose split-face pieces follow the substrate. For linear modern features, the stacked stone panels read as clean ledge courses. All lines share the material traits that matter around water: cleft faces stay non-slip when wet, and slate and quartzite resist salt spray and freeze-thaw cycling from -30°C to +50°C.
Sealing, Cleaning, and Long-Term Care
Natural cleft slate does not need sealing to be non-slip, which is the property you want near water. A penetrating sealer can still be applied to slow mineral staining on lighter colors, but it changes the surface shimmer and must be maintained yearly. Decide at the quote stage, because sealing after water runs is a wasted pass.
Clean the wall with water and a soft brush, and skip the pressure washer on the joint lines; high-pressure water finds the smallest bond gap and digs it out. Watch three things in the first season: white bloom trails at the joints, loose corner pieces, and algae lines where the face stays wet. The first two trace back to assembly, the third is normal surface biology that a light brush clears.
Schedule the first inspection for the one-year mark, not the one-week mark. By then a hidden bedding void has usually surfaced as a hollow-sounding panel, and a weak corner piece has cracked. Catch both while the mortar is still young enough to patch without a full reset. Keep the pump filter away from the wall face so the basin, not the stone, takes the maintenance hits.
Before you build, purchase from a factory that keeps the color consistent across the order. The batch-specific vein selection practiced at Top Stone Panels holds wall-to-wall color harmony above 95%, which matters more on a water feature than on a fence because the wet face shows every tonal jump. For the coastal and weathering behavior of the same stones, the salt spray resistance guide gives the field evidence.
Top Stone Panels supplies water-feature-ready veneer in stacked, ledgestone, loose thin veneer, and z-panel formats, with samples in 1-3 days, production in 20-25 working days, and MOQ from one 20GP container.
Cleft non-slip faces | Salt-spray tolerant | -30°C to +50°C rated | Prefab L-corners
FAQ
Can you put stone veneer behind a water feature?
Yes, if the wall is built as a wet-area assembly: a stable substrate, a waterproofing membrane or liner in the right zones, and a drainage path at the base so water never sits against the structure.
What stone veneer is best for a water feature wall?
Dense cleft-face slate or quartzite works best because the face is naturally non-slip when wet and the material tolerates salt spray, humidity, and freeze-thaw cycles. Loose thin veneer suits grotto shapes; stacked panels suit flat walls.
Does the stone veneer behind a pond need a liner?
Behind an actual pond basin, the pond’s liner holds the water and the stone is a facade over it. Behind a fountain or spillway, a waterproofing membrane contains the splash zone instead.
Do you need to seal stone veneer near water?
Sealing is optional. Cleft slate stays non-slip without a sealer. A penetrating sealer slows mineral staining on lighter colors but needs yearly maintenance, so decide at the quote stage, not after water runs.
How much stone veneer do I need for a water feature wall?
Measure the wall in square meters and add 8-10% for cuts around the water exit and returns. Factory pre-cut stacked panels keep waste near the lower end of that range.
Conclusion
Stone behind a water feature fails the same way every wet wall fails: water gets behind the face and finds no way out. Fix that in the assembly, and the veneer does what natural stone does best around water. Plan the water line first, build the substrate rigid, waterproof the splash zone, keep a weep path at the base, and set every panel on a full mortar bed.
Key takeaways:
- Waterproof the splash zone and give the cavity a drainage path before any panel is set.
- Use dense cleft-face slate or quartzite from a batch-matched order; the face stays non-slip and the stone tolerates salt spray and freeze-thaw.
- Factory L-corners and pre-cut panels cut corner labor and on-site waste on the water exit returns.
- Introduce water only after full cure, and inspect joints for two days to catch early leaks.
Walk the spec with the Top Stone Panels factory team before you order, and ask for a sample of the cleft face you plan to set behind the spillway. Samples ship in 1-3 days, and production runs 20-25 working days from approval, so the extra week of planning pays for itself in the install.