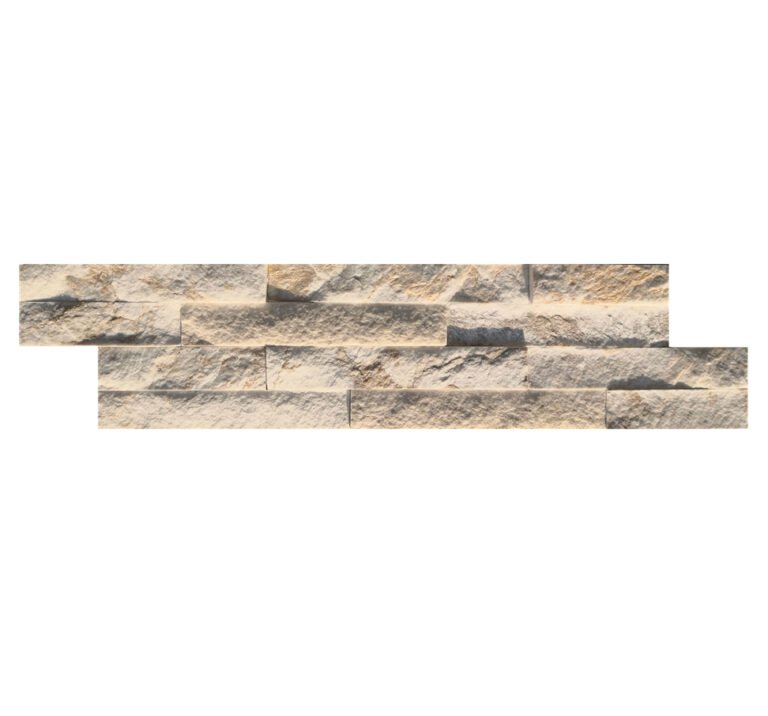
Stone veneer does not stick to drywall. It sticks to whatever you build on top of the drywall, and that distinction decides whether the wall is still on the house when the punch list closes. Gypsum board is a finish surface: a calcium sulfate core sandwiched in paper, engineered to take paint, texture, and light fixtures, not a dead load of stone held by a cementitious bond.
This guide covers the load path, the fastener schedule, the moisture assembly, and the container-side numbers a contractor or distributor needs before quoting a stone feature wall onto an existing framed partition. Every threshold here comes from published installation practice for adhered stone veneer or from our own factory specification. Where interior and exterior walls genuinely differ, the difference is stated instead of averaged away.
- Gypsum board is a starting surface, not a substrate: the stone load has to terminate in the framing, through cement board or through lath and a scratch coat.
- Adhered stone veneer is limited to about 15 pounds per square foot under the applicable code, and heavy accessories above that ceiling need mechanical anchors.
- Lath fasteners go no more than 7 inches vertically on each stud, and the lath is attached to studs, never to sheathing.
- The scratch coat is roughly 0.5 inch thick, fully encapsulates the lath, and dries a minimum of 24 hours before stone is set.
- Bonding uses polymer-modified mortar to ANSI A118.4 or A118.15, because natural thin veneer has smooth backs that plain Type S or N mortar cannot grip.
- Interior dry walls can bond straight to cement board; exterior walls need lath over the weather barrier, and wet interiors need a bonded waterproof membrane.
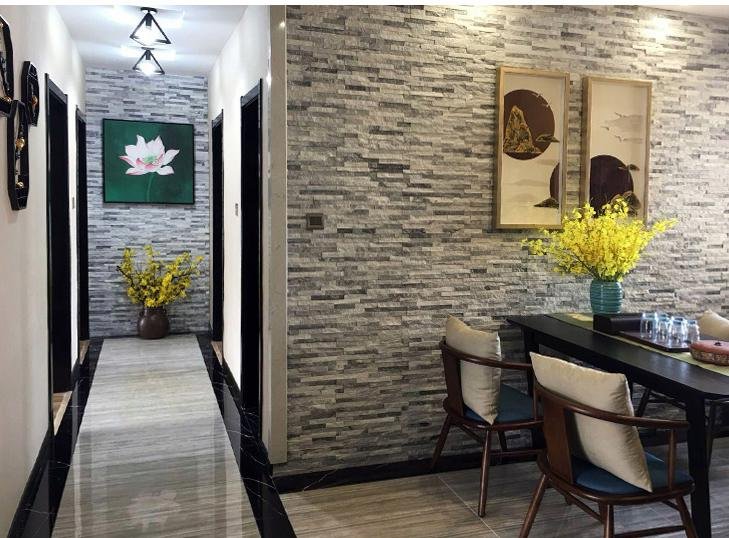
Why Gypsum Cannot Carry Stone
Adhered masonry veneer is installed to a system, not to a surface. Published installation practice assumes a backing that is rigid, structurally attached, and able to carry a scratch coat plus the stone pressed into it. The load path ends in the framing, not in a finish board: lath is fastened into the studs, mortar goes over the lath, and stone goes into the mortar.
Plain drywall breaks that chain at both ends. Mechanically, a wall of adhered stone can push outward and downward at up to 15 pounds per square foot. A gypsum board anchored only at its edges cannot transfer that load into the structure through its face. Chemically, cementitious mortar draws moisture from its mix into whatever it touches. Paper faces absorb that moisture, the gypsum core softens at the surface, and the bond that looked solid at trowel time has nothing to grip once the assembly dries and takes load.
The failure is quiet rather than immediate. A wall glued onto painted drywall can pass the walk-through and then release during the first long, hot season, when thermal movement works on an interface that was never a real bond. Panels coming off in sheets, with mortar still clinging to the back of the stone and clean paper behind it, is the signature. That pattern tells you the adhesive held and the substrate gave.
So the practical rule is simple: keep the stone, keep the wall, but insert an assembly between them that reaches the framing. That assembly takes three forms, and the right one depends on whether the wall is interior dry, interior wet, or exterior.
Run the Weight Math First
Before choosing a method, size the load. Adhered stone veneer is subject to a 15 pounds per square foot limit under the applicable building code, and a shallow profile keeps thin stone veneer under that ceiling. Weight varies by stone type, thickness and production lot, so the figure to demand from a supplier is the panel weight, not a brochure adjective.
Full-thickness building stone is a different conversation. Cut-from-solid masonry runs 40 to 60 pounds per square foot against thin veneer under 15, which is why thin panels are the only format that makes sense over a framed partition. Dense accessories behave like the full-bed case: sills, hearths, caps and treads frequently exceed the 15 pound ceiling, and installation guidance requires them to be carried on mechanical anchors rather than on mortar alone.
Now run the numbers on a typical interior feature wall: 8 ft high by 12 ft long, so 96 square ft of face. At the 15 pounds per square foot ceiling that is 1,440 lb, or 120 lb per linear foot across the 12 ft run. Every pound per square foot you take off the panel weight removes 96 lb from that same wall, which is the arithmetic argument for a thinner format, not a cosmetic one.
Convert that into what you order. A 15x60cm ledger panel covers 0.09 square meters, so a wall needs about 11 panels per square meter before waste. Weight and coverage are the two numbers a project manager needs from the supplier before the wall is closed up, and both are worth calculating per project instead of borrowing from a brochure.
| Stone System | Weight Position | What It Demands |
|---|---|---|
| Thin natural veneer panels | Under 15 psf | Board or lath assembly tied to studs |
| Adhered veneer code limit | 15 psf | Load path into framing, no gypsum face bond |
| Sills, hearths, caps, treads | Frequently above 15 psf | Mechanical anchors per code |
| Full-bed cut stone | 40 to 60 psf | Foundation or structural ledge |
| 15x60cm ledger panel | 0.09 sq m coverage | About 11 panels per sq m plus waste |
Weight drives the method choice. Under the 15 pounds per square foot ceiling, an interior wall can be rebuilt with board and thin-set. Push past it, or go outdoors where wind load and freeze-thaw cycling add force, and the assembly needs lath, a scratch coat, and a drainage plane.
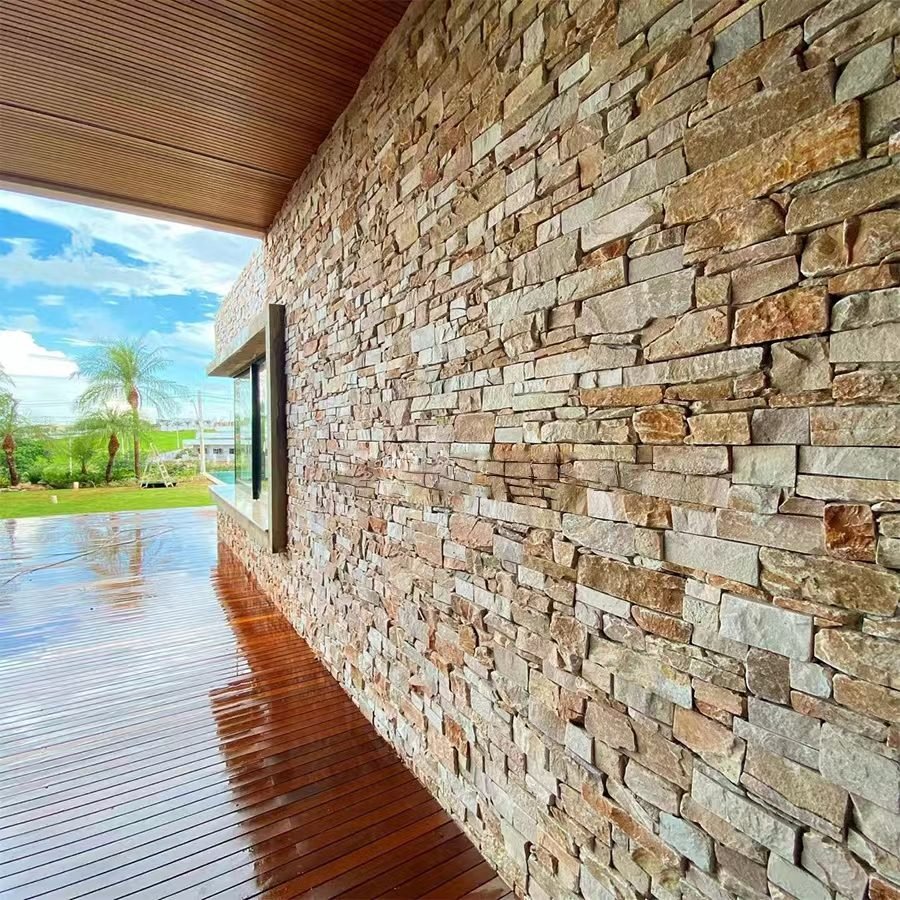
Three Ways to Rebuild the Wall
Strip and re-sheath. Take the drywall back to the studs on an interior partition and hang cement backer board instead. You give up the finished surface you already had, and you gain a cementitious face that tolerates mortar moisture and takes lath or thin-set directly. This is the cleanest answer when the wall is open anyway. It is also the only route we specify on a partition backed by an exterior wall, where moisture has room to do damage.
Overlay the existing board. Leave the drywall up and screw cement backer board over it, with fasteners long enough to pass through both layers and bite into the framing, spaced to the backer board manufacturer’s published schedule. The drywall stops being a structural layer and becomes an air gap filler. Two conditions matter: locate the studs and mark them, and drive every board fastener into a marked line rather than into the field of the board. An overlay that floats on gypsum screws is a double leaf with a weak hinge.
Frame out and lath. On commercial partitions, especially metal stud systems, the wall is furred, wrapped in a water-resistive barrier where the assembly calls for it, then faced with metal lath and a scratch coat. This mirrors exterior practice and is the route to use when the wall carries more than one finish trade. The stud-side detail work is covered in the guide to installing stone veneer on metal studs, including corrosion and fastener selection on steel framing.
Our pick: for an interior dry feature wall on standard wood or steel studs, overlay board fastened into the framing wins. It keeps the room usable, it gives the mortar a cementitious face, and it does not require a weather barrier that has no job indoors. Full board replacement is the answer whenever the wall is being opened anyway.
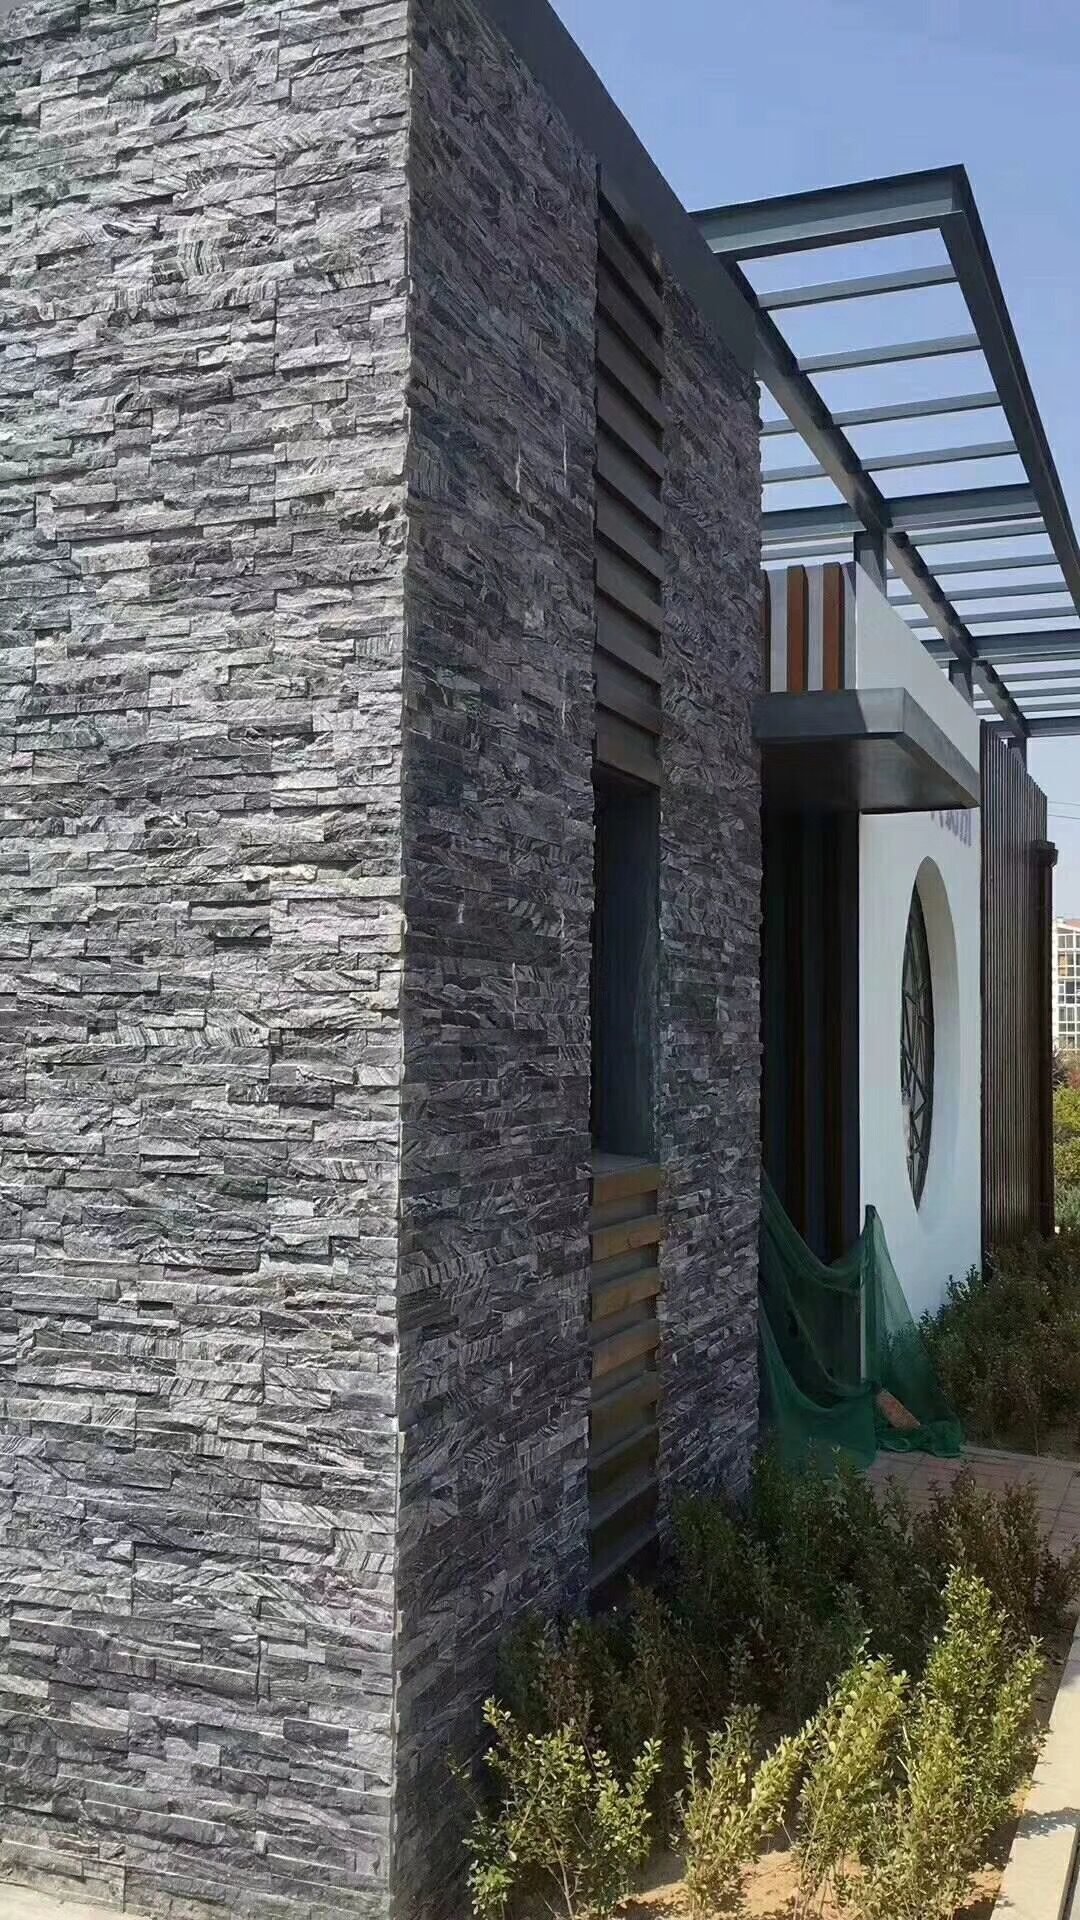
| Assembly | Best For | Critical Control |
|---|---|---|
| Strip and re-sheath with cement board | Walls already open; exterior-adjacent partitions | Board fastened to studs, joints taped |
| Overlay board on existing drywall | Interior dry feature walls in occupied rooms | Every fastener into a marked stud line |
| Frame out, WRB, lath, scratch coat | Commercial partitions and metal stud work | Lath on studs at 7 in. centers, horizontal laps |
Board selection is its own decision, and the trade-offs between plywood, cement board, and direct lath are laid out in the substrate preparation guide. Read that alongside the weight numbers above rather than separately. The right board depends on how much load the assembly carries and where the water is expected to go.
Lath, Scratch Coat and Fastener Schedule
When the assembly uses lath, the fastener schedule is the specification. Published guidance for natural thin veneer is concrete about it: fasteners go no more than 7 inches vertically on each stud, and lath is attached to studs, never to sheathing. On wood framing that means 1.5 inch roofing nails penetrating the stud by at least 0.75 inch; on metal studs it means screws projecting no less than 0.375 inch into the framing.
The sheet geometry matters as much as the nail pattern. Self-furring wire lath weighing 2.5 or 3.4 pounds per square yard to ASTM C847 is specified over both wood and metal studs, with the heavier 3.4 pound sheet recommended on open studs for rigidity. Lath runs horizontally with the cups facing up, and every joint overlaps at least 1 inch. Horizontal is not a preference: it lets water that gets behind the stone drain down and out instead of ponding behind vertical sheets.
The scratch coat is the mechanical key, and it is where a smooth finish becomes a defect. A coat roughly 0.5 inch thick must fully encapsulate the lath, which also limits water reaching the wall. Type N or Type S mortar to ASTM C270 is typical for this layer. If the bonding mortar needs a rough key, the coat is scarified while nearly dry into grooves about 0.125 inch deep, cut horizontally, and never deep enough to expose the wire. Then it must dry for a minimum of 24 hours before stone is pressed into it.
Two substrate cases skip the lath entirely, and installers routinely get them wrong. Over clean, unsealed and unpainted CMU or poured concrete, no wire lath is required. Over sealed, painted or coated concrete, lath is required, because the coating is a bond breaker. Cement board needs neither wire lath nor a scratch coat, provided the bonding mortar is compatible with that substrate. On that board the joints still have to be taped and sealed, and Type S mortar is not the material for the bond.
Send the wall size, the substrate you plan to build, and the market the panels land in. The export team returns a format recommendation, a sample in 1 to 3 working days, and FOB terms from Tianjin Xingang against a one-container minimum.
Explore Our Thin Stone Veneer Range -> | Sample in 1 to 3 working days | 220+ containers shipped per year | 3-step QC with pre-shipment layout photos
Adhesive Follows the Substrate
Choice of bonding material follows the assembly, not the catalog. Three paths cover almost every wall: a mortar bed over lath, a polymer-modified thin-set over a cementitious board, and a factory-applied backing that turns the panel into a ready-to-bond unit.
Mortar over lath is the standard exterior route and the one that tolerates the most substrate irregularity. It costs the most labor: scratch coat, a minimum 24 hour dry, then press stone into fresh bonding mortar with full back-buttering. On a 96 square foot wall, the coat and the setting cannot happen in the same visit.
Thin-set on board suits interior walls where the face is flat and dry. It is faster and thinner than a mortar bed, needs a notched trowel sized to the panel, and depends entirely on the board being cementitious. The mortar spec is where most jobs go wrong. Bonding should use a polymer-modified mortar meeting ANSI A118.4 or A118.15. Type S or Type N mortar should not bond the stone, because natural thin veneer pieces have smooth backs that a plain mortar cannot grip. Drywall paper disqualifies the method at the layer below that, which is the same conclusion the weight math reached.
Backed panels move part of the decision to the factory. Our stacked stone ledger panels ship cement-backed or mesh-backed in 15x60cm and 15x55cm formats, thin ledgestone in the 36x10cm profile, and interlocking Z-panels in 20x55cm and 15.2x61cm. The bond between stone and backing is a marine-grade epoxy rated through -30C to +50C thermal cycling and 26.5-tonne ocean freight loads, with zero pop-off. The panel arrives as a unit rather than a bundle of loose strips. The thin stone veneer range covers the formats and their backing types.
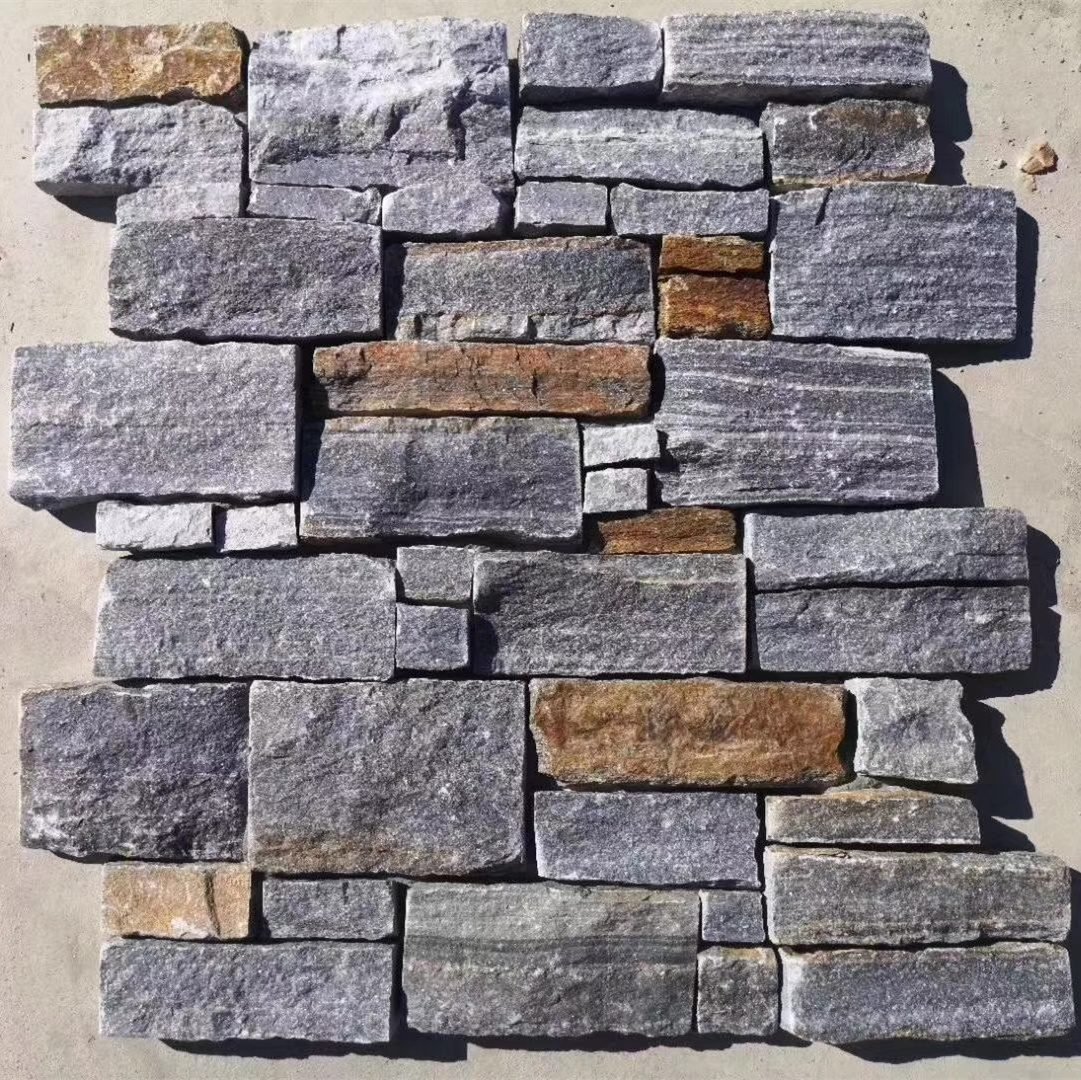
What to demand from any supplier: the backing adhesive type, the thermal-cycle rating, the panel weight per square foot, and the coverage per panel. A vendor who cannot answer those four questions is reselling, and resale is where weight and warranty claims go wrong. A comparison of mortar, thin-set and adhesive options on framed walls is worked through in the stone veneer adhesive types breakdown.
How These Walls Fail After Handover
Delamination at the paper face. Stone releases in sheets with mortar still attached, and the wall behind looks untouched. The cause is bonding to gypsum or paint rather than to a cementitious assembly, and it can appear on a wall that passed inspection.
Mortar that dried too fast. A board or lath assembly that pulls water out of the mortar before hydration finishes leaves a crumbly scratch coat, and the symptom is panels that can be pushed off by hand. Published guidance sets the threshold. Above 90 degrees Fahrenheit, dampen the scratch coat surface and the backs of the stone before setting, and shade the work area. Winter brings the opposite problem. Accelerants are not an option because they weaken the bond, so the acceptable method is tenting and heating, holding the air above 32 degrees and the stone above 45, with roughly 48 hours of cure.
Flexing lath. Widening the fastener pattern beyond the 7 inch maximum on studs produces hairline cracks radiating from panel joints, then a section that detaches along the crack line. Lath stapled only into sheathing rather than into the framing flexes when mortar is pressed onto it, and flex breaks the scratch coat bond.
Corner blowouts. Field-cut 45 degree miters at returns are the weakest line on any wall. Pre-made L-corners remove that cut entirely. The asymmetric options are 6×12 plus 6×6 and 6×16 plus 6×8, with a symmetric 6×12 plus 6×12. All three arrive factory-set, so the return is a manufactured joint instead of a site cut.
Water with nowhere to go. Exterior walls built with one layer of barrier, or with lath lapped the wrong direction, trap melt and rain against the sheathing. Efflorescence on the stone face is the visible warning that the assembly behind it is wet. The ten installation mistakes that cause failures article walks the same list from the inspection side.
Specifying the Container Side
An interior wall program that starts from one sample board and ends at container volume needs the same lead-time discipline as any exterior job. Samples and prototypes return in 1 to 3 working days. Stock production runs about 20 working days and ships from Tianjin Xingang. A first order with custom printed cartons takes 25 to 30 working days. Minimum order is one 20GP container, and container-mix orders across product lines are supported, which is what lets a distributor test two formats without two full containers.
Payment runs 30% T/T against a 70% balance, released only after a loading video and a high-resolution layout photo of the actual production run. Those two deliverables are the buyer-side QC step: the layout photo shows the color and profile across the run before money moves, and the loading video shows how the crates were strapped. Packaging follows a zero-breakage protocol with thickened fumigated wooden crates, 4 to 6 high-tensile strapping bands, and container air bags, rated for 26.5-tonne loads.
On the manufacturing side, the factory has quarried and exported for 18+ years and ships 220+ containers per year. It runs a 3-step QC protocol, batch-specific vein selection from one quarry seam, and precision CNC diamond cutting. Batch selection holds 95%+ color transition across an order, which is the number that keeps a long interior feature wall reading as one surface rather than three batches.
Pre-Install Checklist
Work this list before the first panel moves, not after the first panel lifts.
- Mark the stud lines on the existing drywall, then plan every lath and board fastener to land on a marked line.
- Calculate the wall load against the 15 pounds per square foot ceiling for adhered veneer, and confirm the panel weight with the supplier.
- Choose the assembly: strip and re-sheath, overlay cement board into the framing, or frame out with lath.
- On exterior walls, install the water-resistive barrier horizontally from the bottom, 2 inch layer overlaps, 6 inch vertical seams, as two independent continuous planes.
- Fasten self-furring lath horizontally, cups up, joints overlapping at least 1 inch, with fasteners no more than 7 inches vertically on each stud.
- Apply a scratch coat about 0.5 inch thick that fully encapsulates the lath, grooving only if the bonding mortar requires it, and let it dry a minimum of 24 hours.
- On wet interiors, place a bonded waterproof membrane rated to ANSI A118.10 over the board.
- Order pre-made L-corners for every return instead of mitering on site.
- Dry-fit the run and photograph the layout before committing the full wall.
- Ask the supplier for backing adhesive type, thermal-cycle rating, panel weight per square foot, and coverage per panel.
Drywall Veneer Questions Answered
Can stone veneer be installed directly over drywall?
No. Gypsum board carries a paper face that absorbs moisture from cementitious mortar, and its face has no load path into the framing. Build a cement board or lath-and-scratch-coat assembly that is fastened back to the studs, then adhere the stone to that.
How heavy is thin stone veneer on an interior wall?
Adhered stone veneer is capped at 15 pounds per square foot by the applicable building code, and a shallow profile keeps thin panels under that limit. Full-bed cut stone runs 40 to 60 pounds per square foot, so it needs a structural ledge or footing instead of a framed partition.
Do I need metal lath over cement backer board?
Not on a flat, rigid cement board. Neither wire lath nor a scratch coat is required when the bonding mortar is compatible with that substrate, the joints are taped and sealed, and Type S mortar is not used for the bond.
How far apart do lath fasteners have to be?
No more than 7 inches vertically on each stud. On wood framing, 1.5 inch roofing nails must penetrate the stud by at least 0.75 inch; on metal studs, screws must project at least 0.375 inch into the framing.
Does an interior stone wall need a waterproof membrane?
Dry interior rooms do not need a weather barrier. Bathrooms, spa walls and other wet interiors need a bonded waterproof membrane rated to ANSI A118.10 installed over the board before stone goes up.
How many panels do I need per square meter?
A 15x60cm ledger panel covers 0.09 square meters, so plan on roughly 11 panels per square meter before cutting waste, and order against the layout drawing rather than the room count.
Conclusion
The wall decides the assembly, and the assembly decides whether the stone stays. Gypsum board is a surface you build over, never a base you bond to. Get the load into the framing, give the mortar a cementitious face or a scratch coat keyed the way the bonding mortar requires, then put drainage or membrane behind anything that will see water.
Key takeaways:
- Size the load against the 15 pounds per square foot ceiling for adhered veneer, and make the supplier state the panel weight.
- Fasten to framing: lath on studs at no more than 7 inches vertically, horizontal sheets, cups up, joints overlapped at least 1 inch.
- Pick the bonding path from the substrate, and use polymer-modified mortar to ANSI A118.4 or A118.15 rather than Type S or N for the bond.
- Buy on evidence: 1 to 3 working day samples, 20 working days of stock production, one 20GP minimum, and a layout photo before the 70% balance clears.
Specifying a veneer wall onto a framed partition? Send the wall dimensions and substrate plan to Top Stone Panels. The export team returns format recommendations, a sample in 1 to 3 working days, and FOB terms from Tianjin Xingang.