
The wall is steel, hollow, and already framed when the cladding crew arrives. Stone veneer on metal studs runs through most commercial lobby, storefront, and exterior work, and the assembly is only as good as the substrate beneath the stone. Screw cement board to flimsy studs and the mortar cracks; skip the flashing and water finds the joint. The discipline is boring, and boring is what keeps a commercial facade attached for decades.
This guide walks the commercial sequence in order: structural checks, sheathing, dry-fit layout, mortar, setting, corners, joints, and flashings. It is written for installers, project managers, and distributors who need their crew to get it right the first time, because a callout on a hotel lobby veneer is not a warranty claim, it is a reputation. Panel references use the interlocking Z-panel and stacked stone lines from Top Stone Panels, a direct-from-quarry factory in Yixian, Hebei; code thresholds come from the International Code Council family of codes and should be confirmed with the local authority having jurisdiction.
Key Takeaways
- Confirm stud gauge, spacing, and L/360 deflection before sheathing; flex cracks mortar every time.
- Cement board screwed to studs carries thin adhered panels; heavier veneer needs lath and scratch coat.
- Set panels in type S mortar or the system-approved adhesive with full contact and a twisting press-in.
- Use prefabricated L-corner pieces instead of onsite miters to keep corners clean and fast.
- Install weep screed, flashing above openings, and control joints so water exits instead of pooling.
- Top Stone Panels Z-panels ship 20x55cm and 15.2x61cm with cement backer; stacked panels 15x60cm and 15x55cm with L-corners.
Why Metal Studs Change the Install
Hollow steel framing behaves differently from masonry and wood. The wall is a series of vertical members and a thin skin, and it moves. Thermal swings, wind load, and door-slab slams all transfer into the cladding plane. Stone is rigid. When the wall flexes and the stone does not, the mortar joint loses. That is why deflection control sits above every other step in a metal stud veneer installation.
The second difference is attachment. There is no masonry substrate to bond to, so the stone hangs on the sheathing system that the crew installs over the studs. If the sheathing is screwed to the wrong gauge stud, or with the wrong fastener pattern, nothing downstream saves it. The substrate preparation guide compares plywood, cement board, and metal lath options across wall types, and the same logic applies here with the stud cavity behind.
Commercial projects add one more constraint: the schedule. A veneer callout on a metal stud wall sits in the critical path between framing and finishes. Crews that dry-fit before mixing mortar and stage panels by wall zone finish faster than crews that carry stone one piece at a time. This method is built around that efficiency.
System Checklist Before You Start
Check the framing first, because nothing downstream repairs a bad frame. Confirm the stud gauge and spacing match the structural drawings, then confirm the assembly meets the deflection limit for the cladding. The industry acceptance threshold for brittle finishes is L/360, meaning a span of 120 inches should not move more than a third of an inch under load. An engineer on the project stamps the final number.
- Stud gauge and spacing: 16-gauge to 20-gauge at 16 inches on center is the common commercial range for veneer-bearing walls.
- Deflection: confirm the assembled wall holds L/360 before any sheathing goes on.
- Fasteners: corrosion-resistant screws rated for the sheathing, never drywall screws.
- Backing: block fastening zones at corners, openings, and panel edges so anchors land in steel, not air.
- Weather barrier: protect the cavity side per the wall assembly spec, especially for exterior applications.
The panel product also sets constraints. Top Stone Panels Z-panels ship at 20x55cm and 15.2x61cm with cement backer, which is a thin, adhered-friendly profile; stacked panels at 15x60cm and 15x55cm behave like standard thin veneer and set directly in mortar. Thicker, heavier units push the assembly toward mechanical anchorage, and the Z-panel product page lists the format options. Confirm which line you are installing before you order lath.
Sheathing and Substrate
Two substrate routes carry stone over metal studs. The first is cement board: sheets of fiber-reinforced cement, screwed to the studs, taped at seams, and ready for thin-set or mortar. The second is metal lath over a weather barrier, followed by a scratch coat of mortar, which gives a mortar-set stone a textured key to bond into. The choice follows the product weight and the code path for the wall.
Cement board installs fast. Screw it to the studs with approved screws about 8 inches on center along every bearing line, keep joints and screw heads just below the surface, then tape and fill the seams. Stagger the board joints across stud lines so no continuous seam runs unbacked. The same board that carries tile carries thin stone; the difference is the setting material, not the substrate.
Metal lath and scratch coat is the heavier-duty path. Install the weather barrier over the sheathing, hang self-furring diamond lath per its specification, and bed it in a scratch coat, roughly 1 centimeter thick, scored while wet for key. The scratch coat must cure before panels go on. This path matters when the veneer unit weight approaches the adhered limit in the applicable building code, because mortar-set stone on lath multiplies the bond surface. Code guidance sets the rules for adhered veneer weight thresholds; verify the unit weight per square foot against the local requirement.
The waterproofing article covers the barrier layers in full, because a metal stud cavity traps water differently than a masonry wall. If the membrane is wrong, the mortar holds water against the steel, and that conversation happens at the flashings section below.
Layout and Panel Selection
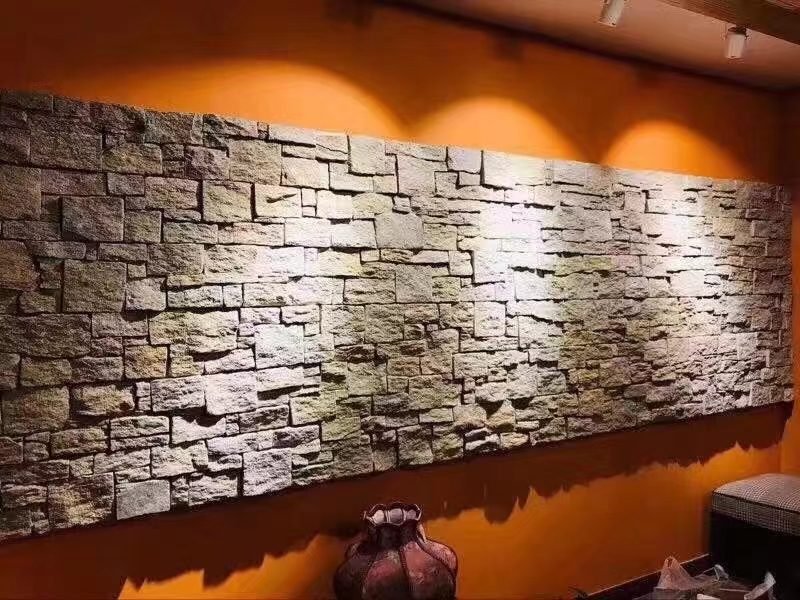
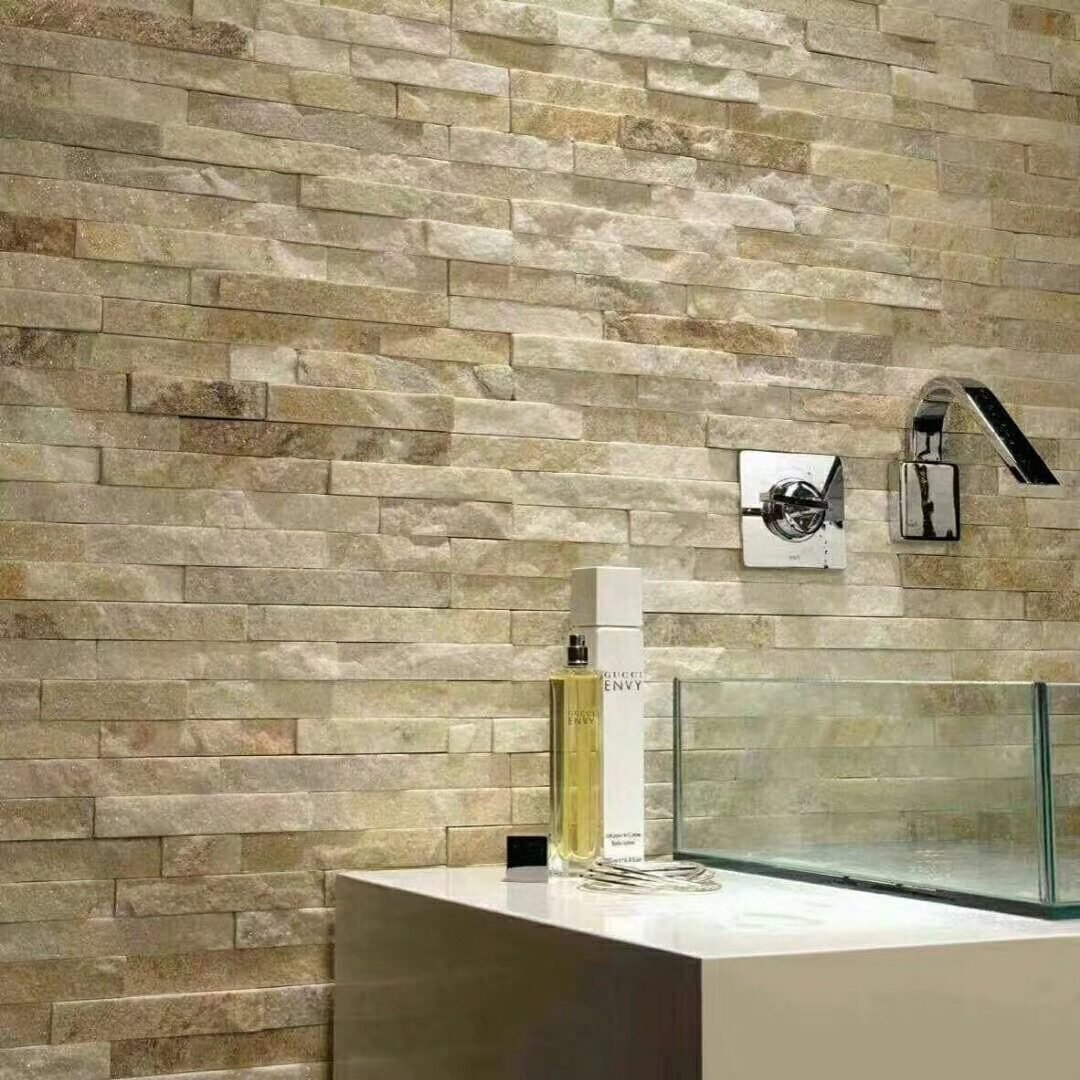
Layout happens on the floor, not on the wall. Measure each wall zone, mark openings, and dry-fit panels in the order they will hang. Stacked stone panels add a color discipline here: blend pieces from multiple cartons on the floor before setting, rather than draining one box onto the wall and discovering a tonal island halfway up.
Panels arrive vein-sorted to the order, held to 95% or better color harmony against the approved sample, but field blending still improves the result. The batch color consistency guide explains how vein selection keeps production batches in the same quarry family; pre-blending cartons on the floor applies the same discipline on a commercial lobby wall, where a uniform mass reads as premium and a tonal jump reads as a mistake.
Cut allowance belongs in the layout too. Leave planned cut zones at openings and corners, mark panels that need a saw, and cut dry with a diamond blade before any mortar is mixed. Precise face geometry makes this predictable: infrared CNC cutting on Z-panels keeps the grid square, so the layout transfers from floor to wall without re-fitting each piece. The cutting guide lists the blade and water rules for clean edges.
Mortar and Adhesion
Type S mortar is the workhorse for stone veneer because it balances bond strength with flexural toughness. Mix per the product data sheet, keep it stiff enough to hold a panel without sagging, and apply in a full bed on the back of the panel or on the wall, combed to consistent depth. Thin, factory-backed panels also set successfully in polymer-modified thin-set or masonry adhesive where the panel system approval allows it; the mortar application guide details the traveled-bed method for both mortars.
Contact area is the number that matters. A panel with 80% coverage fails a bond test that 95% coverage passes, so spread, comb, set, and twist. Press each panel in with a light twisting motion until the mortar squeezes at the edges, then tap level. Full contact between stone and bed is what transfers load from the veneer to the substrate.
Watch the working life of the bed. Type S mortar over a large wall zone flashes over if the crew loads more panel than the mortar can accept. Mix in batches sized to 20-30 minutes of work, and refuse to set stone into crusted mortar. That rule costs a few minutes of mixing and saves every corner unit on the wall.
Setting Panels and Corners
Start at the base line and work up. Establish a level starting point with a ledger or a marked base line, set the first course, and check level and plane every few panels. A straight first course carries the whole wall; a bowed first course propagates the bow to the top. Commercial walls show the difference in every raking light.
Neighboring panels should sit tight with consistent joint spacing. Z-panels interlock mechanically along their male-female edges, which self-aligns the course and keeps the face plane true across panels. Stacked stone panels use mortar-packed joints, and the face reads cleanest when joint width stays consistent between 1 and 1.5 centimeters. The jointing guide shows flush versus recessed finishes and when each belongs on commercial work.
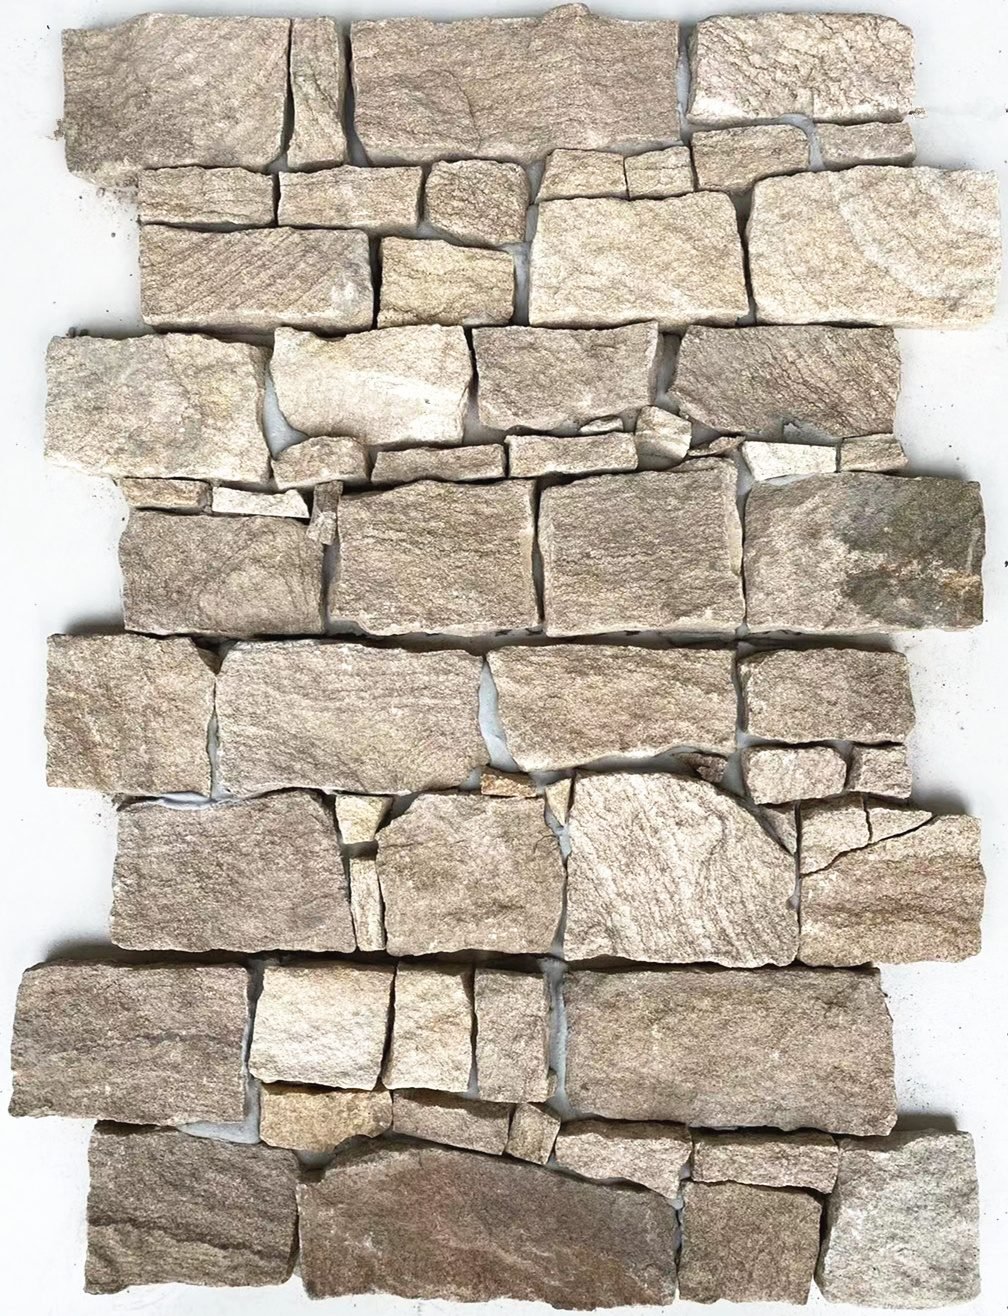
Outside corners use prefabricated L-corner pieces, never stacked panels mitered on site. The factory-formed return keeps the ledger profile continuous around the turn and removes the labor of measuring and cutting each corner. The corner preparation guide walks the fitting sequence for one-piece and two-piece returns; both save roughly half the corner labor compared to field miters.
Control Joints and Flashings
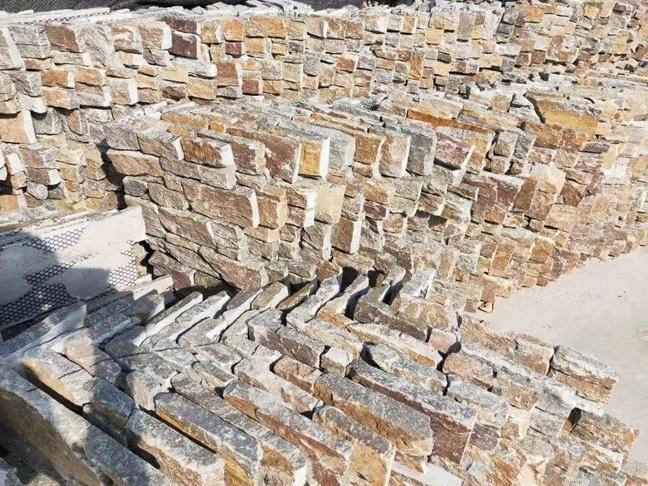
Stone veneer on metal studs is a system of water management disguised as cladding. Install a weep screed along the base so moisture escapes below the veneer instead of pooling in the assembly. Keep stone off the grade and hardscapes: the standard clearance puts a minimum gap between the bottom of the veneer and any horizontal surface, and the gap must never be bridged with mortar. The foundation wall guide shows the same base treatment for poured concrete.
Flash the openings. Every window and door head needs a through-wall flashing or an equivalent drip that pushes water out and over, not into the cavity. Head flashings belong on the rough opening before the veneer closes the wall; retrofitting a missed head flashing means pulling stone. Jamb returns also need sealant and backer rod as specified by the storefront or window installer.
Control joints break the wall into panels that move independently. On long exterior runs and at change-of-plane conditions, install a control joint with backer rod and sealant at the spacing in the design drawings. The joint lets the building flex without cracking the mortar, which is the same reason a metal stud wall needs the deflection check at the start. The two are the same problem at different scales.
Inspection Before Accepting
Walk the wall before the scaffold drops. The commercial inspector and the GC both want proof, so a written punch list beats a pointed finger. Check plane and level over the long runs, verify joint width consistency, and confirm every corner is factory clean. The same mindset runs on the supply side, where pre-shipment inspection on panels catches issues before a container sails, not after a wall is set.
- Adhesion: tap suspected hollow areas; a hollow ring means the bed did not grab and the unit gets reset.
- Plane: a long straightedge across the wall should not rock on high points.
- Joints: consistent width, mortar packed, no crusted residue on the face.
- Flashings: openings shed water outward, weep screed is exposed, control joints are sealed.
- Cleanup: stone washed, mortar smears off the face, scaffold load points touched up.
Keep the material records with the project file. Batch, sample reference, and QC notes matter when an owner asks about color continuity on phase two. The factory QC process shows what documentation a serious supplier holds on every order, and the sample evaluation checklist is the buyer-side mirror of the same audit.
Stock the wall system your specs call for
Top Stone Panels supplies interlocking Z-panels, stacked stone, and thin veneer with the QC files commercial buyers need: samples in 1-3 days, 1x20GP MOQ, and 30/70 T/T with loading evidence. Send your wall spec and get a quote.
FAQ
Can stone veneer be installed on metal studs?
Yes, when the studs are stiff enough and the sheathing is correct. Cement board screwed to the studs carries thin adhered panels, and heavier units get mechanical attachment in addition to the mortar bed.
What gauge metal studs hold stone veneer?
Commercial veneer work commonly uses 16-gauge to 20-gauge studs at 16 inches on center, sized for wall height and wind load. Thin gauge flexes, and flex cracks mortar joints.
Do you need a lath base for stone veneer over studs?
It depends on the system. Cement board carries thin adhered panels. Heavier or mortar-set stone needs metal lath and a scratch coat so the mortar has a textured key to bond into.
What mortar is best for stone veneer panels?
Type S mortar is the standard for stone veneer for bond and flexural strength. Polymer-modified thin-set and masonry adhesives work for lighter adhered panels over cement board, per the system approval.
Why does deflection matter for stone veneer?
A flexible stud wall moves under load and stone does not stretch. Movement cracks mortar joints and pops panels. Limit deflection to L/360 and brace the studs before stone goes on.
Conclusion
Stone veneer on metal studs rewards the same preparation every commercial assembly rewards: a stiff frame, a sheathed substrate, a full mortar bed, and water running out instead of pooling. Each step in the sequence protects the one after it, and the wall only fails when a crew skips a gate. A commercial stone wall is a permanent installation, so treat it like one.
- Verify stud gauge and L/360 deflection before sheathing; flex cracks mortar, and nothing fixes it later.
- Choose cement board for thin adhered panels and lath with scratch coat for heavier mortar-set stone.
- Set every panel in a full type S bed with 95%+ contact, and use prefabricated L-corners at outside corners.
- Install weep screeds, head flashings, and control joints, then punch-list adhesion and plane before accepting.
Stock the panel system that matches your commercial spec, keep the QC files in the project folder, and give the crew a wall that behaves. The steel behind it will do its job; make sure the stone in front does the same.



