A flat stone wall is a comparatively easy thing to get right: set out the substrate, bond the panels, keep the courses level, and the result is judged mostly on colour and texture. Put a niche in that wall, or turn its top into an arch, and the judgment changes entirely. People are now looking at the corners of the box, the line where stone stops against plaster, the smoothness of a curve and the shadow the recess throws, and specification mistakes get paid for in exactly those places, in site labour.
This guide is about the detailing layer of the job: which stone formats suit a recess or a radius, how pre-made corner pieces change the economics of a niche box, how a curved opening is cut and set, what happens at the reveal where the stone ends, how light interacts with riven relief indoors, and how a buyer specifies all of it with a supplier before a container is booked. The step-by-step installation of an arched opening, the wet-area shower recess and the sizing logic of corner pieces each already have their own treatments on this site, so they are linked in the sections below rather than repeated here.
- Recesses, arches and reveals are profiles, not surfaces: they are judged on corner crispness, line continuity and edge finish rather than on colour alone.
- Format choice follows geometry: 36x10cm ultra-thin mini ledgestone and loose split-face stone suit shallow reveals and curves, while 15x60cm and 15x55cm bonded panels belong on the flat field wall.
- A niche box is best framed with factory pre-made L-corners, which remove site-cut mitres and with them roughly 20 percent material waste and more than 50 percent of the corner labour.
- A radius is cut in short segments through stone and backing, then the arris is softened; on a tight curve, individually fitted loose stone beats a full panel.
- The reveal is a designed termination, not a cut-off: square-stop, shadow-gap or trim profile are decisions made before ordering, not after laying.
- Keep the recess in the same vein and batch as the field wall, and place the lighting before the first piece is bonded, because relief is only legible when it is lit deliberately.
- Where an Interior Stone Wall Is Won or Lost
- Choosing Formats for Recesses and Returns
- Squaring the Box: Pre-made Corners in a Niche
- Set-Out: Mark the Opening First
- Radiused and Arched Openings
- Reveals, Arrises and Terminations
- Lighting Inside the Recess
- Matching Batch and Vein
- A Worked Profile Schedule
- What to Ask Before You Order
- Frequently Asked Questions
- Conclusion
Where an Interior Stone Wall Is Won or Lost
Interior stone is read from a metre or two away, in controlled light, by people standing still, which is a harsher inspection condition than a facade seen from the street at raking sun. Up close a wall stops being a texture and becomes a set of lines: the bed joints, the vertical edges of a recess, the arris where two stone faces meet at ninety degrees, and the boundary where stone hands over to plaster, timber or metal. The field of a wall forgives a great deal; the profiles forgive almost nothing.
A niche is the smallest honest test of that: four internal corners, two or three reveals, a back plane that must look deliberate rather than leftover, and usually a light source inside or above it. An arched opening adds a curve that has to read as continuous, which means it is built out of many short straight cuts. Both are profile problems, decided at the specification stage by format, corner strategy and termination detail rather than by the skill of the person on the trowel that day. It is also the logic behind the wall-cladding design and detailing guidance published by the Natural Stone Institute: what the drawings and the specification settle in advance is what a site crew is able to deliver.
Choosing Formats for Recesses and Returns
Format selection inside a profile is a question of weight, depth and the size of the plane you have to cover. A reveal only as deep as the stone plus its fitting, under a header set by your drawing, cannot be lined with a full ledger panel without endless cutting, and those cuts destroy the staggered joint pattern that made the panel attractive in the first place. This is where the thin stone veneer family earns its place in a specification: it is a set of small, light pieces that can be fitted to geometry that a panel cannot follow.
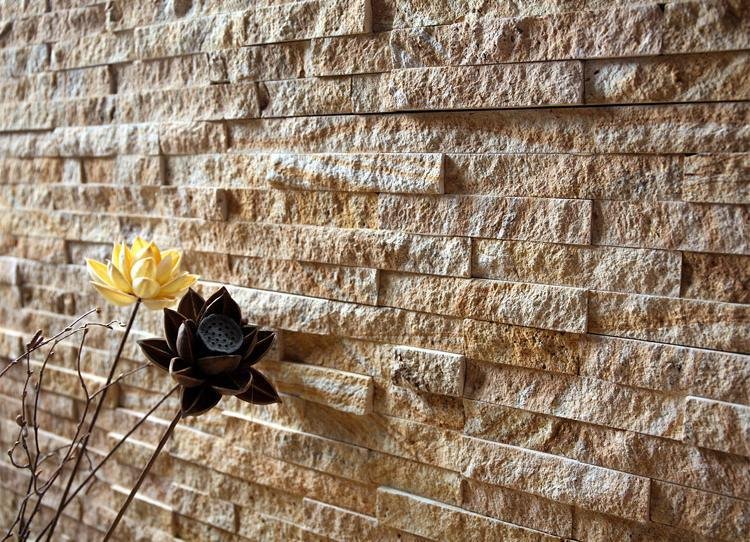
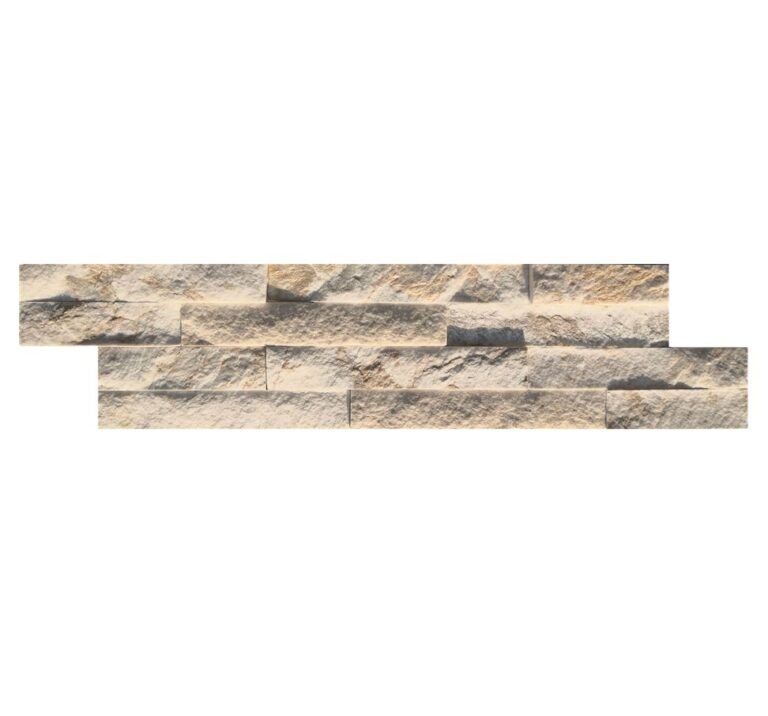
Top Stone Panels produces ultra-thin mini ledgestone in 36x10cm, a format built for exactly this kind of work: light enough that a vertical return does not creep under gravity, shallow enough profile that a narrow reveal still reads as stone rather than as a shelf, and small enough that a cut-off is usable instead of wasteful. Loose split-face veneer is the other profile-friendly option, because each stone is individually placed, so a curve, a tapered reveal or an odd off-cut becomes a fitting exercise rather than a sawing exercise. The 15x60cm and 15x55cm bonded stacked panels stay on the field wall, where their value is speed and a controlled staggered pattern, and where a whole panel is actually the right unit of work.
Two consequences follow that buyers often miss. A profile-heavy wall is usually a mixed order, panel on the field and thin or loose stone on the recesses, so colour and texture have to be specified as one system rather than as two products that happen to sit next to each other. And because thickness range, colour-mix ratio and cleft face are accepted technical inputs for loose stone cladding, a niche that needs a shallower return than the standard can be ordered that way instead of cut down on site.
Squaring the Box: Pre-made Corners in a Niche
The four internal corners of a niche are the most expensive square centimetres on the wall. Field panels do not turn corners; they have to be cut at 45 degrees and joined, or mitred by hand on a riven face, which is the operation most likely to chip the stone and to leave a visible seam where every eye travels. The alternative is a box built from factory pre-made L-corners.
The asymmetric sets pair a long leg with a short one, 6 inch by 12 inch with 6 inch by 6 inch, or 6 inch by 16 inch with 6 inch by 8 inch, so that alternating courses stagger the vertical joint and the corner reads as traditional masonry rather than as a wrapped panel. Where a designer wants a disciplined, equal reveal, the symmetric set of two 6 inch by 12 inch legs gives a clean ninety-degree corner with the joint line centred. Because the corner arrives finished, the site team is not cutting it: on a facade or feature wall this removes roughly 20 percent material waste and more than 50 percent of the corner labour, and inside a niche, where the cutting is harder to see and harder to do, the same saving arrives with a lower risk of a rejected box.
Corner sizing logic, including when to choose asymmetric over symmetric sets and how a corner ties into the field pattern, is covered in detail in the L-corner pieces guide; the point here is narrower and purely about interiors: in a recess, the corner piece is not a decoration, it is the structural decision that makes the box crisp and the joints continuous.
Set-Out: Mark the Opening First
Profile work punishes sloppy set-out far harder than flat work, because a niche exposes three dimensions at once. Before any adhesive is mixed, mark the opening on the substrate and take a level and a square to it: the reveal lines vertical, the base of the box level, the two side returns parallel, and the corners actually at ninety degrees. If the framing is out, the stone records the error permanently, and a small variance across a narrow reveal is obvious at arm’s length in a way it never is along a long run of field wall.
Then set out dry. Laying the pieces out on a bench or loosely on the wall in the order they will go lets you see the joint pattern where the field wall meets the recess, decide whether the first course at the opening should be a full piece or a cut, and check that the staggered vertical joints of the panel field continue into the corner pieces rather than clashing with them. A dry-fit costs a little bench time and prevents one of the complaints interior stone work generates most often, which is a beautiful wall interrupted by a box whose courses point at nothing. The dry-fit discipline for panel fields and the tooling choices for cutting are treated in cutting stone veneer panels: tools and techniques.
Radiused and Arched Openings
An arch is a set of short straight cuts that must be read as one curve. The radius is transferred to the stone face, then the cut is taken in segments with a diamond blade or an angle grinder, working through the stone and its backing together so the two layers do not separate at the edge. Between segments, the arris is softened with a rub stone or a pad, because a sawn arris catches light differently from a split face and a hard line will look like an interruption. A guide to building the arc on site, including centre marks, template cards and how to handle the skewback where the curve meets the vertical, is in stone veneer arch installation; it is not repeated here.
The specification consequence of a radius is that the smaller your units, the smoother the curve. A 60cm ledger panel forced into a shallow arch produces long chords and visible faceting; loose split-face stone, fitted piece by piece, follows the same arc far more convincingly, because each stone covers a short segment and the eye averages them. Where the arch is deep and the geometry is generous, panels cut to a curve can still work, and where the arch is a decorative head over a niche rather than a structural opening, the alternative worth pricing is a custom arch set fabricated to your drawing, which is a manufacturability enquiry against the accepted technical inputs rather than a stocked item.
Reveals, Arrises and Terminations
Every profile ends somewhere, and how it ends is a design decision with three usual answers. A square stop runs the stone flush to plaster or timber and relies on a crisp cut and a clean paint edge; it is the cheapest and the least forgiving, because the line is only as good as the cutting. A shadow gap leaves a deliberate narrow reveal, usually packed or raked to a consistent depth, and it hides small movement and small cutting errors, which is why it is the detail most often used where stone meets a different material. A trim profile closes the edge with metal or stone, protects the arris and makes the termination repeatable across many openings.
Inside a niche there is a fourth plane nobody likes to think about: the back. Lining it with the same stone as the field wall gives depth and a continuous read; leaving it plastered turns the recess into a hole. The trade-off is cut count against visual weight, and it belongs on the drawing, because a site team left to decide will decide differently in each room. The families of trim profiles, how they are fixed and which suit riven relief, are covered in stone veneer trim profiles.
Lighting Inside the Recess
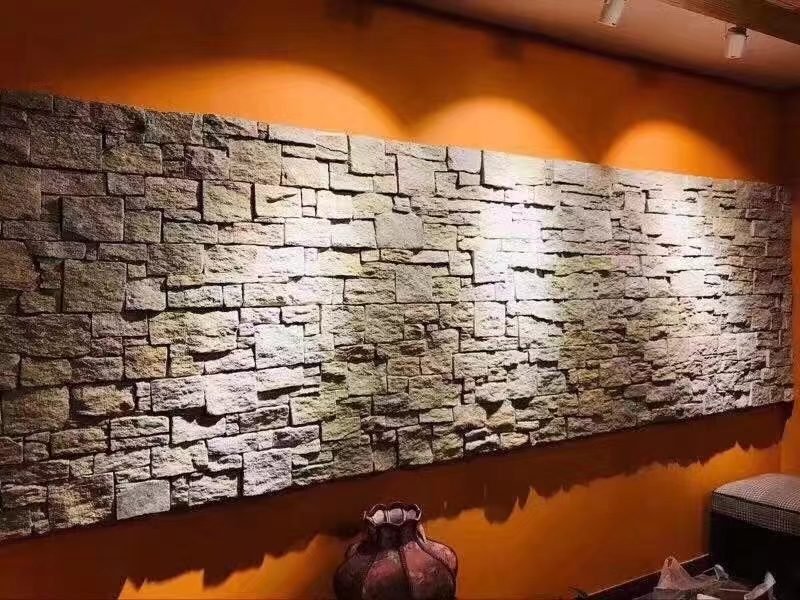
A split or riven face is a surface of small slopes, and a slope is only visible when light arrives across it rather than straight onto it. That makes the position of the lamp part of the stone specification for any niche. A downlight at the top of a box rakes the faces downward, deepens the shadow under each ledge and makes the relief read as texture; a light placed low, or a strip hidden in the reveal, flattens the same stone and can turn a busy cleft face into a blur. A shelf inside the recess adds a fourth consideration: an unintended shadow appears under it if the lamp sits behind rather than above.
Two practical consequences for ordering. First, if the design intends a lit recess, the reveal depth has to be enough to house both the stone thickness and the fitting, so the electrical line is coordinated with the thickness range specified for the stone rather than assumed. Second, the same geometry keeps recurring in the interior design treatments on this site, for example interior stone feature wall designs. Decide the light, then set the profile.
Matching Batch and Vein So the Recess Disappears
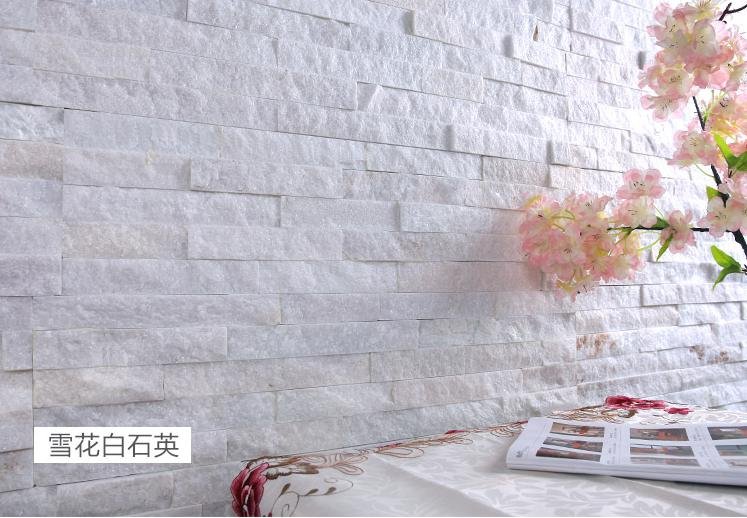
A niche should look excavated from the wall, not inserted into it. That is a colour and vein question, and it is a frequent reason an interior stone feature looks like a patch. Natural stone varies within a seam, so a recess supplied from a different batch than the field wall can carry a slightly different tone that becomes obvious the moment both are in the same light and the same sightline. For split-face loose stone, Top Stone Panels locks shipments to a single quarry vein and has masons hand-sort the material so natural colour transition holds at 95 percent or better, which is the mechanism that lets field, reveal and back plane read as one surface.
Two ordering habits follow. Order profile material and field material on the same purchase and from the same vein, because a later top-up risks a seam difference nobody can repair with a trowel. And where a niche or arch has to match an existing wall rather than a new one, send a physical piece: the factory laboratory runs vein density, cutting tolerance and backing reverse analysis in about 3 working days and issues a 1:1 sample, which is the reliable way to extend a wall laid months or years earlier.
A Worked Profile Schedule
The table below is the kind of schedule a distributor or builder can hand to a supplier: profile, format, corner or termination strategy, and what to confirm before ordering. It is a specification pattern, not a rulebook; the openings themselves are set by the drawing.
| Profile | Best-suited unit | Corner and edge strategy | Confirm before ordering |
|---|---|---|---|
| Rectangular niche, shallow reveal | 36x10cm mini ledgestone on the returns | Pre-made L-corners for the box; asymmetric set if joints must stagger | Reveal depth against stone thickness plus fitting |
| Feature wall field around the opening | 15x60cm or 15x55cm bonded panels | Dry-fit first course at the opening so joints run into the corner piece | Same vein and batch as the recess material |
| Arched head over an opening | Loose split-face stone, fitted piece by piece | Short segment cuts, arris softened, template card kept as the pattern | Radius versus panel chord; whether a factory-cut arch set is cheaper |
| Wet or humid interior recess | Thin veneer over a tanked background | Termination detail decided before the lining is set out | Waterproofing and falls are a separate scope; the recess itself is detailed in the stone shower wall niche |
| Lit shelf or display box | Thin veneer on the underside and back plane | Shadow gap at the plaster line so the light does not expose cut error | Lamp position fixed before reveal depth is set |
What to Ask Before You Order Profile Work
- Can the recess and the field wall ship from the same vein on one purchase order, and what happens to the match if a later top-up order is needed?
- Do you supply pre-made L-corners in the asymmetric and symmetric sets, and which leg lengths suit the reveal depth on this drawing?
- Is the 36x10cm thin format the right unit for these returns, or would loose split-face stone cut and fit more cleanly at this geometry?
- If the design needs a curved head, can a factory-cut arch set to our drawing beat site cutting in waste and labour, and what radius does it need?
- Can thickness range and colour-mix ratio be adjusted for the back plane so the recess does not read heavy?
- How fast can a mounted profile sample reach us, and what is included in the reverse analysis when we are matching an existing wall?
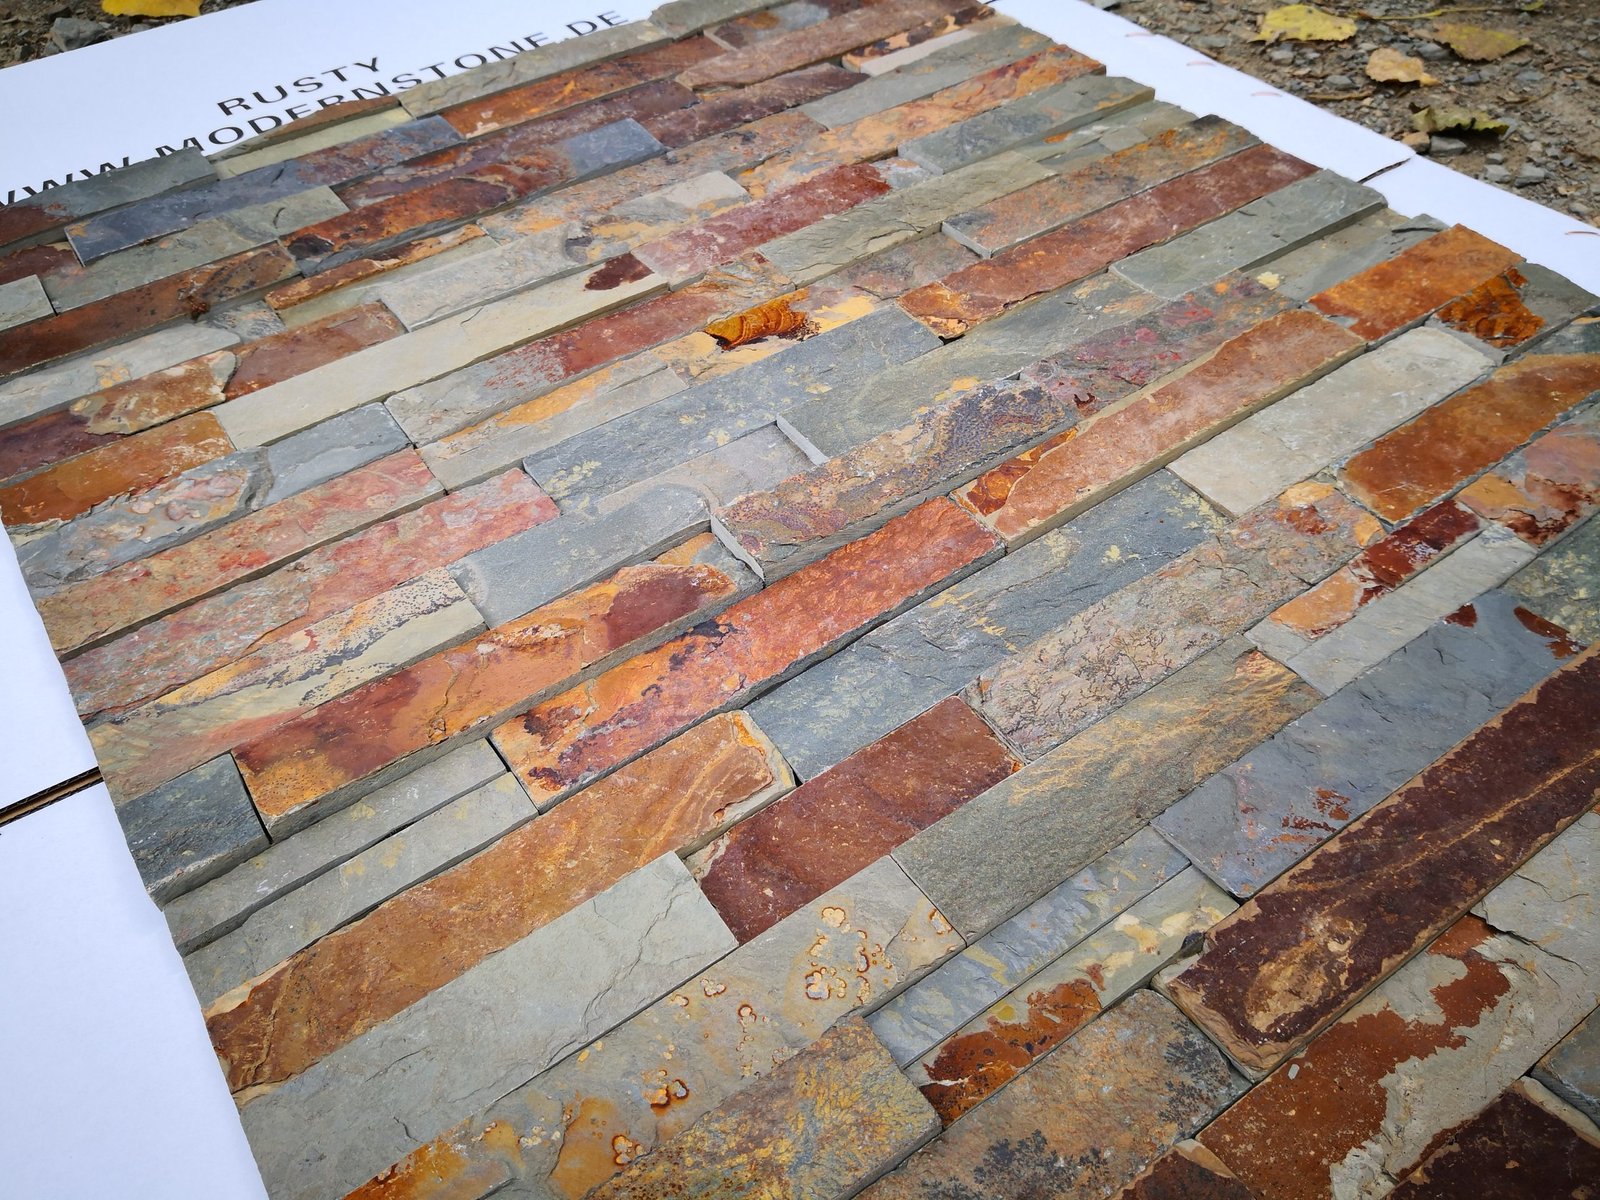
Sample speed is part of the detailing schedule, not a courtesy: prototypes and short runs are produced and dispatched in 1 to 3 working days, so a profile mock-up can reach the specification loop early enough to change the drawing rather than explain a deviation later. For a distributor that speed is also a sales asset, because a customer who can see a corner piece and a thin-format return on one board orders with more confidence and complains less.
Frequently Asked Questions
What stone works best inside a niche or on an arched opening?
Small returns and curves favour the lighter, thinner formats: 36x10cm ultra-thin mini ledgestone and loose split-face stone that can be cut to a radius, while 15x60cm and 15x55cm bonded ledger panels work better on the flat field wall around the opening than inside a tight reveal.
Do I need corner pieces for a stone niche?
For a square or rectangular niche, pre-made L-corner sets are the clean answer: the asymmetric 6 by 12 inch plus 6 by 6 inch and 6 by 16 inch plus 6 by 8 inch sets stagger the vertical joints, and the symmetric 6 by 12 inch plus 6 by 12 inch set gives an equal reveal, whereas cutting field panels at 45 degrees on site is where chipping and waste come from.
How are arch and radius edges made in natural stone veneer?
The curve is cut through the stone and its backing with a diamond blade or grinder in short segments, then the arris is softened; on a tight radius, loose stone fitted piece by piece beats a full panel because each piece only has to match a short arc.
How do I keep a niche from looking like a patch in the wall?
Keep it in the same batch and the same vein. For split-face loose stone, masons hand-sort from a single quarry vein to hold natural colour transition at 95 percent or better, so the recess, the reveal and the field wall read as one surface.
Should lighting be designed into the niche before installation?
Yes. Riven relief throws shadows, so the lamp position decides whether the texture reads as depth or as mess; decide the light source, then set the reveal depth and which face is lit, before the first piece is bonded.
Conclusion
Niches and arches are the profile layer of an interior stone wall, and they respond to decisions made before the box is built: a unit small and light enough for the reveal, factory corners instead of site-cut mitres, a radius assembled from short segments with the arris softened, a termination that is designed rather than cut off, lighting placed to rake the relief, and one vein running through the field, the recess and the back plane. None of it is exotic work. All of it is specification work, and it is cheaper to resolve on a purchase order than on a scaffold.
- Match the unit to the geometry: 36x10cm thin ledgestone and loose split-face stone for returns and curves, bonded 15x60cm or 15x55cm panels for the field.
- Build the niche box from pre-made L-corners, asymmetric to stagger joints or symmetric for an equal reveal, and take the mitre cutting off the site team.
- Set out and dry-fit the opening before mixing anything; profiles record every frame error permanently.
- Choose the termination deliberately: square stop, shadow gap or trim profile, and line the back of the recess if the design wants depth.
- Order field and profile material together from one vein, use the 3-day reverse analysis when matching an existing wall, and fix the lamp position before setting reveal depth.
Specifying a feature wall with niches, an arched head or an unusual reveal? Send the drawing and the openings to the Top Stone Panels team and we will match formats, corner sets and vein for one purchase order, with a mounted profile sample in 1 to 3 working days.