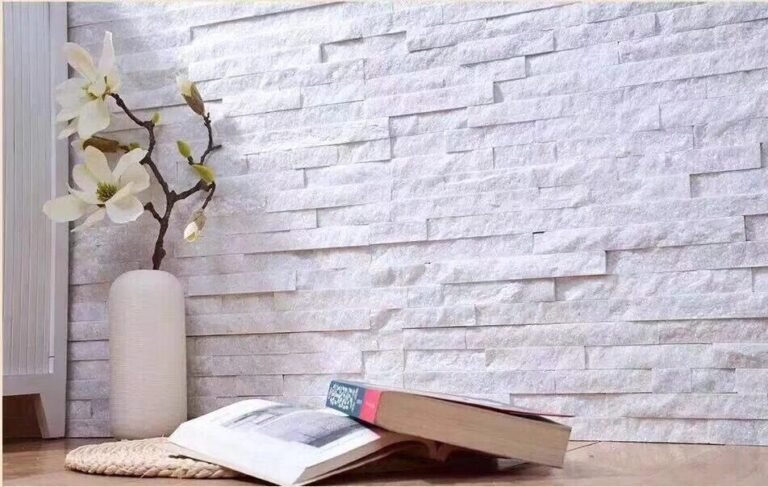
Stone veneer around an arched opening is where an average wall install turns into a good one. The flat runs are the same lath, scratch coat, and face mortar any installer knows. The arch is different: a curve cannot be satisfied by straight-cut pieces, and an asymmetric arch is the fastest visual failure on a facade. The method is not magic. It is measure-first, template, center-stone-first symmetry, and patient dry-fit before any mortar sets.
This guide covers the full sequence for cladding an arched door, window, or passage in natural stone panels, from layout math to the finished reveal. It assumes a competent installer and a sound substrate, and it flags the corners of the job — quite literally — where most problems surface. The product references come from a factory that ships stacked stone programs with pre-made L-corners and thin veneer strips by the container, which changes how much cutting an arch actually needs.
- Budget the arch as skilled work: a straight wall runs fast, the reveal of an arch eats time in dry-fit, cutting, and re-layout.
- Set the keystone at the crown first, then work outward in mirrored courses from both side clusters toward the spring line.
- Build the curved reveal from narrow strips and short segments; joints fan slightly to follow the radius instead of a rigid bend.
- Use pre-made L-corner pieces on the vertical jambs so the wrap stays clean without an on-site miter at the turn.
- Verify the substrate and flashing around the opening before stone — an arch collects run-off and leaks punish it worse than flat wall.
- Substrate Prep and Tools for Arched Work
- Measure the Arch: Spring Line, Rise, and Template
- Dry-Fit Layout: Keystone First, Then Mirrored Courses
- Cutting and Setting the Curved Reveal
- Jambs, L-Corners, and the Finish Details
- Time and Materials: What an Arch Really Costs
- Five Mistakes That Ruin an Arch Install
- FAQ
- Conclusion
Substrate Prep and Tools for Arched Work
Arched openings sit above grade, collect rain, and frame the busiest visual line on the building. The substrate gets the same treatment as any exterior stone veneer wall — weather-resistive barrier, metal lath or approved backer board, and a scratch coat — and the substrate preparation guide covers the flat-wall rules. Around the opening itself, add two jobs: flashing at the head and proper jamb waterproofing.
Tools beyond the standard veneer kit: a template board or adjustable arch gauge, a wet saw with a diamond blade, a grinder for shallow returns, and a set of thin strips. For the layout, a plumb bob and string line from the crown anchor your centerline. The cutting discipline is the same as any stone work — measure twice, cut once — but on a radius the measure is done on a dry-fit mockup, not on paper. The stone veneer cutting guide details blade choice and clean-edge technique for the pieces you will cut.
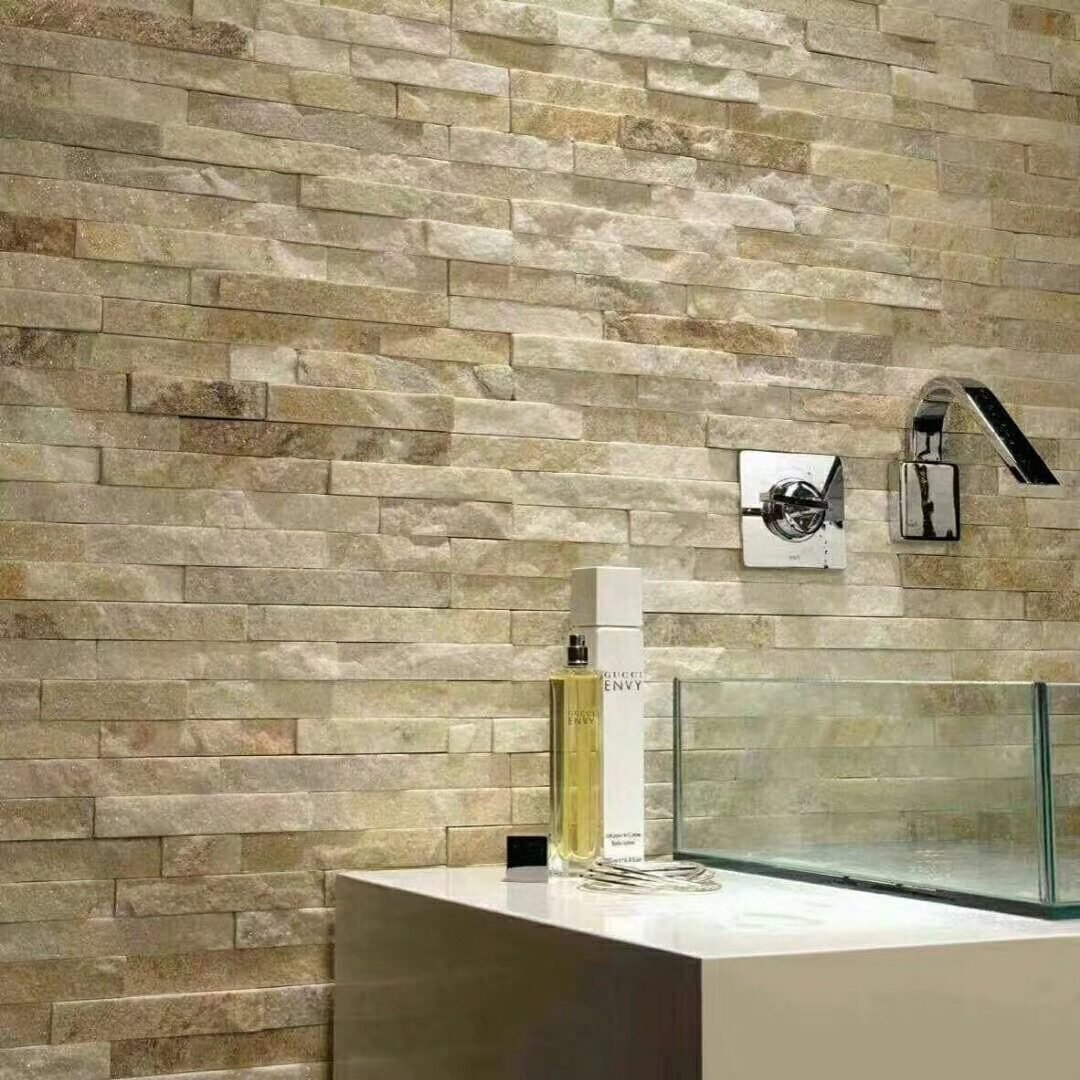
Product choice changes the labor math. A stacked stone program that ships with pre-made L-corner pieces saves you from cutting your own returns on the jambs. Thin veneer strips in random lengths give you segments short enough to follow a tight radius. Both are standard at Top Stone Panels, which sells the programs wholesale in one-20GP containers with 1-3 day samples.
Measure the Arch: Spring Line, Rise, and Template
Every arch install starts with the same three measurements. The span is the width at the spring line — the point where the curve begins. The rise is the height from the spring line to the crown — the top center of the opening. The reveal depth is how far the stone must wrap into the opening. Write all three before you cut anything. The arch terminology used across masonry trades is consistent on these points: spring line, rise, crown, and reveal describe the same geometry whether the material is brick, block, or stone veneer.
Build the template for the curve from the span and rise. A simple method: draw the opening face on a sheet of plywood or rigid foam, mark the spring line, and draw the arch with a trammel — a board pivoted on a nail at the center of the span, set to the crown. Transfer that curve to a template you can hold up for dry-fit. For a semicircular arch, the center of the radius sits on the spring line and the crown is exactly half the span above it; for a shallow elliptical arch the layout is tweaked by eye with string line and repeated check.
Mark the centerline of the arch clearly on the wall and on the template. That centerline is the anchor for the whole layout. Without it, the left and right sides of the arch will not mirror, and the visual failure is obvious from the street. Confirm the template against the real opening before any stone is cut — openings are rarely square, and plumb-but-rotated jambs change the reveal.
Dry-Fit Layout: Keystone First, Then Mirrored Courses
Set the keystone first. Find the center of the crown on the template, place the top center stone there, and mark its edges. That single piece anchors the symmetry of the arch: everything left of it should mirror everything right of it. The keystone can be the visual centerpiece — a wider or more prominent thin veneer strip — or simply the first piece of a consistent course, as long as it is centered.
Work from the keystone outward, down both sides toward the spring line, in mirrored sequence. Pull a piece from the left side, cut it, then cut its mirror from the right side before setting anything. This mirrored dry-fit is the discipline that keeps the arch honest; if you set one side course by course and build the other side by eye, the two sides drift apart as the radius closes.
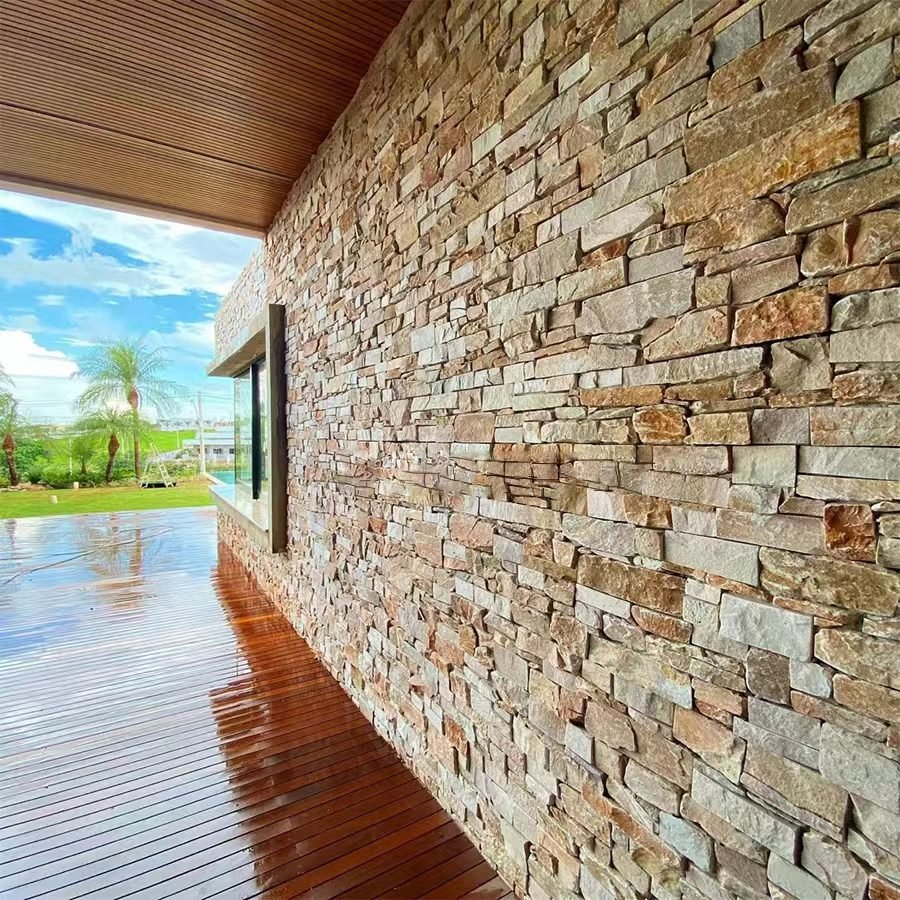
Number or photograph the dry-fit pieces before taking them down. On a dry-laid arch the mortar rows will follow the same sequence, and re-establishing the layout under time pressure is where mistakes creep in. Photograph both sides from the same angle — it reads well later for the trades, and it keeps you honest on symmetry now.
Cutting and Setting the Curved Reveal
The reveal is where the arch turns from a face problem into a depth problem. When the stone wraps into the opening, the curve continues in the soffit — the underside of the arch — and straight pieces cannot follow it. The solution is segmenting: use narrow strips and short pieces so the joints fan slightly to follow the radius. The tighter the radius, the shorter your segments; the broader the arch, the straighter each piece can be.
For an interior reveal you can often set strips in a thin mortar bed or approved adhesive directly against the backer, following the same lath-and-scratch discipline as the face. For an exterior opening, protect the wrap: a return piece at the inner edge, a sealed movement joint where stone meets the frame, and flashing above the opening head. The wet-area waterproofing guide covers the membrane and flashing logic that keeps water out of exactly this kind of joint.
Set the reveal after you have the face course seated, not before. Mortar the back of each strip, press it into the curve, and check it against your template line. Keep the joints in the reveal tighter than the face joints — the curve is where gaps, plumb, and proud pieces draw the eye.
Jambs, L-Corners, and the Finish Details
The vertical sides of an arched opening are plain jambs — the stone wraps the edge of the wall, turns the corner, and continues the reveal depth. This turn is exactly what an L-corner piece solves: a pre-made corner wraps the 90° without a lath-built joint and without an on-site 45° miter. The L-corner guide shows why corner pieces are the faster, cleaner answer for stacked stone programs.
At the spring line, the jamb turns into the arch, and the reveal depth has to stay constant as the curve rises. Check this with a gauge block as you climb: hold the block at the inner edge of the reveal at several heights; if the depth varies, adjust the face courses before the joint line sets. On the crown, the return piece of the reveal meets the keystone — cut it to fit the template, not to fit keystone dry-fit alone.
Finish details decide the job. Tool the face joints as you go so the arch reads clean in raking light. Wipe mortar off the face before it cures — stone faces skip cleaning well but it is faster to be careful. Check the movement joint at the frame: natural stone and a wood or metal frame expand at different rates, and a rigid mortar joint across that line will crack by spring.
Time and Materials: What an Arch Really Costs
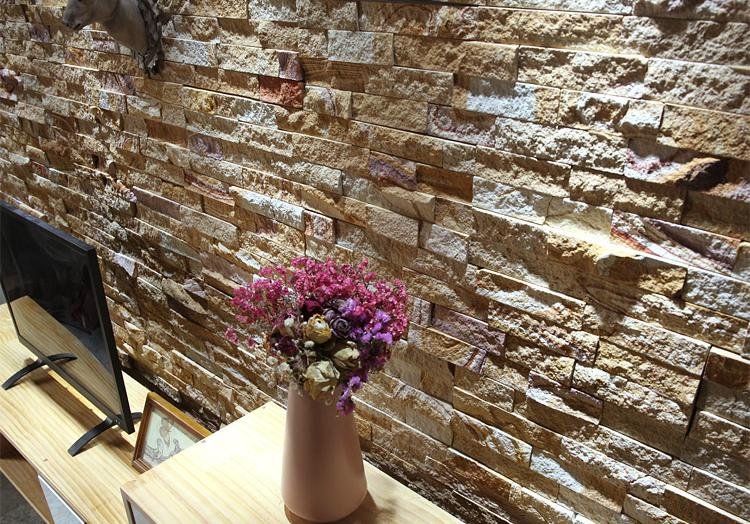
Budget an arch as skilled work, not square footage. A straight wall in thin veneer runs at a steady rate; the area inside an arch opening — the face around it, the reveal wrap, the jamb turns — runs two to three times slower because every course is dry-fit, mirrored, and adjusted for the radius. On a typical exterior door arch, plan for a full installation day for the arch zone alone, including template building and flashing, on top of the flat-work schedule.
Materials are easier to predict: for a 1.2 m wide opening with a 0.6 m rise, expect roughly 2.5-3 m² of stone face plus reveal strips and corner units. Buyers should add 10-15% cutting waste on the arch zone, because the radius consumes pieces that flat work would use whole, and the quantity calculation guide walks the full-waste math. Order corners as part of the container — the stacked stone program ships L-corner pieces with the panel order, so the jambs do not force onsite cutting that eats both time and corners.
The factory lead time is a planning number, not a surprise: 1-3 days for samples, 20-25 working days for a wholesale production order, and one 20GP container as the standard MOQ. If an arch focal point is in the design, allocate a sample early — the radius, tone, and return detail all deserve approval before the crew mobilizes.
Five Mistakes That Ruin an Arch Install
- Skipping the centerline. An arch not anchored to a vertical centerline drifts; both sides should be mirror images and only a marked, checked center delivers that.
- Cutting sides independently. Build course A left, cut mirror course A right, set nothing until both are dry-fit. Cutting right-side courses by eye guarantees asymmetry.
- Setting the reveal too late. If the face course is fully set, you cannot reach the reveal cleanly; any warp in the wall is sealed in. Sequence face and reveal together in the same mortar session.
- Rigid joint at the frame. Stone meeting a door frame needs a movement joint and sealant. Mortar across that line cracks and wicks water into the jamb.
- Skipping flashing at the head. An arch collects run-off from the wall above and concentrates it at the crown. Head flashing and proper drip edge are non-negotiable on exterior arches.
The pattern repeats in nearly every failed arch: the flat wall looked good and the curve was rushed. Slow down for the curve — the flat work is not where the buyer’s eye lands.
FAQ
How do you install stone veneer around an arch?
Mark the arch center, measure from the spring line to the crown, dry-fit the keystone at center first, then work outward in mirrored courses, cutting thin strips to follow the reveal and setting each piece with face mortar.
Do you need special corner pieces for an arched opening?
No, vertical jambs use standard L-corner pieces. What changes is the arch reveal: thin strips are cut or selected to follow the radius, and the curved face is finished with a return piece or a hardened mortar edge.
Can stone veneer bend around a curved reveal?
Thin veneer cannot bend rigidly, but the curved reveal is built from short segments and narrow strips so the joints fan slightly and follow the radius; the wider the radius, the straighter the individual pieces can be.
What base is required behind stone veneer at an arch?
The same assembly as flat walls: a weather-resistive barrier, metal lath or approved backer board, and a scratch coat. Around openings, flashing and proper jamb waterproofing are more important than on mid-wall runs.
Why set the keystone first?
Placing the top center piece first anchors the symmetry of the arch. Working from keystone outward in mirrored courses prevents both sides of the curve drifting apart as the radius closes.
What stone products make arch installation easier?
Pre-made L-corner pieces for jambs and thin veneer strips in short random lengths for the reveal. Both ship wholesale from Top Stone Panels in one-20GP containers with 1-3 day samples.
Conclusion
An arched opening is the one place on a stone-clad wall where the installer’s judgment decides the result. Measure the span, rise, and reveal depth; scaffold the curve with a template; set the keystone first and mirror every course from it.
- Sequence the reveal with the face so the curve stays reachable and the depth holds.
- Use pre-made L-corners for the jambs and short thin strips for the reveal radius.
- Protect the opening: head flashing, movement joint at the frame, sealed transitions.
- Dry-fit both sides before setting anything — the mirror is the quality gate.
If an arched entry is on your list, order thin veneer strips and L-corner samples early so the radius and tone are approved before the crew arrives — Top Stone Panels ships samples in 1-3 days from quarry-direct stock.