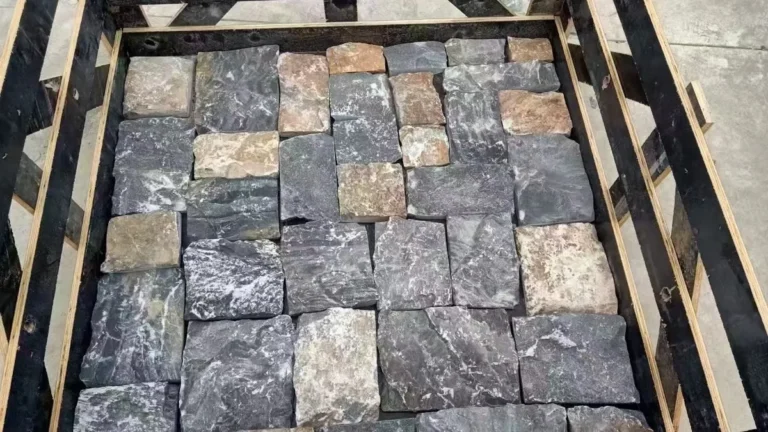
Pop-off is the failure that makes natural stone cladding get a bad name, and almost all of the bad name is misplaced. The stone does not let go; a bond plane does. A panel that has been on a wall for two years and suddenly sits in a hand on the ground did not decide to leave, it was detached by a load acting on an area that was never properly bonded in the first place. That distinction matters commercially as well as technically: the first response to a popped panel is usually to blame the material and change supplier, when the diagnostic question is which of three interfaces failed and what was in the wall behind it.
This guide stays on the mechanism and the discipline that prevents it: what pop-off physically is, how bonding coverage is created and verified, why edges and corners go first, how water, frost and salt convert a weak bond into a lost panel, and what a buyer should specify so the wall that goes up is the wall that stays up. The walkthrough of applying mortar, the build-up of the substrate layers, the comparison of adhesive families and the cold-weather working procedure already have their own treatments on this site, so they are linked here rather than repeated.
- Pop-off is an interface failure at one of three planes: substrate to scratch coat, adhesive to stone back, or stone to its factory backing. Diagnose the plane before blaming the stone.
- Coverage means continuous contact across the whole back including the perimeter, and it is verified by keying off a test piece and reading the back, never by the quantity of adhesive applied.
- Ridges that a panel rests on without collapsing leave voids; voids behind an edge are the failure route, because edges are loaded in peeling and are where water enters.
- Water, frost and salt crystallisation do the actual prying, so drainage, sealing and joint integrity are bonding issues, not just finishing issues.
- Unit type changes the rules: weight, back texture and whether the system carries load mechanically all shift how much of the job the adhesive bond is being asked to do.
- Repair is a vein-and-thickness problem, and the load path that failed has to be corrected or the replacement pops in turn.
- What Pop-Off Actually Is
- The Three Interfaces
- Coverage, Not Quantity
- Why Edges and Corners Go First
- Water, Frost and Salt: The Loads That Pry
- Unit Weight, Back Texture and System
- Movement, Restraint and Built-In Voids
- Verifying the Bond Before It Is Hidden
- Reading a Failure: Interface Table
- What to Write Into the Specification
- Frequently Asked Questions
- Conclusion
What Pop-Off Actually Is
A veneer is held by a plane of adhesive that was intended to be continuous. When the panel comes away, one of three things has happened: the adhesive let go of the substrate, taking the scratch coat with it or leaving it behind in patches; the adhesive let go of, or never properly touched, the back of the stone; or the stone separated from the backing it was bonded to at the factory, so what falls is a delaminated panel rather than a wall failure. Reading which plane failed is the entire diagnosis, and it is visible if you look at the back of the fallen unit and at the wall it came from: stone clean and bare means the bond to the stone was the weak plane, a coat still stuck to the stone means the failure was one plane further back, and a panel that has split along its backing mesh points at the unit itself.
The second thing to understand is that the detachment is almost never instantaneous. A void forms, water gets into it, a frost or a hot afternoon puts a load through it, the bonded area shrinks a little further, and the process repeats until the remaining bond cannot carry the unit. That is why pop-off is so often reported as sudden by a contractor whose inspection habit is to look at the wall rather than to sound it: the failure was progressive, and the wall was telling you about it in hollow patches for months.
The Three Interfaces
Each interface has its own way of being compromised. The substrate to scratch coat plane fails when the mechanical key is absent or contaminated: a smooth, dust-coated or painted surface that was never roughened or wetted, a lath that was applied loose so the coat can flex, or a coat that cured too fast to gain strength. The long form of that argument, including plywood, cement board and metal lath preparation, is in substrate preparation for stone veneer; the relevant point here is that a bond cannot be created later by putting more adhesive on top of a plane that was never keyed.
The adhesive to stone plane is the one that the rest of this article stays on, because it is where coverage discipline either exists or does not. A natural split face is not a flat plane: it has ledges, overhangs and deep troughs, and its back is often ribbed or irregular. Adhesive has to meet the whole of that surface under load, and the only reliable way to know whether it does is to look at the back of a unit that has been placed and then removed. The third plane, stone to factory backing, is a supply-chain matter and is discussed in its own section below.
Coverage, Not Quantity
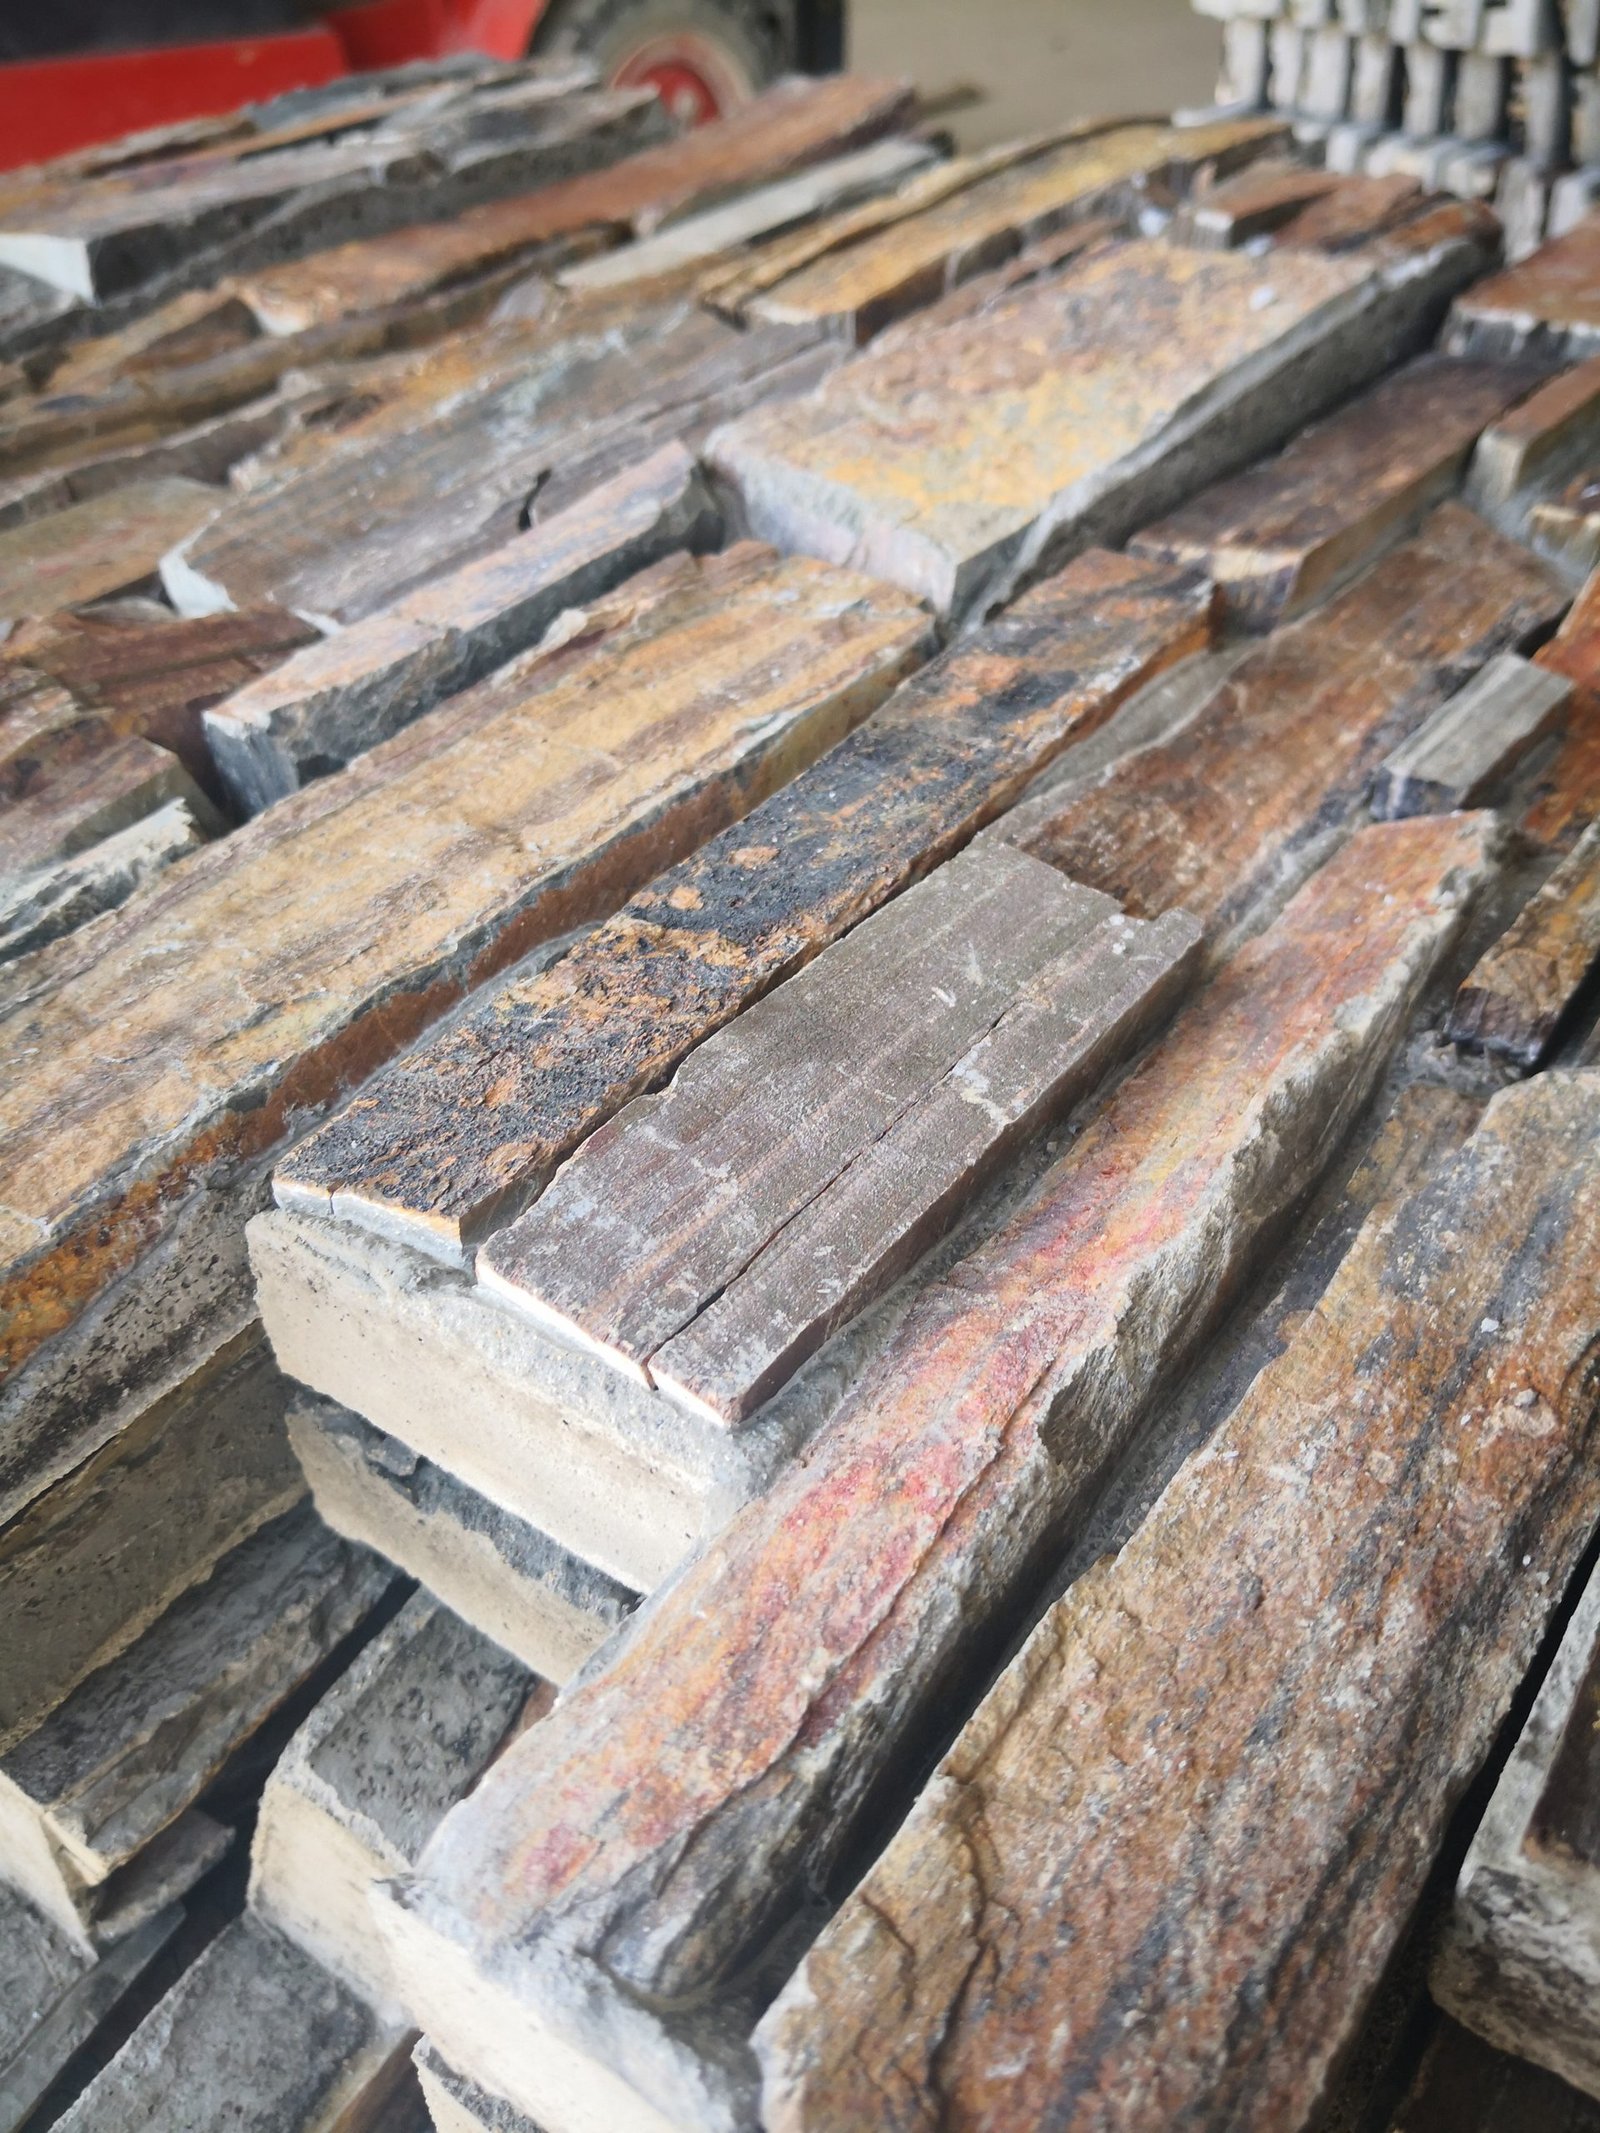
Coverage is the proportion of the back of the unit that is actually in contact with adhesive once the unit is pressed into place, and it is a different thing from how much adhesive was applied. The usual method spreads adhesive on the wall with a notched trowel, producing ridges that are meant to collapse and spread when the unit is pushed and wiggled into position. Where the notches are too shallow for the depth of the back, or where the unit is set down without enough pressure and movement to collapse the ridges, the ridges remain as a scaffold and the space between them stays empty. The panel looks solid, sounds solid to a careless tap, and is resting on a series of lines with voids behind them.
Back-buttering exists to solve that. A skim of adhesive spread across the back of the unit before it goes onto the wall fills the troughs, reaches the perimeter and lets the wall ridges do the rest of the work. On a heavy relief face, a rib-backed panel or a cement-backed unit, back-skimming is the step that converts a nominal bed into real contact; the technique of combining the two, trowel size choice and how to handle open time is the subject of how to apply mortar to stone veneer panels. What matters for pop-off is the principle: contact area is what resists load, and contact area is not negotiable by the quantity of mix on the wall. North American installation standards published by the Tile Council of North America are built on the same logic for adhered work: the method is defined by what the back of the unit shows after placement.
Why Edges and Corners Go First
A void in the middle of a panel is bad; a void behind an edge is worse, for three reasons. First, load geometry: a bond loaded perpendicular to the wall resists in shear, while a unit whose outer edge is unsupported acts as a lever and loads the remaining bond in peeling, which is the weakest way to ask an adhesive to work. Second, shrinkage: as a cementitious bed cures it contracts, and the contraction concentrates at the perimeter of the unit, which is exactly where a coverage gap means there is nothing to hold. Third, water: the joint line and the top edge of a course are where rain runs and where a poorly packed or cracked joint lets it behind the face, so the wettest part of the assembly is often the part with the least bond.
That combination explains the characteristic pattern of a pop-off failure: the loose units are the ones at reveals, at the top of a wall, at inside and outside corners and along the course directly under a leak or a failed sealant line. Corners are a special case, because a corner piece has two faces and a return, and if the return is bedded by pressing only its front edge, the vertical leg stands off the wall with an air gap behind it. Factory pre-made L-corners reduce this by arriving as a formed unit with a predictable back, and how they are bedded and staggered is treated in the L-corner pieces guide.
Water, Frost and Salt: The Loads That Pry
Nothing in the wall pries a panel off with its bare hands. Two ordinary agents do the prying, and they need a void to work in. Water that enters behind a face and freezes expands, and repeated cycles push a partially bonded edge further out each time; a wall in a freeze-thaw climate is running that test every winter, which is why the cold-climate assembly logic is worth reading alongside this article in exterior stone veneer in cold climates. Dissolved salts do the quieter job: moisture carrying dissolved solids from the mortar or the substrate moves out through the face, evaporates, and crystallises in the pore structure, and the growing crystals exert pressure that shows first as a white bloom and later as a loosened edge. The efflorescence mechanism and its remedies are covered in efflorescence on stone veneer.
So the two defences against pop-off are not really two. Getting contact area right is the structural defence; keeping water out and letting what gets in escape is the load defence, which means the flashings, weeps and sealant lines are part of the bond system. Sealing behind a veneer is treated in waterproofing behind stone veneer and joint protection in weatherproofing stone veneer joints. The material-science side of why frost does damage at all, and why density and water absorption decide a stone’s resistance, is in freeze-thaw resistance in natural stone.
Unit Weight, Back Texture and System
How much of the holding work falls on the adhesive depends on the unit. A 15x60cm bonded ledger panel carries a full field of stone on a glued or mesh backing, and its mass and ribbed back make both wall-bedding and back-skimming necessary if contact is to be achieved. A 36x10cm ultra-thin mini ledgestone unit is far lighter per square metre, which lowers the peeling moment at an unsupported edge and is one reason thin formats are the forgiving option on interiors and on tall returns. The weight arithmetic for a specific wall, including how load per square metre changes with thickness, is in the stone panel weight calculator.
A mechanically interlocking system changes the question. Top Stone Panels produces cement-backed interlocking cladding in 20x55cm and 15.2x61cm, where a male-female edge carries the unit partly by physical hooking rather than by bond alone, and the cement base gives a flat, predictable face for the adhesive to bite. That is the design logic behind the interlocking Z-panel cladding system: in a severe-cold or high-wind assembly, a unit that is held by geometry as well as by adhesive is not relying on coverage being perfect on every course, and the difference between epoxy and cement backing for this behaviour is set out in epoxy bond versus cement backing.

Movement, Restraint and Built-In Voids
Some voids are designed in by accident. A veneer that is bonded hard into an inside corner, packed solid at every control joint and continued across a movement joint without a slip plane is a surface that cannot expand; the movement has to go somewhere, and it goes into the bond line. Where the assembly is continuous across a junction between two structures, or where a panel is bedded tight against a rigid stop, the bond is being asked to absorb a cyclic load it was never chosen for. Control and movement joint detailing, and crack-arrest reinforcement at panel-to-panel seams, is the subject of joint preparation for stone veneer; the pop-off consequence is simply that restraint converts a movement question into a bond question.
The same is true of temperature at the moment of placement rather than in service. A bed applied to a hot wall, or a mix that flashes off before it cures, reaches strength late and weakly, which is why the ambient window, the curing behaviour and the frost protection rules are handled properly in winter installation of stone veneer. The factory-side version of thermal credibility is worth naming: Top Stone Panels bonds its ledger panels with marine-grade epoxy and relies on that bond through a 26.5-tonne loaded container and a swing from minus 30 to plus 50 Celsius, which is a transport and thermal-cycle context rather than a field test result, but it is the same physics that the wall will apply.
Verifying the Bond Before It Is Hidden
Coverage is verifiable, and a crew that verifies it stops having a pop-off problem. Four checks are enough to make the invisible visible.
- Key off a unit. Place a panel or a loose stone as the job intends, then pull it off and read the back. Continuous contact with the perimeter reached is the standard; lines and hollows mean the notch depth, the bedding pressure or the back-skim needs changing before the course continues.
- Test a corner return. Set a corner piece and check the vertical leg, because that is the face most often standing off a wall with an air gap behind it.
- Sound the finished wall. A tap survey across the field and along the top course finds hollow patches while they are still isolated, which is the cheap version of a repair and the only version that avoids a claim later.
- Check the wet path. Run water at the sealant lines and flashings and see where it goes, because a bond that is sound but sitting in a wet cavity is a bond with an expiry date.
Reading a Failure: Interface Table
When a unit has already come off, the table below is the triage order: what you see on the back and on the wall, which plane failed, and what the first corrective action is.
| What the back shows | Failed interface | Typical driver | First corrective action |
|---|---|---|---|
| Stone bare, wall coat intact | Adhesive to stone | Coverage void, dust or slime on the back, skinning over | Back-skim, clean the back, re-verify with a key-off |
| Scratch coat stuck to stone | Substrate to scratch coat | No mechanical key, smooth or painted surface, loose lath | Re-key the substrate before re-bonding anything |
| Stone separated from its own backing | Stone to factory backing | Bond failure inside the unit, damage in transit or handling | Photograph, quarantine, and raise it as a supply issue |
| White deposits at the void line | Either plane, water-driven | Ingress behind the face, salt crystallisation, freeze cycles | Fix the wet path first, then re-bond |
| Loss only at top edges and reveals | Adhesive to stone, peeling load | Unsupported perimeter, restraint at corners, lever action | Restore perimeter contact and re-detail the movement line |
What to Write Into the Specification
For a distributor or a builder, the prevention work is mostly specification language, because a purchase order that describes the assembly, not just the product, is what gets the right unit into the wall. Four things are worth writing down, and a fifth is worth asking a supplier about.
- State the substrate and the key, and name who is responsible for the scratch coat, so nobody assumes the panel arrives to a surface that can hold it.
- State the adhesive family and the coverage requirement, verified by a key-off at the start of each new elevation rather than by verbal agreement.
- State the unit type by role: bonded panels where field speed matters, thin formats where weight and returns matter, and a mechanically interlocking cement-backed system where wind, frost and storey height are doing the asking.
- State the wet path: flashings, weeps, sealant lines and a drainage strategy, all agreed before the face is ordered, with the joint and sealing details in how to seal natural stone veneer.
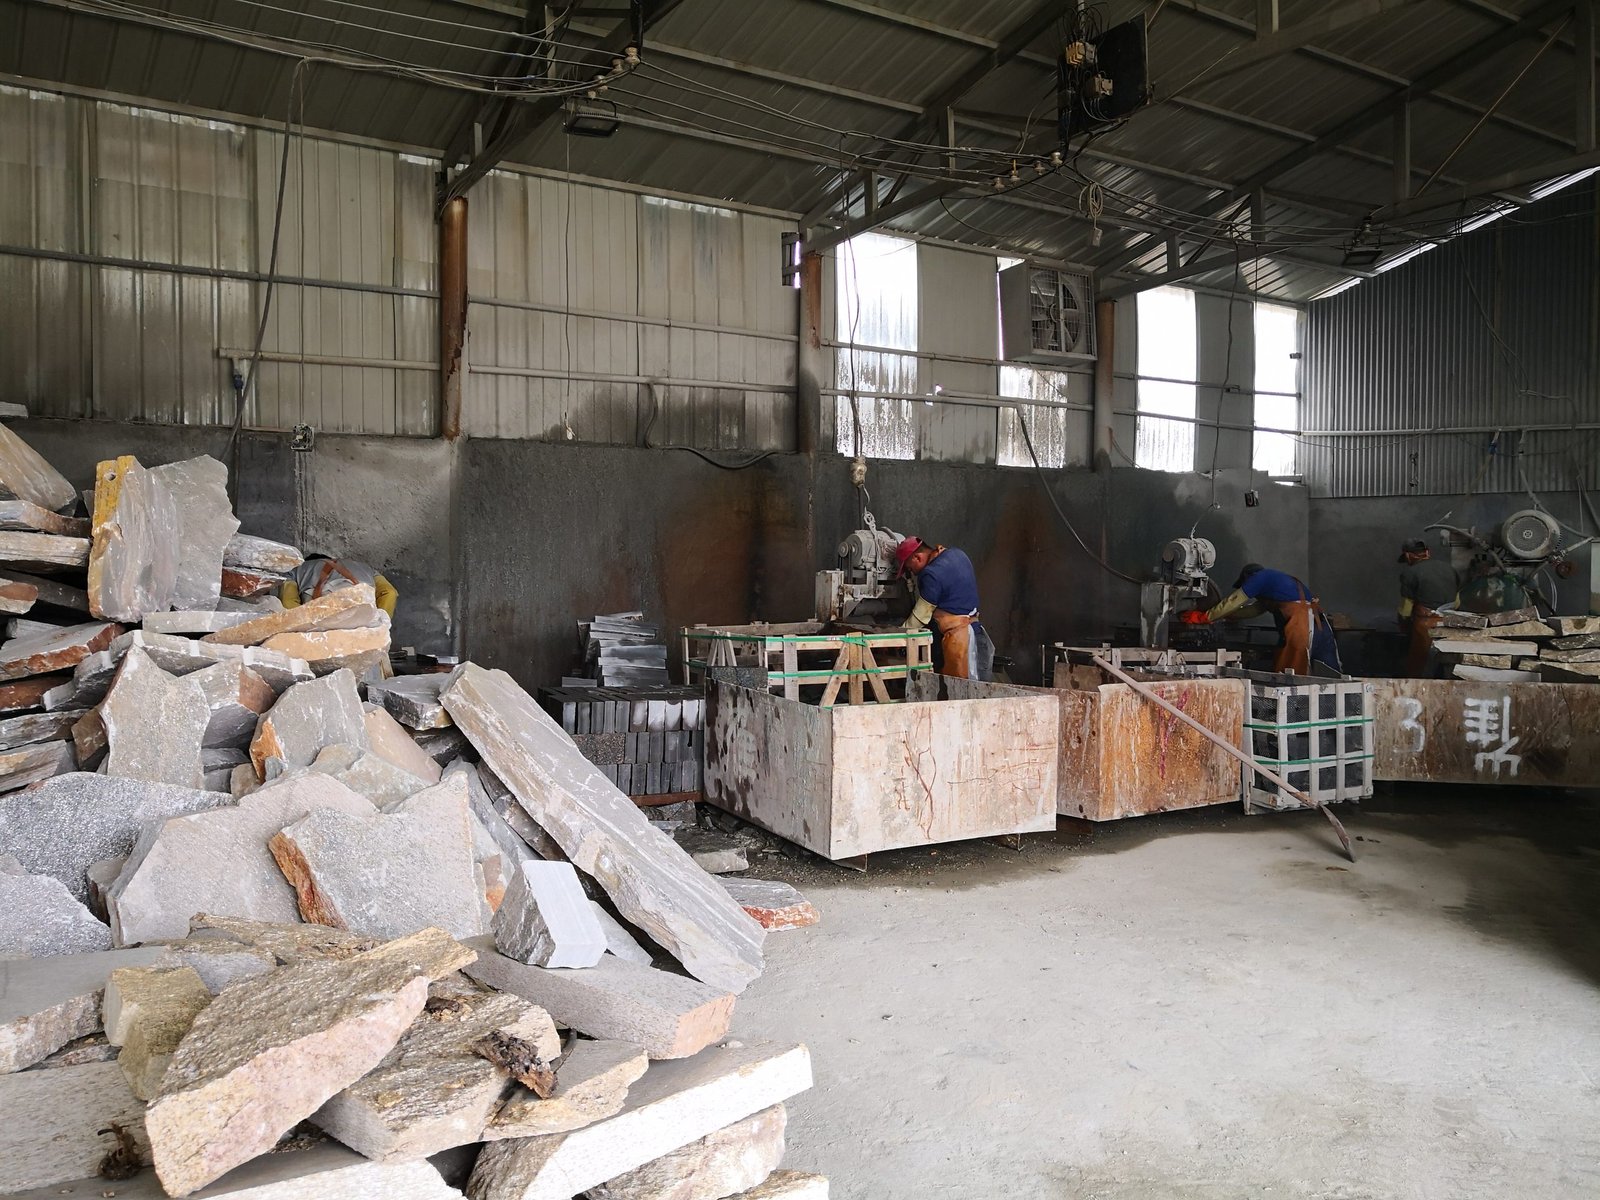
- Ask how the panels are bonded at the factory, and what happens to a unit that delaminates: a supplier running three-step QC, batch vein selection and CNC-diamond cutting can answer that in detail, and one who cannot is telling you something about the third interface.
Where a wall has already lost units and the replacement must disappear into the surviving field, send a physical piece rather than a photograph: density, cutting tolerance and backing go into reverse analysis for about 3 working days and a 1:1 sample comes out of it, which is the difference between a repair that reads as one surface and one that reads as a patch. The wider catalogue of install errors, including the ones that create voids, is collected in stone veneer installation mistakes, and the mechanics of getting a single unit back into a wall cleanly are in removing and replacing stone veneer panels.
Frequently Asked Questions
What causes stone veneer to pop off a wall?
A bond interface failed first, usually because adhesive coverage left voids behind the stone, and then water, frost, salt crystallisation or movement did the prying that finished the detachment. The stone is almost never the cause.
What does bonding coverage actually mean?
Continuous contact between adhesive and the whole back of the unit, including its perimeter, rather than ridges that a panel rests on with hollows behind the edges. Coverage is verified by keying off a test piece and reading the back, not by how much adhesive was applied.
Why do edges and corners pop first?
Edges are where a bond is loaded in peeling rather than shear, where shrinkage concentrates, and where water enters behind the face. A void at the perimeter is far more damaging than the same void in the middle of a panel.
Does the panel backing type change the bonding rules?
Yes. A glued or mesh-backed ledger panel and a cement-backed cladding unit present different surfaces and weights to the adhesive, and a mechanical interlock system carries part of the load physically rather than relying on bond alone.
How do I stop pop-off happening again after a repair?
Find which interface failed and correct the reason, then match the replacement from the same vein: send a physical piece so density, cutting tolerance and backing can be reverse-analysed and a 1:1 sample issued.
Conclusion
A popped panel is an interface that was never fully loaded, and the discipline that prevents it is unglamorous: identify which plane is being asked to hold, create continuous contact across the back and the perimeter of every unit, verify that contact by keying off a piece before the course is committed, keep the wet path working so frost and salt have nothing to pry with, and give movement somewhere to go instead of into the bond line. Then choose the unit for the job it is being given, because a thin format, a bonded panel and a mechanically interlocking cement-backed system each shift how much of the holding work falls on adhesive alone.
- Diagnose the interface before replacing the material: bare stone, coat on the stone, or a split panel are three different conversations.
- Coverage means contact at the perimeter as well as the field, and only a key-off proves it.
- Water, frost and salt are the prying loads, so sealant lines, flashings and weeps are part of the bond system.
- Unsupported edges, restraint at movement joints and skinning-over do more damage than a thin bed in the middle of a panel.
- Match the unit to the load: thin formats for weight, bonded panels for speed, interlocking cement-backed systems where wind and frost are in the argument.
Specifying a wall in a freeze-thaw or high-wind exposure, or working out why a repaired elevation keeps losing units? Send the elevation and a sample piece to the Top Stone Panels team and we will tell you which backing system suits the assembly and what the reverse analysis says about the match.