The photograph that lands on a contractor’s phone at 7 pm is rarely subtle. A stone veneer wall that sat flat for two winters now stands proud of the plaster line at mid-height, the ledger courses bowed outward like a slow wave frozen in stone. Nobody needs to repair sagging stone veneer that day. Somebody needs to find out, before any adhesive is bought, which plane inside the wall has actually let go.
That distinction decides everything about cost, scope and blame. Whole-wall sag is not the same complaint as one loose unit, and treating it like one produces patches that fail again inside the next freeze cycle. This guide walks the diagnosis from the tap survey to the repair-scope decision, then closes with how contractors and distributors settle the callback without a lawsuit.
- A bulge is wall-scale detachment: the failed plane is the mortar contact, the scratch coat, the lath fastening or the weather barrier, and each depth points to a different repair.
- Tap-map the whole wall on a grid and open one unit in a discreet spot before ordering anything; the residue pattern tells you which interface gave way.
- Installation manuals fix the baseline: a 1/2 to 3/4 inch scratch coat cured about 48 hours, lath fastened near 6 inch spacing with 1 inch into framing, and full-coverage contact because voids mean no bond.
- Under the IBC, a weather-resistive barrier sits behind exterior coverings (Section 1402.2), and anchored masonry veneer keeps a minimum 1-inch air space that drains through weep openings at the base (Section 1405.6.2.3).
- Repair scope is ordinal: spot re-bond stays cosmetic unless detachment is shallow and local; a partial strip cut back to solid planes is the workhorse; full redo is reserved for deep or wall-spanning loss.
- Callback responsibility follows the failed plane, so photograph every exposed layer before closing the wall and keep batch records beside the specification.
- What a Sagging Wall Actually Tells You
- Map the Detachment Depth First
- Four Failure Patterns Behind a Sagging Wall
- What the Code and Standards Require
- Three Repair Scopes and How to Choose
- Executing a Partial Strip Properly
- Matching New Stone to an Old Wall
- Settling the Callback Economics
- Frequently Asked Questions
- Conclusion
What a Sagging Wall Actually Tells You
One stone that swings free on a spot of dried adhesive is a unit-level event, and this site already treats it that way. The pop-off analysis follows the science of individual bond interfaces, and repairing a cracked panel covers swapping damaged units. A sag is a different complaint. The wall moved as a field, which means contact area is disappearing somewhere behind many units at once, and gravity has been collecting the difference over months.
Read the geometry before touching anything. A bulge low on the wall with courses stepping downward suggests the assembly is sliding toward its base. That is the classic picture when a bond plane loses most of its area and the stone’s own weight does the rest. A bulge mid-height with a hollow drum behind it says the backing itself has separated. Cosmetic chips and surface fissures belong to other posts entirely; sag is structural in the loose trade sense that the system, not the stone, has a problem. A sagging wall is rarely an emergency at the moment it is noticed. It becomes one the first time a pedestrian walks under it.
Map the Detachment Depth First
Every repair decision downstream depends on one question: how deep does the detachment go? Answer it with a handle, a small pry bar, a marker and patience. Sound the wall in a grid roughly one tap per square foot, knuckle or plastic mallet, and mark the boundary between solid and drumming on the face of the stone. Then pry one unit out of a discreet location, low, behind a planter, inside a garage bay, anywhere the removal will not be seen, and read the back of it.
Four answers come back, and each is a repair scope in disguise. Clean stone with no residue means the adhesive never wet the surface properly or the surface was wrong. Mortar on the stone back but the whole layer lifting from the wall means the scratch-coat plane failed. The scratch coat intact but flexing behind it means the lath and its fasteners are the failure. Dark staining, rust marks at fastener lines or soft sheathing under the lath means water has been working the assembly, and the veneer is simply the first witness. A unit-level re-bed fixes the first case. It does nothing for the other three.
Four Failure Patterns Behind a Sagging Wall
Most wall-scale sag traces to one of four assembly shortcuts, and knowing which one you are standing in front of stops the repair from repeating the cause.
Direct application over stucco or EIFS
Cement-based adhered veneer needs mechanical keying: lath, a scratch coat, then stone into mortar. Applied straight to a finished stucco skin or an EIFS lamina, the stone is bonded to a coating that was never designed to carry kilogram-per-square-metre stone loads. The bond survives a dry spring and fails the first wet freeze cycle, and it fails as a sheet, not as a unit. Where the substrate is a barrier-coated assembly, ASTM E2570 exists precisely to evaluate water-resistive barrier coatings under EIFS. If the barrier under your stone was never rated for this duty, a re-glue is an appointment with the same failure.
One barrier where two belong, and flashings that stopped short
Adhered-system practice puts two layers of weather-resistive barrier under metal lath. Builders save one layer, or lap the barrier wrong at windows, and the wall looks perfect until water arrives from the side. Forensic reviews of adhered cladding keep landing on the same trio: poor flashings, misapplied air and water-resistive barriers, and limited drainage, with water held exactly where the cladding touches the barrier. That trapped water wets the insulation behind, rots the sheathing, rusts the fasteners, and finally pushes the stone outward. Sag at the head of windows and doors is this pattern in physical form.
Lath fastened to hope rather than to the manual
The fastening discipline is specific: lath secured at roughly 6 inch spacing with fasteners reaching at least 1 inch into framing. Fewer collars, short fasteners, or furring that bridges studs without blocking, and the entire scratch coat becomes a sheet you can flex by hand. A wall built this way does not fail as stone popping off; it fails as a plane bowing, which is exactly what a sagging veneer wall is. Substrate preparation covers the build-up when the wall is new; here it matters as forensics, because a flexible substrate under a drumming field rules out any surface-only repair.
Blocked drainage in a cold climate
Anchored masonry veneer is detailed to drain: a minimum 1-inch air space behind the stone and weep openings at the base of that air space. When a contractor mortars up the weep line, or buries the cavity base under a new concrete apron, the wall holds water through every freeze-thaw cycle. Ice jacks the stone outward at the lowest restrained course, and the bulge starts where the cavity cannot breathe. Cold-climate detachments cluster at wall bases and at the course above any detail that choked the drainage plane.
What the Code and Standards Require
Before opening the wall, it helps to know what the assembly was supposed to be, because a sagging veneer is usually a code requirement that got skipped. The International Building Code requires a weather-resistive barrier behind exterior wall coverings, masonry veneer included (Section 1402.2). For anchored masonry veneer, it prescribes a drained cavity: the minimum 1-inch air space noted above, exiting through weep openings at the base (Section 1405.6.2.3). Lath and furring that receive cement-based plaster and scratch coats are governed by ASTM C1063. The installation methods for cement-based adhered masonry veneer, exterior and interior, walls and columns, are standardized in ASTM C1780.
The manufacturer manuals that implement those standards carry the numbers that decide repair success. A scratch coat roughly 1/2 inch to 3/4 inch thick, cured about 48 hours before veneer goes on. Stone pressed and slid into fresh mortar until it extrudes at the edges, because 100 percent contact is the standard and voids are where the future bulge is already forming. The Natural Stone Institute materials on wall cladding point the same direction: the drawing and the specification settle in advance what the site crew must deliver. When you open a sagging wall and find a paper-thin scratch coat over a single barrier layer, the repair scope has already been decided by the evidence.
Three Repair Scopes and How to Choose
Depth of detachment and lateral spread give you a decision matrix, not a guess. The table below is how a contractor should read the wall after the tap survey, before the pricing conversation starts.
| Repair scope | Trigger from the survey | What is disturbed | Substrate work required | Stone work |
|---|---|---|---|---|
| Spot re-bond | Shallow loss at the adhesive plane, limited to a small cluster of units | Units only | Clean and key the existing face only | Re-bed saved units; expect the patch to read as a patch if the field drums elsewhere |
| Partial strip | A defined drumming zone with sound lath and barrier behind most of it | Stone, mortar and damaged lath back to solid planes | Re-lap barrier, new lath on the manual pattern, fresh scratch coat cured 48 hours | Re-bed salvage plus matched replacement units; see panel removal and replacement |
| Full rebuild | Deep detachment across the field, soft sheathing, rust bloom at fastener lines | The whole cladding system | Sheathing repair, two barrier layers, full lath and scratch-coat reset | Rebuild from batch stock or reorder with vein matching |
Two rules of thumb keep the choice honest. If the tap grid shows drumming more than a panel radius beyond the visible bulge, a spot repair is decoration, not repair. And scope escalates downward: what looks like a re-bed at the surface becomes a partial strip the moment the scratch coat releases, and a partial strip becomes a rebuild the moment sheathing is soft. Cutting a neat square boundary back to solid planes, whatever the depth, is what separates a repair that holds from one that gets a second callback in the same season.
When the sag is on a column or a gate post
Vertical elements sag differently. A stone-clad column has no top course locking the assembly, corner arrises take the traffic hits, and any mitred corner cut on site is a plane the installer created rather than a plane the factory engineered. Where column cladding was built from field panels cut at 45 degrees, the repair is the chance to switch the field to cement-backed interlocking panels and the arrises to pre-made L-corners. Factory corners exist specifically to take the mitre cut off the site crew; on corner work they remove roughly 20 percent material waste and more than 50 percent of corner labour.
Executing a Partial Strip Properly
Safety sets the order of operations. A bulging section of bonded stone and mortar can release completely under its own weight, so the work zone gets barricaded first. Take the loose field from the top of the bulge downward, never prised from below. Cut the repair boundary as a square through the stone with a diamond blade, back to where the tap test reads solid. Number and salvage the removed units if they are sound and the mortar can be knocked clean without cracking the arris.
What happens behind the stone is the actual repair, and the sequence belongs to plaster-substrate rules, not to the adhesive bag. Re-lap the barrier shingled-style as one continuous plane, then fix new metal lath at the manual spacing with full penetration into framing. Bring the scratch coat back to the 1/2 to 3/4 inch build and give it the 48 hours. Only then apply adhesive for full coverage, wobbling each unit until mortar squeezes out. Patching the field at staggered courses rather than a single column of units keeps the joints from tracking the cut line. Where the rebuild can adopt an anchored drained-cavity detail instead of a direct bond, the wall gets a drainage plane that forgives the next blocked weep somewhere else on the building.
Matching New Stone to an Old Wall
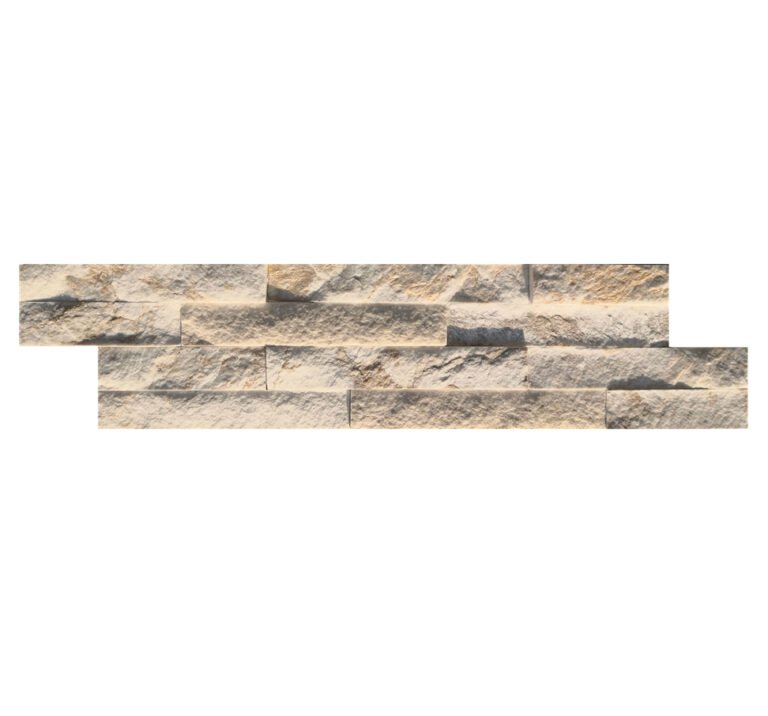
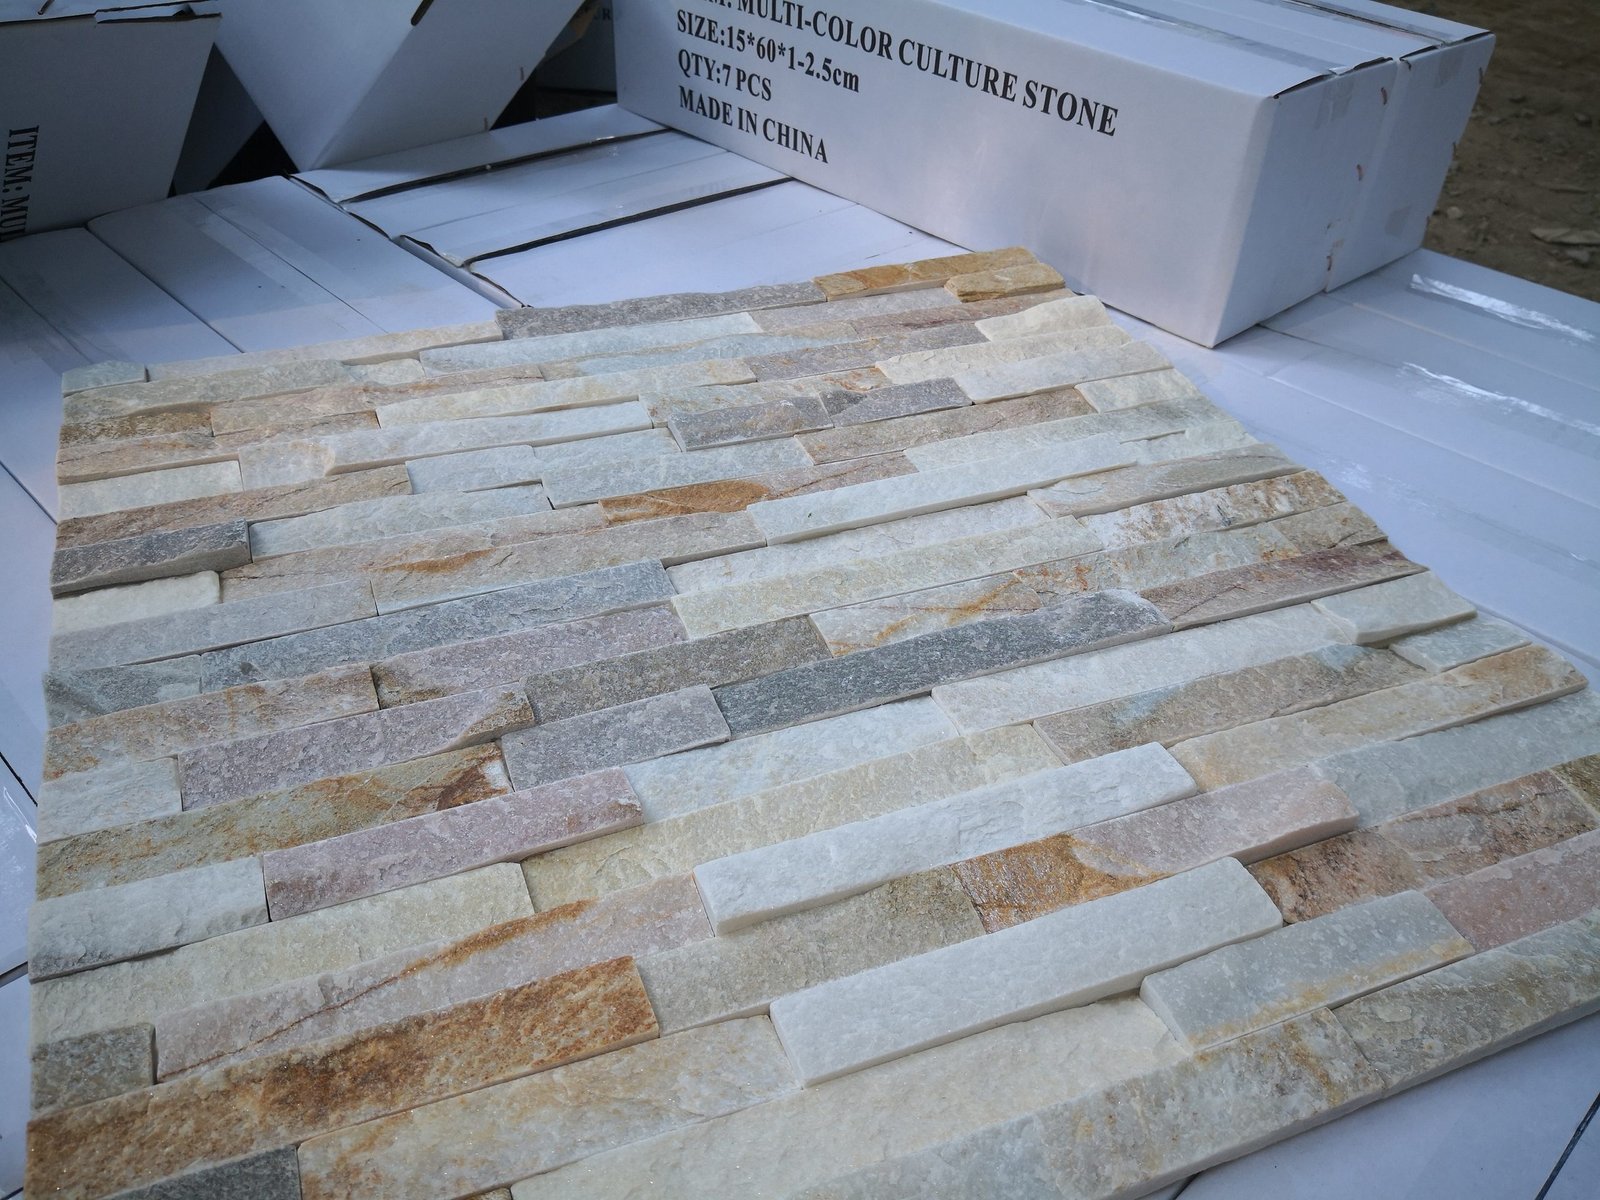
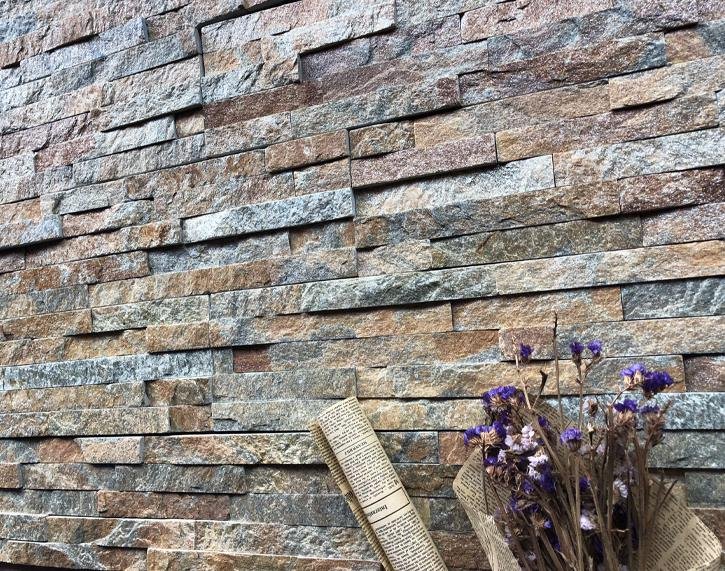
A repair reads as one rectangle of the wrong colour when replacement stone comes from a different seam, and natural stone will not forgive a guess. Two procurement habits fix that. For bonded panel fields, order from the same product family the wall was built with. The standard 15×60 cm stacked panel formats and the 36×10 cm ultra-thin ledgestone are long-running lines, so a top-up order is usually possible inside normal production: about 20 working days for in-stock runs, 25 to 30 for first-order production with printed cartons.
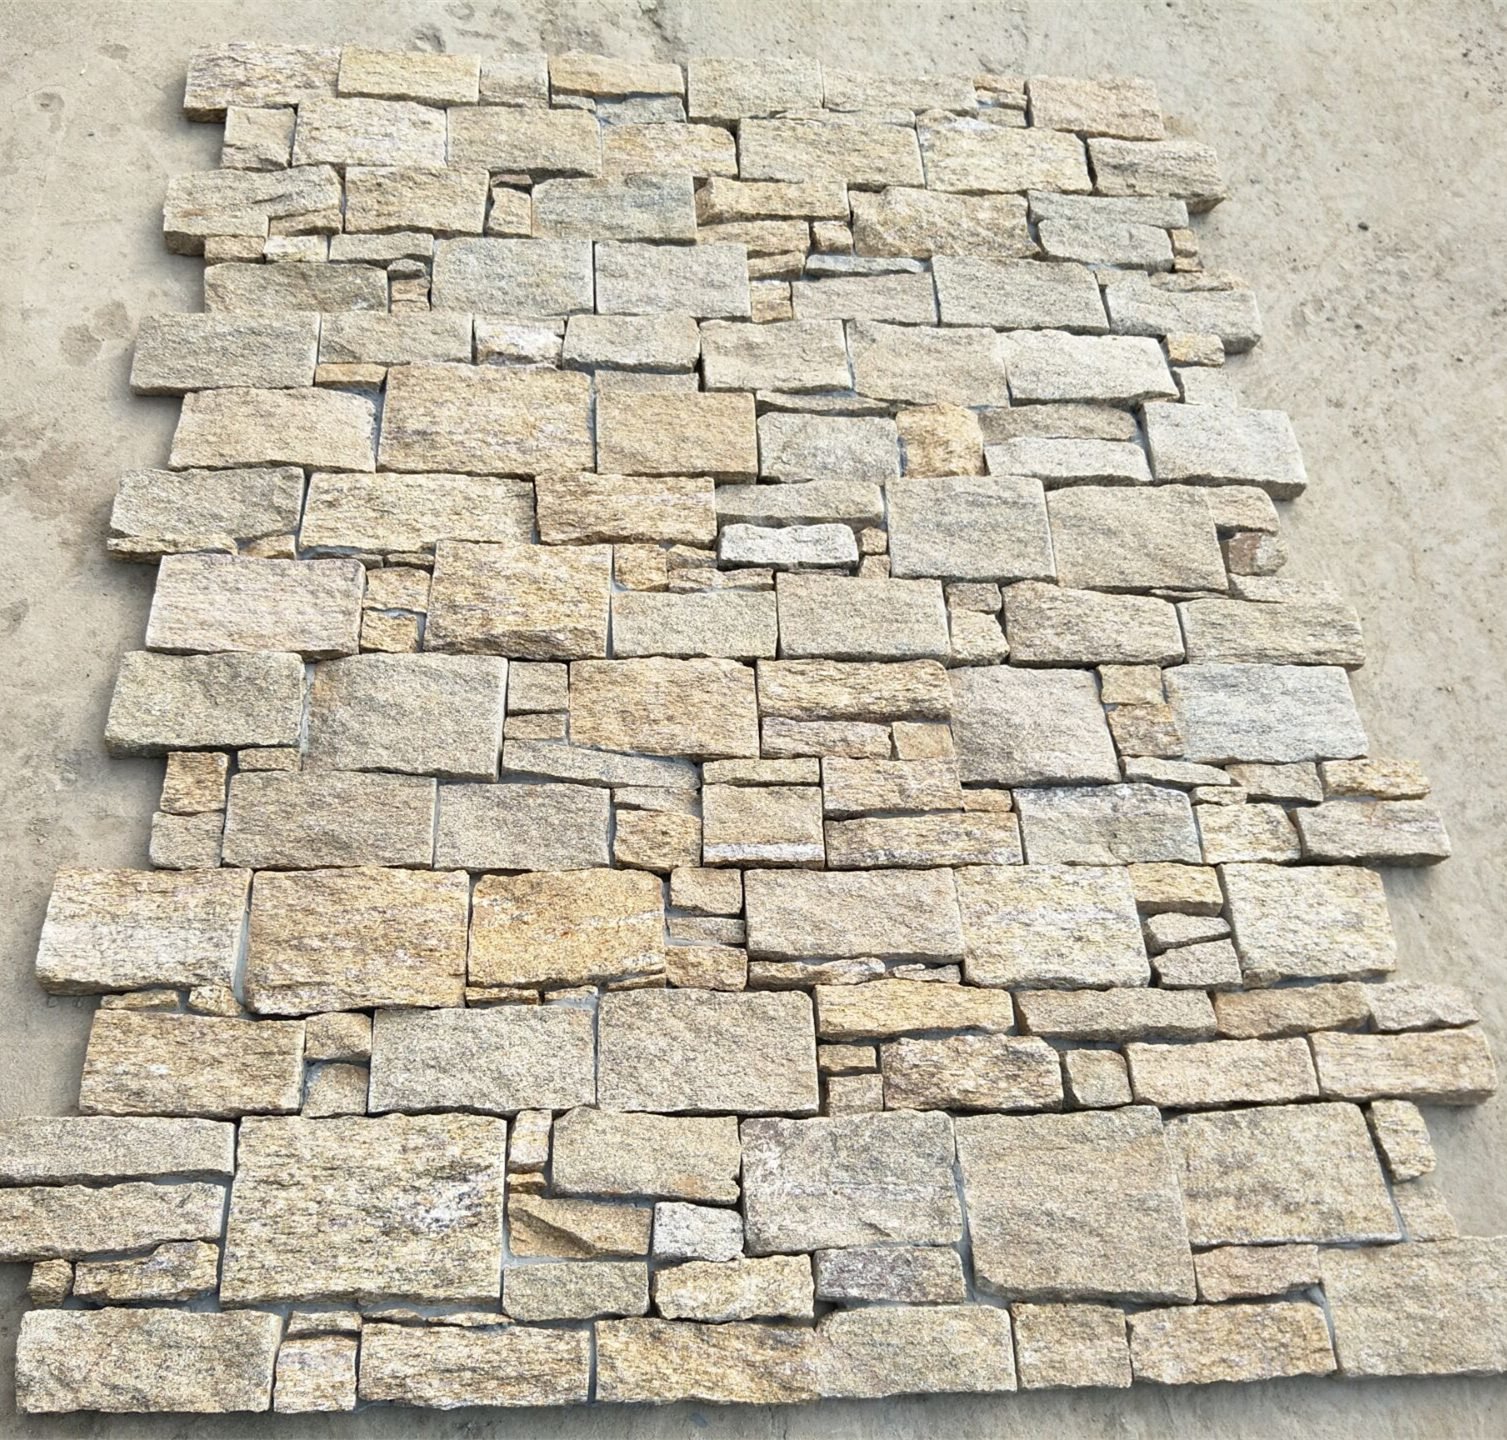
For split-face loose stone, send a physical piece. A factory laboratory can run vein density, cutting tolerance and backing reverse analysis in about 3 working days and issue a 1:1 sample, and short-run samples dispatch in 1 to 3 working days. On loose material, hand-sorting from a single quarry vein is what holds natural colour transition at 95 percent or better, which is the ceiling on how invisible a patch can be. The thin stone veneer product line is where replacement matching starts for a veneer wall. A sample request costs days; a mismatched patch costs the whole elevation.
Settling the Callback Economics
Money follows evidence, and in sagging veneer the evidence is the failed plane. An adhesive-only failure with clean, correctly built substrate behind it points at installation technique or coverage, the crew’s lane. A missing barrier layer, a single-layer WRB, or no weep detail points at the build-up the framer and barrier installer signed off. A blocked cavity, buried later by someone’s concrete apron, points at the site that poured it. Product failures arrive at unit scale, typically shipping or handling damage that shows up early and obviously, not as a progressive bow in year three. Bonded panel lines ship against marine-grade epoxy assembly standards for heavy freight and thermal cycling, which makes a factory-wide bond defect a rare defendant in a sag case.
For distributors, the callback is a relationship event with a procurement answer. Ship the evidence photos with the replacement order, order matched batch or vein, and keep the repair stock on the same purchase rather than promising a colour match across two production runs two seasons apart. The warranty mechanics for panel buyers already define what documentation a claim needs; a sagging-wall file is the same evidence, taken at the moment the wall is open.
Frequently Asked Questions
Why is my stone veneer sagging or bulging?
Because a bond plane under the wall, not the stone itself, is losing contact area: mortar coverage, scratch coat, lath fasteners or the weather barrier. Gravity and moisture do the rest once the plane can no longer carry the weight.
Can sagging stone veneer be repaired without removing the whole wall?
Yes, when detachment stays local and the lath and barrier underneath are sound. A tap survey decides: spot re-bond for shallow loss, a partial strip cut back to solid planes, full removal only for deep or wall-spanning detachment.
How do I know if the failure goes deeper than the stones?
Sound the wall on a grid and pry one unit in a discreet spot. Mortar residue on the stone back means the adhesive plane failed; a drumming lath sheet or soft sheathing means the assembly itself failed.
What determines whether a patch repair will hold?
The rebuilt plane must be as good as new work: sound lath fixed on the right pattern, a full scratch coat cured about 48 hours, and full-coverage adhesive pressed until mortar extrudes at the edges.
Is a sagging veneer wall a product defect or an installation failure?
Wall-scale sag usually points to the assembly: barrier, flashing, lath or drainage. Assign responsibility only after the exposed planes are photographed and matched against the installation specification and batch records.
Conclusion
A sagging stone veneer wall is an assembly verdict, not a stone verdict, and the repair earns its money only when the scope matches the depth. Tap-map before buying adhesive. Open one unit to read the failed plane, then classify the cause against the barrier, lath and drainage requirements the assembly was supposed to meet. Cut the repair boundary back to solid planes rather than to the visible edge of the bulge, and match replacement material to batch or vein while there is still a sample to send.
- Depth first: adhesive plane, scratch coat, lath fastening or sheathing, each maps to spot, partial or full scope; drumming beyond one panel radius rules out spot work.
- Rebuild to the manual baseline: two barrier layers lapped, lath fastened near 6 inches with 1 inch into framing, 1/2 to 3/4 inch scratch coat cured 48 hours, full-coverage contact on every unit.
- Photograph every exposed plane before closing; the file decides the callback conversation between contractor, distributor and site.
- Send a physical piece for matched replacement; reverse analysis takes about 3 working days and short-run samples ship in 1 to 3.
Repairing a sagged wall with matched replacement stock? Send the failed-unit photo and the wall’s original batch notes to the Top Stone Panels team, and we will run the 3-day reverse analysis and quote a vein-matched top-up with the corner and backing pieces the patch needs.